Mailchimp Email Marketing Workflow
Begin
14 pages · ~28 min
Mailchimp Email Marketing Workflow
Learn to build effective email marketing campaigns using Mailchimp's practical workflow, from audience setup to analytics tracking. Ideal for beginners and small business owners.
What you’ll learn
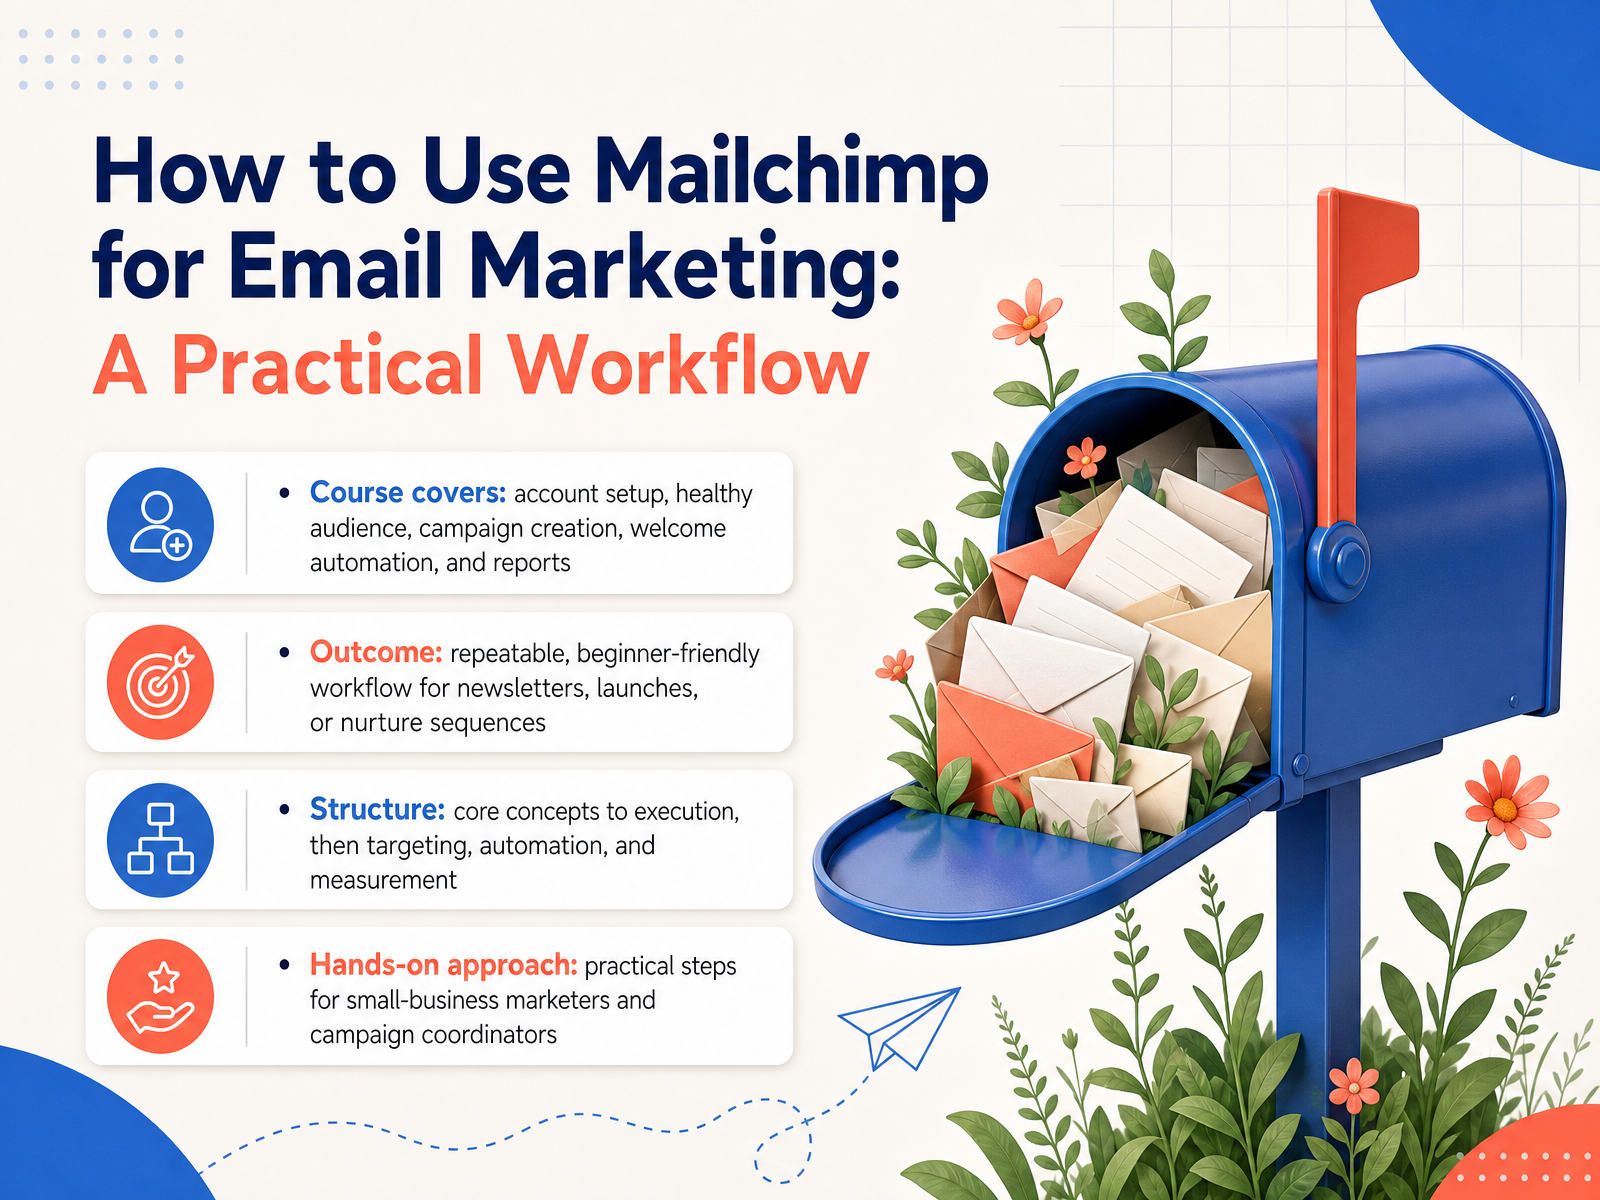
- 01How to Use Mailchimp for Email Marketing: A Practical WorkflowWelcome. If you've been putting off email marketing because Mailchimp feels overwhelming, you're in the right place. I'm going to walk you through a practical workflow that actually works for small businesses and creators. We'll start with the basics of setting up your account, then move into building a healthy, engaged audience. From there, we'll create your first campaign, set up a welcome automation that runs on its own, and finally, we'll make sense of your reports. The goal here is simple: by the end, you'll have a repeatable process you can use for newsletters, launches, or nurture sequences without guessing. This is a hands-on course, so expect practical steps you can apply to your own list right away. Let's get started with the core Mailchimp concepts you'll need to understand.mailchimp.commailchimp.commailchimp.com+21 min
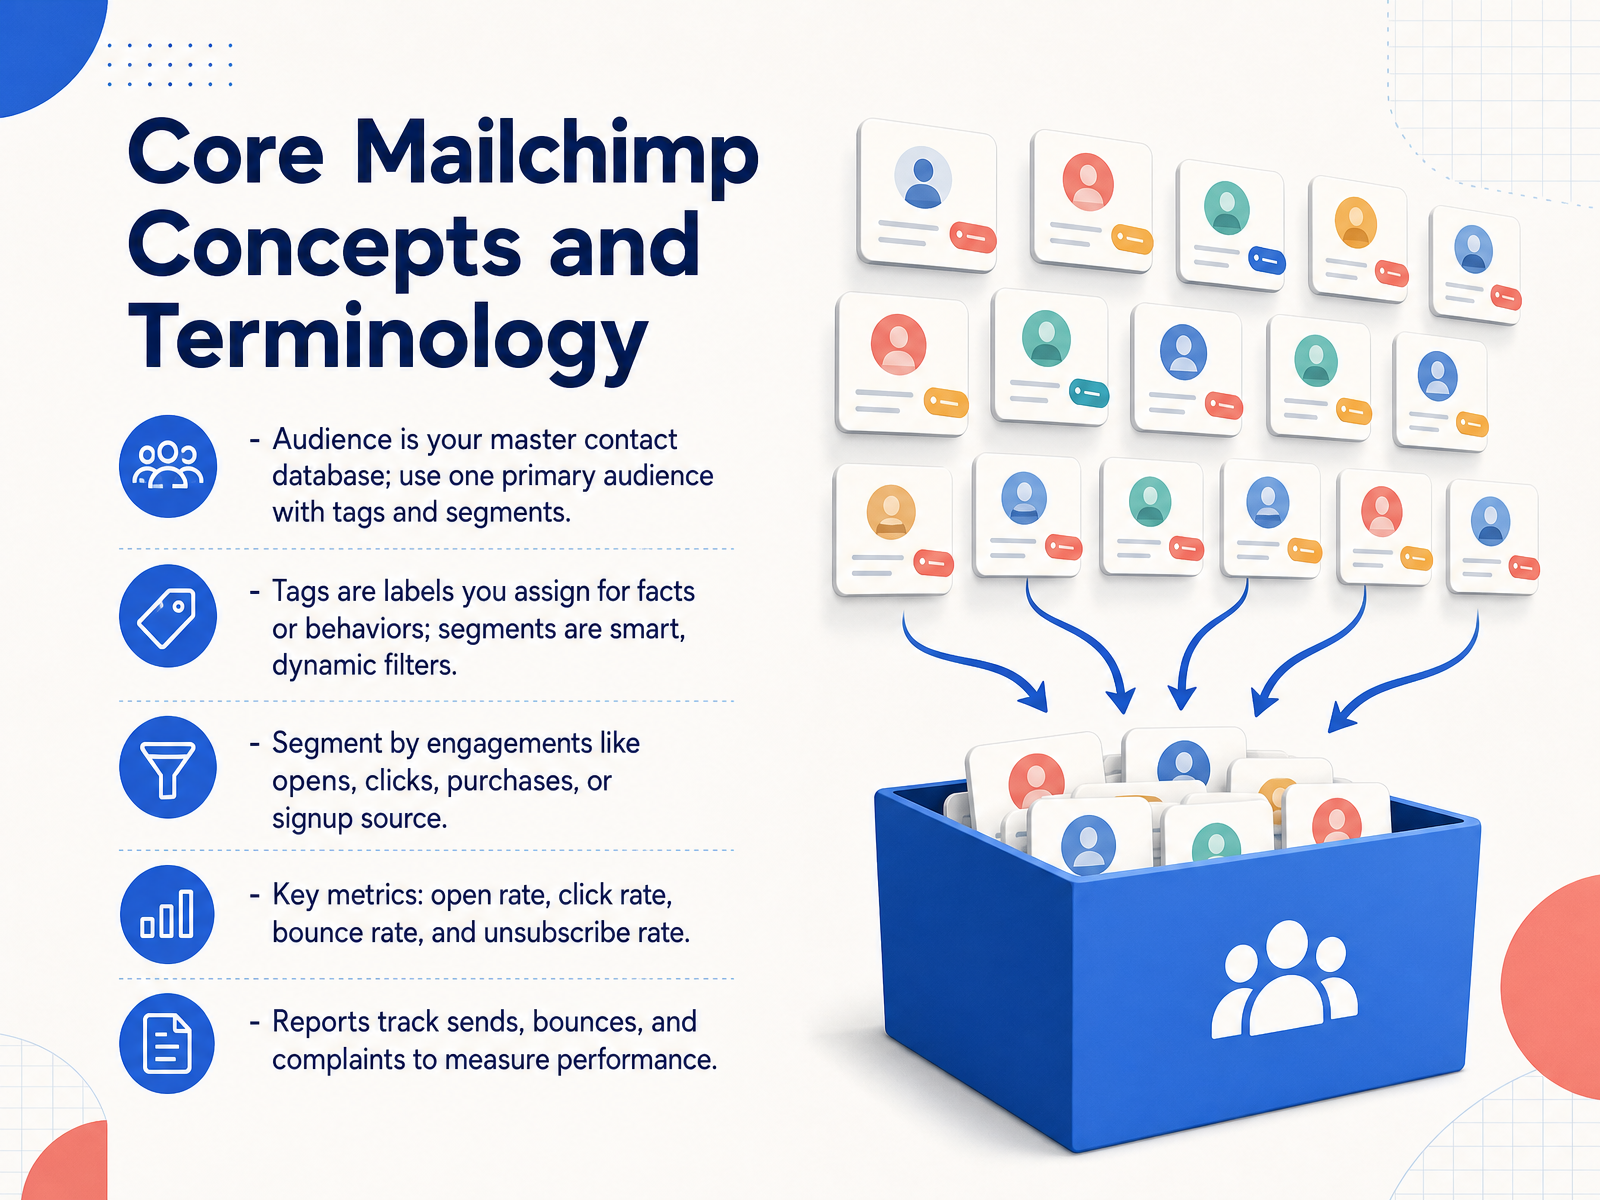
- 02Core Mailchimp Concepts and TerminologyBefore you start building campaigns, let's make sure you speak Mailchimp's language. Your Audience is your master contact database—think of it as your home base where everyone lives, along with their details and permissions. Now, inside that audience, you'll use tags and segments to keep things organized. Tags are labels you assign manually or automatically, like "VIP" or "Bought Product A." They tell you who someone is or what they've done. Segments, on the other hand, are smart filters that update on their own based on criteria like opens, clicks, purchases, or where someone signed up. So, a tag might say "VIP," but a segment could be "VIPs who haven't opened in 90 days." One key habit: stick to a single audience and use tags and segments to slice it up—this keeps your data clean and your reporting accurate. When you send a campaign, keep an eye on your open rate, click rate, bounce rate, and unsubscribe rate. Those numbers in your reports tell you what's working and what's not. Now, let's look at choosing the right Mailchimp plan for your needs.
 tailorededgemarketing.commailchimp.commailchimp.com+21 min
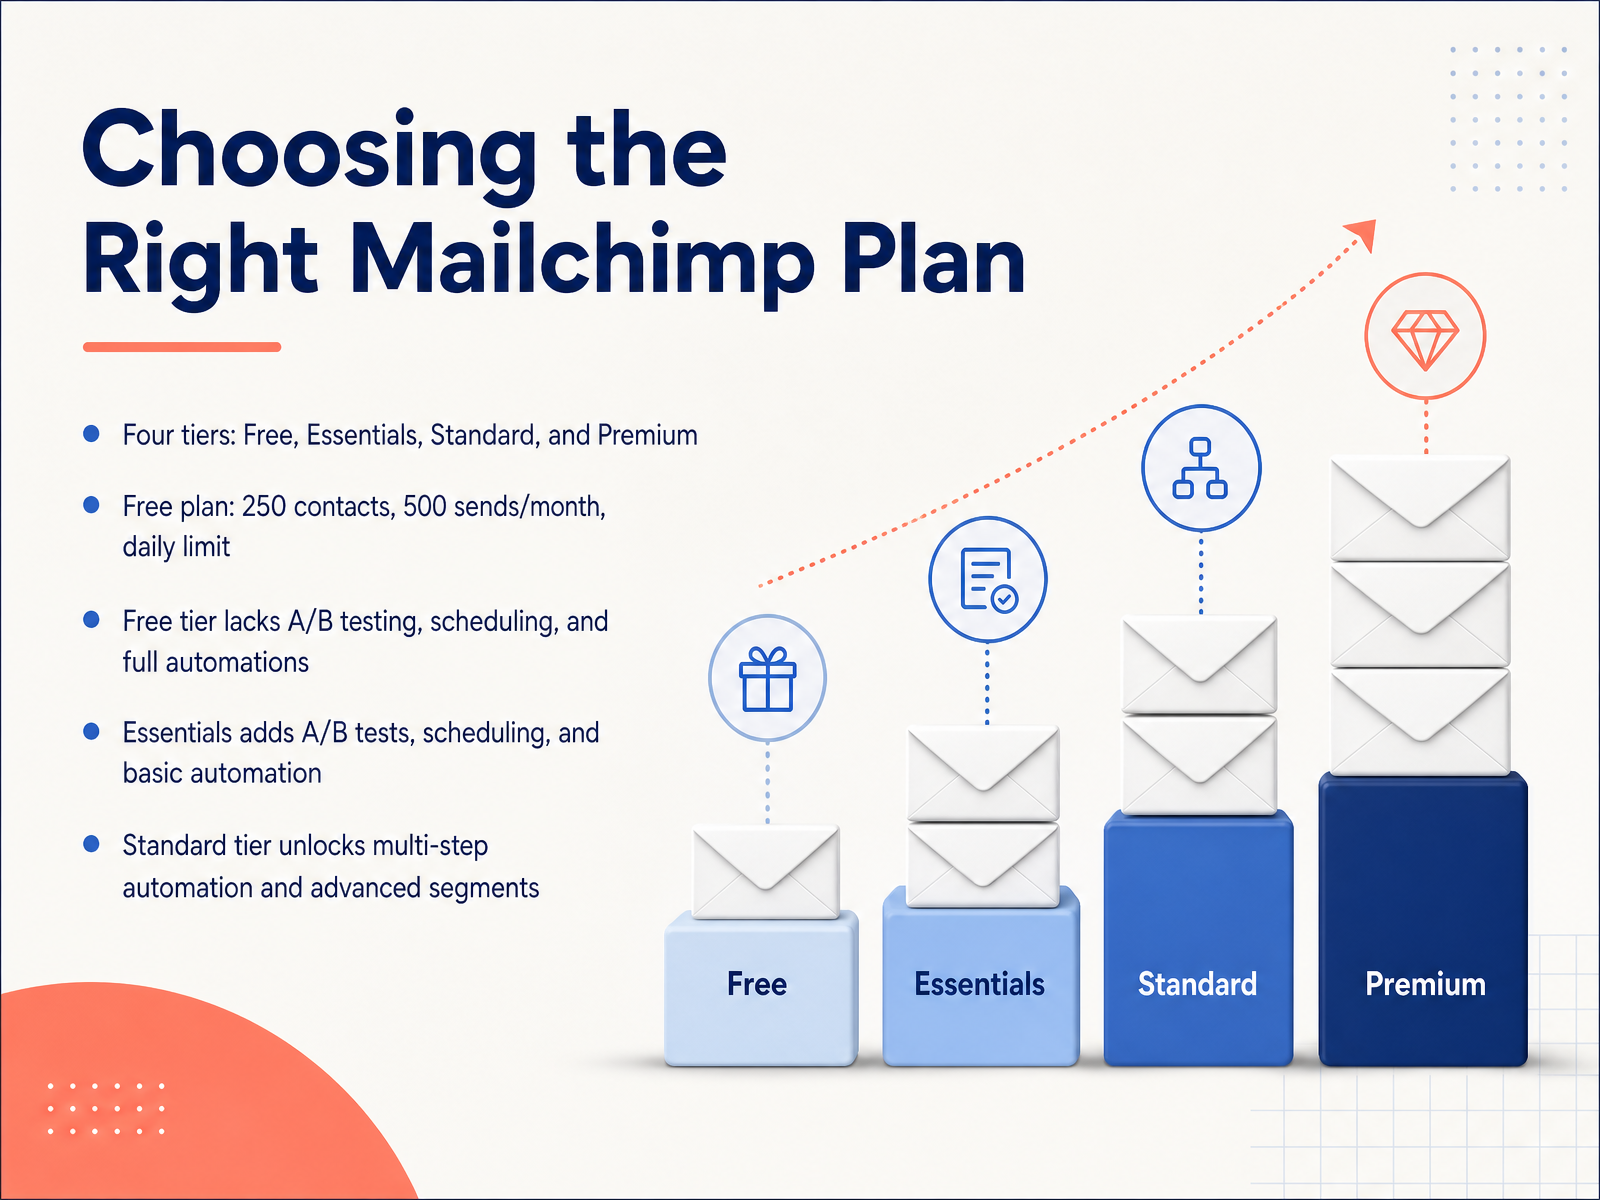
 - 03Choosing the Right Mailchimp PlanLet’s talk about which Mailchimp plan actually makes sense for you. There are four tiers: Free, Essentials, Standard, and Premium. The Free plan is genuinely useful when you’re starting out. You get up to 250 contacts and 500 sends per month, with a daily cap of 250. That’s fine for a very small list, but keep in mind what it lacks. No A/B testing, no scheduling, and no full automations. You’ll be sending everything manually. When you need more control, Essentials is the natural next step. It adds A/B testing, email scheduling, and basic single-step automation. That’s often enough for a growing business. But if you want multi-step journeys, like a welcome series that branches based on clicks, you’ll want Standard. That tier unlocks advanced segmentation and richer automations. Premium is really for larger teams with bigger lists. As a rule, start free, move to Essentials when you need testing, and jump to Standard when you want automated journeys. Pick the tier that matches your workflow, and you won’t overpay. Next, let’s walk through setting up your account and audience.
 mailchimp.commailchimp.commailchimp.com+22 min
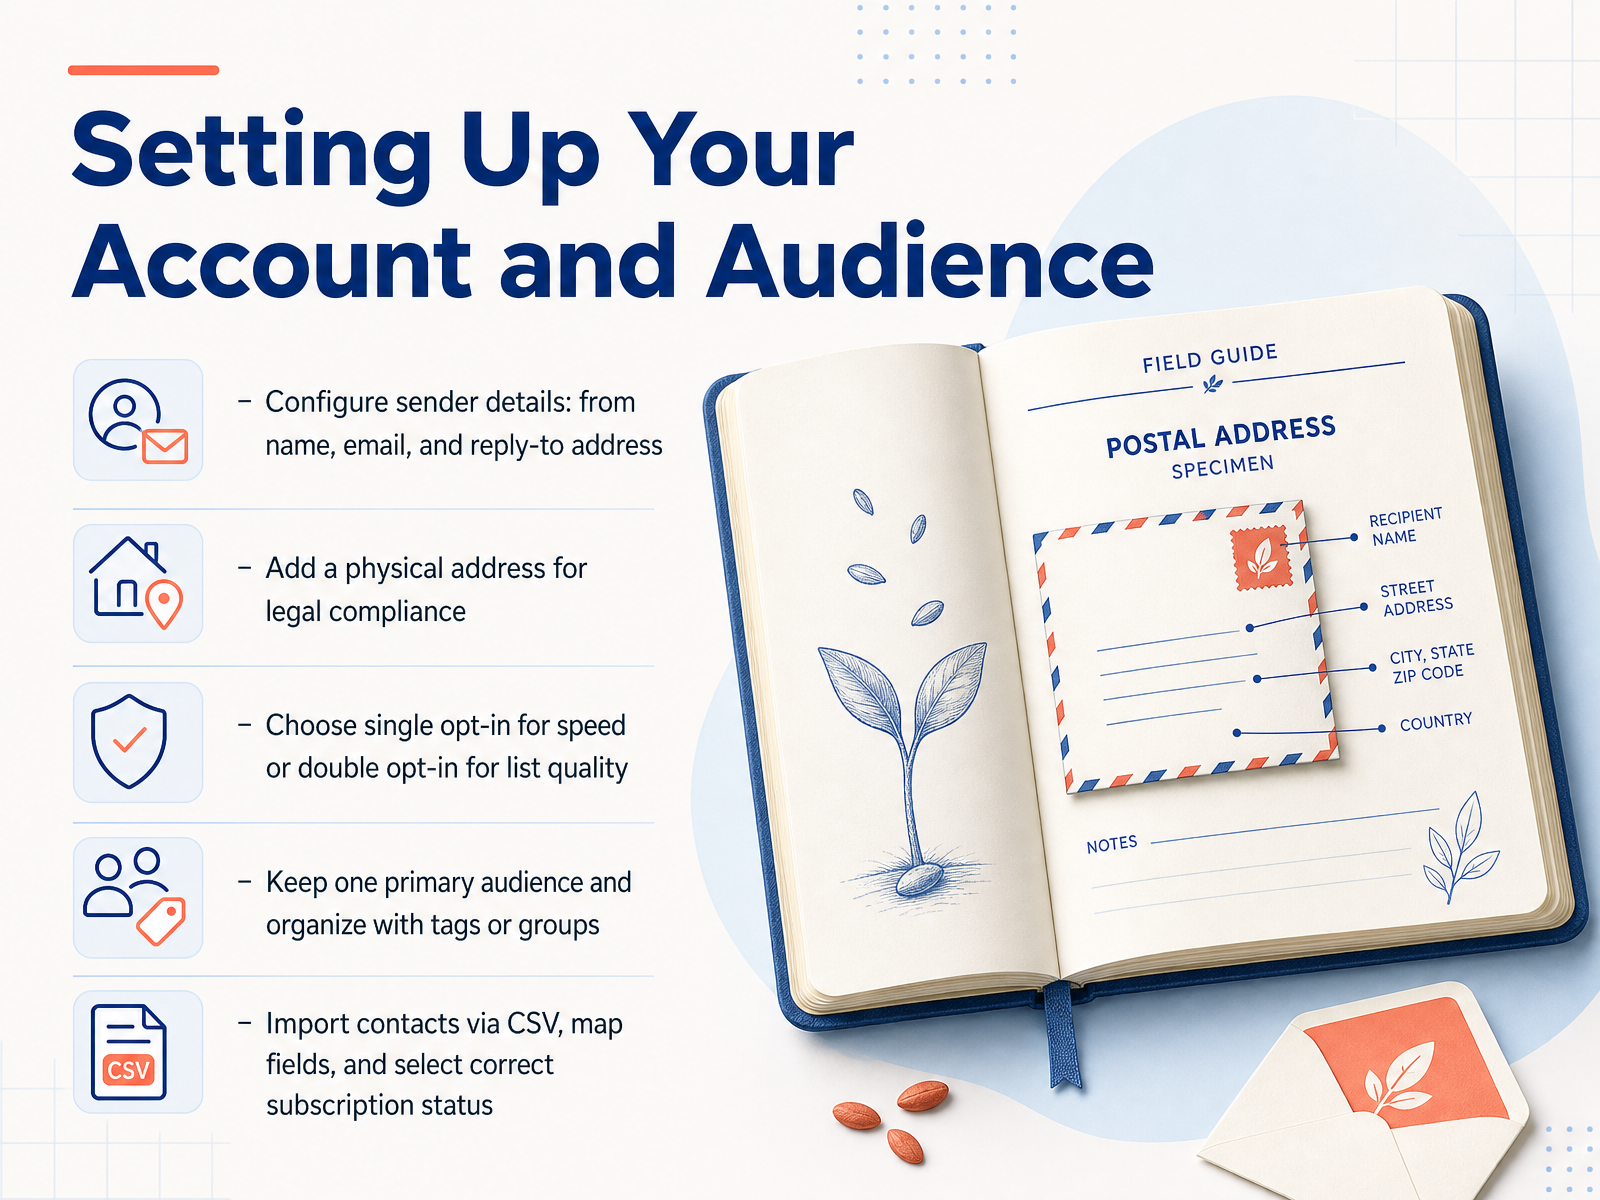
 - 04Setting Up Your Account and AudienceNow let's walk through the setup basics that will save you headaches later. First, configure your sender details — the from name, the from email, and the reply-to address. Use a real, professional address on a domain you own, not a free Gmail account. That helps your emails actually land in the inbox. Next, add your physical address. This is legally required under anti-spam laws like CAN-SPAM, and Mailchimp will pull it into the footer automatically. Now for opt-in. Single opt-in adds people instantly, which is fast but can attract fake signups. Double opt-in sends a confirmation email first — it's slower, but your list stays cleaner, and your deliverability improves. For most small businesses, double opt-in is the right call. Keep one primary audience for your whole business, and use tags or groups to organize people by interest or purchase history. That way you're not juggling multiple lists. When you're ready to import contacts, upload your CSV, map the columns like first name and email, and critically, set the correct subscription status. Only mark people as subscribed if you have their permission. If they've unsubscribed before, leave them unsubscribed. Get this right, and you're building on a solid foundation. Up next, we'll cover how to create and share a signup form so you can keep growing that list the right way.
 mailchimp.commailchimp.commailchimp.com+22 min
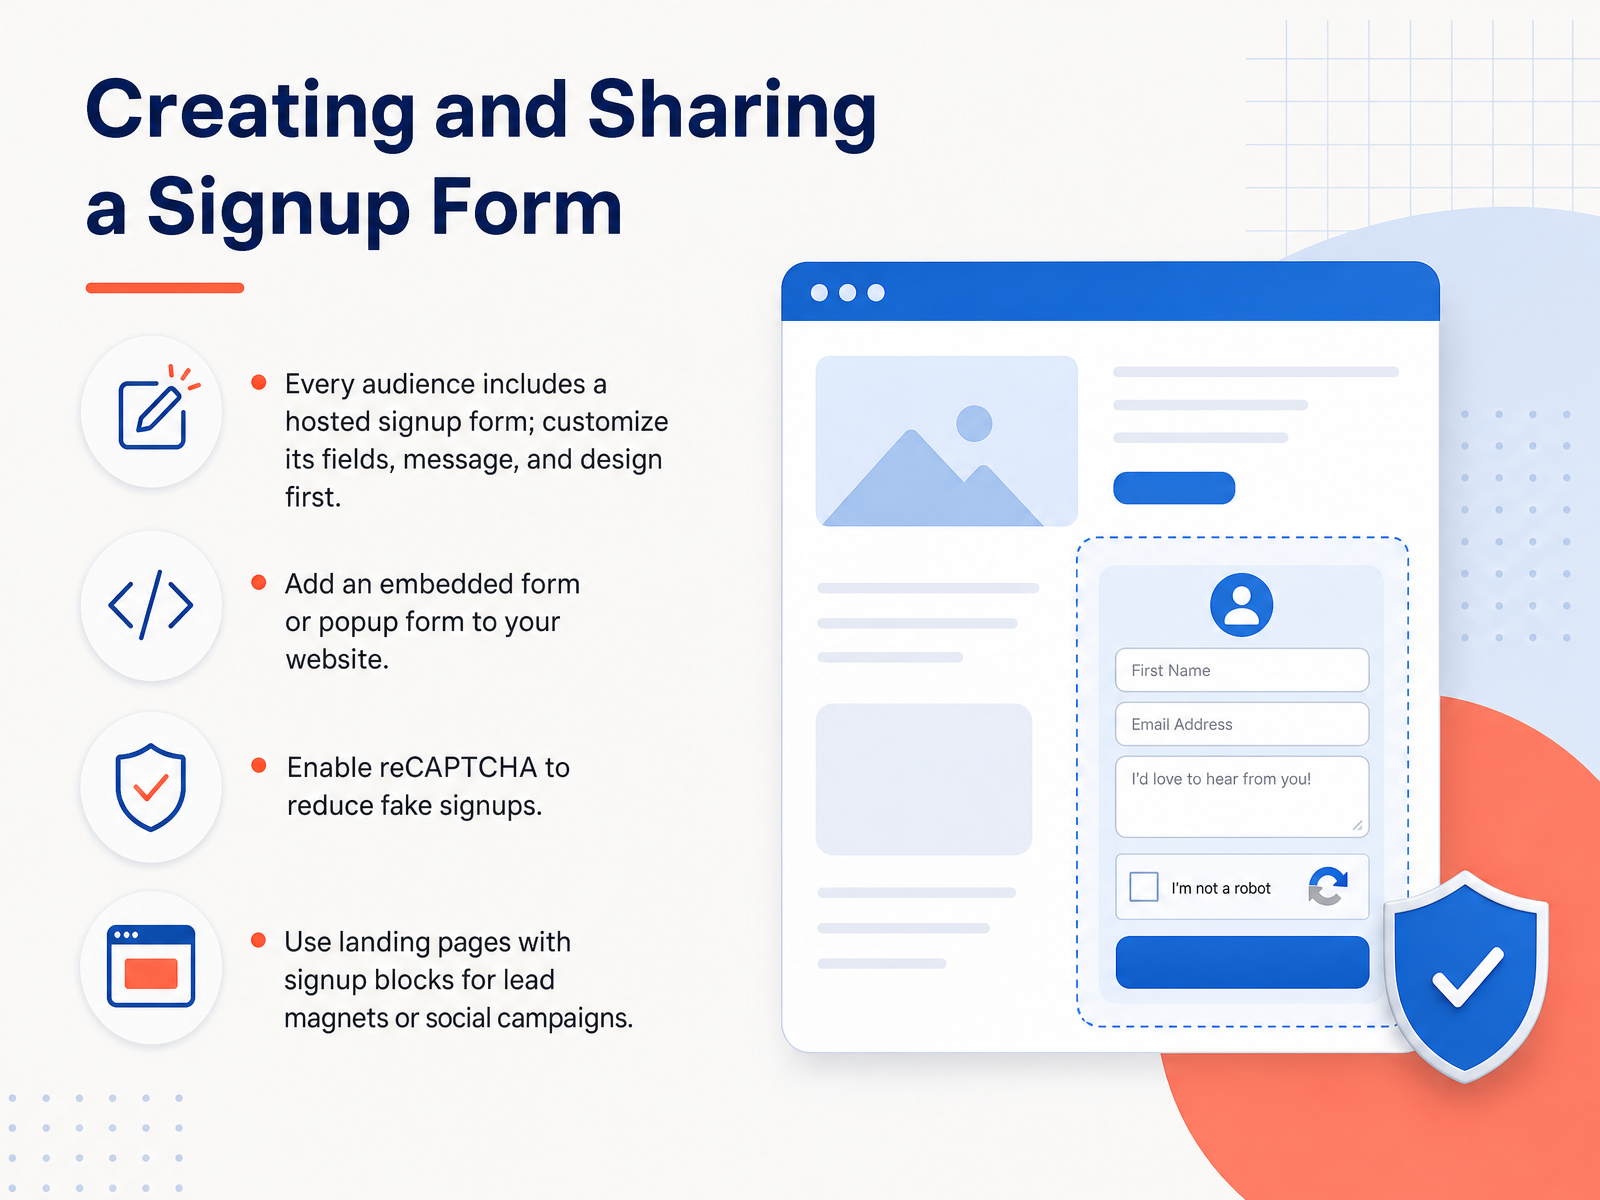
 - 05Creating and Sharing a Signup FormNow, let's talk about one of the best ways to grow your list: the signup form. Every audience in Mailchimp comes with a hosted form, but it's plain until you make it yours. So, first, customize the fields, the message, and the overall look. Next, decide where people will find it. You can embed the form directly on your site. Or, use a popup form that appears after a visitor spends some time on your page. Just a heads-up here, if you have a website, enable reCAPTCHA on your form. This simple setting blocks those annoying fake signups that can clutter your list and hurt your deliverability. One more powerful option: landing pages. Create a dedicated page with a signup block for your lead magnets, like a free guide or coupon. This works great for social campaigns and gives your new contacts a clear starting point. Once your forms are out there, you're officially in the business of building a healthy email list.
 mailchimp.commailchimp.commailchimp.com+21 min
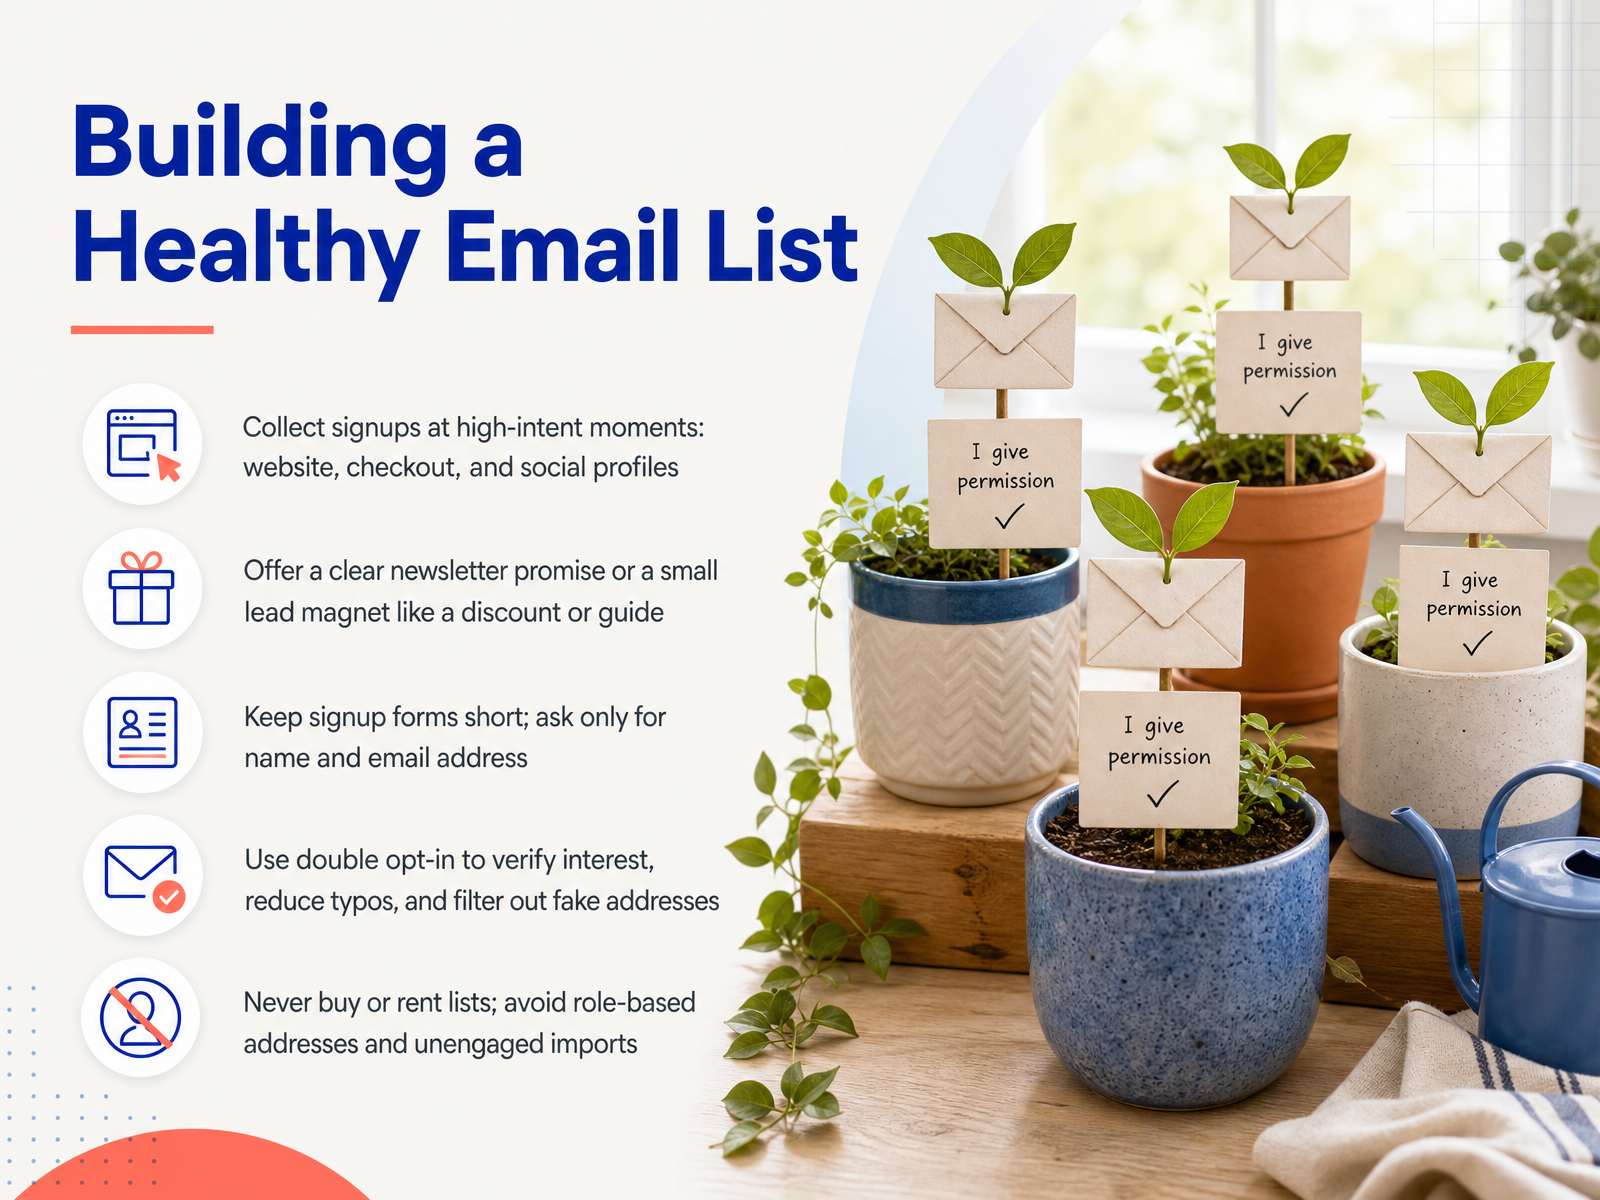
 - 06Building a Healthy Email ListNow let’s talk about building a list that actually works for you. It’s tempting to chase big numbers, but a smaller list of genuinely interested people will always outperform a huge one full of dead addresses. So, where do you collect signups? Focus on high-intent moments. That means when someone is already engaged with you, like on your website, at checkout, or through your social profiles. That’s when they’re most likely to say yes. Give them a clear reason to subscribe. A specific promise, like weekly tips or exclusive offers, works far better than a vague newsletter. A simple lead magnet, such as a discount code or a guide, can work wonders too. Keep the form short. Ask for their name and email address, and nothing more. Every extra field you add is another reason for someone to walk away. Now, for quality control, turn on double opt-in. It adds that extra confirmation step, which filters out typos and fake addresses. Yes, you might get fewer subscribers, but the ones you do get actually want to hear from you. And never, ever buy a list. Purchased lists are full of spam traps that will wreck your deliverability and can get your account shut down. Build it right from the start, and your emails will always land where they belong. Up next, we’ll walk through designing and sending that very first campaign.
 mailchimp.commailchimp.commailchimp.com+22 min
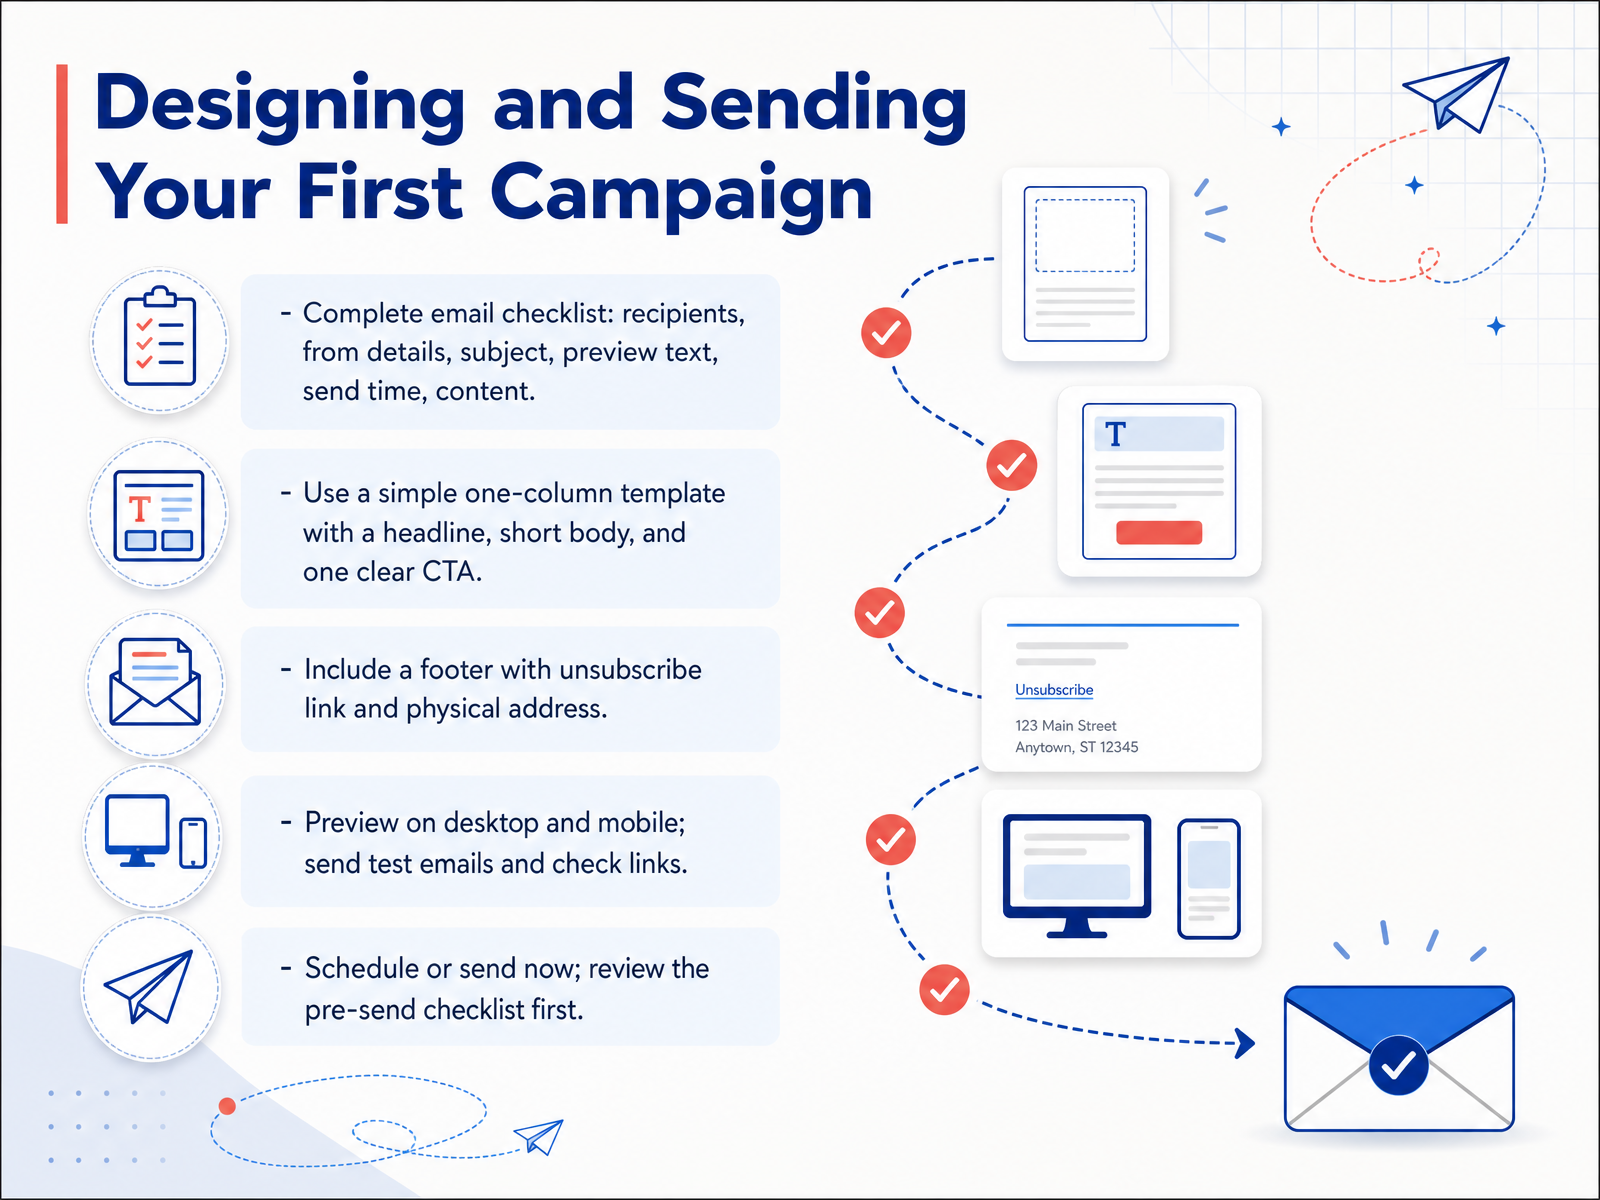
 - 07Designing and Sending Your First CampaignNow let's walk through the actual send. Mailchimp gives you a checklist, and it's worth using it in order. Start with the To section. Pick your audience or a segment, and double-check who's in it. Then set your From details. Use a real name and a domain you own, like [email protected], not a free Gmail address. That helps your deliverability. Next, the subject line and preview text. Keep the subject under sixty characters, and use the preview text to add context, not repeat the subject. After that, choose your send time. You can send now, or schedule for a moment when your audience is likely to be checking email. Then the content itself. For a first campaign, a simple one-column template works best. One headline, a short body, and a single clear call to action. Don't pile on links. And make sure the footer keeps Mailchimp's unsubscribe link, and includes your physical address. That's required by law. Before you send, preview it on desktop and mobile, and send a test to yourself. Click every link. Then run the pre-send checklist. Once it's clean, you're ready to send. Next up, we'll look at using tags to organize your contacts.
 mailchimp.comguideflow.com2 min
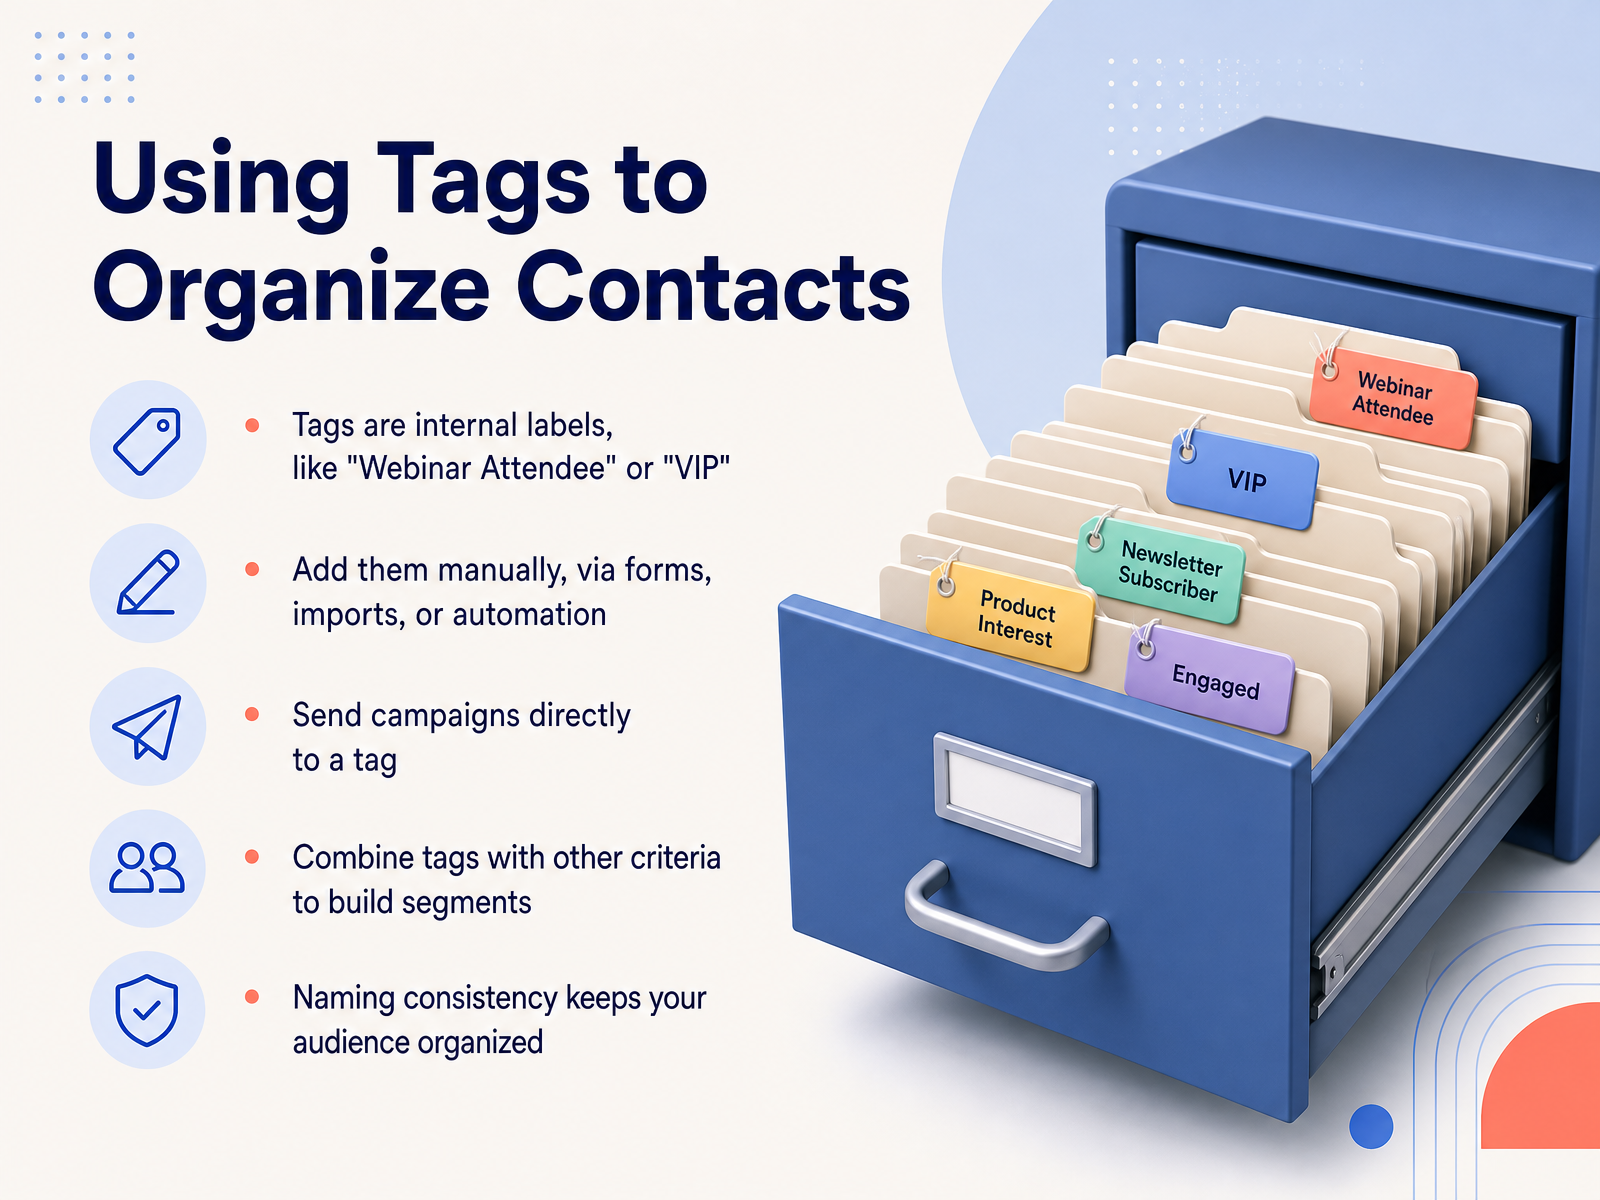
 - 08Using Tags to Organize ContactsNow, let's talk about tags. Tags are simply labels you attach to contacts. Think of them like digital sticky notes. You might tag someone as “Webinar Attendee” or “VIP.” Tags are internal, so only you see them. You can add tags manually, or automatically through signup forms, imports, and automations. For example, when someone registers for your webinar, a tag can be applied automatically. Once contacts are tagged, you can send campaigns directly to them. Need a quick follow-up for webinar attendees? Just filter by that tag and send. Tags also work great inside automations, triggering emails based on specific actions. To keep everything organized, be consistent with your tag names. Use clear, simple labels like “VIP” or “Product Interest A.” This way, you can easily combine tags with other criteria later to build targeted segments. Good tagging now saves you time later. Coming up, we’ll look at how to use segments to target the right people.
 tailorededgemarketing.commailchimp.commailchimp.com+22 min
 - 09Using Segments to Target the Right PeopleNow let's talk about segments, which are your smart filters for targeting the right people. Unlike tags that just label contacts, segments are dynamic rules that update automatically as your contact data changes. For example, you could build a segment of everyone who has opened your last three campaigns or purchased in the last ninety days. If someone stops meeting the criteria, they simply drop out of that segment. You can filter by tags, engagement, location, purchase activity, and more. If you're just starting out, use Mailchimp's pre-built segments for things like new subscribers or inactive contacts. From there, save any custom segment you plan to use again. The key habit is this: when you create a campaign, send it to a segment, not your entire audience. That targeted approach leads to higher open rates and fewer unsubscribes. So take a moment to think about who really needs this message, then let the segment do the heavy lifting. Next up, we'll walk through setting up a reusable welcome automation.
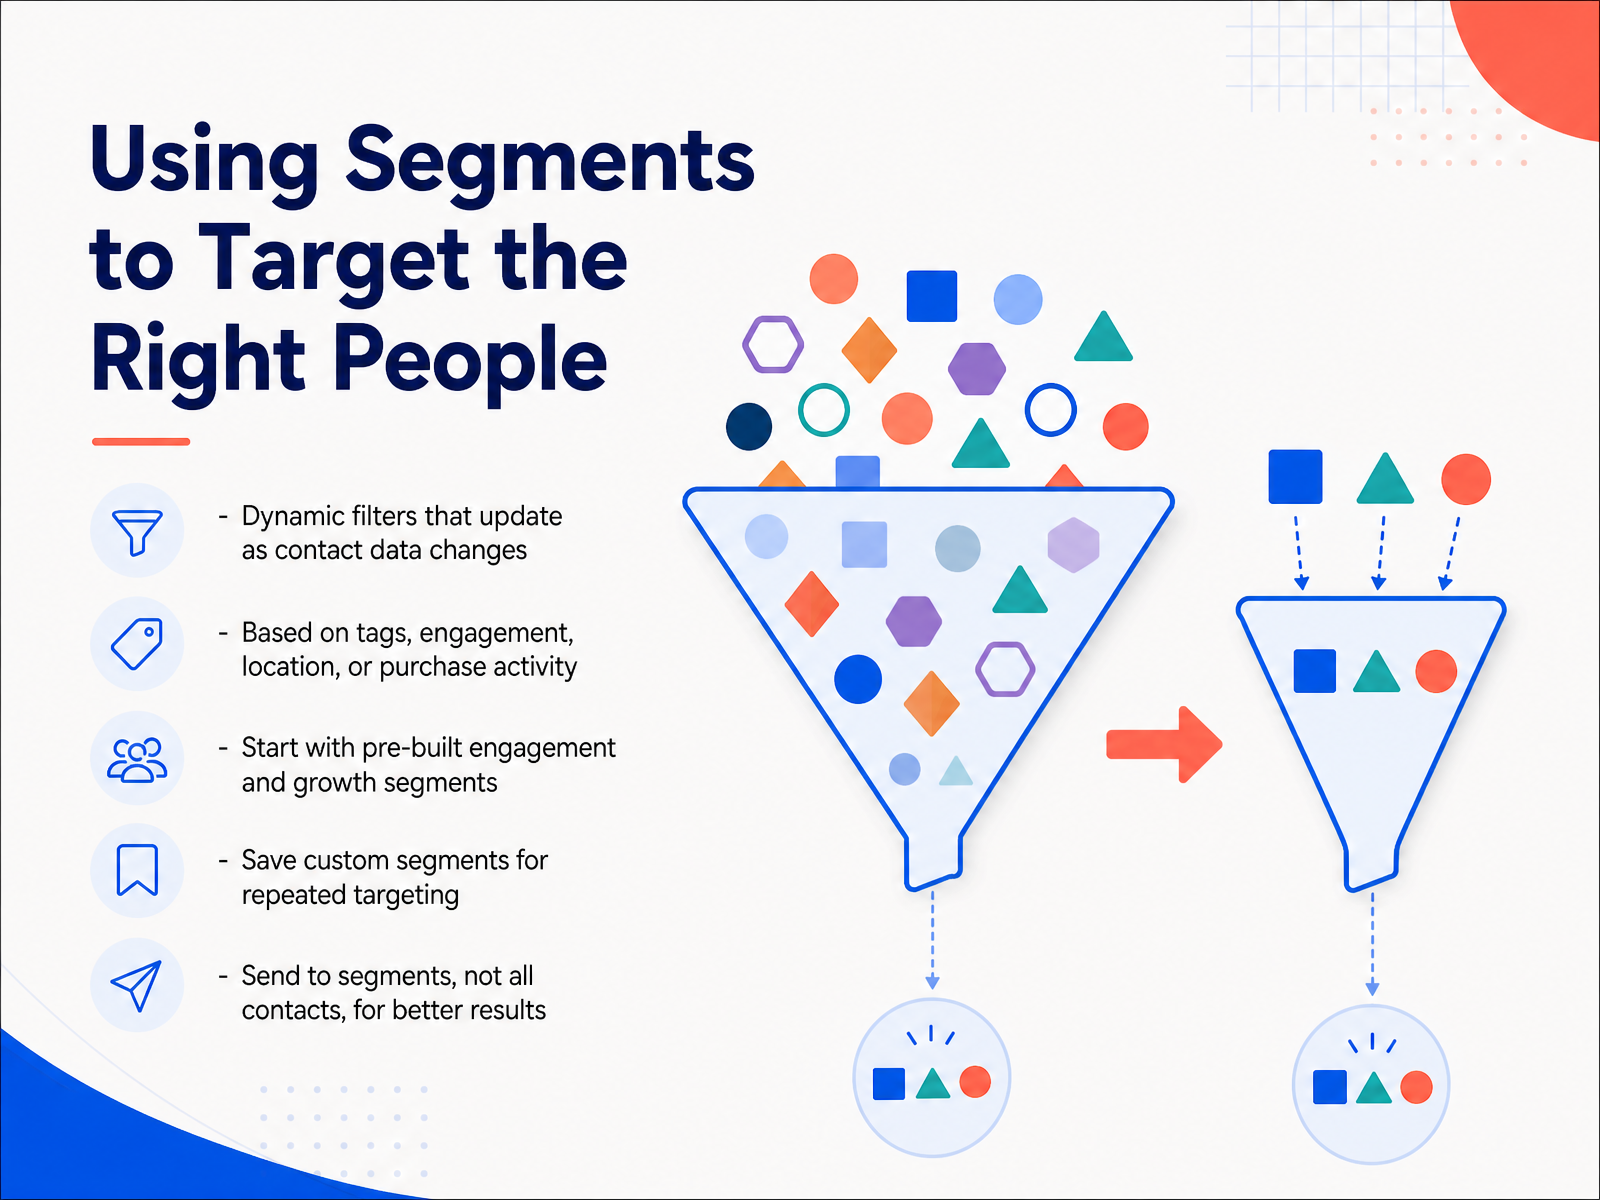 tailorededgemarketing.commailchimp.commailchimp.com+21 min
 - 10Setting Up a Reusable Welcome AutomationNow let's build your reusable welcome automation. This is the email that greets every new subscriber the moment they join your audience. In Mailchimp, head to Automations and choose a pre-built journey. For most of you, that means the welcome new subscribers template. Your trigger should be simple: a new subscriber joins your audience. That's it. Next, think about timing. Sending instantly is fine, but a short delay, like one hour, can make it feel more human, less robotic. You can set this under the trigger settings. Now design one clear email. Thank them for subscribing, remind them what they'll get from you, and include one simple call to action, like a button to your latest guide or your shop. Keep it short and warm. Before you turn it on, send a test email to yourself. Check the subject line, the links, and how it looks on your phone. Then start the automation and let it work. Now, let's talk about a few practical workflow tactics worth knowing.
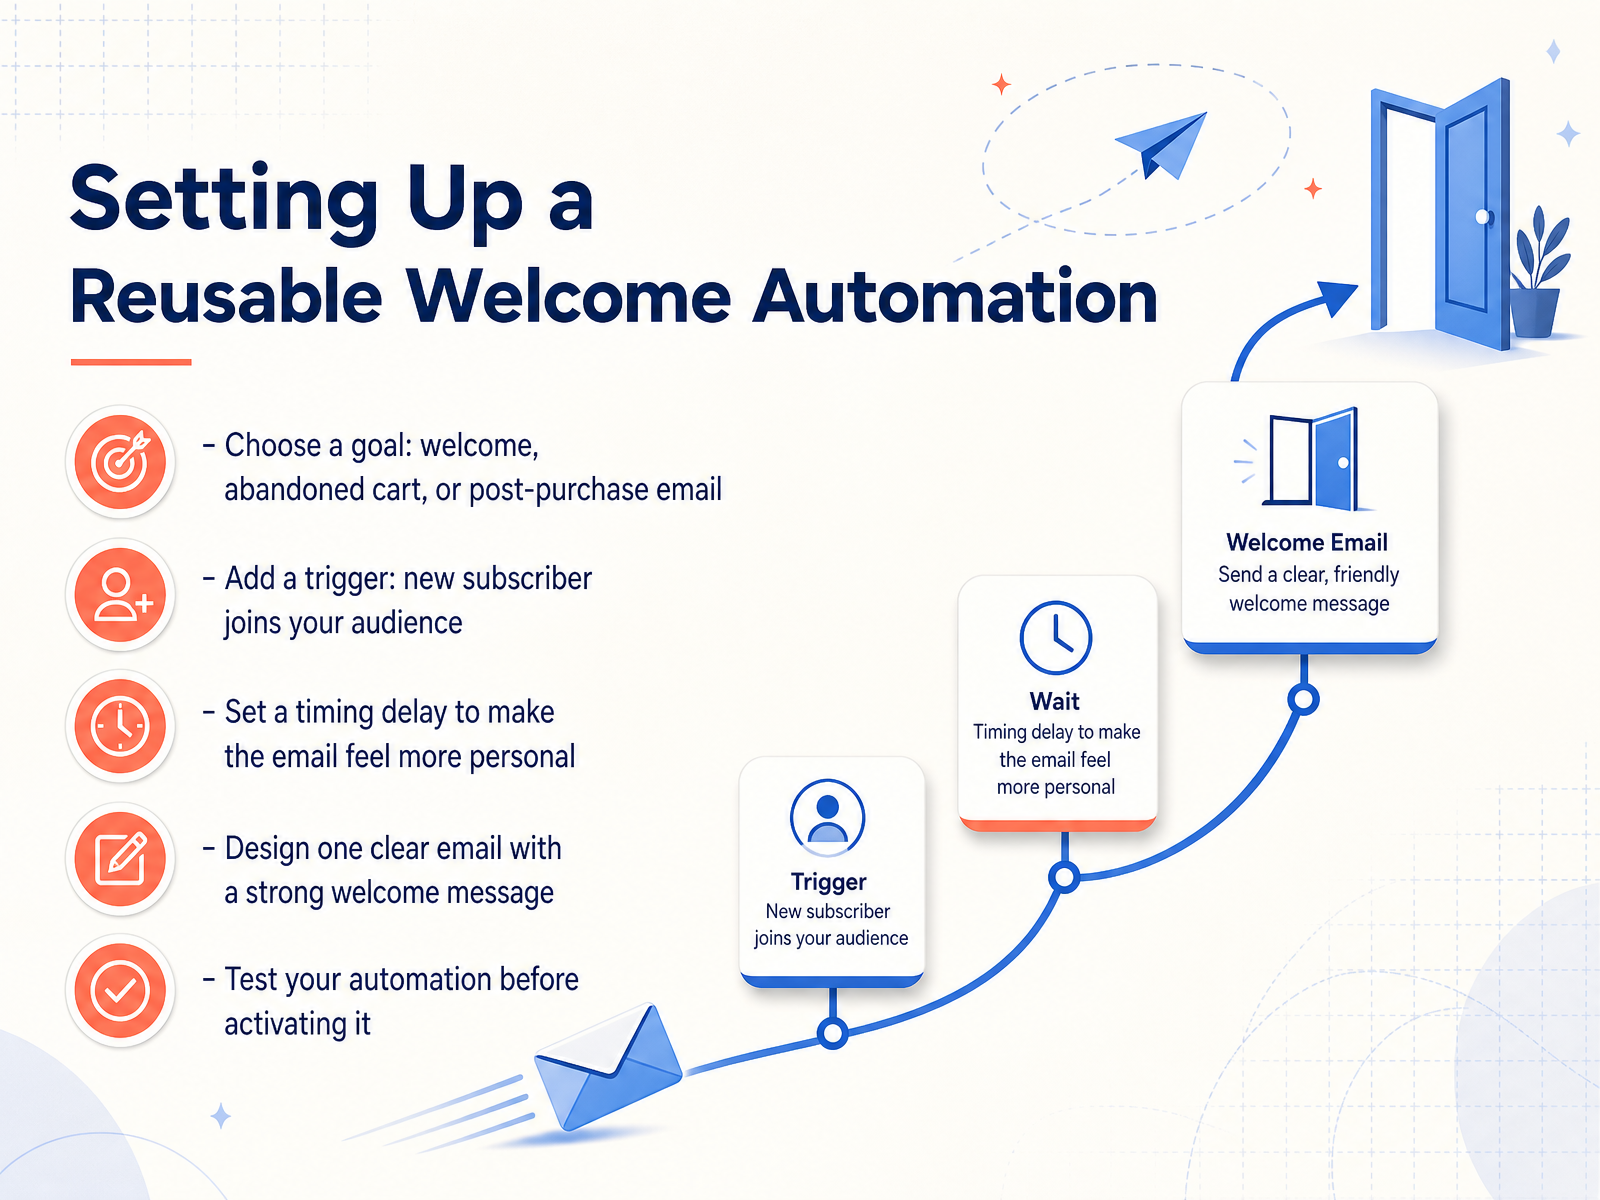 1 min
1 min - 11Practical Workflow Tactics Worth KnowingLet's get into the tactics that make the workflow actually shine. First, run A/B tests on just one variable at a time, whether that's your subject line, your From name, your content, or your send time. Mailchimp will automatically send the winning variation to your remaining subscribers based on clicks or opens, so you don't have to babysit it. When setting up your campaign, also make sure your Google Analytics tracking is on. Mailchimp can auto-tag links with source, medium, and campaign values. Just name your campaign with lowercase and hyphens so the data stays clean in your analytics. Once you've tested what works, save that winning email as a reusable template. That way you keep your brand consistent and cut down your creation time. And if you have a campaign that performed really well, don't just forget it. You can replicate it and resend to the people who didn't open it the first time. That's a simple second-chance touchpoint. These are practical, repeatable steps you can start using today. Keep in mind what you can learn from the reporting side, which we'll cover next with reading reports and improving your results.
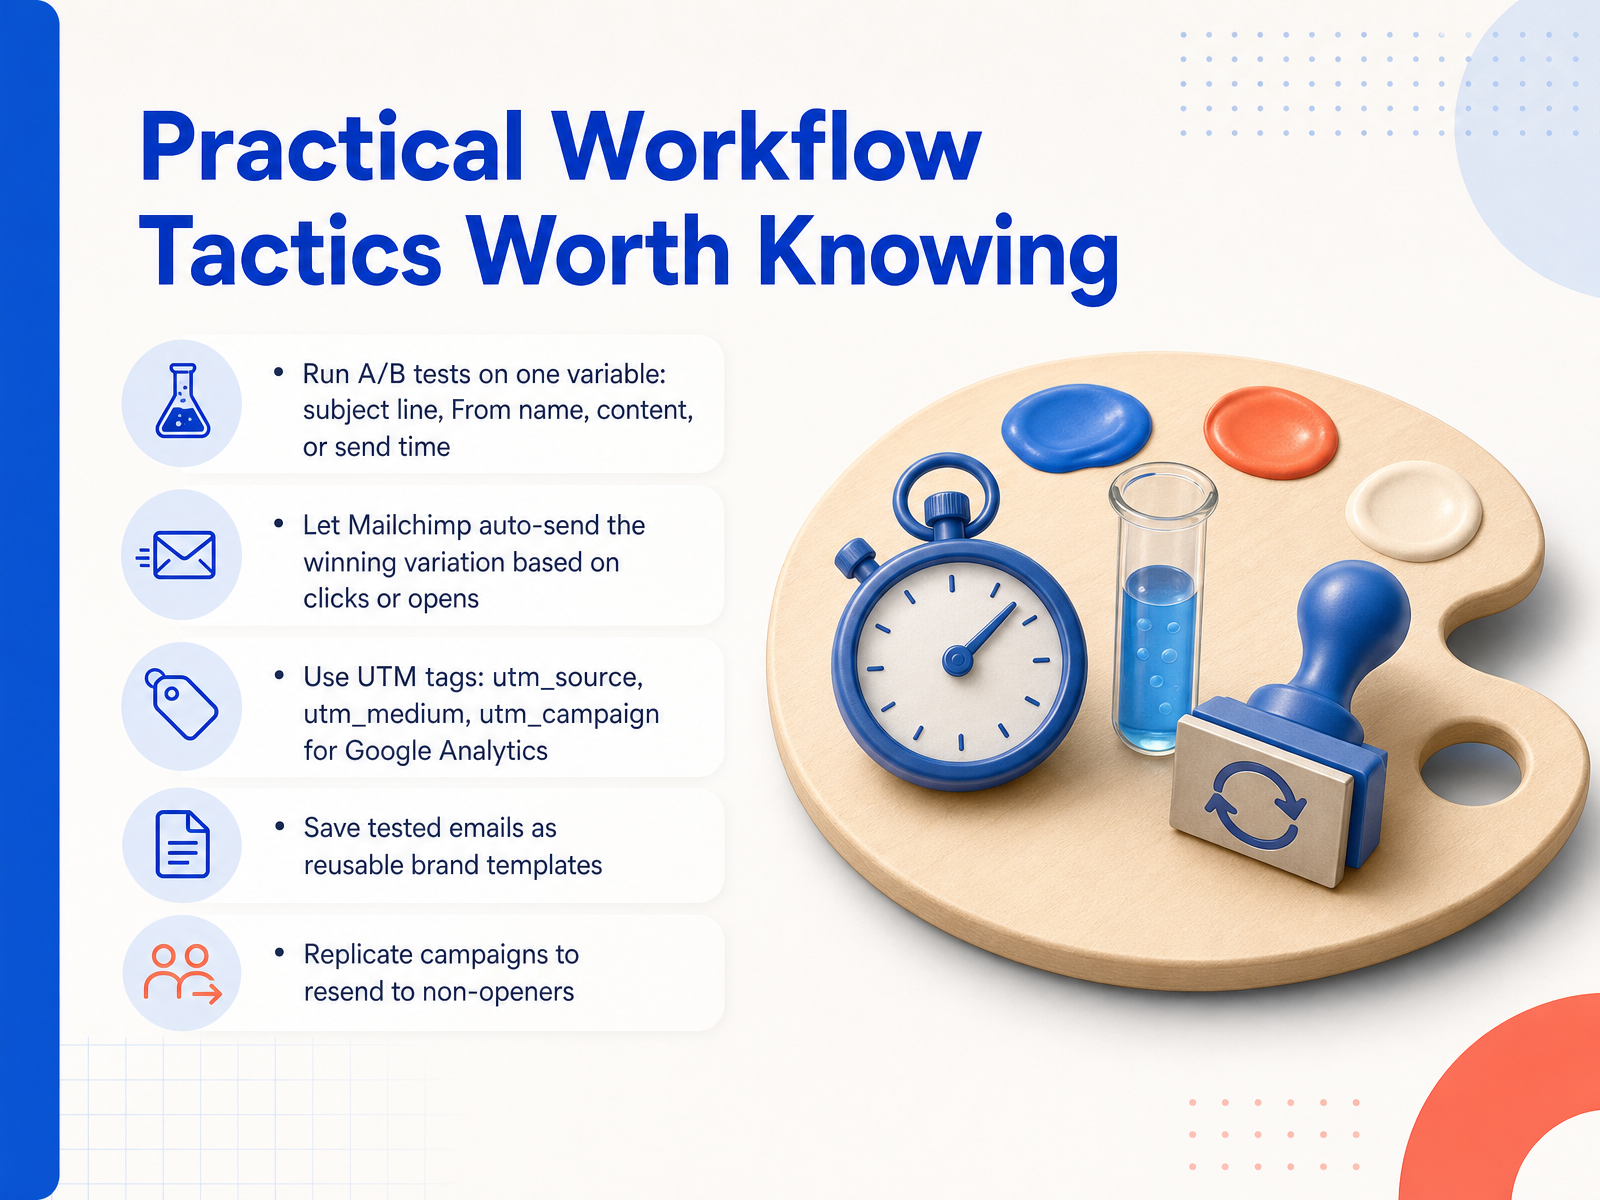 2 min
2 min - 12Reading Reports and Improving ResultsOnce your campaign is out the door, the real learning begins. Head to the Reports section in Mailchimp and pull up your campaign. The overview gives you the essentials: opens, clicks, bounces, and unsubscribes. Don't get hung up on a perfect open rate, though. Privacy protections like Apple's Mail Privacy Protection can inflate those numbers. Focus more on clicks, because a click means real interest. Open the click map to see a visual overlay of your email. You can see exactly which links drew attention and compare performance on desktop versus mobile. If your call-to-action button outperforms a text link on mobile, you know what to use next time. Now, turn those metrics into action. A low open rate? Test a different subject line. Great clicks from certain topics? Send more of that content to those segments. Here's the key discipline: change one variable at a time. If you tweak the subject line and the send time together, you won't know what actually made the difference. Test one thing, review the result, then try the next. Small, measured improvements add up. On that note, let's look at deliverability and compliance essentials to make sure your emails actually reach the inbox.
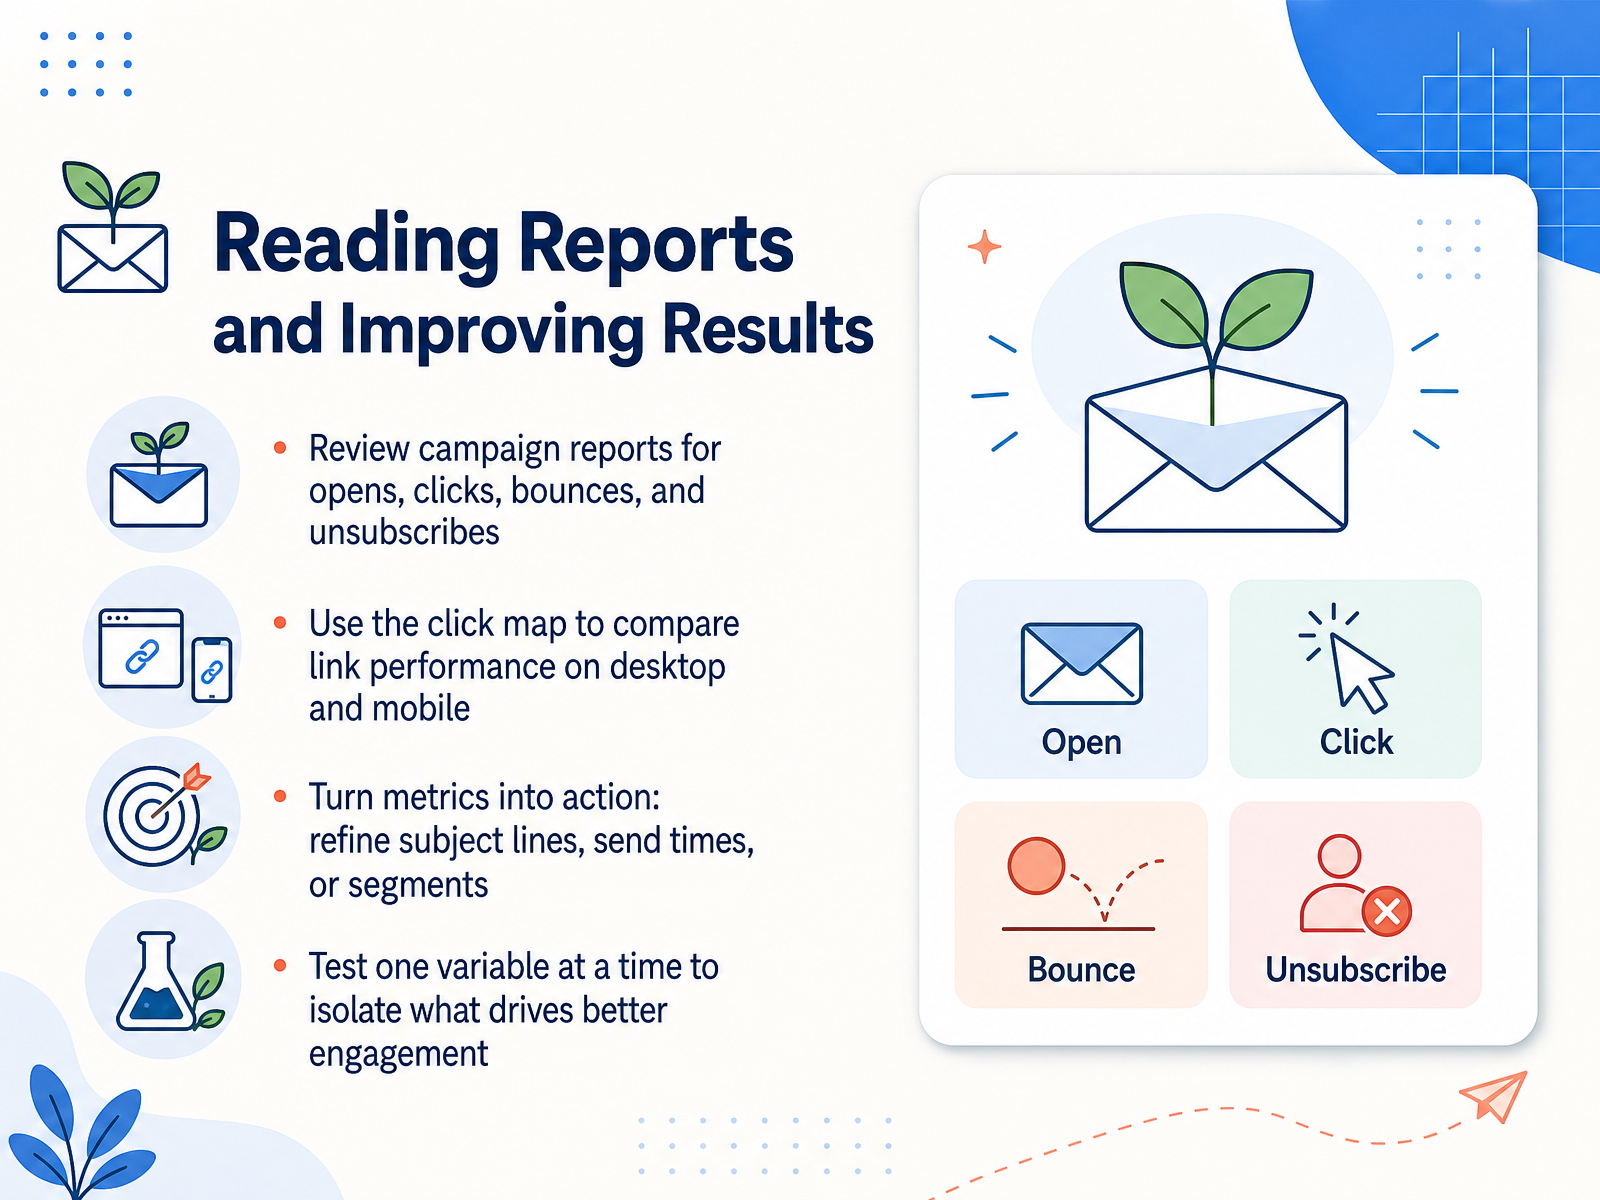 2 min
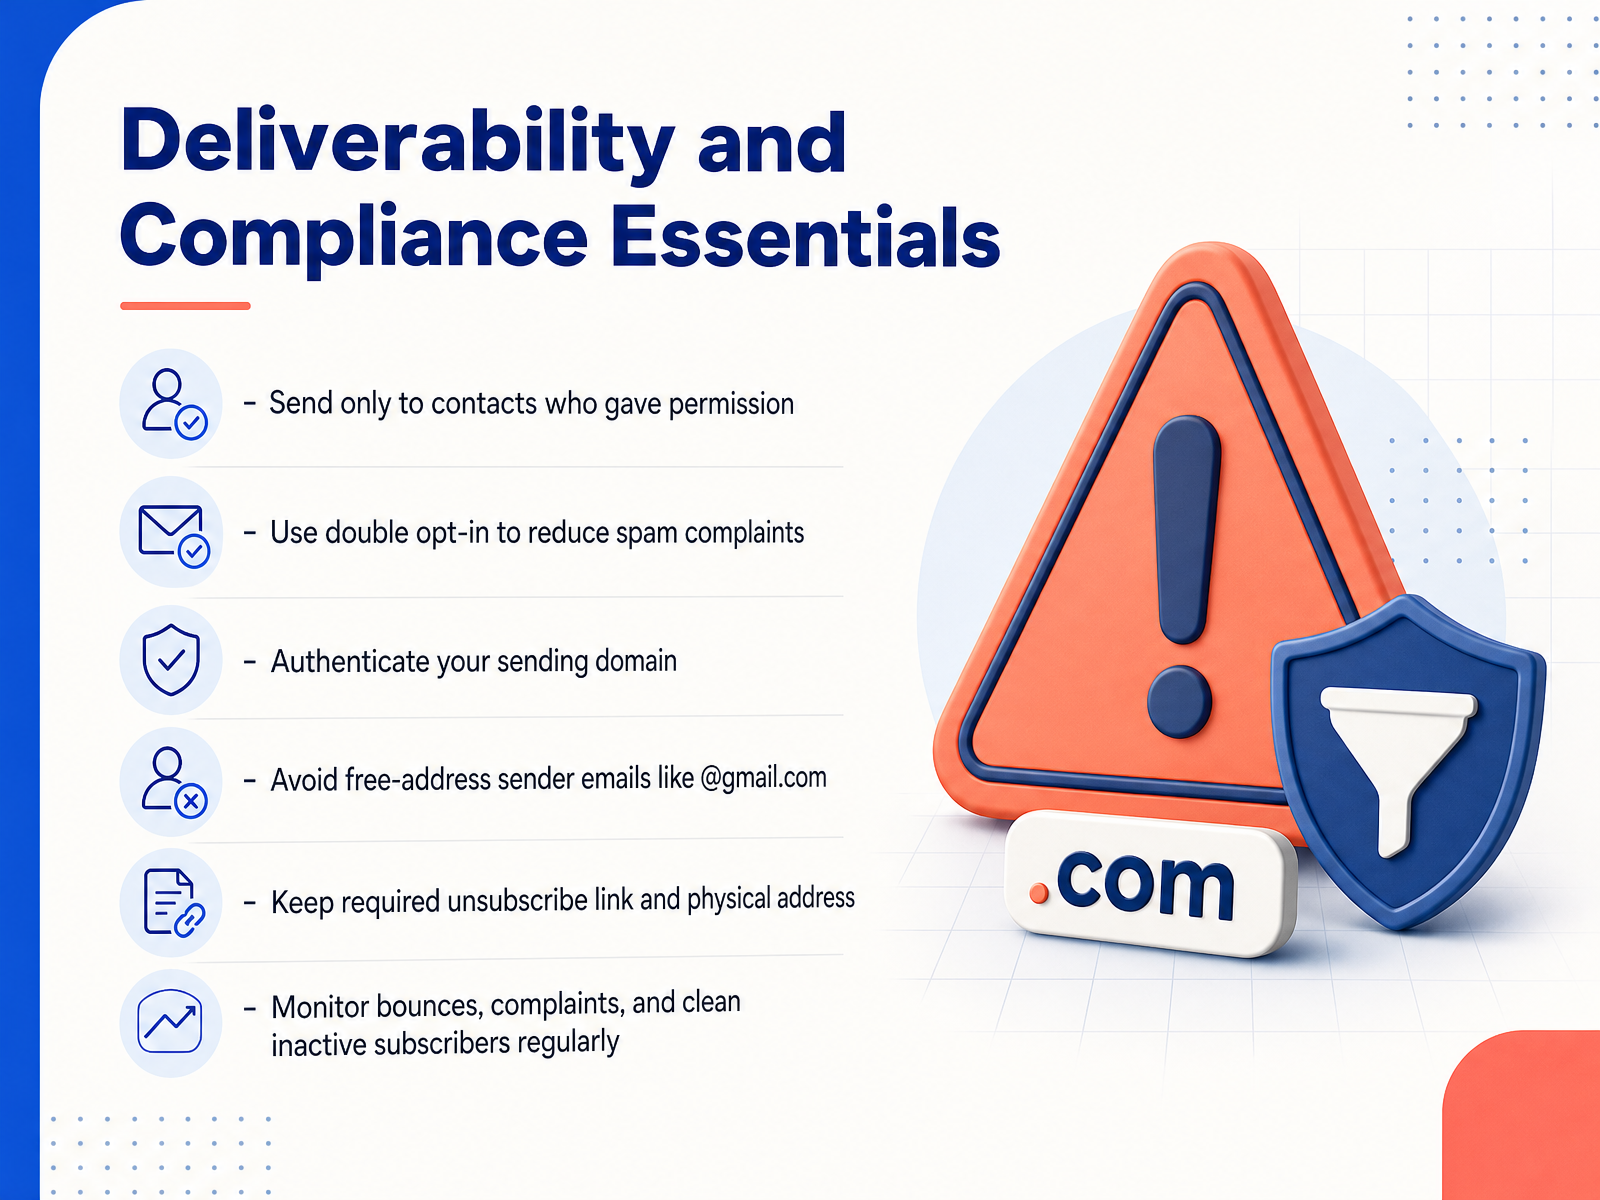
2 min - 13Deliverability and Compliance EssentialsNow let's talk about the side of email marketing that's easy to ignore but absolutely critical: deliverability and compliance. This is what determines whether your emails actually land in inboxes or get swept into spam folders. First rule: only send to people who gave you permission. No buying lists, no adding strangers. If they don't know you, don't email them. Use double opt-in for new subscribers. It adds one extra step, but it filters out fake addresses and people who never really wanted to hear from you. In the long run, you will get fewer spam complaints and higher engagement. Authenticate your sending domain within Mailchimp settings, and use your own business address like [email protected], not a free Gmail or Yahoo account. Those are instant red flags to inbox providers. Every email must also include the unsubscribe link and your physical mailing address. Mailchimp adds that footer automatically, so just make sure it stays there. Finally, monitor your bounces and complaints, and clean out inactive subscribers regularly. A smaller, engaged list always outperforms a huge, quiet one. Keep this foundation solid, and your campaigns will keep landing where they belong. Now, let's wrap everything up with a quick recap and next steps.
 mailchimp.commailchimp.commailchimp.com+22 min
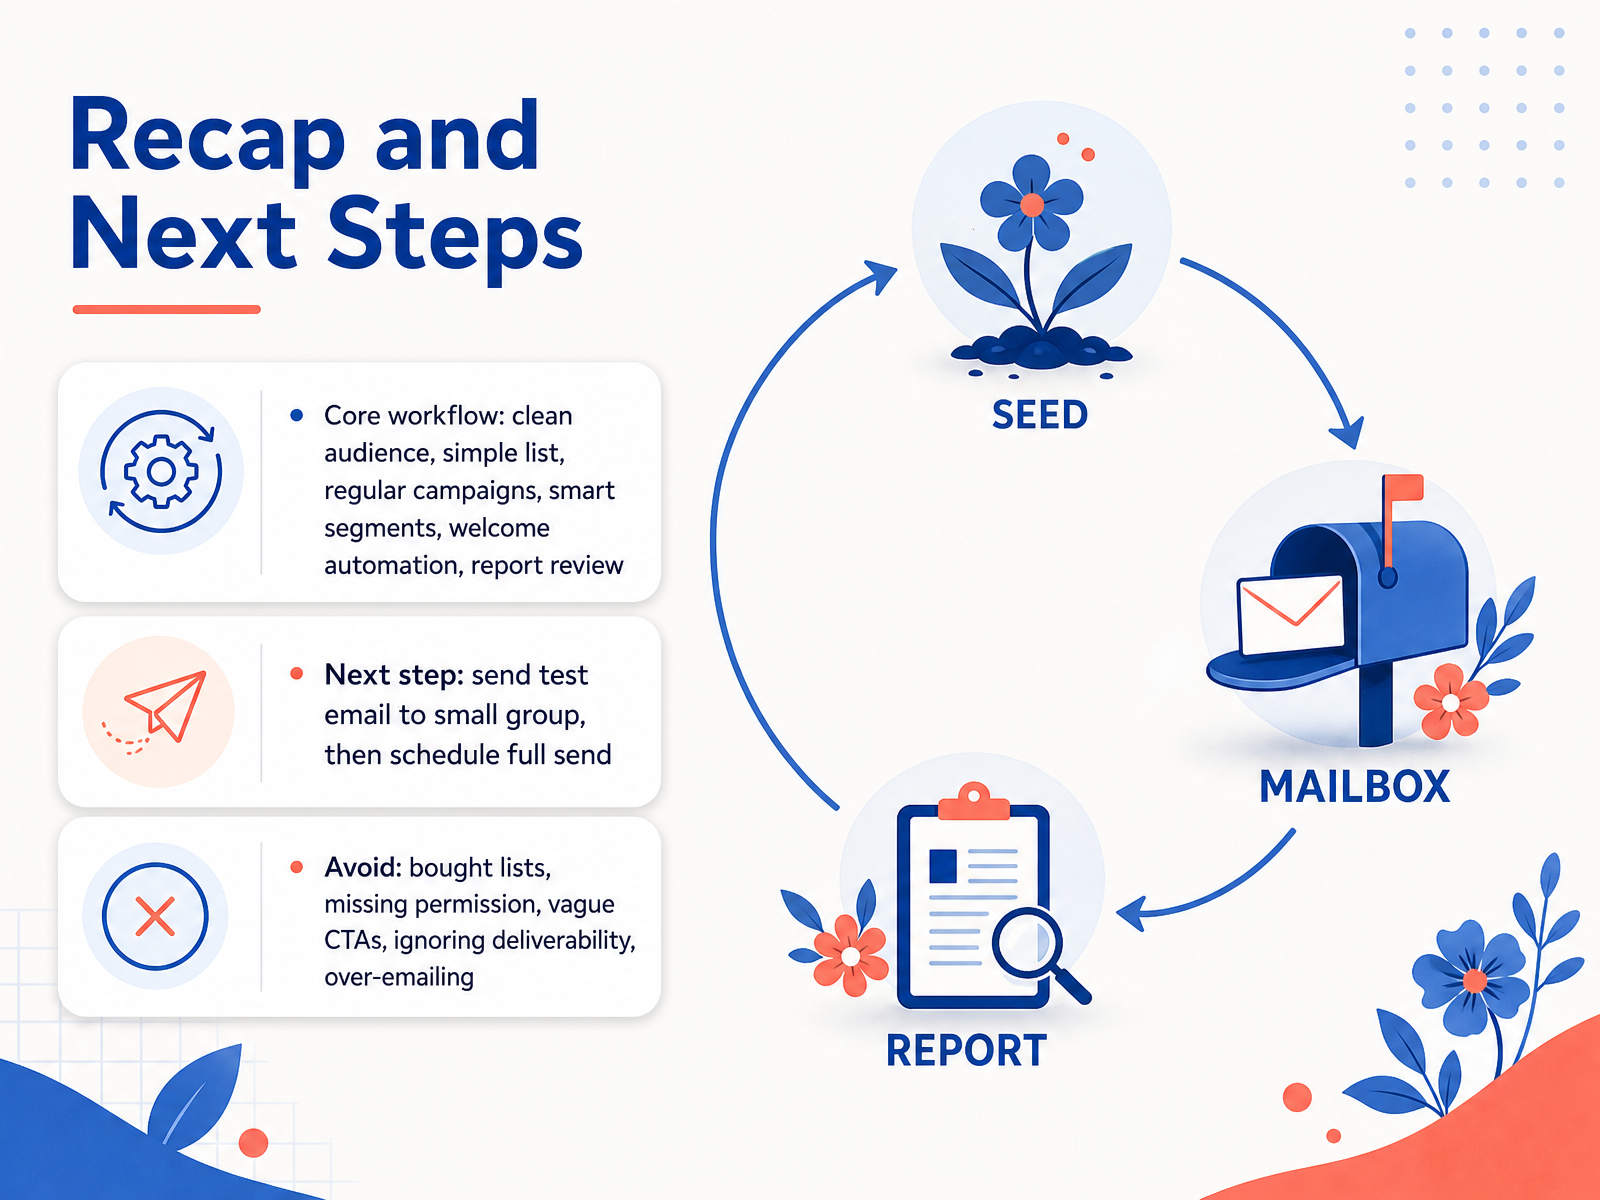
 - 14Recap and Next StepsLet's bring it all together. The core workflow is simple: keep a clean audience, stick to one list, send consistently, use smart segments, set up a welcome automation, and review your reports. Your next step is easy. Send a test email to a small group of people first. Check everything, then schedule the full send. One broken link is a lot easier to fix before it reaches your whole list. As you keep going, avoid the common traps. Never buy lists. Make sure everyone on your list gave permission. Use clear calls to action, not vague ones. Pay attention to deliverability, and don't over-email your audience. Respect their inbox, and they'll keep opening yours. Thanks for going through this with me. You've got a solid plan now, so trust the workflow and just start. Send that first campaign and learn from it. You've got this.
 1 min
1 min
Take the deck with you
Download this course as a file — free, no sign-up needed.
- PDF handoutEvery slide page, ready to print or share.15 pages · 3.2 MBDownload
- Narrated PowerPointThe deck that presents itself — every slide carries the digital human's narration video.15 pages · 14.0 MBDownload
- PowerPoint slidesThe full deck as a .pptx — open it in PowerPoint, Keynote, or Google Slides.15 pages · 3.2 MBDownload
Free to use in your own training — please keep the PersonWise credit page at the end.
Have your own deck? Turn it into a course
Sources consulted
Web sources consulted while building this course.
- Mailchimp Pricing Plans | Get Started Today — mailchimp.com
- Mailchimp Marketing Plan Comparisons | Mailchimp — mailchimp.com
- About Mailchimp Pricing Plans — mailchimp.com
- Mailchimp Essentials Plan: Drive Sales with Every Campaign | Mailchimp — mailchimp.com
- Mailchimp - Review 2026 - PCMag UK — uk.pcmag.com
- Understanding Mailchimp Audience Vs. Tags Vs. Segments—Without The Confusion - Tailored Edge Marketing — tailorededgemarketing.com
- Getting Started with Your Audience | Mailchimp — mailchimp.com
- Getting Started with Tags | Mailchimp — mailchimp.com
- Mailchimp Segmentation: Audiences, Tags, Groups, and Segments - Pure Firefly — purefirefly.com
- Create a Mailchimp Audience | Mailchimp — mailchimp.com
- Import Contacts to Mailchimp — mailchimp.com
- Add an Embedded Signup Form to Your Website | Mailchimp — mailchimp.com
- Create a Hosted Signup Form - Mailchimp — mailchimp.com
- How to Build an Email List: Tips & Best Practices | Mailchimp — mailchimp.com
- 8 Steps to Build an Email List From Scratch | Mailchimp — mailchimp.com
- How to Manage Your Audience for Deliverability | Mailchimp — mailchimp.com
- How to Solve Deliverability Issues and Repair Email Reputation | Mailchimp — mailchimp.com
- How Do I Clean My Email Lists? Tips to Boost Engagement. | Mailchimp — mailchimp.com
- Create a Regular Email — mailchimp.com
- How to create a regular email campaign in Mailchimp - Guideflow Tutorials — guideflow.com