
Public Speaking Outline: Patterns & Pitfalls
Begin
14 pages · ~28 min
Public Speaking Outline: Patterns & Pitfalls
Learn to structure effective public speaking outlines by examining patterns, strengths, and common pitfalls. Ideal for speakers seeking to improve clarity and audience impact.
What you’ll learn
- 01Public Speaking Outline Example: Patterns, Strengths, and PitfallsWelcome. Whether you're a professional, a student, or a trainer, structuring a speech can feel like the hardest part. But here's the truth: with a clear outline, you can turn good ideas into a message that lands. Today, we'll explore practical patterns that make outlining easier. We'll look at the strengths that build clarity and flow. We'll spot the common pitfalls that throw speakers off course. And we'll practice building an outline from planning to delivery. By the end, you'll have a model you can adapt to any talk. So let's get started. Next, we'll review the learning objectives and the full session roadmap.grammarly.comwustl.pressbooks.pubsocialsci.libretexts.org+21 min
- 02Learning Objectives and Session RoadmapLet’s take a quick look at what we’ll accomplish today. We’re going to start by getting clear on your purpose and your audience, because those two choices shape everything else. If you’ve ever stared at a blank page, or watched your ideas scatter the moment you try to organize them, you already know the pain points we’re addressing. That’s where structured outlines come in. We’ll walk through the foundation of a strong outline, then explore the core patterns you can choose from, like topical, chronological, or problem-solution. I’ll show you a full example so you can see the pattern in action. From there, we’ll break down the strengths that make these structures work, and the common pitfalls that derail even good speakers. After that, we’ll shift to delivery strategies, and finally, you’ll get a chance to apply what you’ve learned. By the end, you’ll have a repeatable process, not just a one-time fix. So, let’s start with the question that makes or breaks every talk: what makes a speaking outline actually work?
 grammarly.comwustl.pressbooks.pubsocialsci.libretexts.org+22 min
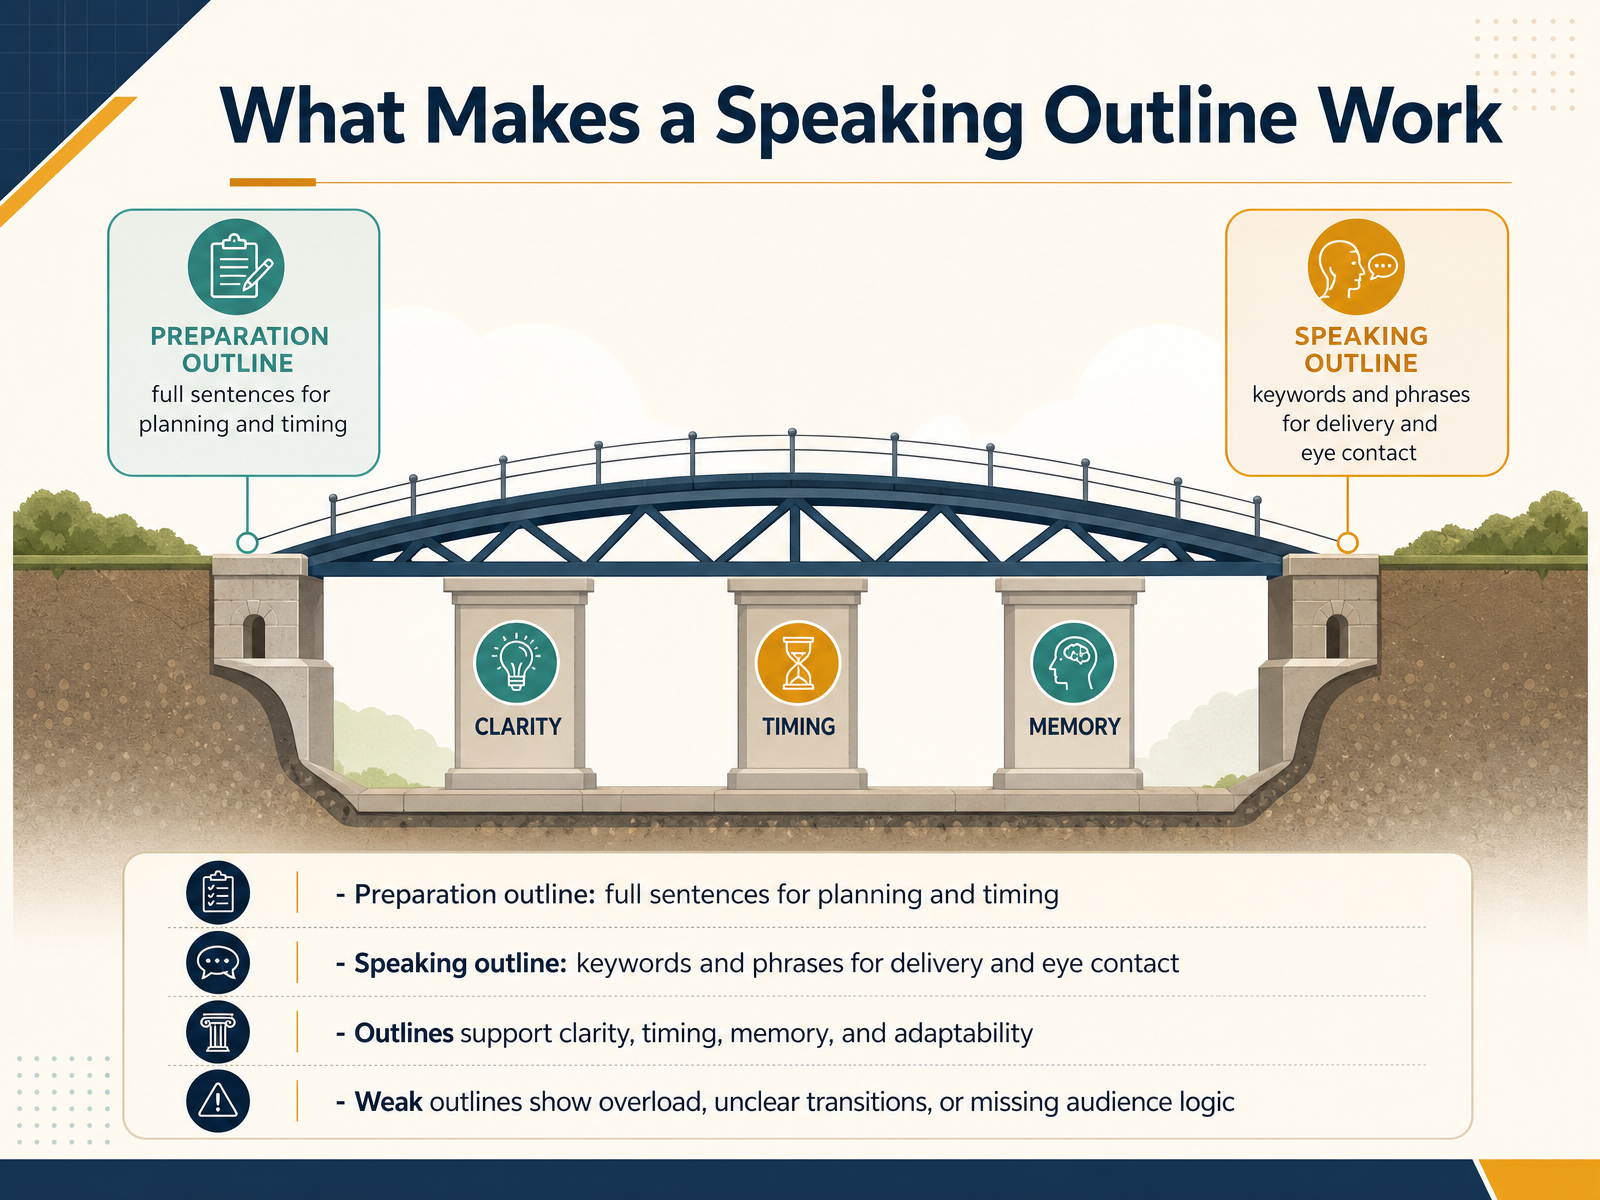
 - 03What Makes a Speaking Outline WorkSo, what actually makes a speaking outline work? It comes down to two very different tools. First, there’s the preparation outline, written in full sentences. This is your planning document. It helps you lock in your wording, test your logic, and time your speech before you ever step in front of an audience. Then there’s the speaking outline, built from keywords and short phrases. This is what you use during delivery. It keeps you on track without pulling your eyes away from your listeners, and it makes eye contact and natural gestures possible. Both outlines support you in four key ways: clarity, timing, memory, and adaptability. When your structure is solid, you can adjust on the fly if you need to cut something short or expand a point. But weak outlines share a few warning signs. Maybe they’re overloaded with text, so you end up reading. Maybe the transitions feel unclear, so the audience gets lost between points. Or maybe the logic doesn’t connect to what the audience actually needs. That’s when a speech starts to fall apart. The fix is simple: keep your preparation outline detailed, keep your speaking outline lean, and always check that each point serves your audience’s understanding. Next, let’s look at how to choose a pattern that organizes your points with purpose.
 socialsci.libretexts.orgsocialsci.libretexts.orgsocialsci.libretexts.org+21 min
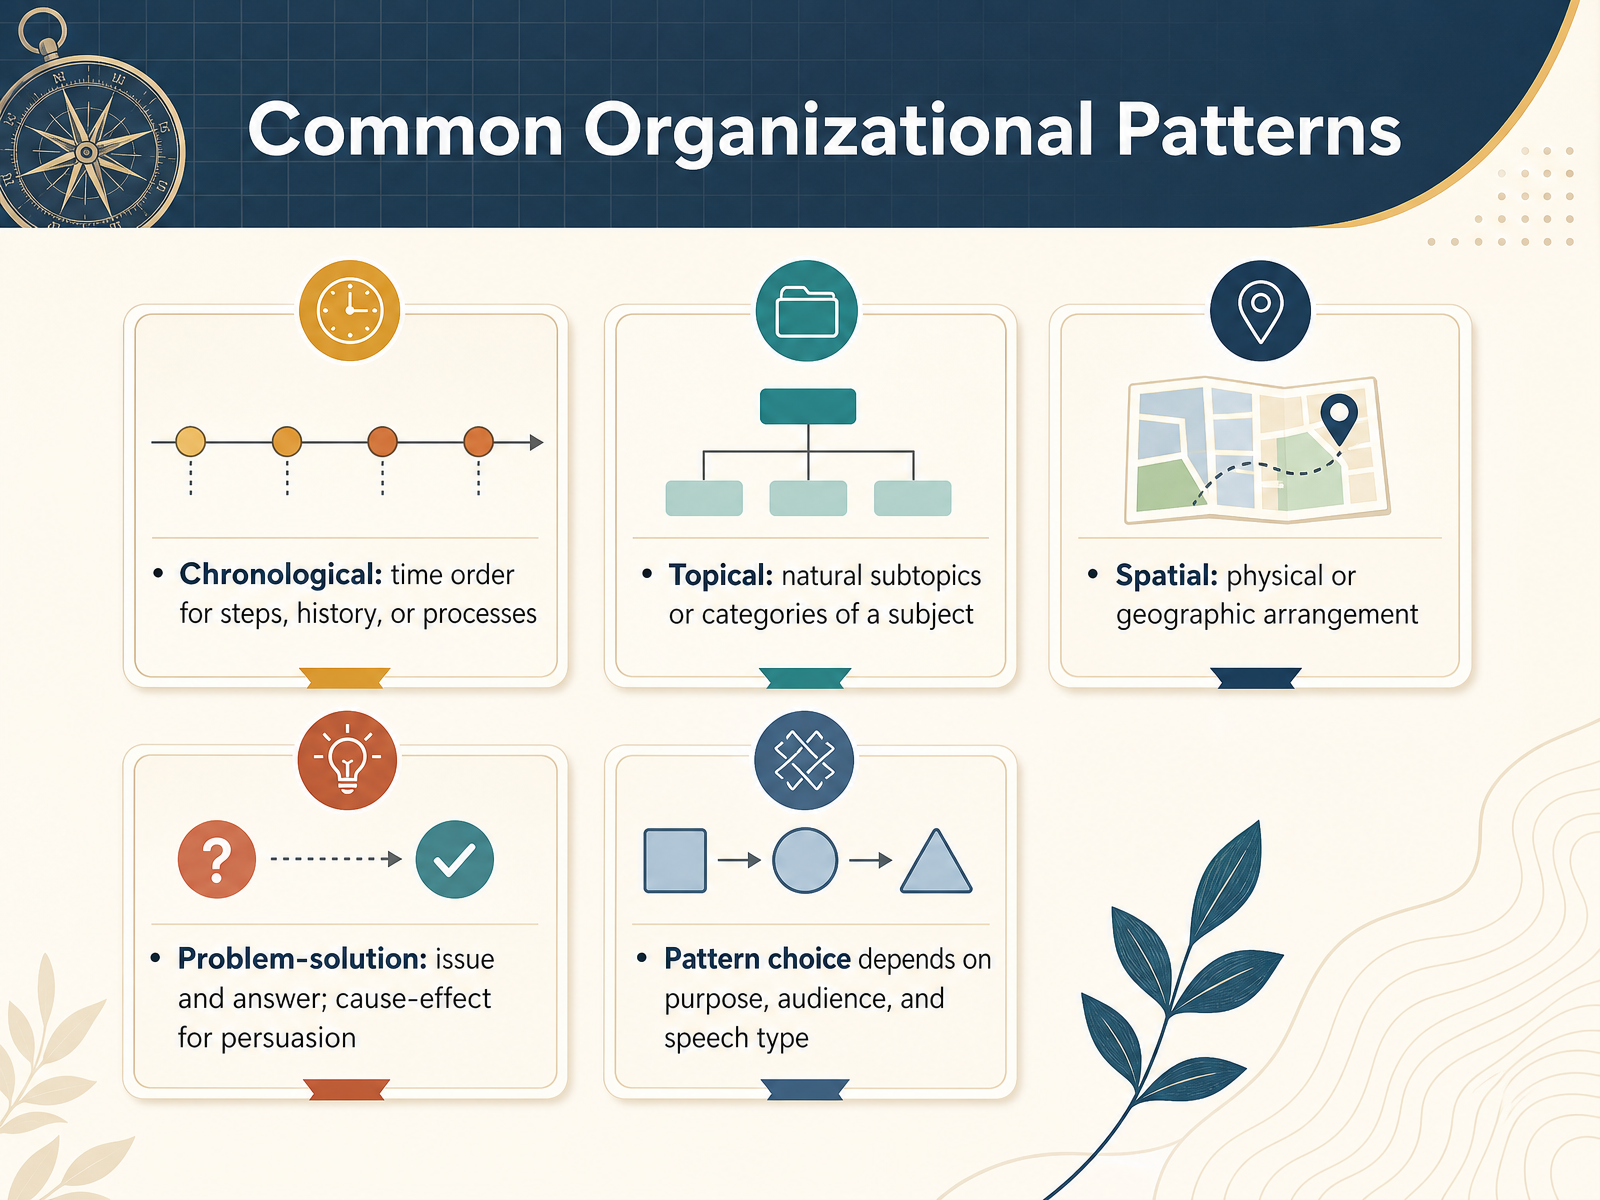
 - 04Common Organizational PatternsLet’s look at the common organizational patterns you’ll actually use. First, chronological. This arranges points by time order. Use it for step-by-step processes, historical narratives, or any speech where sequence matters. For example, explaining how a bill becomes a law works best in chronological order. Next is topical. This divides your subject into natural subtopics or categories. The order is flexible, but make sure each point supports your thesis. If you’re talking about student services, you can cover the library, financial aid, and career counseling in any order. Then there’s spatial. This arranges points by physical or geographic relationship. Think top to bottom, north to south. A speech describing a campus layout or the regions of a country fits this pattern well. Finally, problem-solution. Here, you present an issue and then offer an answer. This is your go-to for persuasive speeches. You can also include cause and effect to strengthen your argument. So how do you choose? It depends on your purpose, your audience, and whether you're informing or persuading. Keep those three factors in mind, and the right structure becomes clear. Up next, we’ll dig into how to choose the perfect pattern for your specific speech.
 uca.eduopen.maricopa.edusocialsci.libretexts.org+22 min
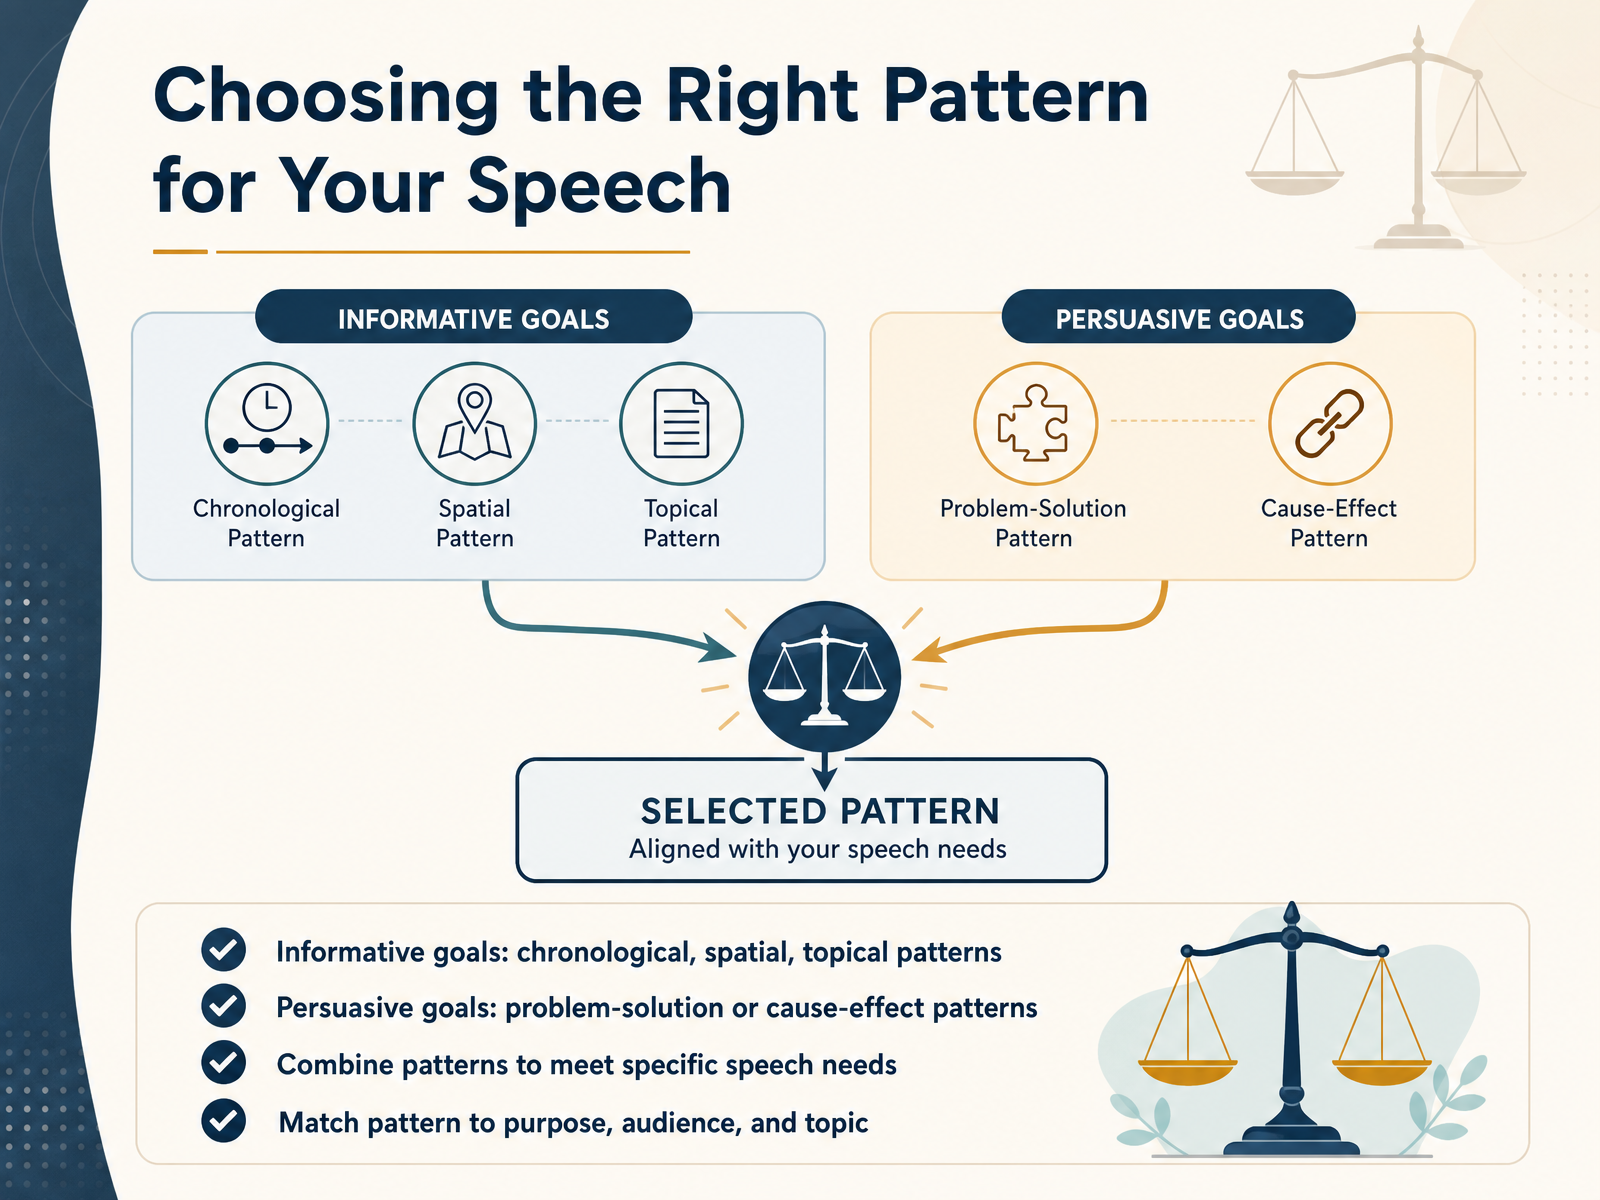
 - 05Choosing the Right Pattern for Your SpeechSo how do you pick which pattern is right for your speech? Start with your goal. For informative speeches, chronological order works well when you're walking through steps or telling a story across time. Spatial is perfect for describing physical layouts, from a building's floor plan to a campus tour. And topical allows you to break a subject into clear, distinct categories. Now, if your goal is persuasion, problem-solution is tough to beat. Present the issue clearly, then offer a compelling answer. Cause-effect is also strong when you're showing why something happened and what it led to. Here is the great part: these patterns aren't locked away from each other. You can combine them to fit your exact needs. Imagine explaining a problem, then comparing solutions point by point. That serves your audience better than a rigid template. The real rule is to match the pattern to your purpose, your audience, and your topic. Let the structure serve the message. Next, let's look at the anatomy of a strong outline example to see these patterns in action.
 uca.eduopen.maricopa.edusocialsci.libretexts.org+21 min
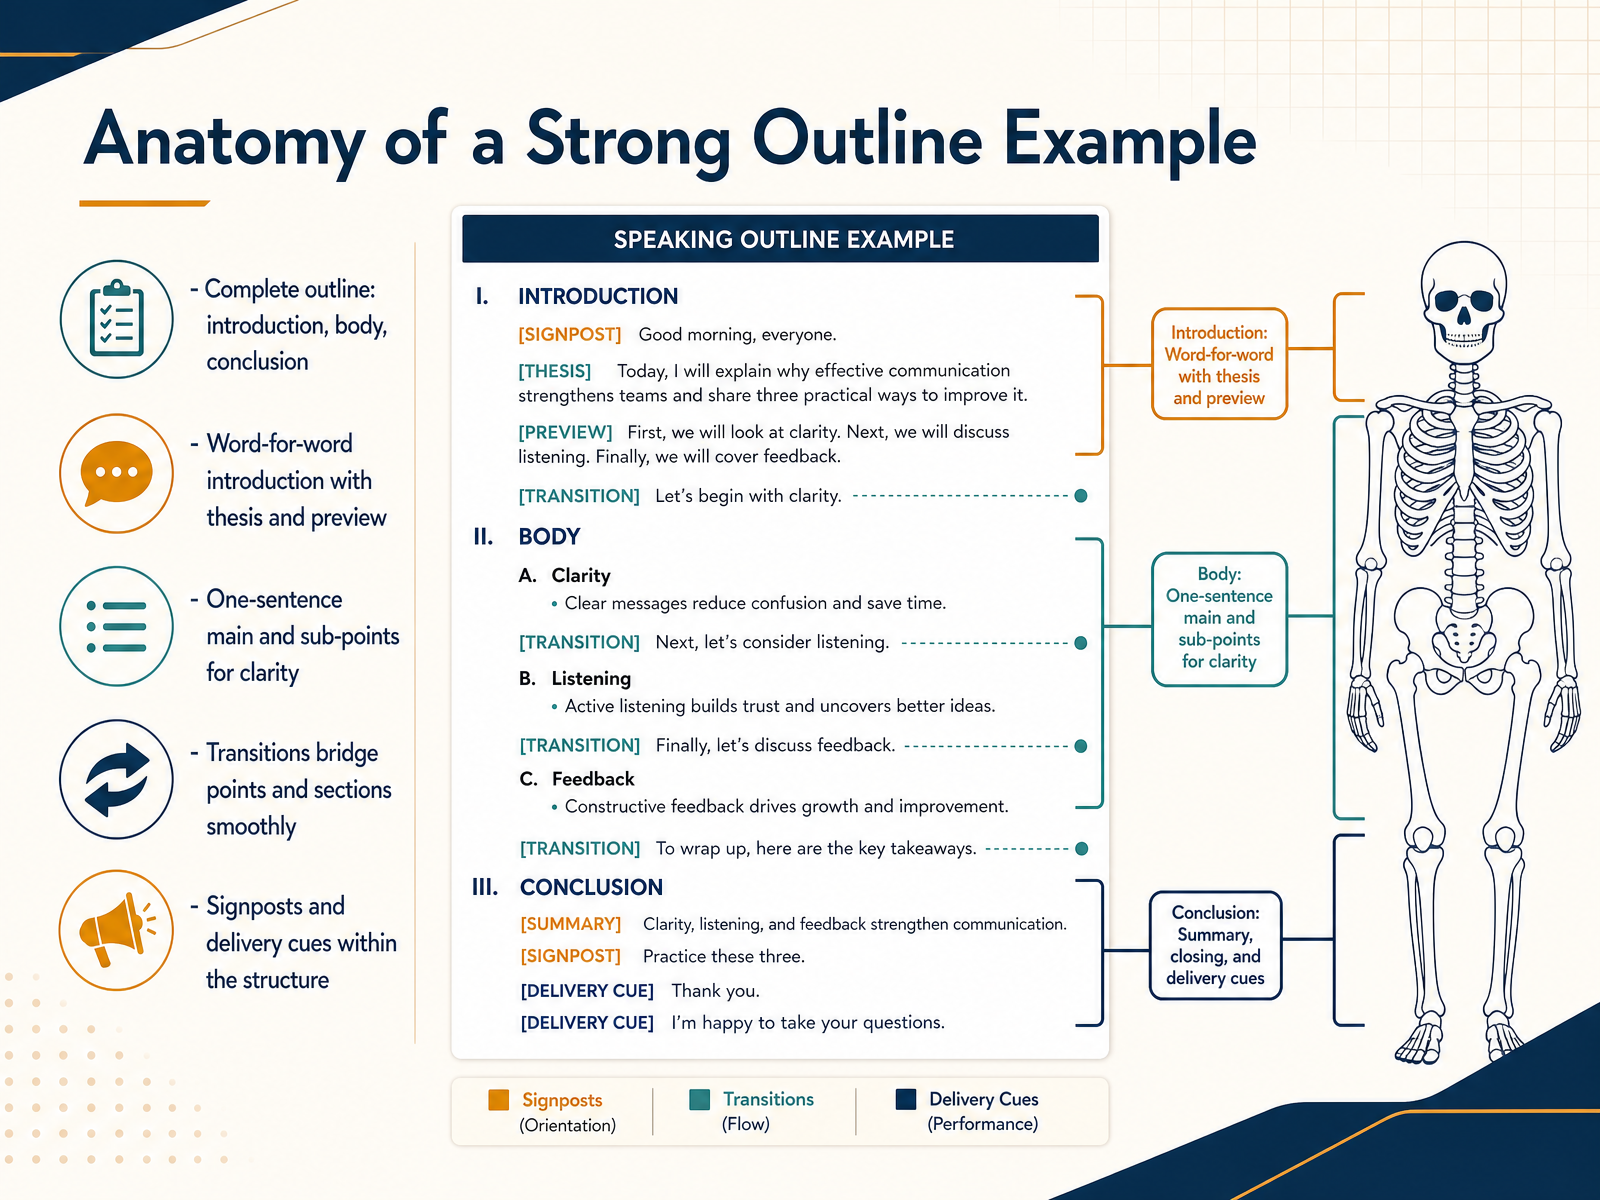
 - 06Anatomy of a Strong Outline ExampleNow let's break down what a strong outline actually looks like. Start with the full structure: introduction, body, conclusion—no shortcuts. In the introduction, write it word for word. This is where you lock in your thesis and preview your main points, so you know exactly where you're taking the audience. For the body, write each main point as one complete sentence. Do the same for your sub-points. If you can't summarize a point in a single sentence, you probably don't understand it well enough yet. Every main point needs a clear transition to the next one, bridging your ideas so the audience never gets lost. And finally, build in signposts and delivery cues right into the structure. Things like 'my second point is' or reminders to pause. These help you stay in control and keep the pacing tight. A complete outline like this is more than notes—it's your roadmap. Coming up next, we'll look at the strengths of designing your outline this way.
 msudenver.edubiz.libretexts.orgpublicspeakingbasics.com+22 min
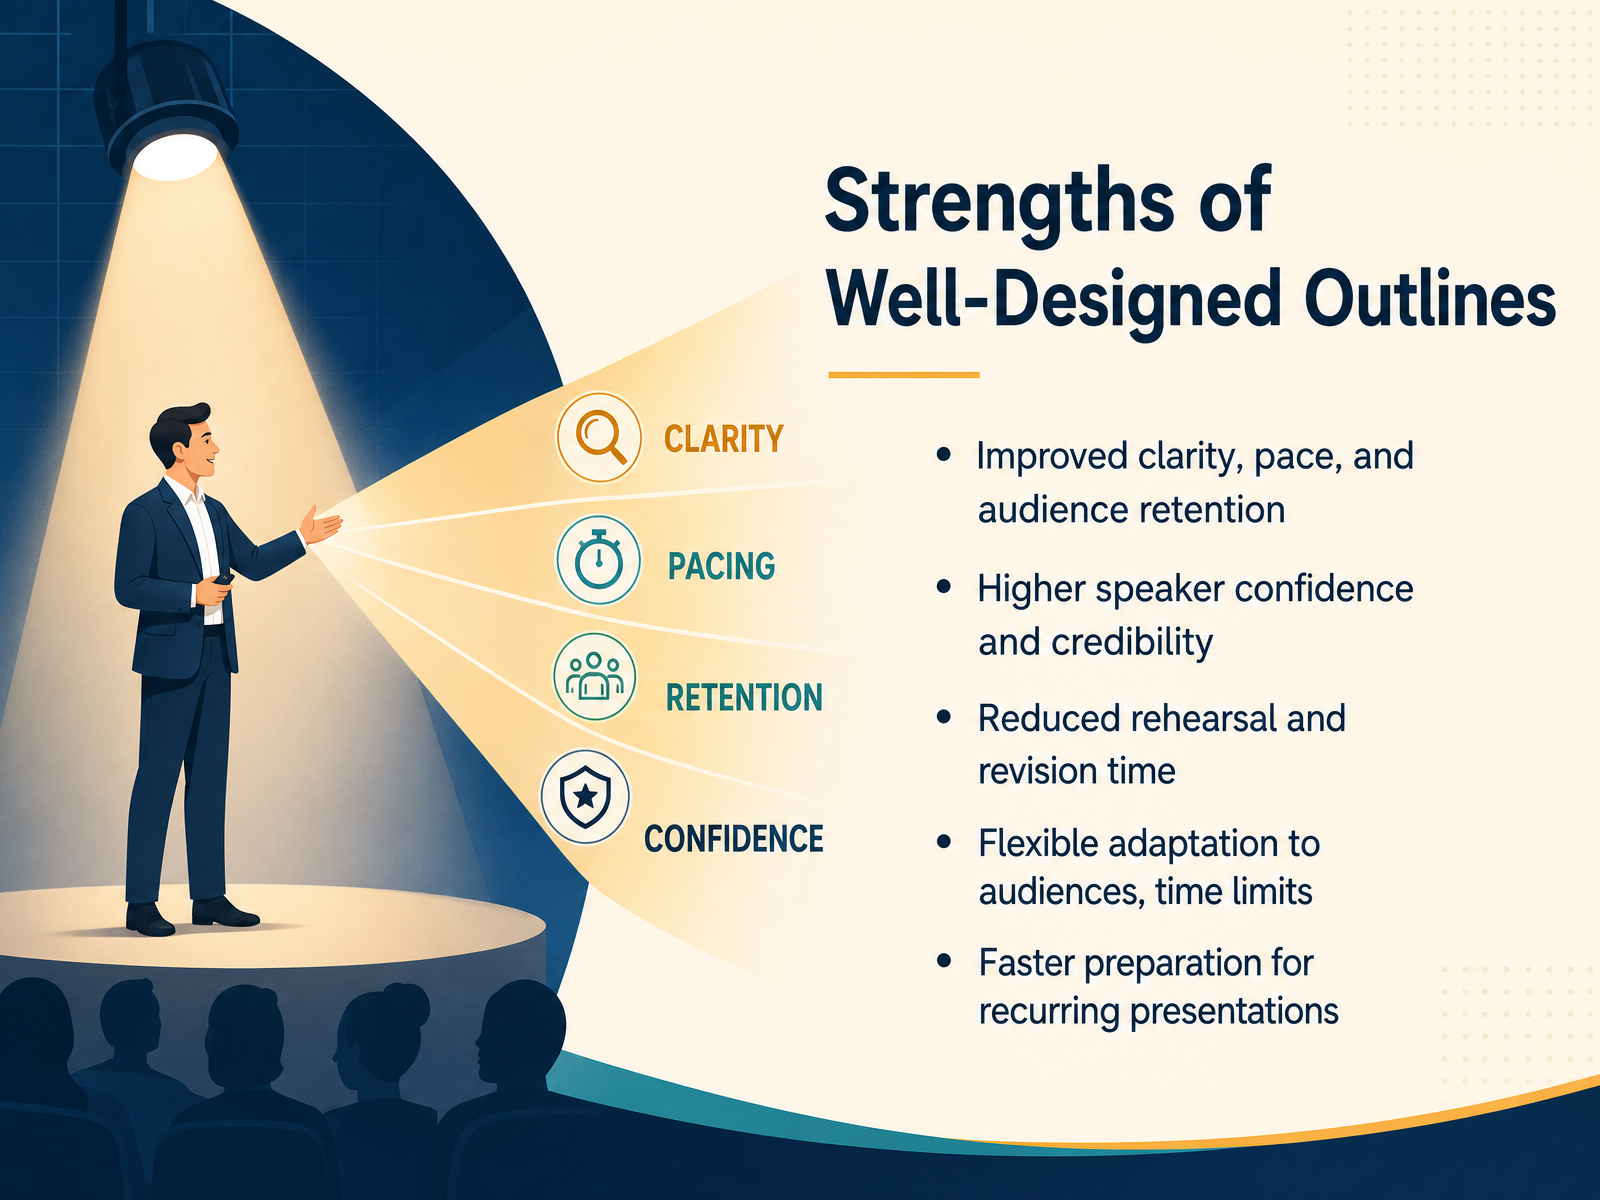
 - 07Strengths of Well-Designed OutlinesLet’s look at why a well-designed outline is such a game changer. The first payoff is clarity. When your points are logically ordered, your pacing feels natural, and the audience can actually hold onto what you say. Your ideas will connect, rather than collide. Next, there’s confidence. Knowing you have a solid plan means you don’t have to worry about losing your place or forgetting a point. That sense of readiness makes you sound credible. In fact, it takes less time to prepare, too. Fixing structure on paper is much faster than rewriting a full script after a bad rehearsal. You also gain flexibility. If the audience has questions or you suddenly have less time, an outline lets you adapt without losing the core message. And because you have a clear plan, you can quickly reuse and refresh it for recurring talks. So think of the outline as your anchor. It keeps you calm, clear, and quick on your feet. Now let’s look at the pitfalls that derail even good speakers.
 grammarly.comwustl.pressbooks.pubsocialsci.libretexts.org+21 min
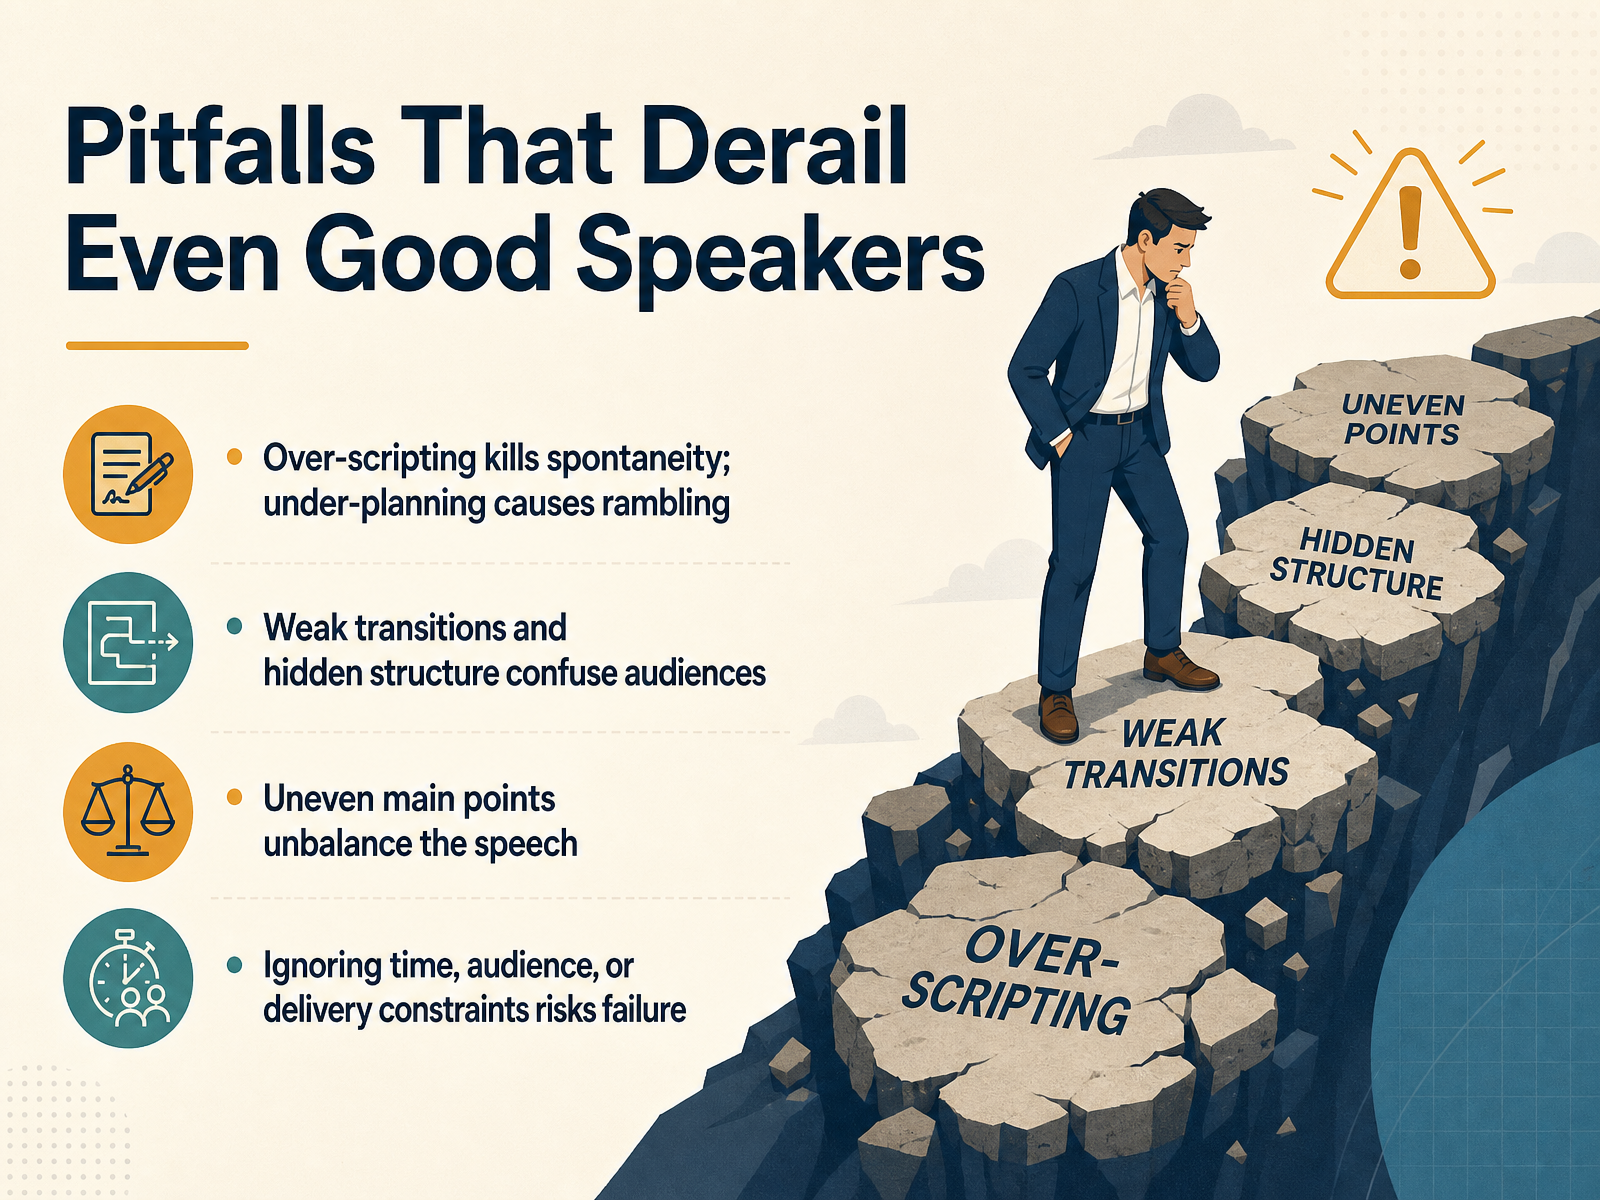
 - 08Pitfalls That Derail Even Good SpeakersLet's look at the pitfalls that can derail even good speakers. The first is over-scripting. When you write out every word and try to deliver it verbatim, you lose spontaneity. Your voice flattens, your eye contact drops, and the audience feels like they're being read to. But under-planning is just as dangerous. If you only have a few bullet points and no clear path, you'll ramble. The fix is a keyword outline that prompts you without chaining you to a script. Next, weak transitions. When you jump between ideas without a bridge, the audience gets lost. They don't know where one point ends and the next begins. And if your structure is hidden, they'll spend energy trying to figure out your logic instead of listening. Use signposts like "now, let's move to" or "the second point is." Another pitfall is uneven main points. If point one takes five minutes and point two takes one, the speech feels lopsided. Audiences sense imbalance even if they can't name it. Check your outline for equal weight across each point. Finally, ignore your constraints. Time limits, audience knowledge, and delivery format all matter. If you plan a twenty minute speech for a ten minute slot, you'll fail before you start. Review everything against your real situation. Avoid these traps, and your structure will support you instead of sabotaging you. Next, we'll look at how to move from a preparation outline to your speaking notes.
 grammarly.comwustl.pressbooks.pubsocialsci.libretexts.org+22 min
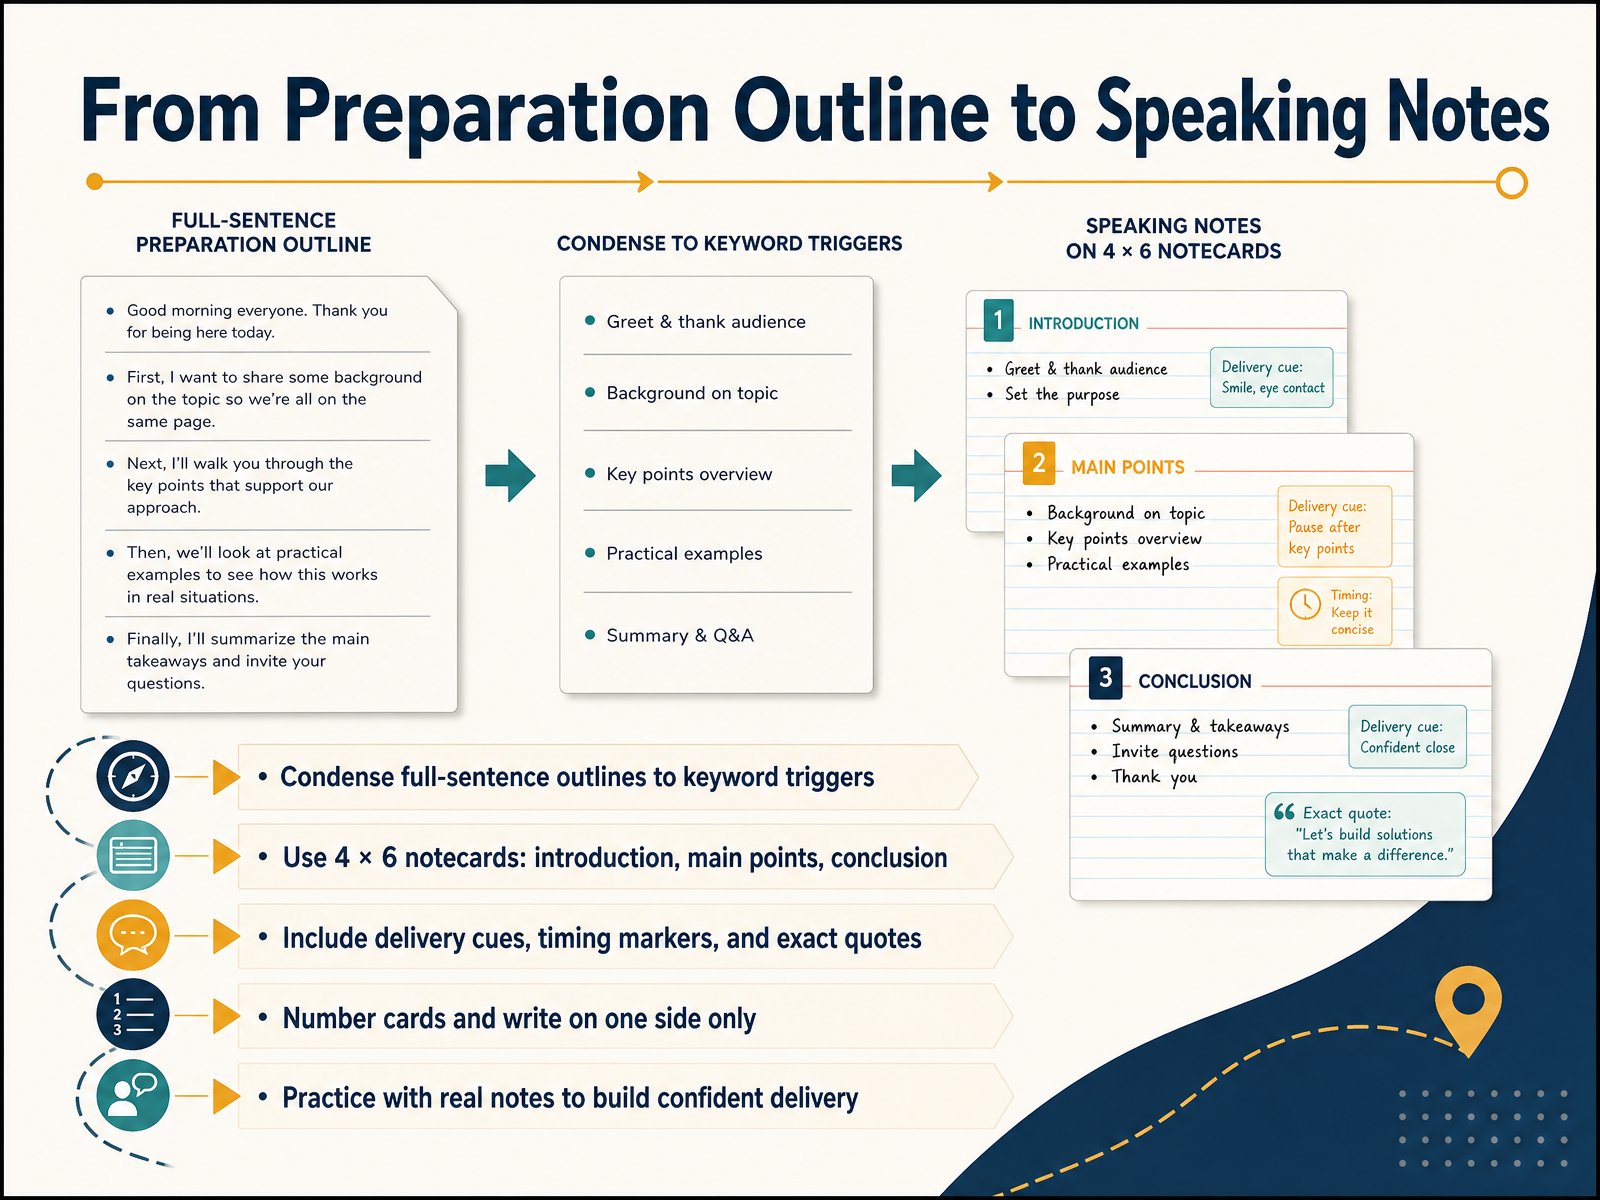
 - 09From Preparation Outline to Speaking NotesNow that your preparation outline is polished, it’s time to build the tool you’ll actually use on stage: your speaking notes. The goal is simple—condense full sentences into keyword triggers. Each card should hold one main idea, a few short phrases, and plenty of white space so you can glance and recall, not read. Here’s a proven setup: use 4 by 6 notecards, one for the introduction, one for each main point, and one for the conclusion. Write on one side only, and number each card clearly. That way, if you drop them, you recover in seconds, not silence. Include delivery cues like pause, smile, or point to slide, and mark timing markers so you know if you’re on pace. Also, write out any exact quotes or statistics word for word—this is the one place full sentences are allowed. Now, the critical step: practice with these actual notes before you speak. Rehearse with the cards in hand, glance down only to trigger your next thought, then lift your eyes back to the audience. This builds the muscle memory that turns notes from a crutch into a safety net. Remember, your speaking notes are meant to be seen, not hidden, and with practice, they’ll help you sound natural, confident, and fully in command. Now let’s look at rehearsal techniques that will test your outline’s strength and sharpen your delivery even further.
 socialsci.libretexts.orgsocialsci.libretexts.orgsocialsci.libretexts.org+21 min
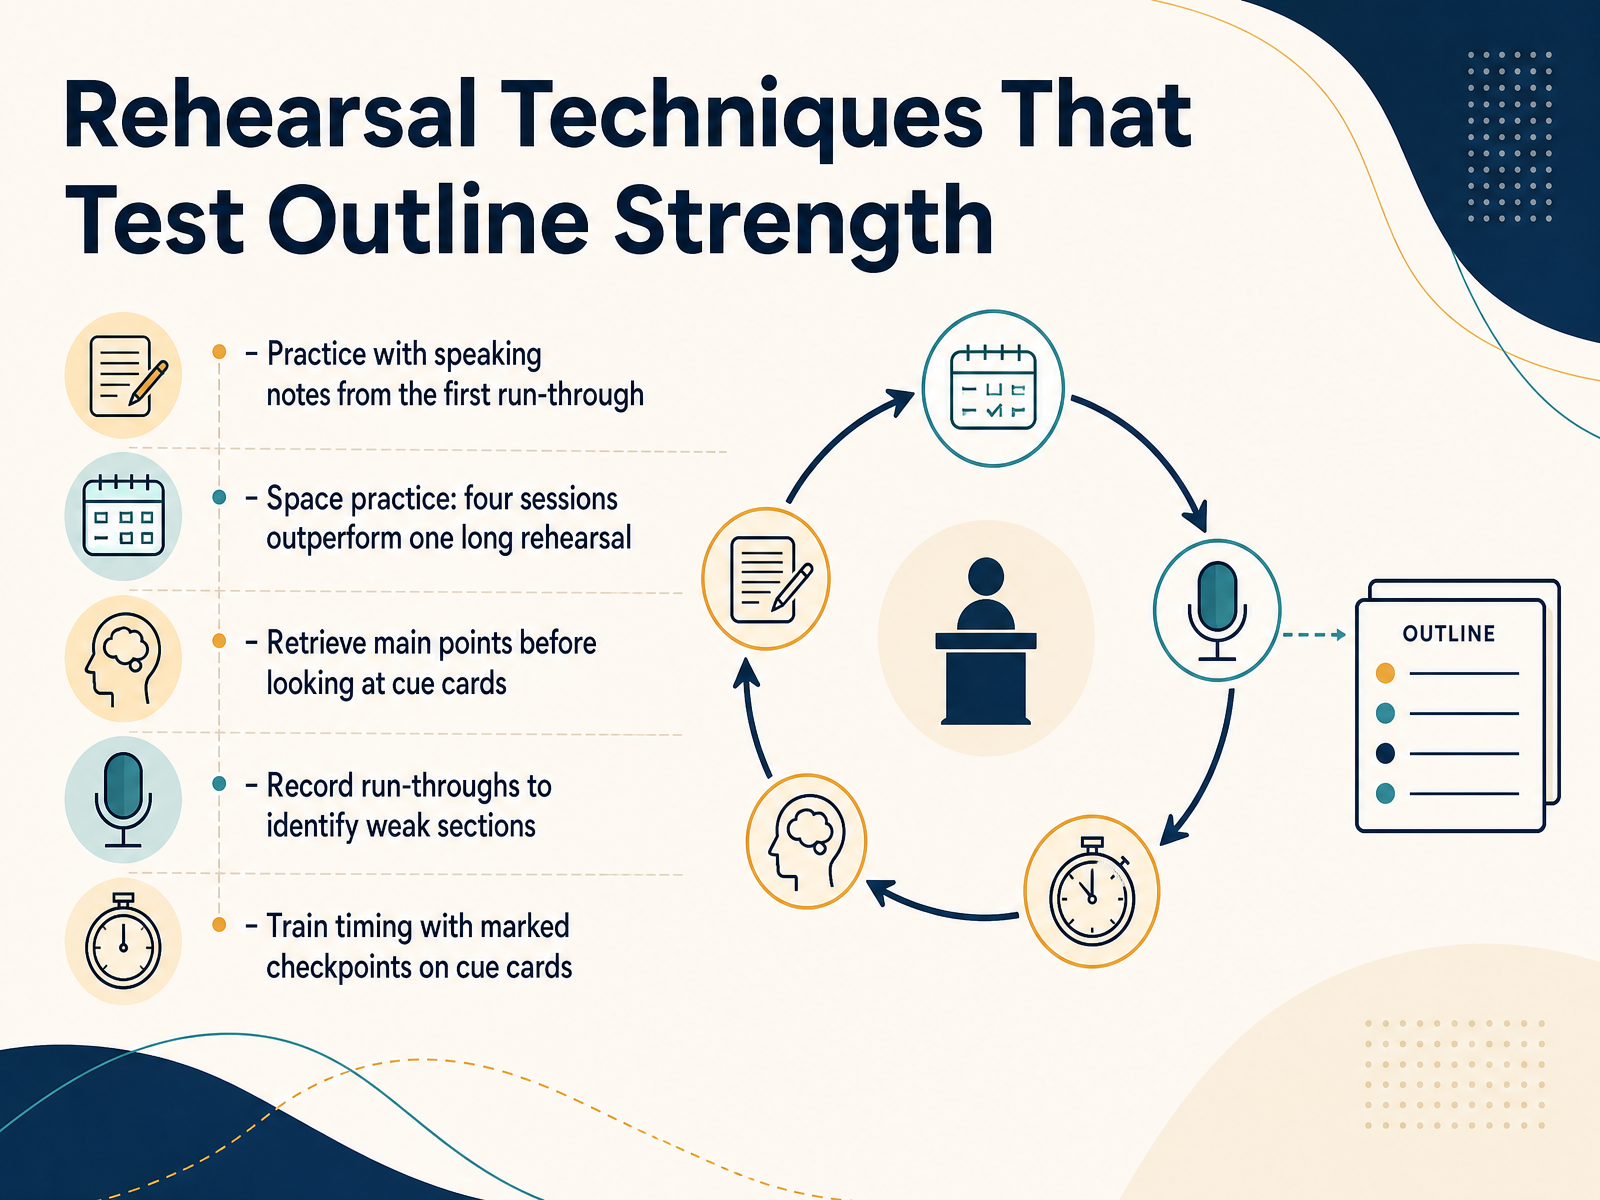
 - 10Rehearsal Techniques That Test Outline StrengthLet’s talk about rehearsal techniques that actually test your outline’s strength. First, practice with your speaking notes from the very first run-through. Don’t save the cards for the final draft. Get used to the feel and the flow early, so they become a natural part of your delivery. Next, remember that spacing beats cramming every time. Four focused sessions will outperform one long marathon rehearsal. Your memory builds stronger when you give it time to rest between rounds. Here’s a great trick: before you glance at your cue cards, try to retrieve the main point on your own. If you can recall it, you own it. If you stumble, that’s a clear signal the section needs more work. Recording your run-throughs is also gold. Watch the playback and mark every weak section where you hesitated or lost your place. Fix those spots specifically. Finally, train your timing with marked checkpoints on your cards. Write a time cue at the bottom of each card, like two minutes or halfway. If you hit the marker too early or too late, you know exactly when to adjust your pace. This is how you turn an outline into a well-oiled, confident delivery. Up next, we’ll look at adapting your structure in real time when things don’t go as planned.
 1 min
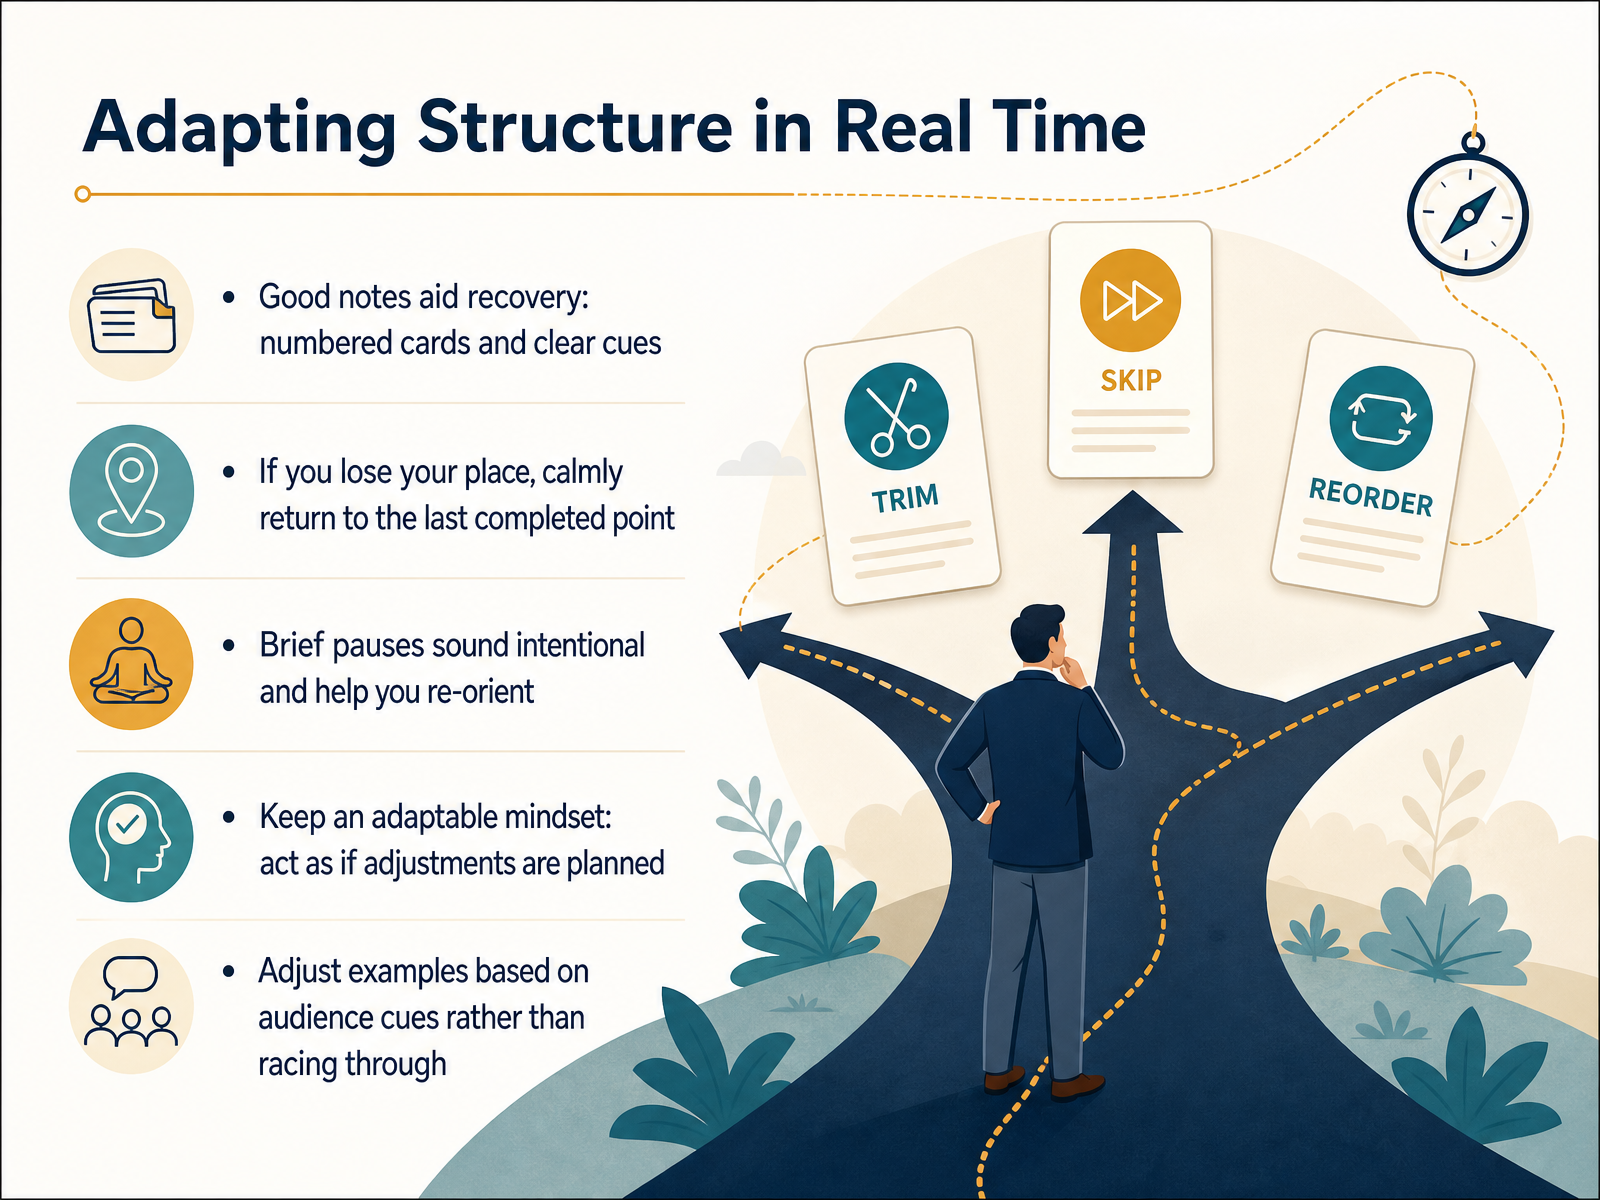
1 min - 11Adapting Structure in Real TimeNow let's talk about adapting your structure in real time. Even the best outline meets reality. Good notes are your safety net. Use numbered cards with clear cues so you can always find your place fast. If you lose your spot, don't panic. Calmly return to the last point you completed, and pick it up from there. A brief pause feels intentional, not broken. It gives you a moment to re-orient and actually makes you look more composed. Keep an adaptable mindset. If you skip a point or cut an example short, act as if it was planned all along. Your audience never sees your outline, so they won't know the difference. Also, watch your listeners. If an example lands well, stretch it. If eyes glaze over, move on quickly. Adjusting to their energy is a strength, not a failure. Structure guides you, it doesn't trap you. Now let's look at how to evaluate a draft outline. What should you check before you ever step on stage? Let's find out.
 msudenver.edubiz.libretexts.orgpublicspeakingbasics.com+21 min
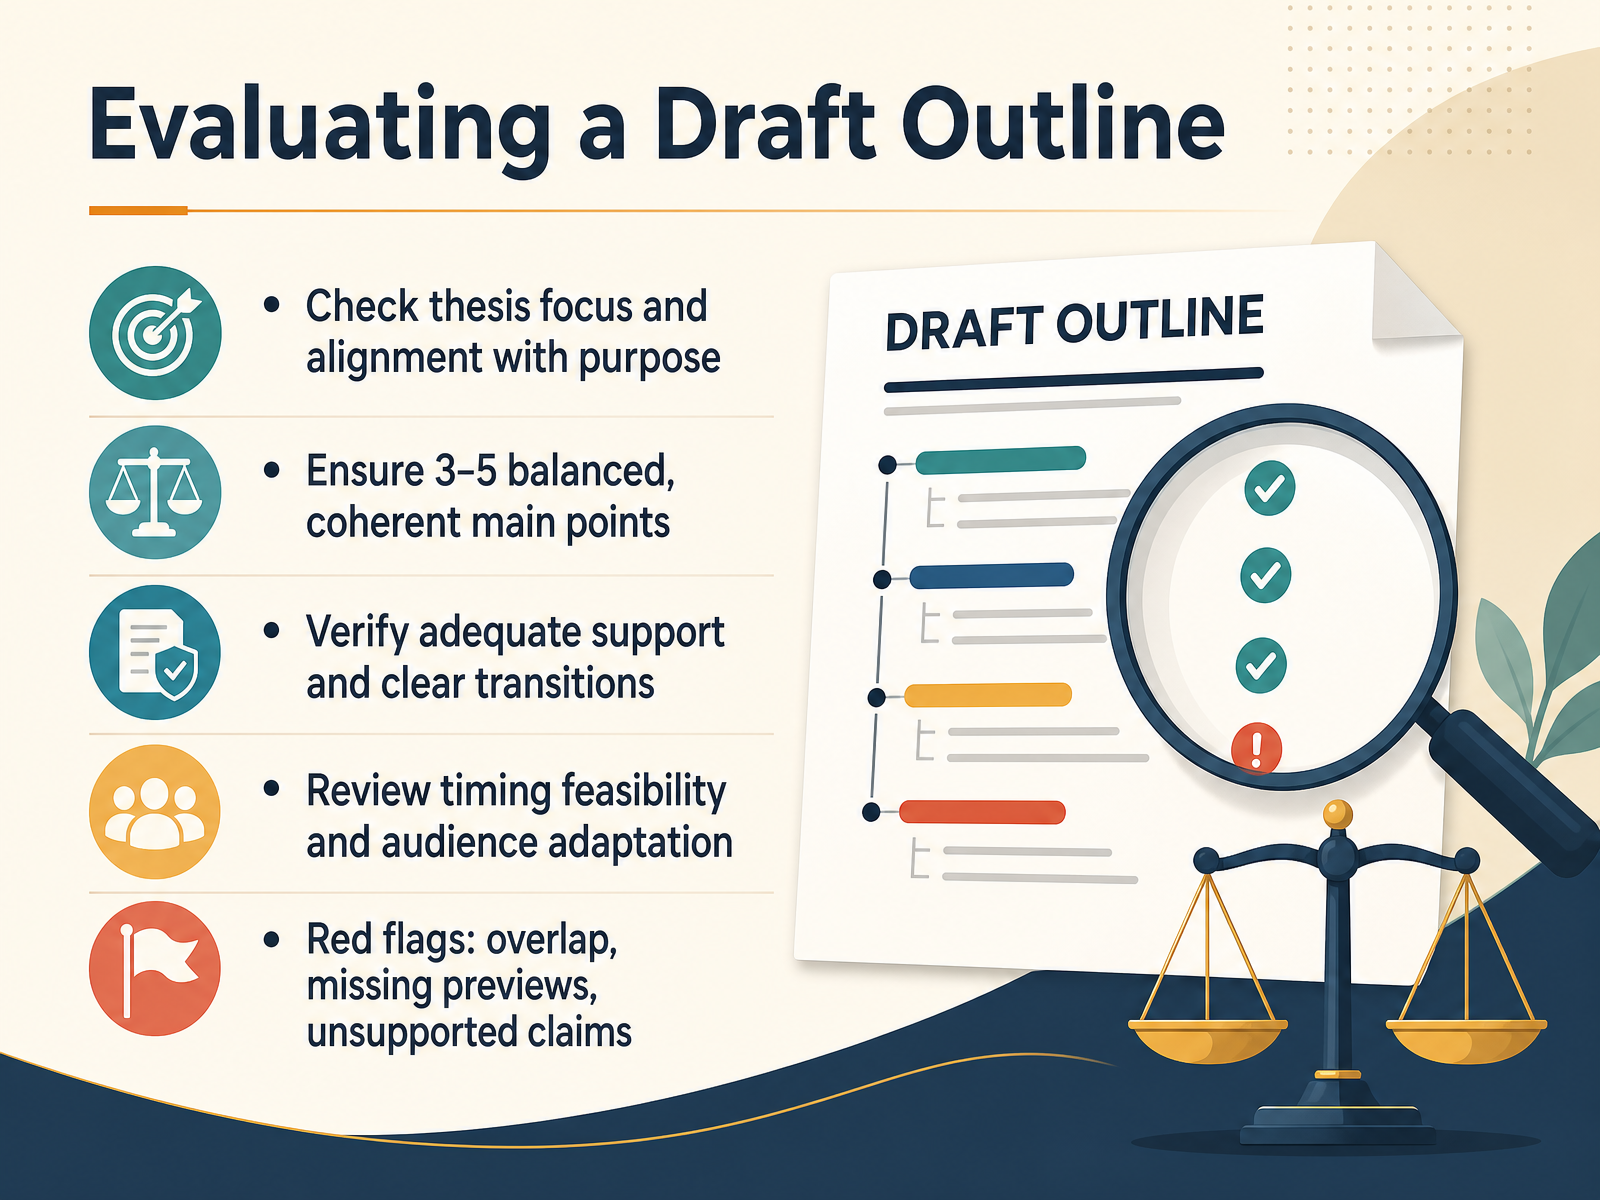
 - 12Evaluating a Draft OutlineNow, let's look at how to evaluate a draft outline. This is where you catch problems before they cost you time. Start with your thesis. Does it stay tightly aligned with your stated purpose? If those two drift apart, your whole speech loses direction. Next, check your main points. Aim for three to five. Are they balanced and coherent? Each one should stand on its own, with no overlap. If two points blend together, combine them now. Now look at support. Does each point carry enough evidence, examples, or reasoning? And do your transitions clearly connect one idea to the next? A listener should never wonder how you got from point A to point B. Then think about timing. Read through your outline aloud and note the minutes. Can you deliver it comfortably within your limit? Finally, adapt to your audience. Is the level right? Are the examples relevant to them? Watch for red flags: overlapping points, missing previews, or claims that have no support. Spot those now, and you save yourself a messy revision later. Next, we'll put this into practice with a short outline revision exercise.
 grammarly.comwustl.pressbooks.pubsocialsci.libretexts.org+22 min
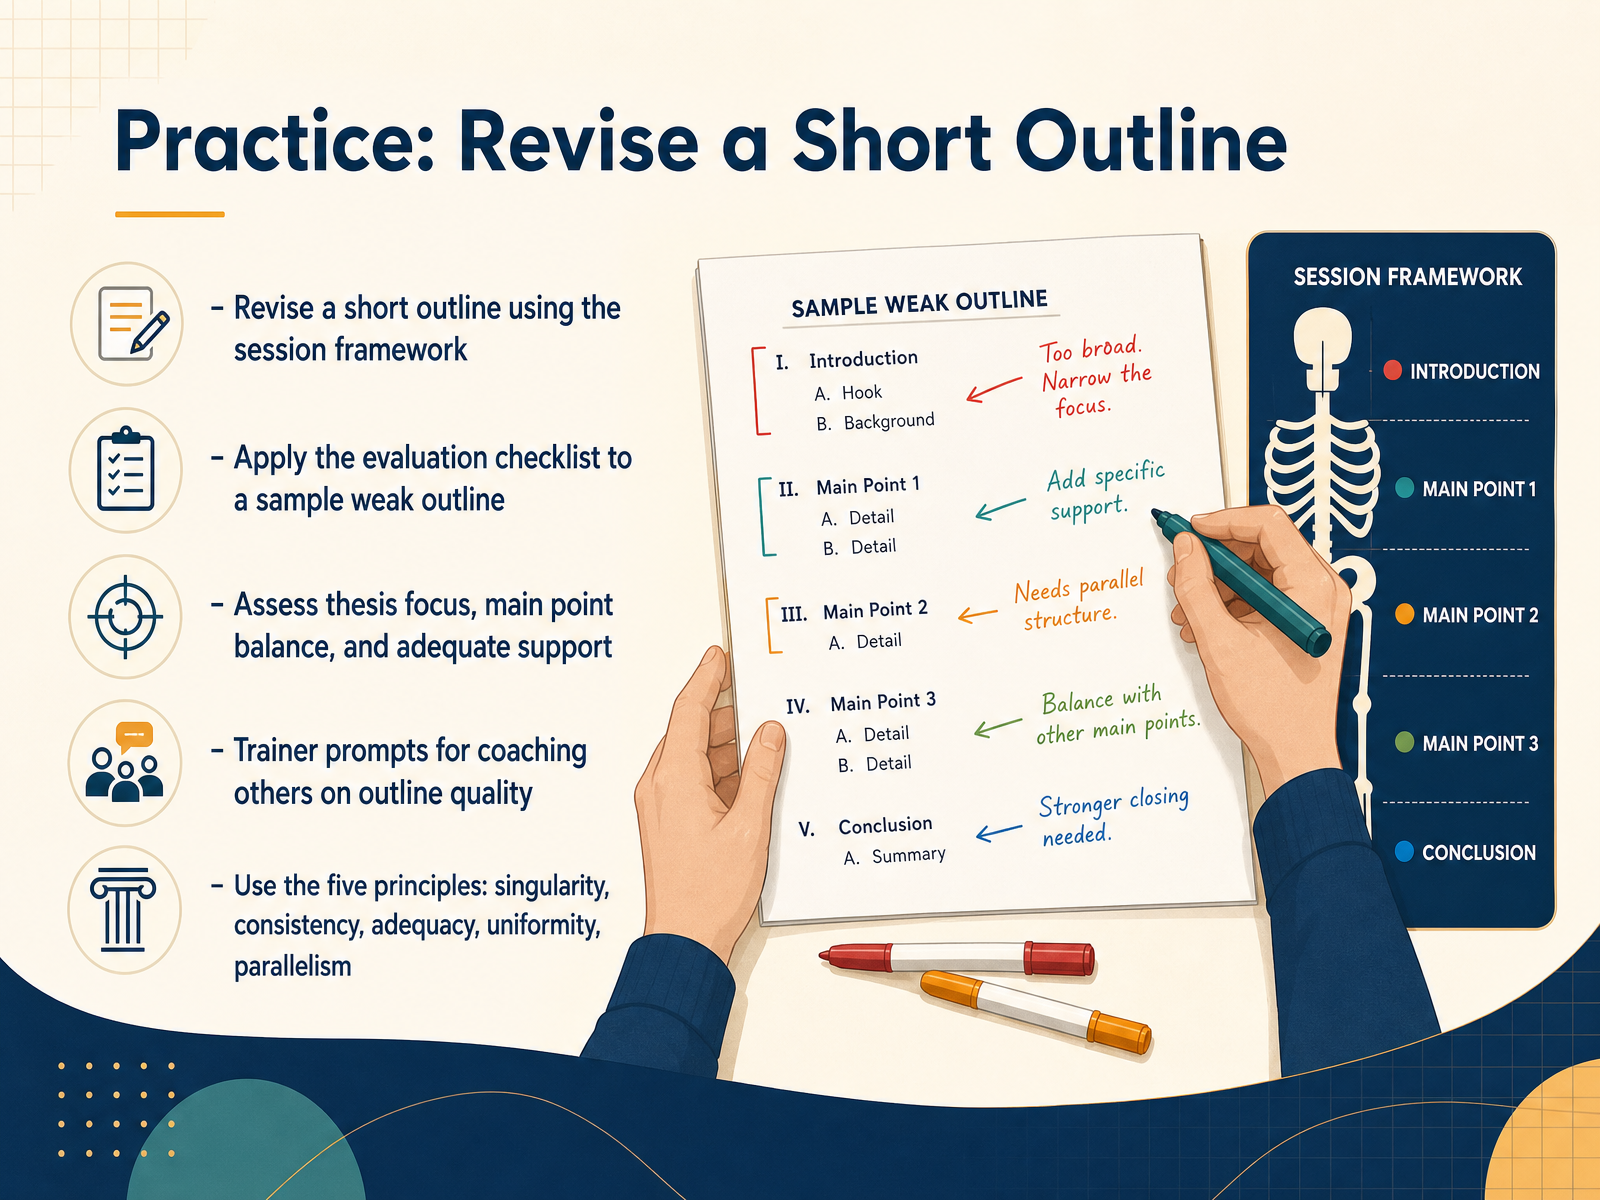
 - 13Practice: Revise a Short OutlineLet’s put this framework to work. Take a weak outline and revise it, applying what we’ve covered. Start by checking the thesis: is it a single, focused idea? Then look at your main points. Do they each express one clear claim? Are they balanced, with adequate support under each one? Run the sample through the evaluation checklist. Assess thesis focus, main point balance, and whether the evidence is strong enough. If you’re coaching others, use these same prompts to guide them. Ask questions like, does this point directly support the thesis? Does every claim have enough backing? And does each main point follow the same structure? Keep the five principles in mind. Singularity, one idea per point. Consistency, no contradictions. Adequacy, enough support for every claim. Uniformity, balanced treatment across points. And parallelism, similar structure and phrasing throughout. Revising an outline is faster than rewriting a draft. Fix the structure now, and delivery becomes much smoother. Next, let’s bring these ideas together with key takeaways and next steps.
 grammarly.comwustl.pressbooks.pubsocialsci.libretexts.org+22 min
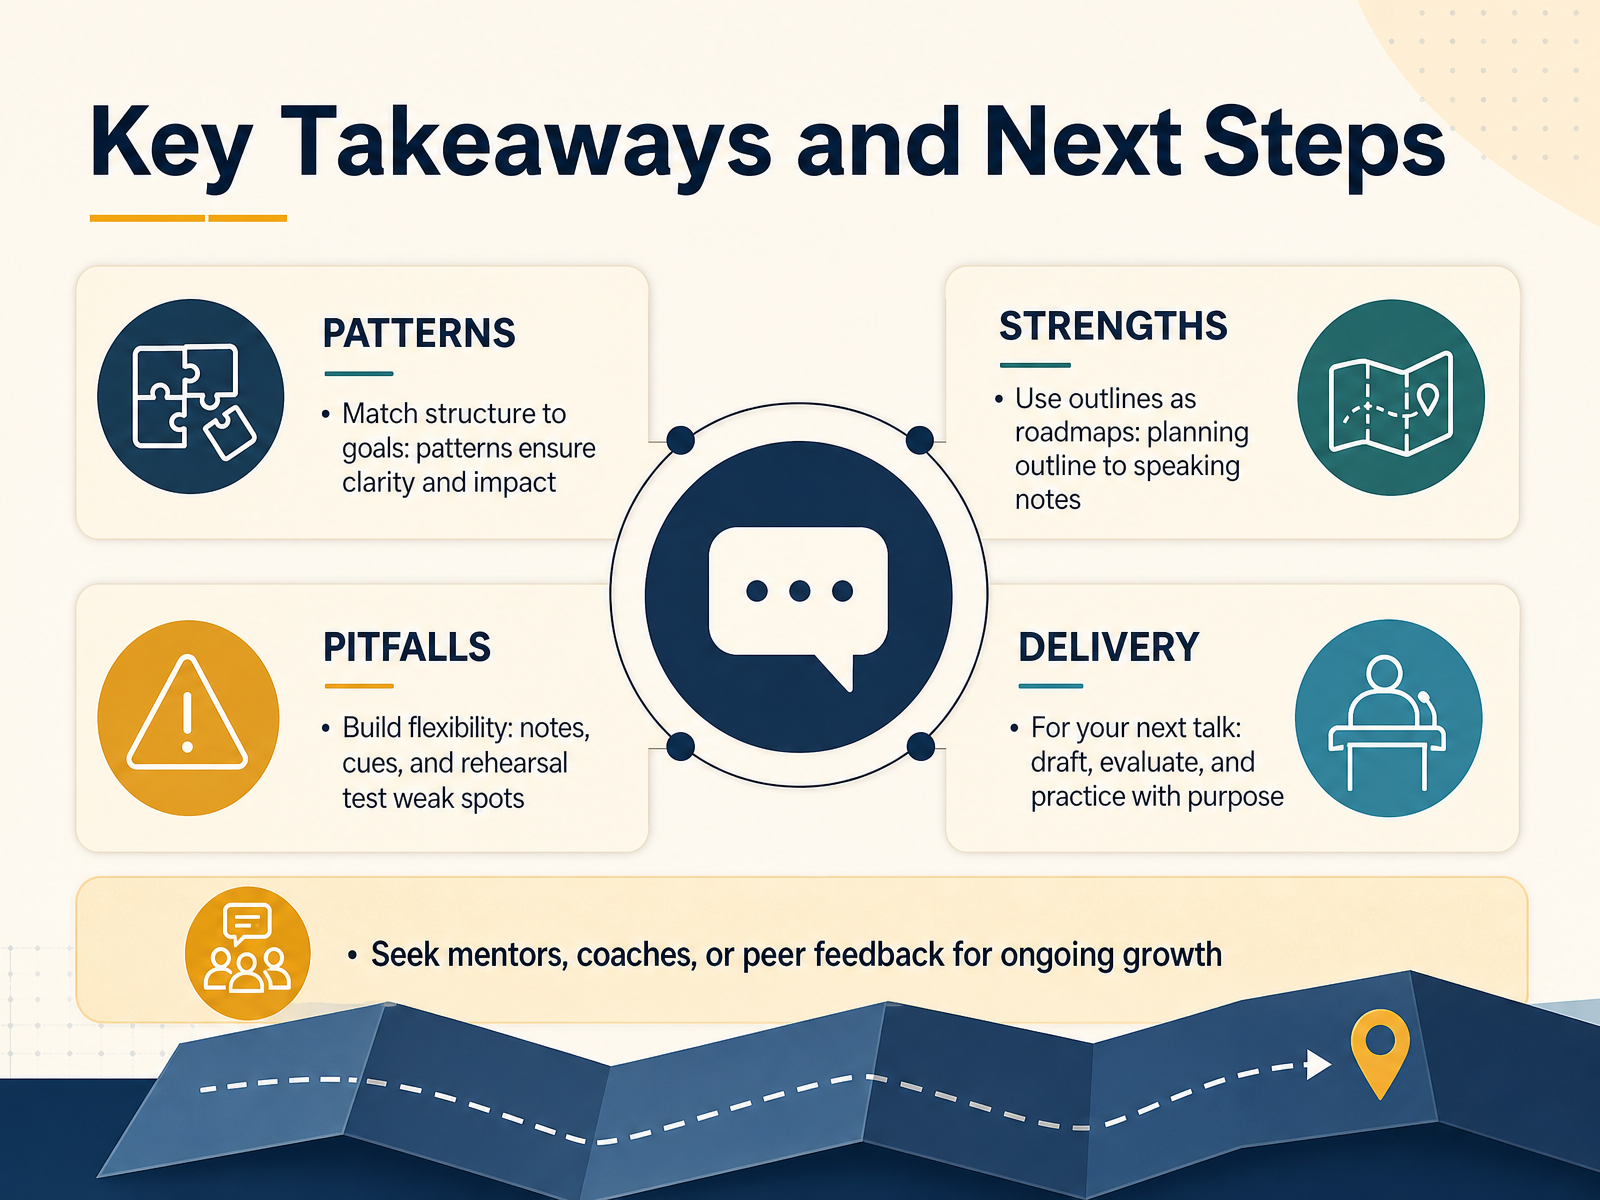
 - 14Key Takeaways and Next StepsLet's bring everything together. The core lesson is simple: match your structure to your goals, because patterns create clarity and impact. Your outline is your roadmap, guiding you from a detailed planning outline with full sentences down to concise speaking notes with just keywords. That flexibility is your safety net. Build it in with notes, cues, and honest rehearsal. Rehearsal is where you expose weak spots before your audience does. So, for your next talk, commit to the full cycle: draft it, evaluate it against the patterns we covered, and practice with clear purpose. And you don't have to do it alone. Seek out mentors, coaches, or trusted peers. Their feedback is the fastest path to real, lasting growth. You have the tools. Now go build a speech worth listening to.
 grammarly.comwustl.pressbooks.pubsocialsci.libretexts.org+21 min
Take the deck with you
Download this course as a file — free, no sign-up needed.
- PDF handoutEvery slide page, ready to print or share.15 pages · 3.6 MBDownload
- Narrated PowerPointThe deck that presents itself — every slide carries the digital human's narration video.15 pages · 15.9 MBDownload
- PowerPoint slidesThe full deck as a .pptx — open it in PowerPoint, Keynote, or Google Slides.15 pages · 3.5 MBDownload
Free to use in your own training — please keep the PersonWise credit page at the end.
Have your own deck? Turn it into a course
Sources consulted
Web sources consulted while building this course.
- How to Outline a Speech Step by Step, With Examples — grammarly.com
- Outlining and Structuring Your Speech – Public Speaking for Modern Learners: Self-Assurance, Adaptability, and Professional Growth — wustl.pressbooks.pub
- 3.2: Structure and Format- Outlining the Speech - Social Sci LibreTexts — socialsci.libretexts.org
- How to Outline Your Presentation — toastmasters.org
- Chapter 12: Outlining – Stand Up, Speak Out 3rd Edition — milnepublishing.geneseo.edu
- 13.10: The Required Outlines - Social Sci LibreTexts — socialsci.libretexts.org
- Chapter 12: Outlining - Social Sci LibreTexts — socialsci.libretexts.org
- 6.10: The Speaking Outline - Social Sci LibreTexts — socialsci.libretexts.org
- Chapter 13: Organizing, Writing, and Outlining Presentations — digfir-published.macmillanusa.com
- Outlining Your Speech | Principles of Public Speaking — courses.lumenlearning.com
- Patterns — uca.edu
- Organizational Patterns – Public Speaking — open.maricopa.edu
- 10.2: Using Common Organizing Patterns - Social Sci LibreTexts — socialsci.libretexts.org
- 7.3 Organizational Patterns of Arrangement – Introduction to Speech Communication — acd.pressbooks.pub
- Organizing Presentations – Communication for College, Career, and Civic Life — iastate.pressbooks.pub
- It is not possible to overstate the importance of a properly executed speech outline. — msudenver.edu
- 2.1.9.7.3: Sample Format 1 - Business LibreTexts — biz.libretexts.org
- Persuasive Speech Presentation, Outline, & PowerPoint Example — publicspeakingbasics.com
- Speech Outline Example: Free Guide With PDF — essayservice.com
- Speech Outline and Structure Guide | PDF | Communication | Psychology — scribd.com