Begin
15 pages · ~30 min
Standard Operating Procedure Writing Guide
This training teaches professionals how to write clear, compliant Standard Operating Procedures that ensure operational consistency and quality.
A digital instructor presents all 15 pages. Hold “Ask” at any point and ask out loud — the answer comes from this course. No sign-up needed.
What you’ll learn
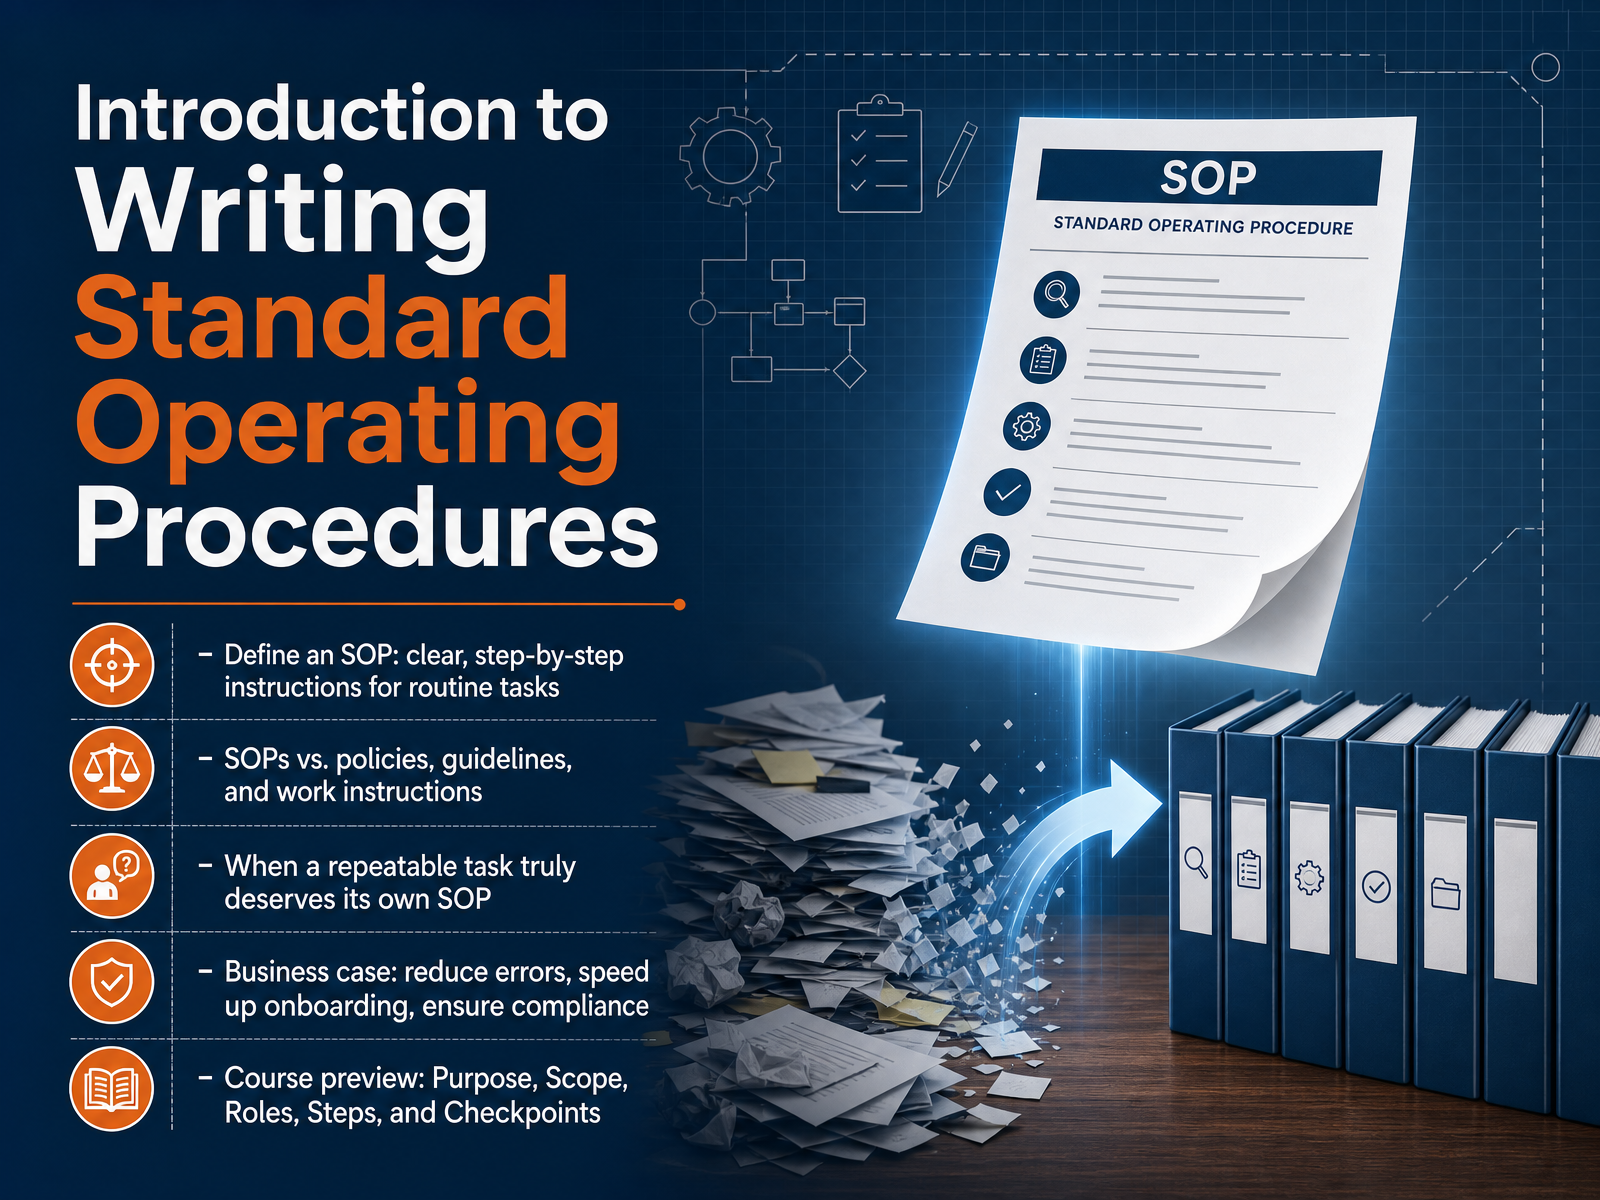
- 01Introduction to Writing Standard Operating ProceduresWelcome. Over the next few minutes, we're going to take the repeated work you already do and capture it as a clear, step-by-step Standard Operating Procedure. Think of an SOP as a set of reliable instructions that let anyone on the team perform a routine task the same way, every time. It's not a high-level policy or a broad guideline. It's closer to a work instruction, but written for the person who needs to reproduce the outcome, not necessarily the expert. A repeatable task deserves its own SOP when the cost of variation is high. That could mean frequent errors, slow onboarding, compliance risk, or just too many interruptions to answer the same question. The business case is practical. A good SOP reduces mistakes, gets new people up to speed faster, and creates a record you can point to during an audit. In this course, we'll build that record using five structural elements. Purpose, Scope, Roles, Steps, and Checkpoints. You'll learn to frame each one so that the final document works for the reader, not just the writer. Let's start by breaking down those five pillars.2 min
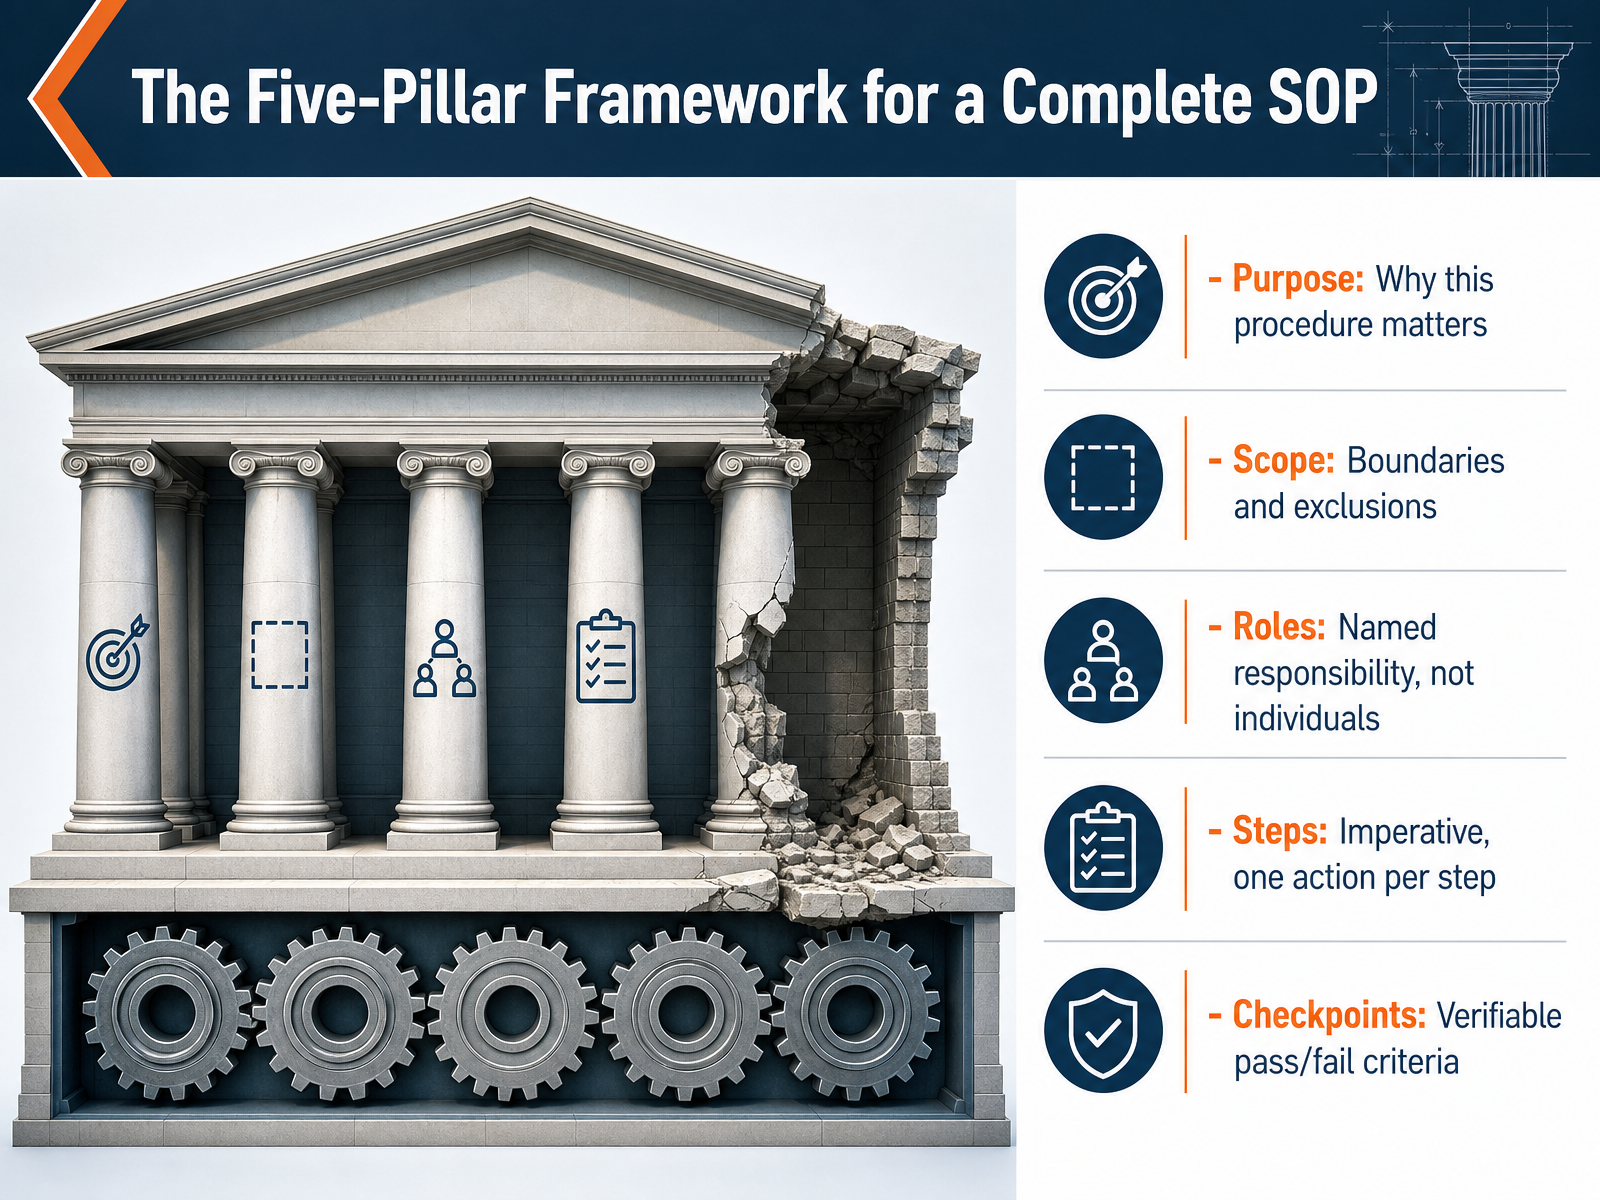
- 02The Five-Pillar Framework for a Complete SOPLet's turn now to the five structural pillars that hold a complete procedure together. These five elements give every standard operating procedure a consistent shape, so that anyone picking it up knows exactly where to look for what they need. First, purpose: why this procedure matters. It answers the question, “What problem does this work solve?” Second, scope: boundaries and exclusions. This tells the reader where the procedure applies and, just as important, where it does not. Third, roles: named responsibility, not individuals. Assign the function, like “Reviewer” or “Submitter,” so the document stays current even when people change jobs. Fourth, steps: imperative commands, one action per step. Think of a short instruction like “Open the inspection record” rather than a paragraph describing a process. And fifth, checkpoints: verifiable pass or fail criteria. A checkpoint might read, “Status field shows ‘Reviewed,’” giving someone a clear yes-or-no condition to confirm at a specific moment. These five pillars work together to transform repeated work into a document that trains, guides, and verifies. Up next, we will dig into the first of them: defining the purpose, so the procedure starts with real direction.
 2 min
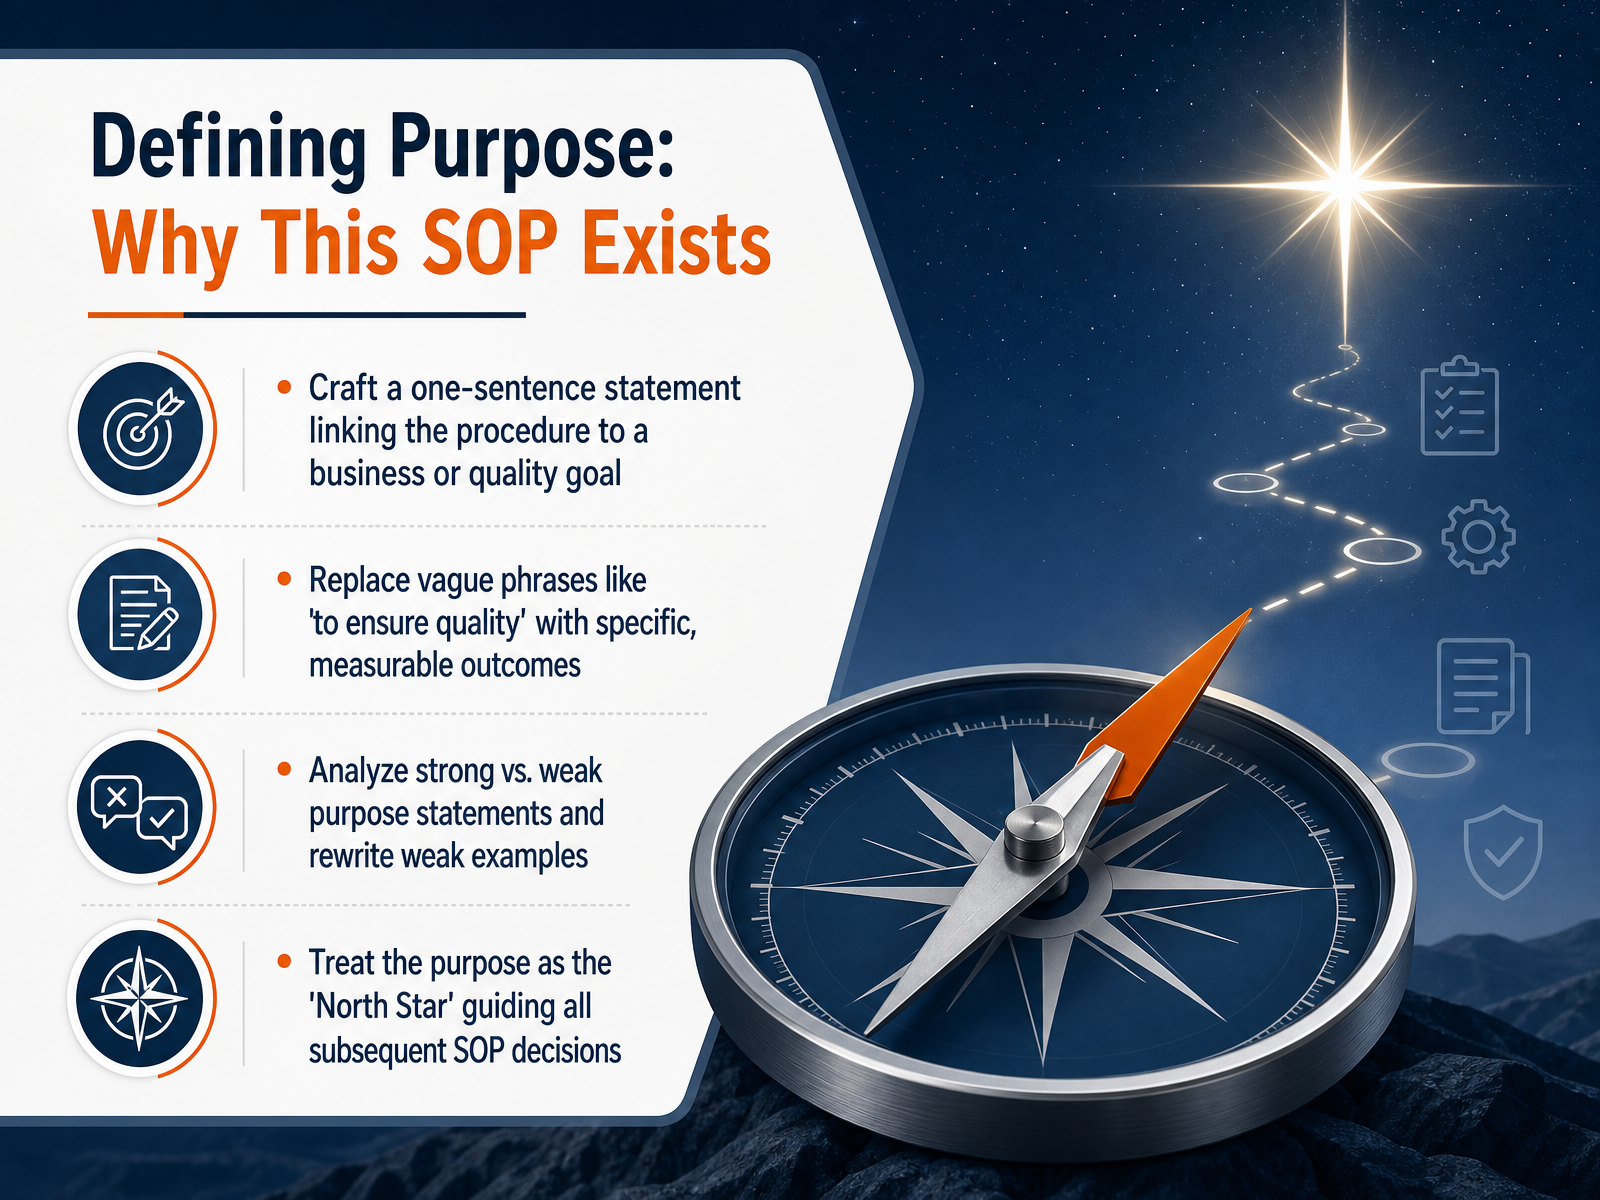
2 min - 03Defining Purpose: Why This SOP ExistsNow let's look at the first structural element: the purpose. The purpose is a single sentence that links this procedure directly to a business or quality goal. Think of it as the North Star for every decision you make while writing the rest of the SOP. Avoid vague phrases like 'to ensure quality.' Instead, capture a specific, measurable outcome. For example, rather than saying 'to improve customer service,' a stronger purpose would be 'to reduce first-response time to under two hours.' Later in this section we will analyze weak and strong examples and rewrite the weak ones together. Once you have a clear purpose, you are ready to define the boundaries of the procedure. We'll cover that next, when we talk about setting the scope and the intentional exclusions.
 1 min
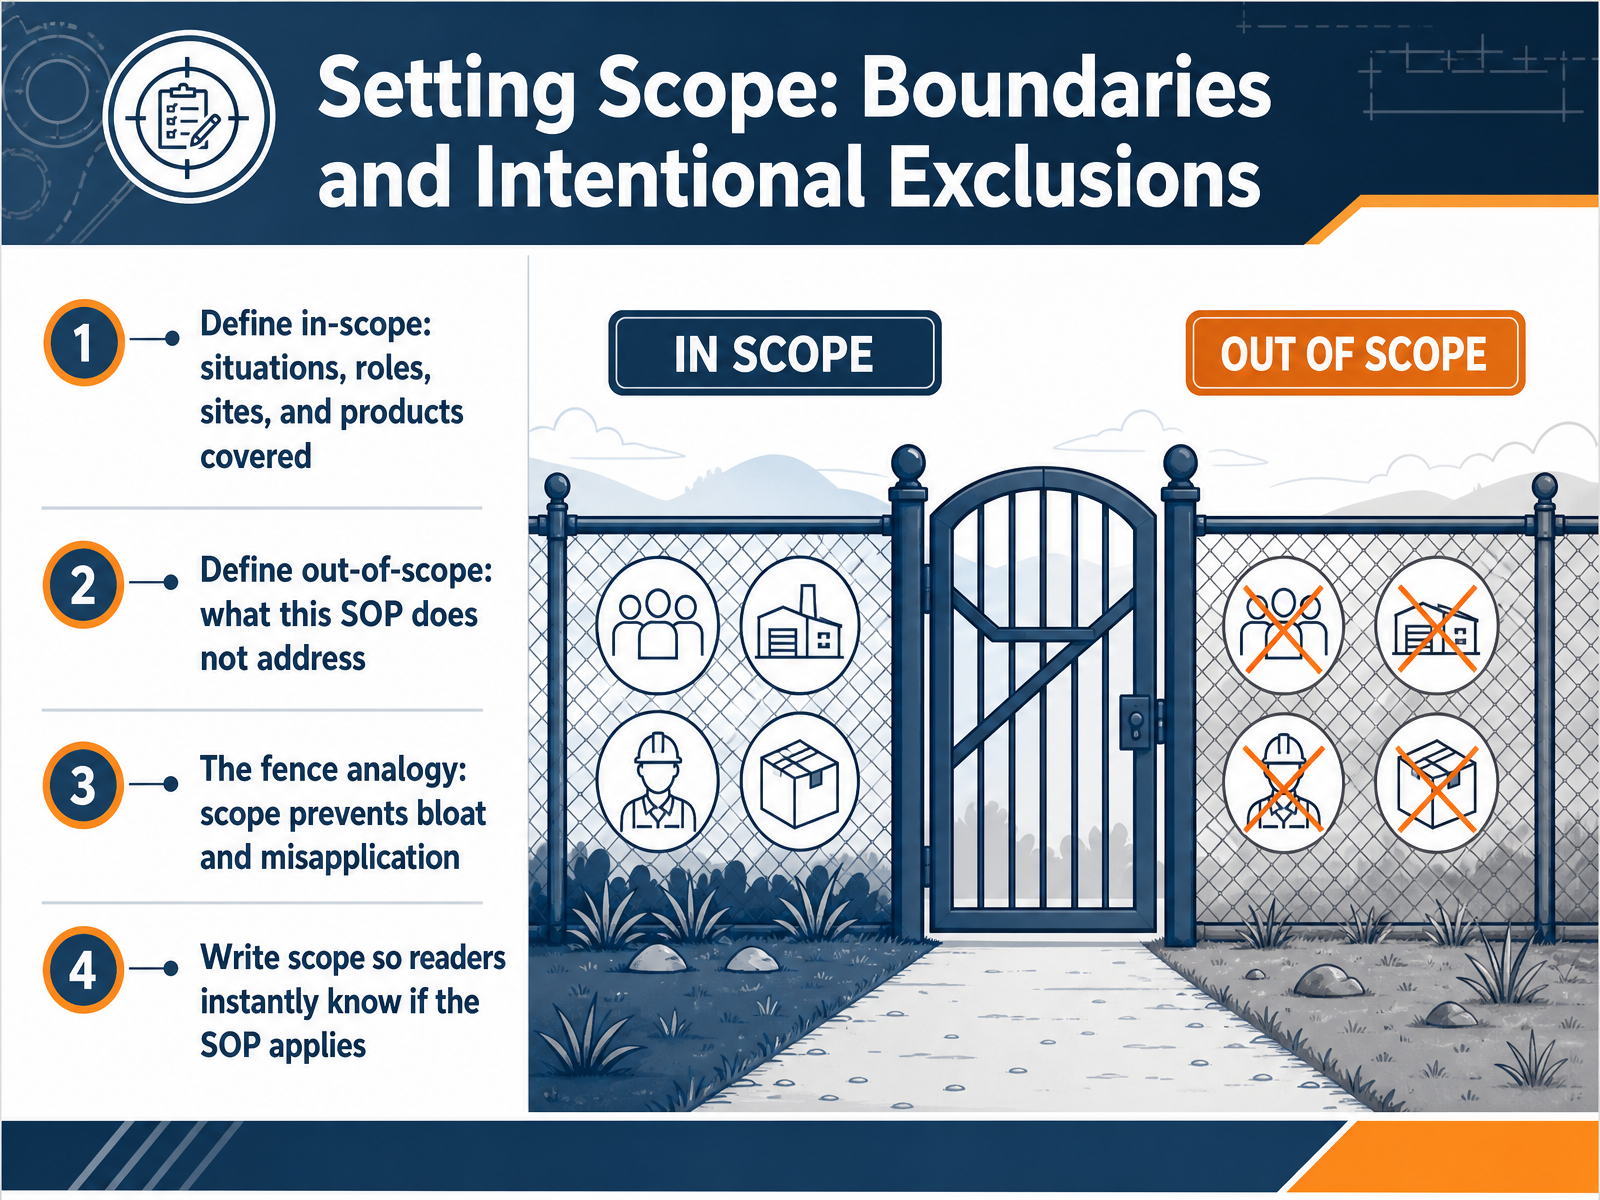
1 min - 04Setting Scope: Boundaries and Intentional ExclusionsNow let's talk about scope, which establishes the boundaries of your procedure. First, define what is in scope. List the specific situations, roles, sites, and products this document covers. Next, state what is out of scope explicitly. Spell out what the SOP does not address. Think of scope as a fence. The fence keeps the procedure focused, preventing bloat and misapplication. A reader scanning the first few lines should immediately know whether the SOP applies to their task. Write the scope statement as a clear filter, not a general description.
 1 min
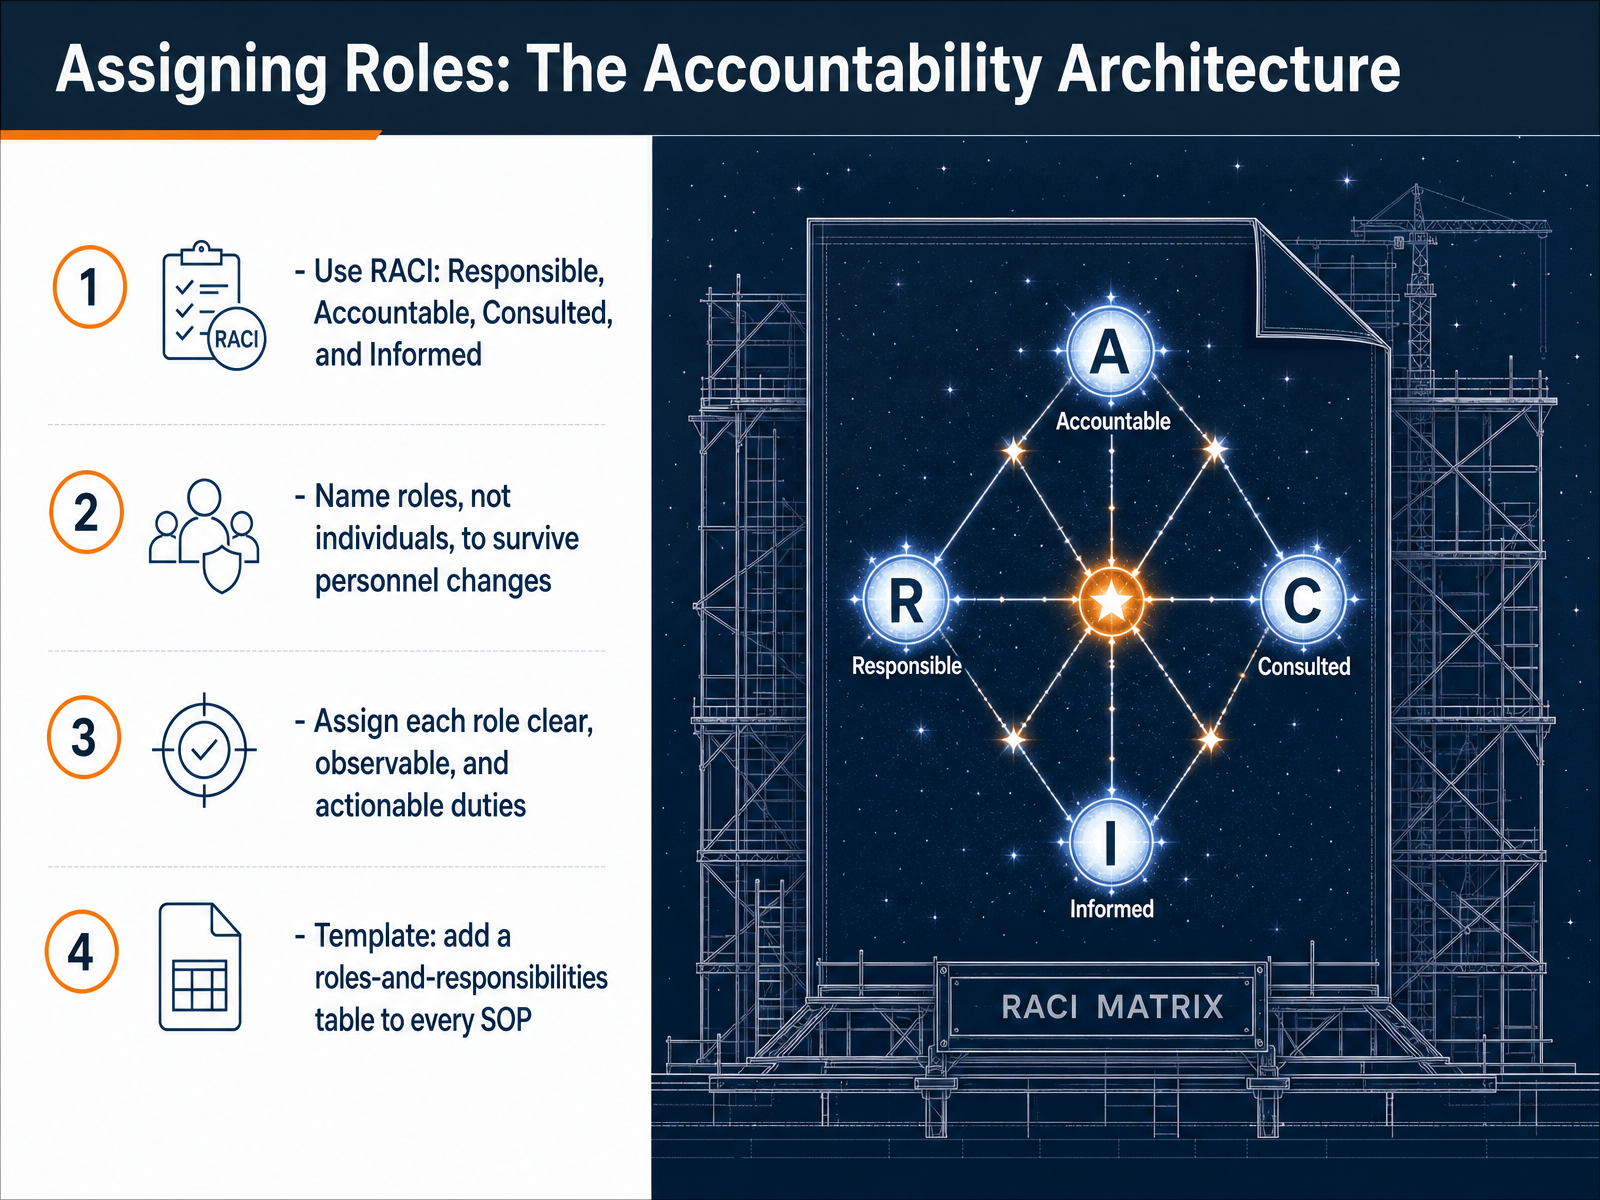
1 min - 05Assigning Roles: The Accountability ArchitectureNow let's translate those roles into a clear accountability architecture. The most reliable tool for this is RACI: Responsible, Accountable, Consulted, and Informed. Think of it as a quick lens. Who does the work? Who owns the outcome? Whose opinion must you gather before a decision? And who simply needs a status update? Always name the role rather than a specific person. People change roles or leave, but the function remains, so your procedure stays accurate over time. Assign each role duties that are observable and actionable. Avoid vague labels like 'supports quality.' Instead, write 'Quality Reviewer logs defect count in the tracking sheet within one hour.' Simple, visible, and checkable. As a practical template, add a roles-and-responsibilities table to every SOP you write. Even a compact four-column table saves the reader from hunting through paragraphs to find who does what. Next, we will move into the engine of any procedure: writing actionable steps with the right voice of command.
 2 min
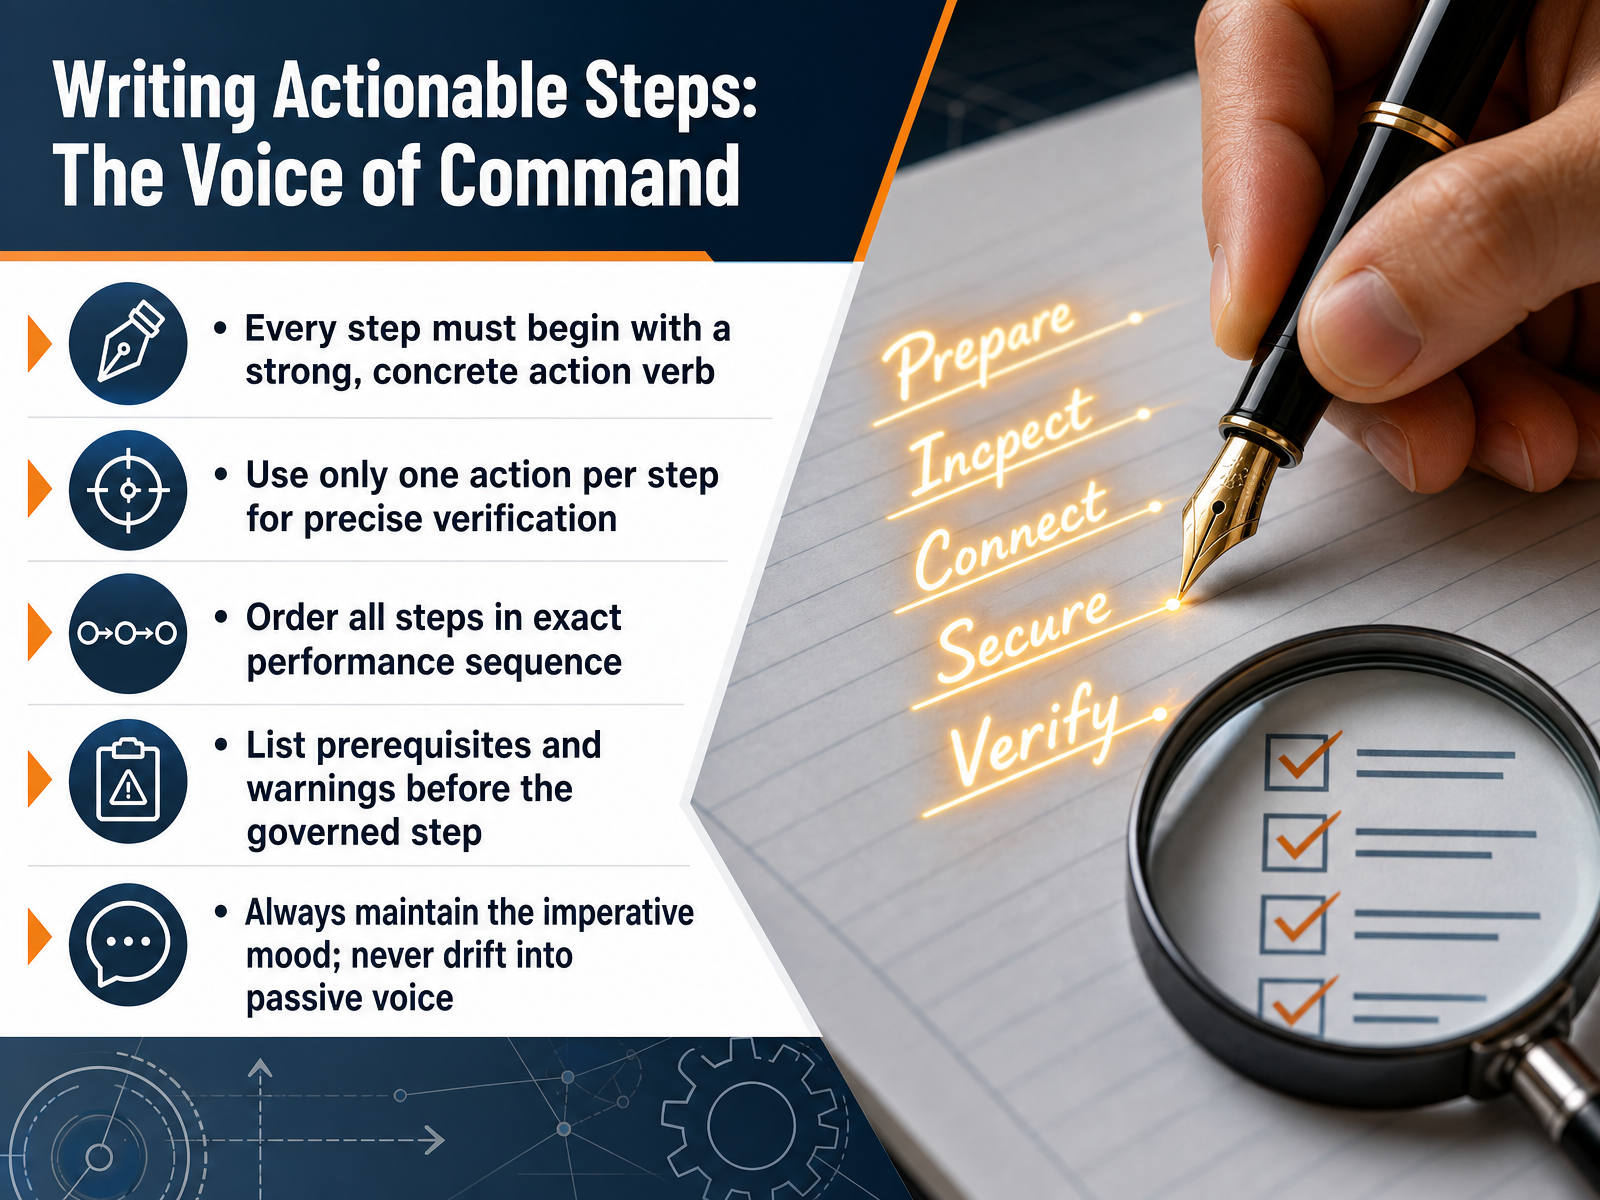
2 min - 06Writing Actionable Steps: The Voice of CommandNow that the roles and scope are clear, let’s write the steps themselves. This section works best when each step gives a direct command. Start every step with a strong, concrete action verb like “Approve,” “Enter,” or “Submit.” Restrict each step to a single action. That way, someone can verify it with a simple yes or no. Sequence the steps exactly as they are performed in practice. If a step has a prerequisite or a caution, place that notice directly before the step it governs. Throughout the entire procedure, stay in the imperative mood. Write “Close the valve,” not “The valve should be closed.” This voice of command removes ambiguity and keeps the operator focused. When you review drafts, look for any step that drifts into passive voice or bundles two actions together, and break it apart. Up next, we’ll handle situations where the path splits. The next slide covers conditionals, branches, and decision points.
 2 min
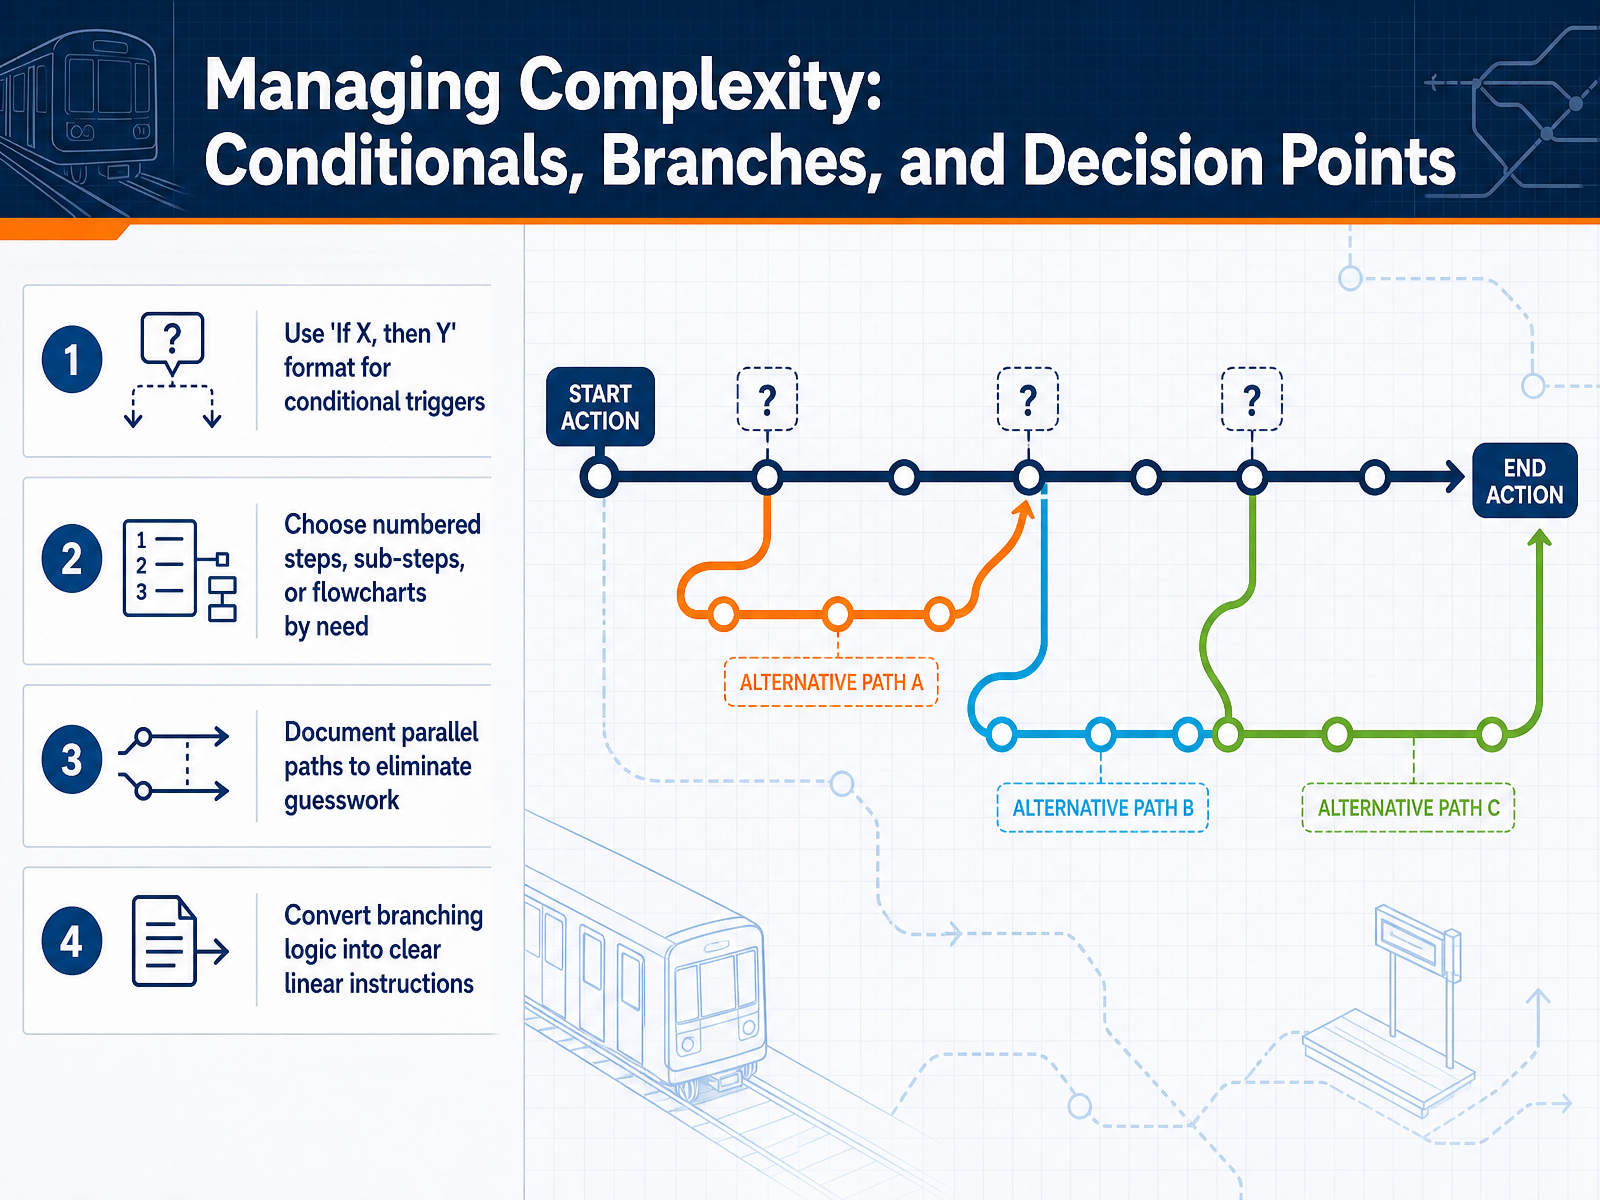
2 min - 07Managing Complexity: Conditionals, Branches, and Decision PointsNow let's handle workflows that aren't a single straight line. When a task branches based on a condition, capture it with a clear 'If X, then Y' format. For example: 'If the shipment weight exceeds twenty-five kilograms, then apply the freight surcharge.' This removes judgment calls at the moment of execution. Choose your structure based on what the logic actually needs. Simple yes-no branches may only need sub-steps under a main step. When several conditions must be checked, a numbered list with inline conditionals works well. For multi-path decisions, consider a small flowchart. The goal is to document all parallel paths so the performer never has to guess which route to take. Then convert that branching logic into linear, written instructions someone can follow one line at a time. If the weight is over twenty-five, go to step three-A. If not, proceed directly to step four. That clarity is what turns complexity into repeatable action. Next, we'll design checkpoints and quality gates to verify the work at key moments.
 2 min
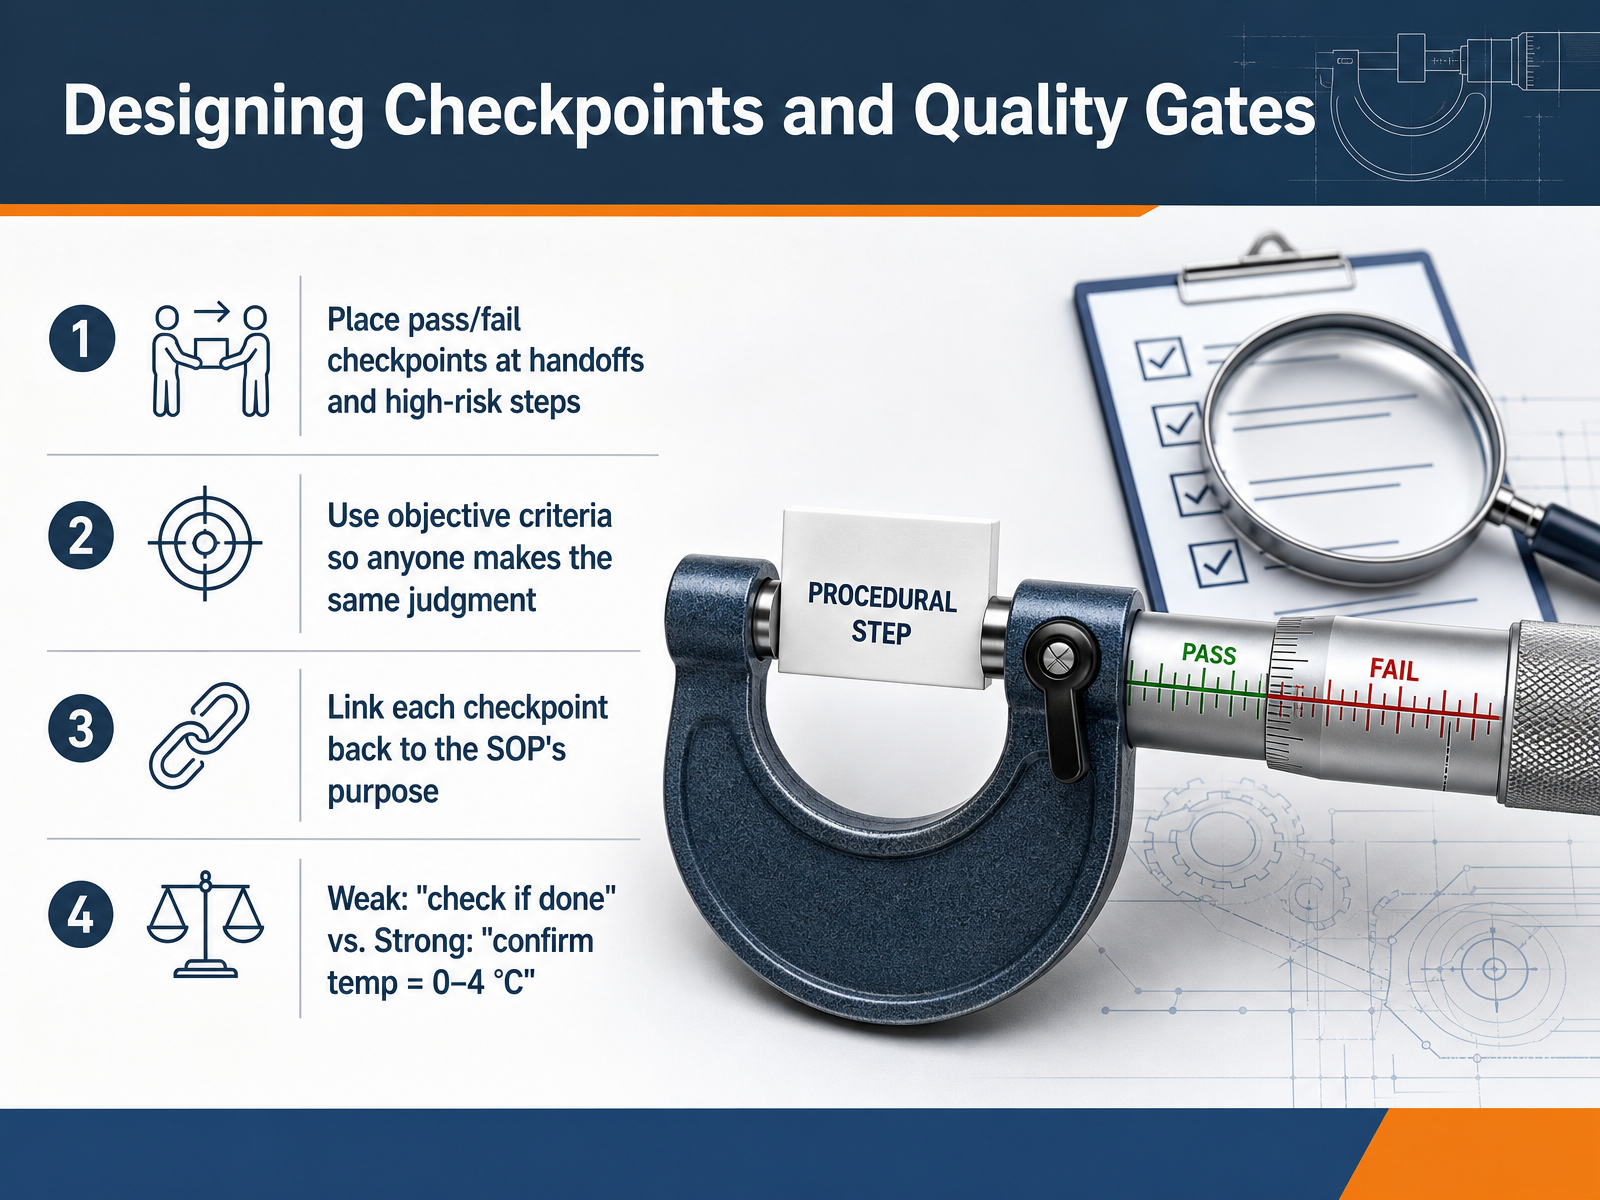
2 min - 08Designing Checkpoints and Quality GatesMoving into checkpoints and quality gates. These are the decision points you embed in a procedure so work doesn't proceed until conditions are met. Place pass/fail checkpoints at natural handoffs between roles, and right after any high-risk or irreversible step. The rule is to use objective criteria. Write the standard so clearly that any qualified person who walks up to the task makes the same judgment call. Always link each checkpoint back to the purpose of the SOP. For example, if the purpose is product safety, the checkpoint should directly verify a safety threshold. Compare a weak checkpoint like 'check if done' to a strong one: 'confirm internal temperature is between zero and four degrees Celsius.' The strong version leaves no room for assumption. The next slide moves us into a workshop. You will draft purpose, scope, and roles for your own repeated work.
 1 min
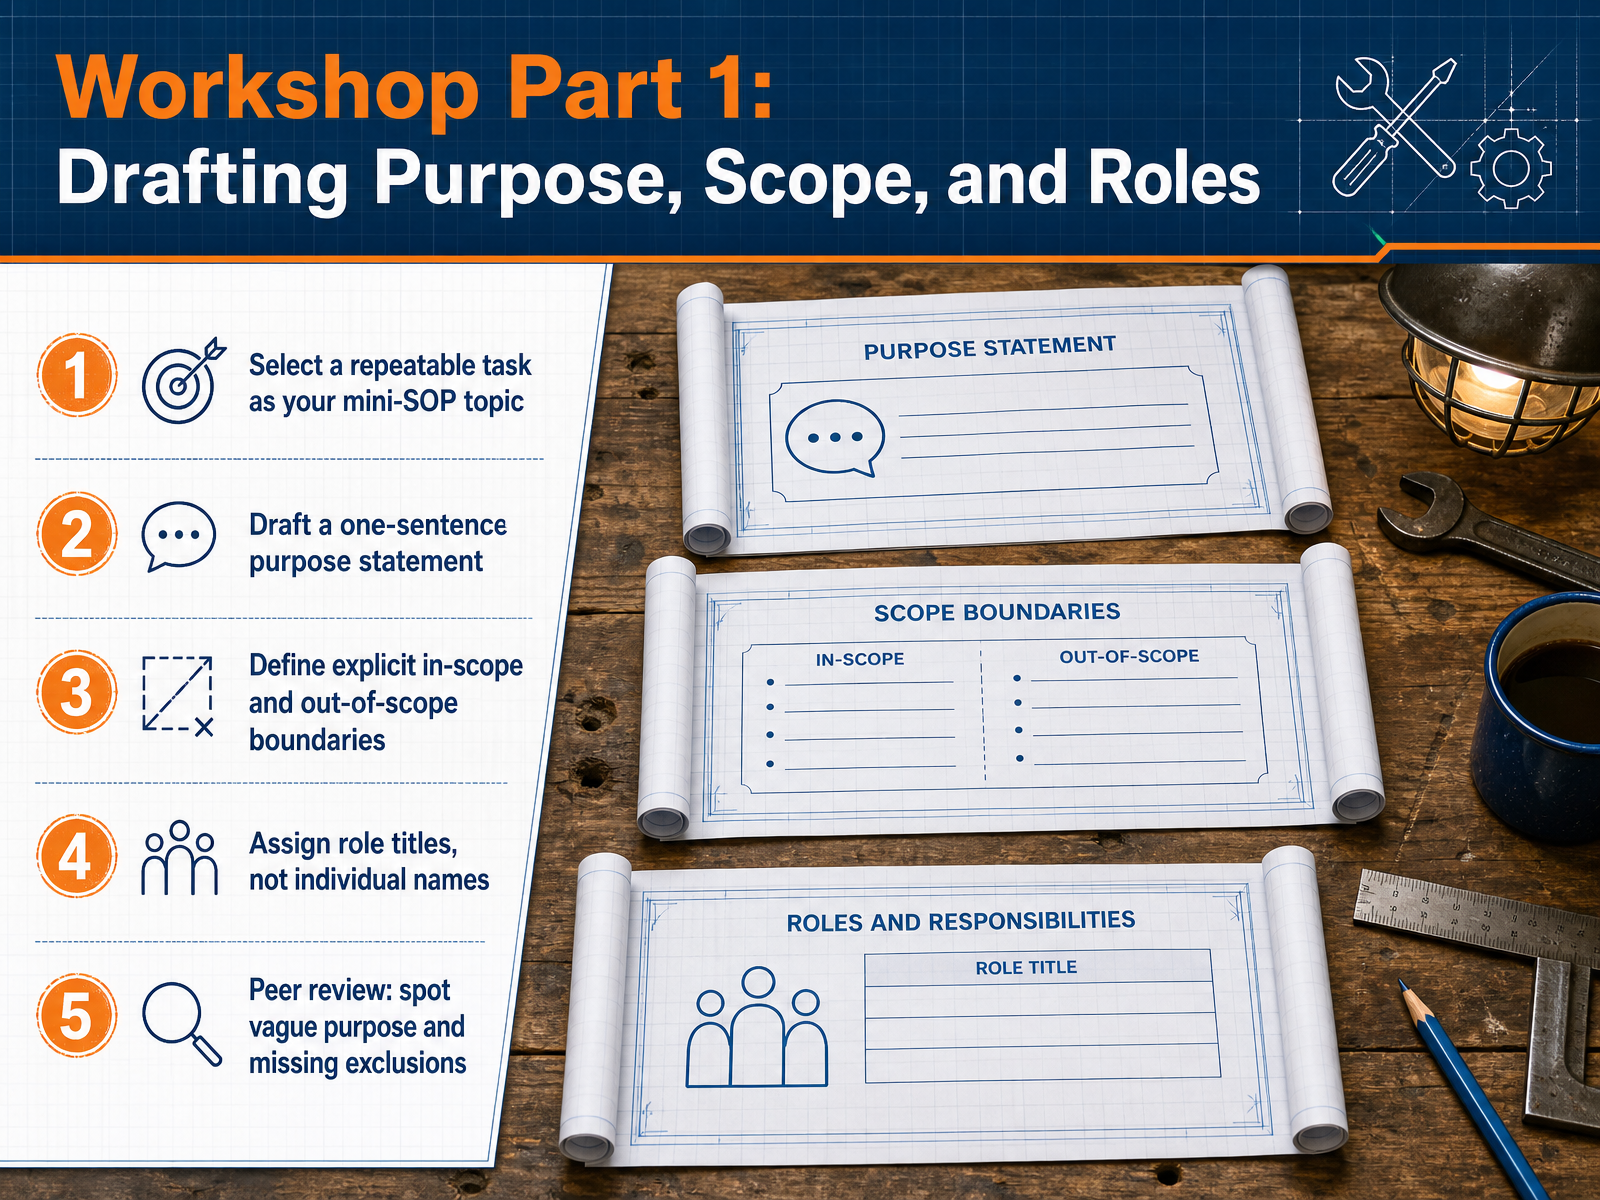
1 min - 09Workshop Part 1: Drafting Purpose, Scope, and RolesLet's put the first three elements into practice with a mini-SOP draft. Pick one repeatable task from your own work, something routine enough that you could hand it off tomorrow. Start by writing a single-sentence purpose statement. This sentence should explain why the task exists and what outcome it reliably produces. For example: 'This procedure ensures every client invoice is verified against the contract before submission.' Next, define explicit in-scope and out-of-scope boundaries. State clearly what the SOP covers and, just as importantly, what it does not cover. For instance, in-scope might include verifying line items and discounts, while out-of-scope might exclude payment collection and dispute handling. Then assign role titles, not individual names. Use labels like 'Invoice Reviewer' or 'Branch Manager' so the document stays current even when people change roles. Finally, we'll conduct a quick peer review. Look at a colleague's draft and flag any purpose statement that feels vague, and any scope that is missing clear exclusions. Try to complete your draft in the next ten minutes. When you're ready, we'll move into Workshop Part Two, where we'll write the steps and checkpoints that turn this outline into a working procedure.
 2 min
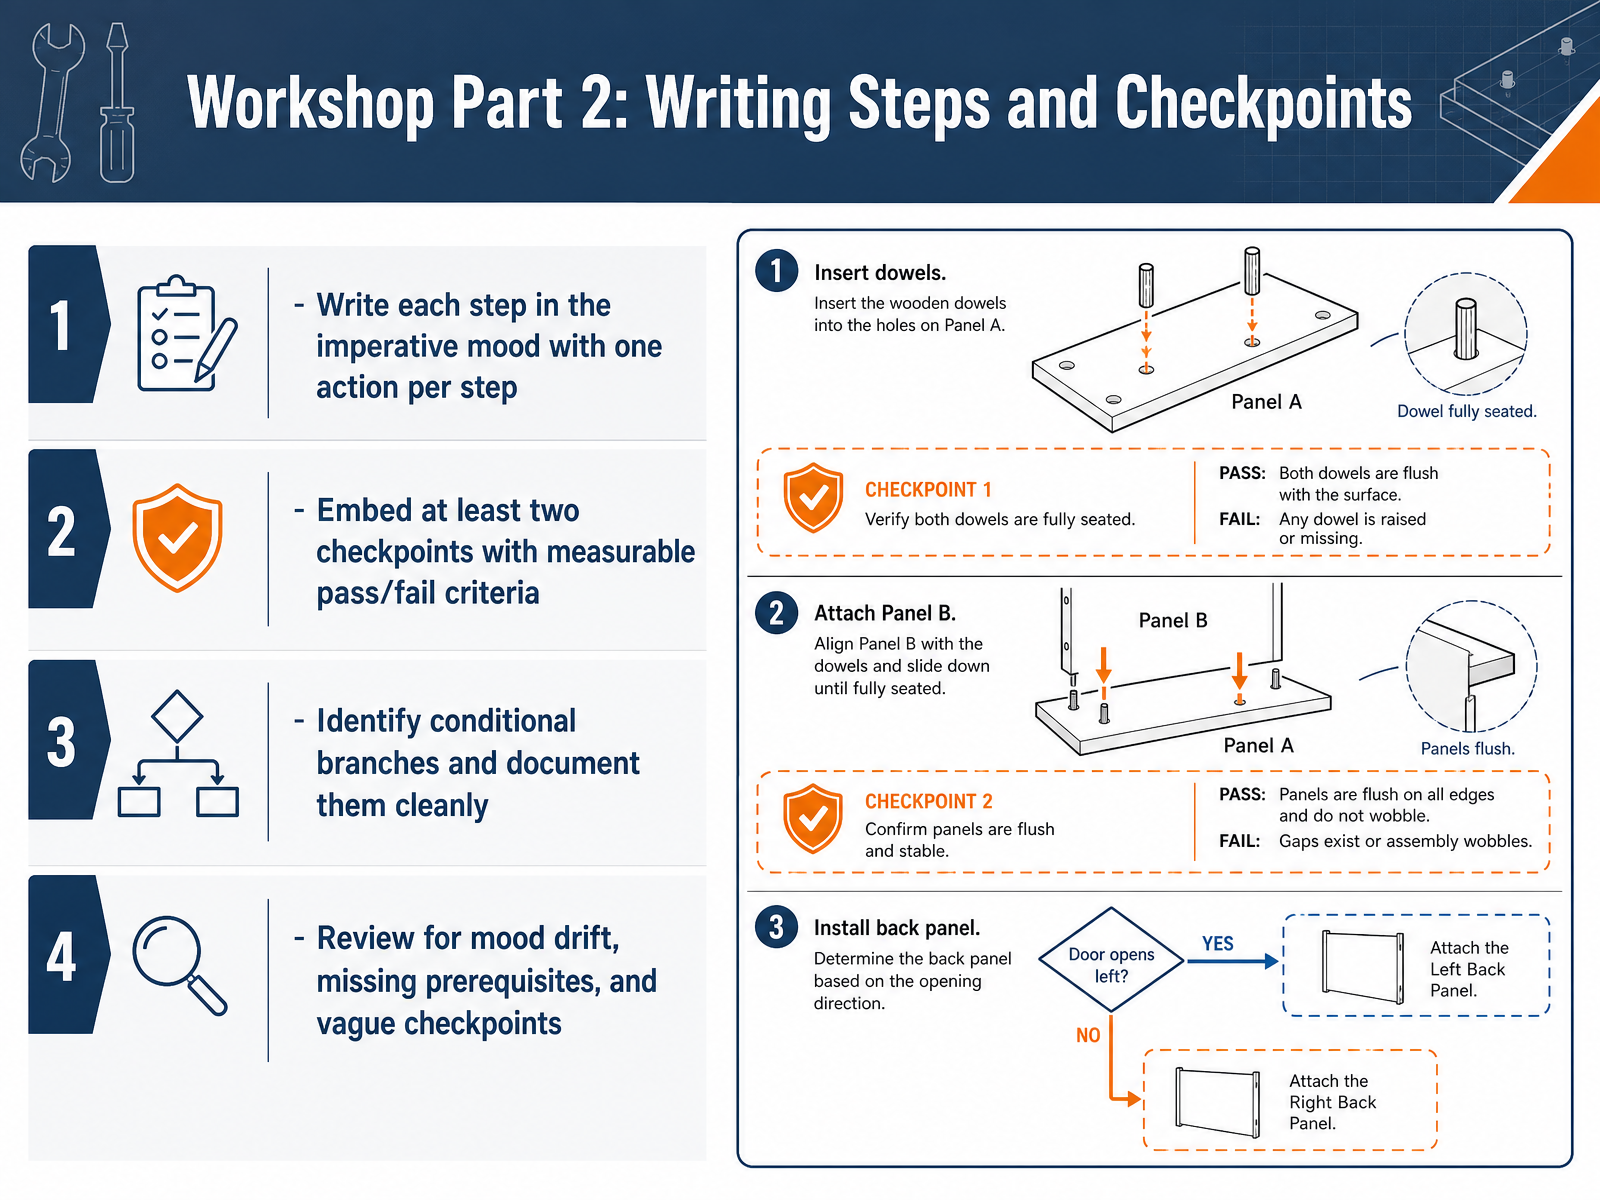
2 min - 10Workshop Part 2: Writing Steps and CheckpointsNow let's put the action into your steps and checkpoints. Start by writing each step in the imperative mood, with a single action per step. For example, instead of 'the form should be completed,' write 'Complete the form.' This makes ownership and sequence immediately clear. Next, embed at least two checkpoints. A strong checkpoint has measurable pass/fail criteria, like 'Confirm the client's email domain matches the active account list; if no match exists, stop and notify the account manager.' As you write, watch for conditional branches. When a decision changes the path, document it cleanly with an if-then structure, so the reader isn't guessing. Before you finalize this section, review for three common issues: mood drift, where steps slip back into passive description; missing prerequisites, where a step assumes materials or access that aren't stated; and vague checkpoints that use words like 'correct' without defining what correct means. Once your steps and checkpoints feel solid, you'll be ready to think about how the document lives over time. We'll look at version control and governance next.
 2 min
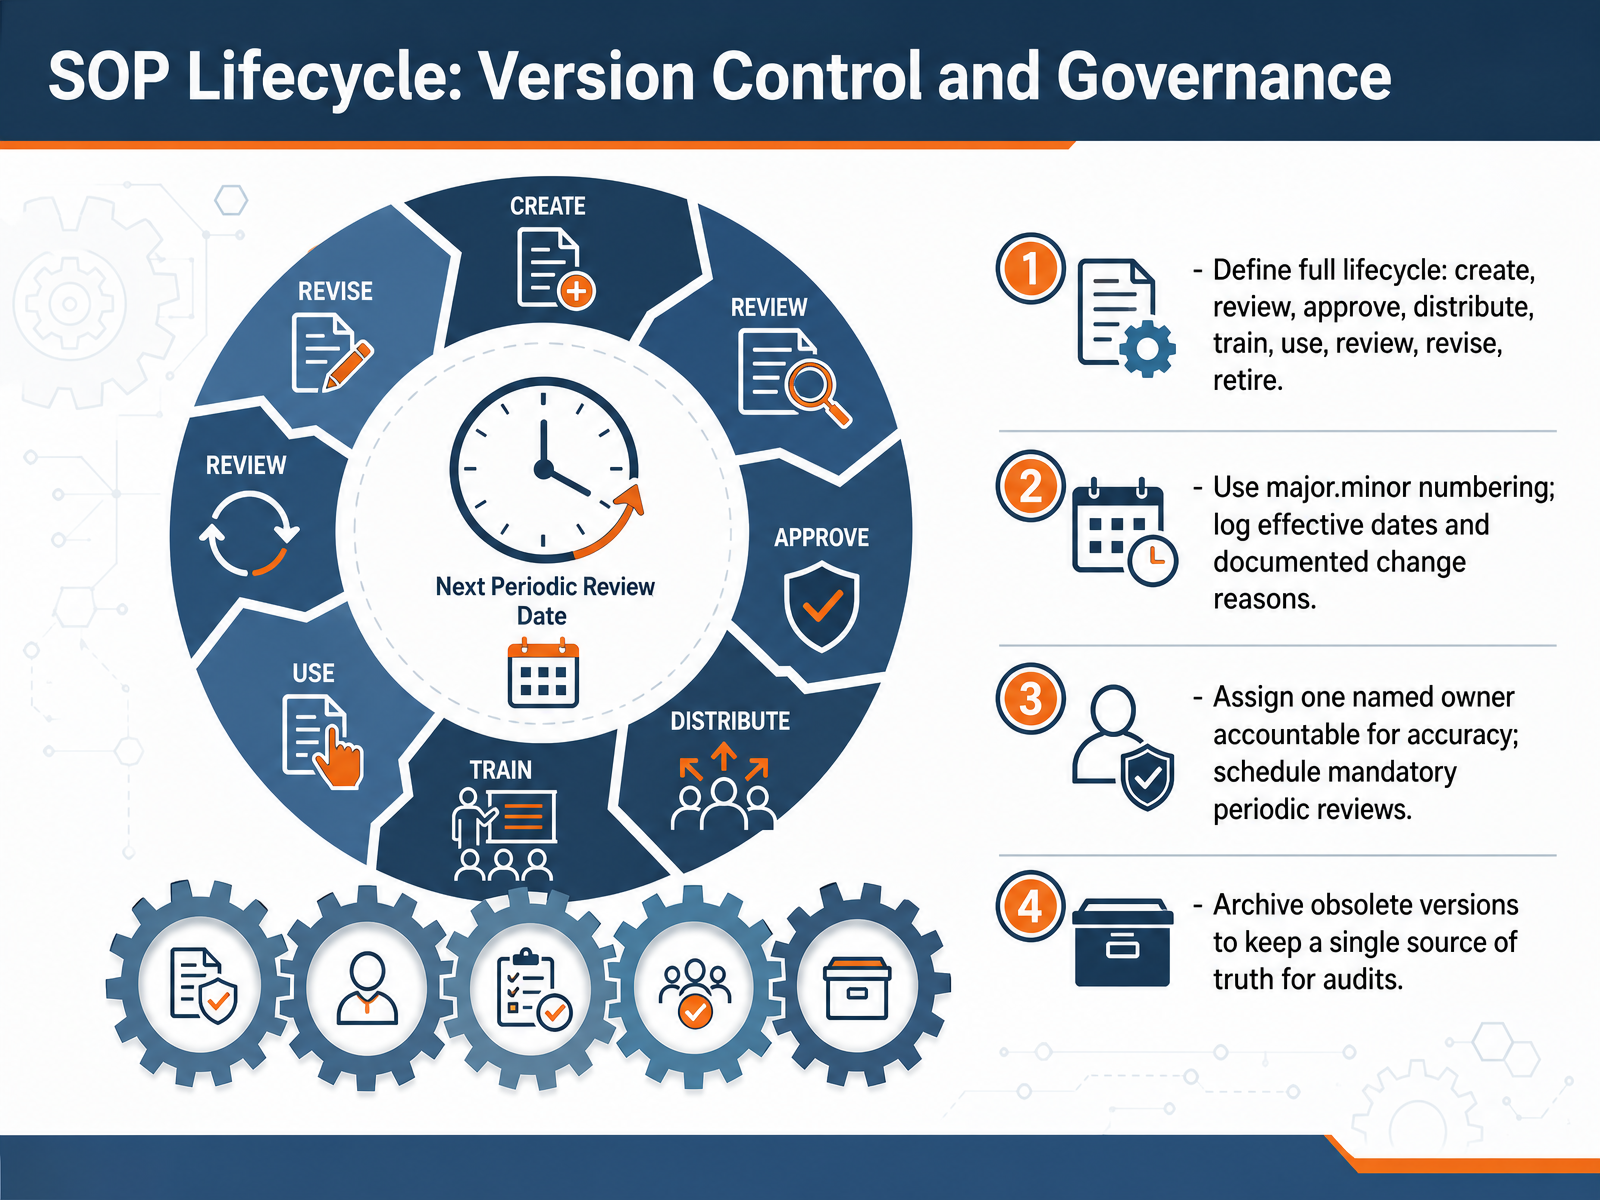
2 min - 11SOP Lifecycle: Version Control and GovernanceVersion control turns your SOP from a static document into a managed asset. The full lifecycle is straightforward: create, review, approve, distribute, train, use, review, revise, and eventually retire. That sequence is not bureaucratic; it is how you keep the ground truth for a repeated task clean and current. Use major-dot-minor numbering, log the effective dates, and document the reason for every change. When an auditor asks why a step changed in March, you can answer in seconds. Assign one named owner who is accountable for accuracy, not a department alias. Schedule mandatory periodic reviews so no procedure drifts silently out of date. When you revise, archive the obsolete version immediately to maintain a single source of truth for audits. Think of the archive as your safety net: old versions are stored and retrievable, but never confused with the live procedure. Next, we will look at how approval workflows and training integration turn a signed SOP into practiced behavior.
 2 min
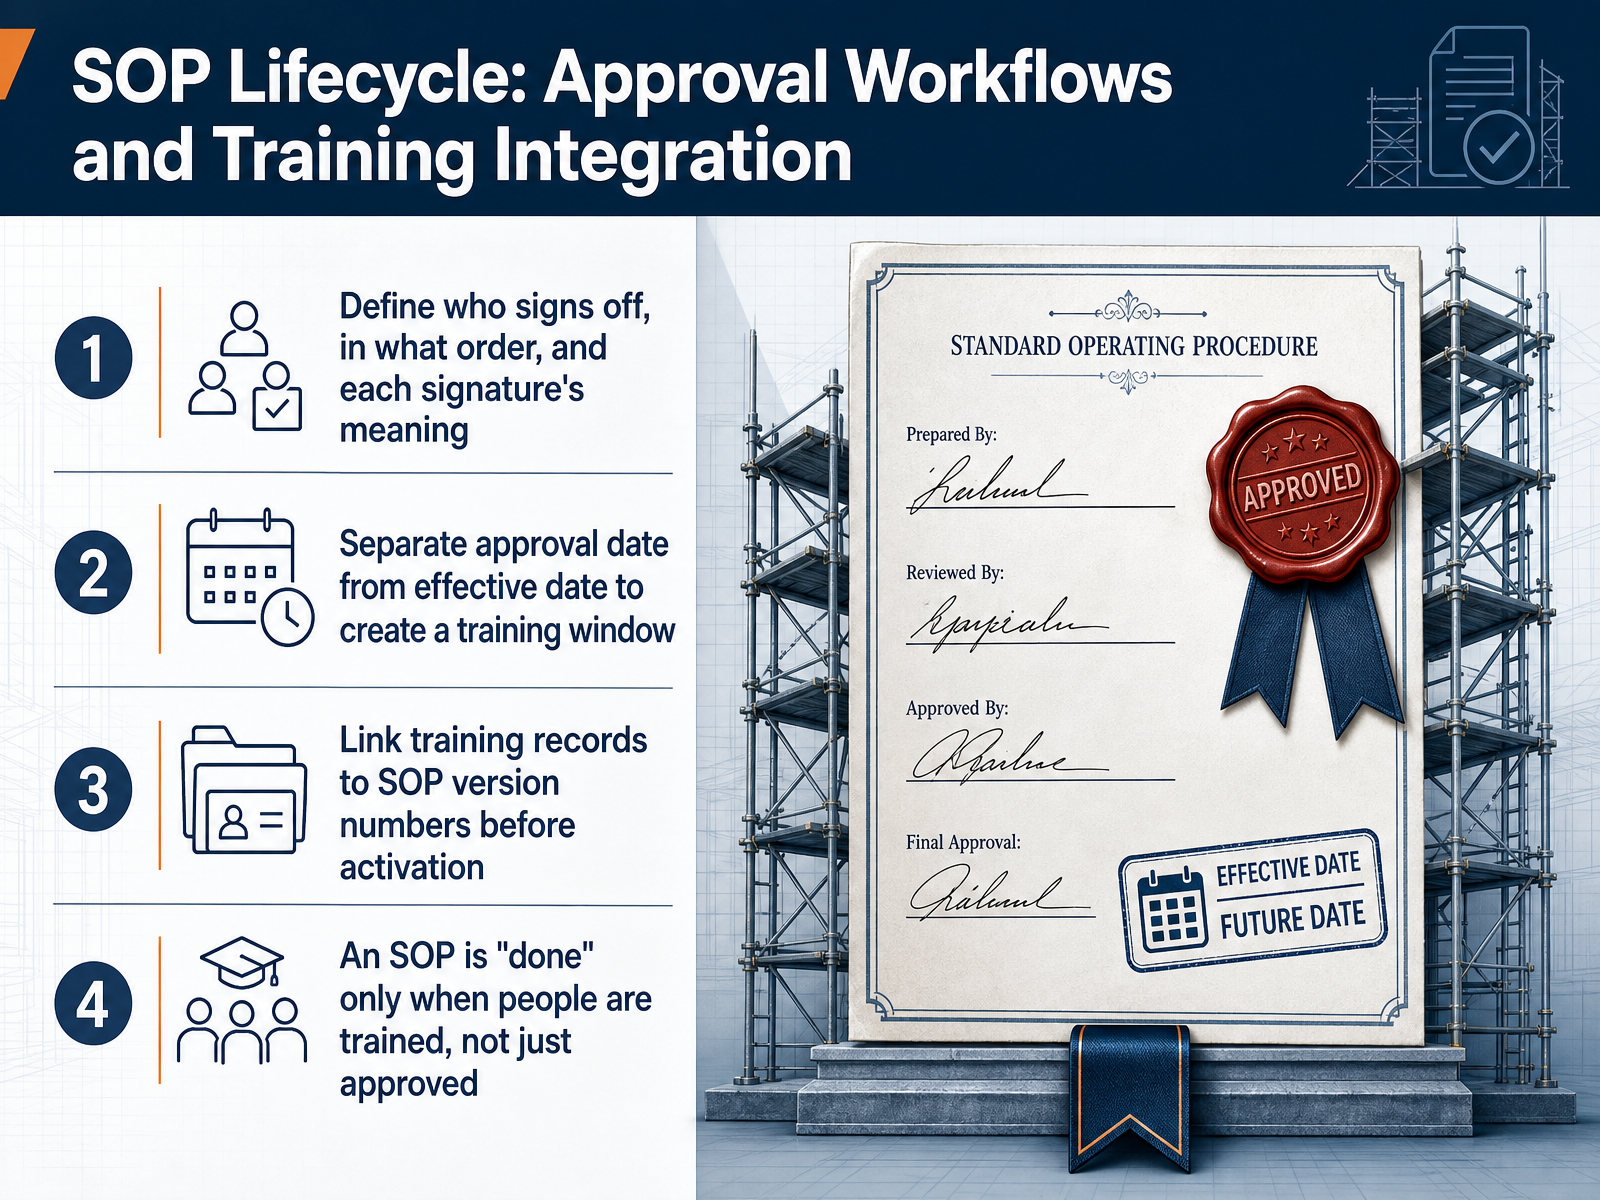
2 min - 12SOP Lifecycle: Approval Workflows and Training IntegrationNow that we have the content, let's look at how an SOP officially goes live. Approval isn't just getting a signature. You need to define who signs off, in what order, and what each signature means. One person might sign for technical accuracy, another for regulatory compliance. A clear sequence prevents confusion. Next, separate the approval date from the effective date. That gap is your training window. Use it to schedule sessions before the SOP takes effect. Link those training records directly to the SOP version number. This proves people know the new procedure before it's activated. Remember, an SOP is considered done only when people are trained, not just when the document is approved. Coming up, we need to make sure that finished document actually reaches the floor. Let's talk about adoption and accessibility.
 1 min
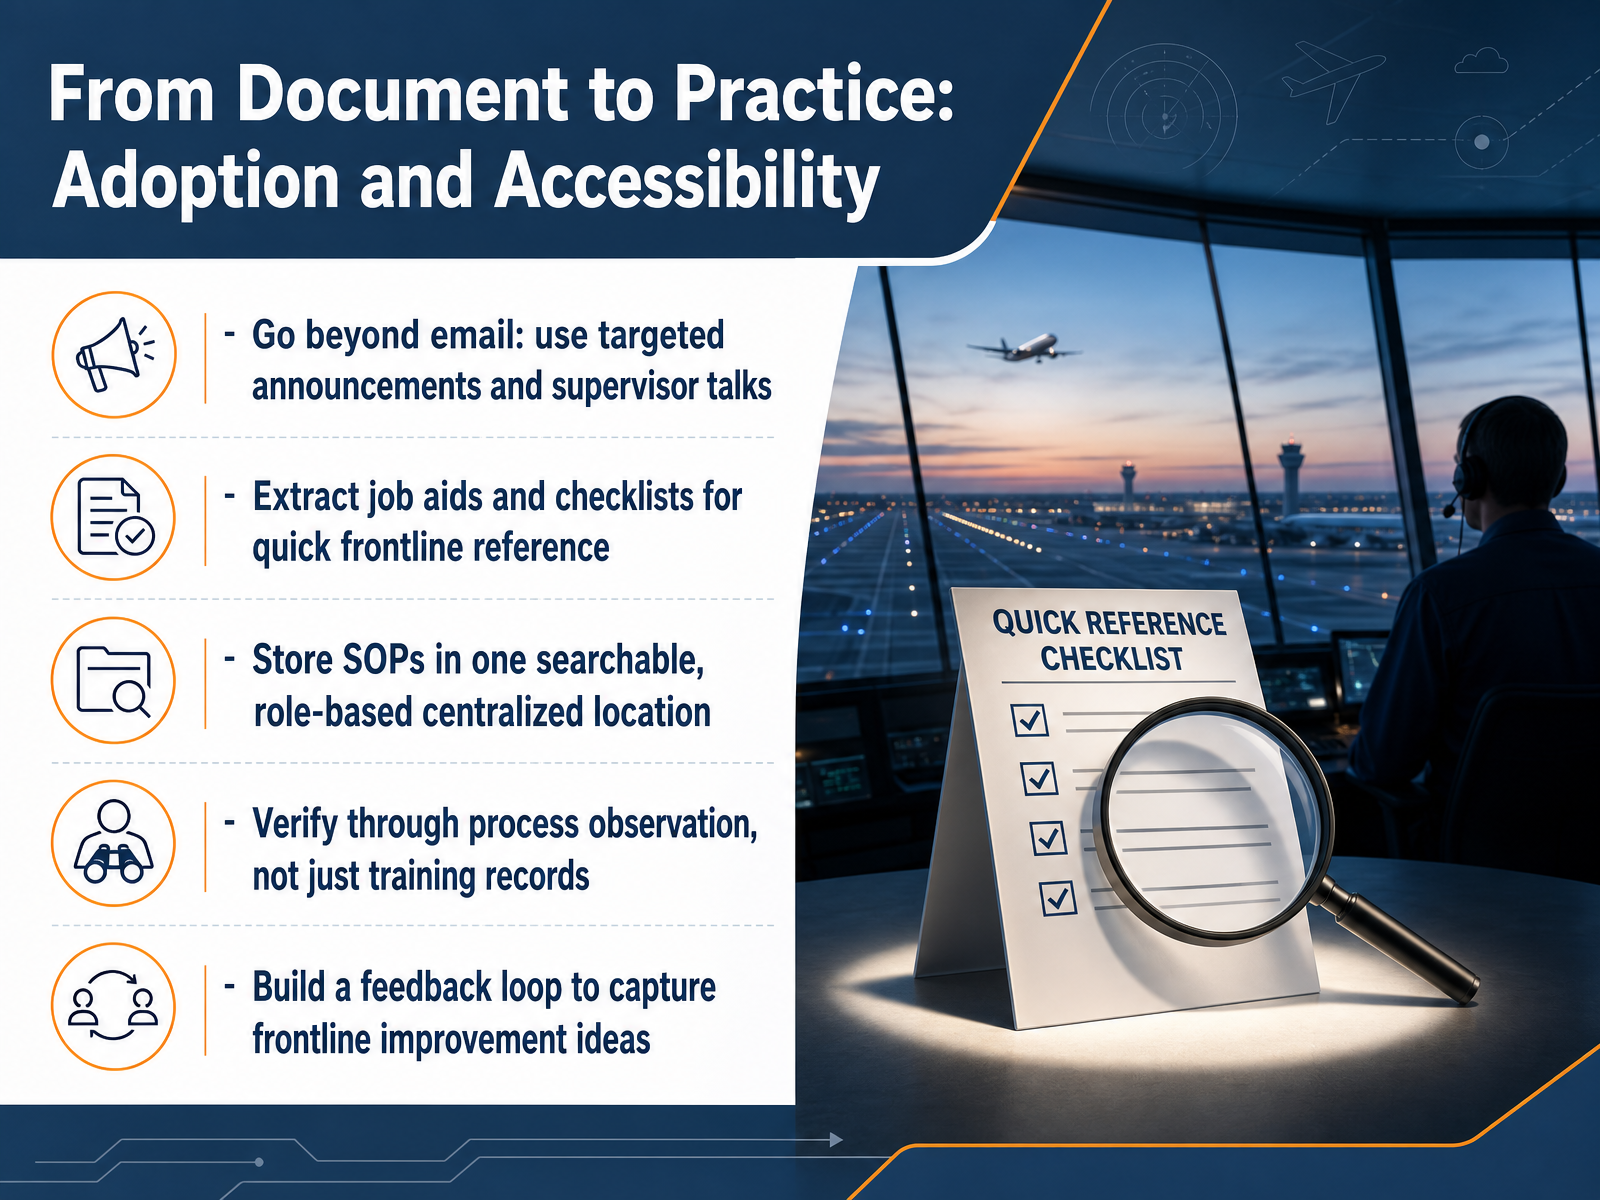
1 min - 13From Document to Practice: Adoption and AccessibilityAn SOP only creates value when people use it on the floor. So let’s move from document to practice. Don’t just bury the file in an email thread. Pair the release with a short supervisor talk and a targeted announcement where your teams actually see it. Next, pull out quick-reference job aids and checklists from the full procedure. A one-page visual often beats a six-page document in a live environment. Then store everything in a single searchable, role-based location. Frontline staff should find their procedure in seconds, not by digging through shared drives. For verification, don’t rely on training records alone. Watch the work. Process observation confirms whether the SOP is practical and understood. Finally, build a feedback loop. Make it easy for operators to flag improvements, so the document stays alive and gets better over time. Up next, we’ll look at standardizing that content with templates and a single source of truth.
 2 min
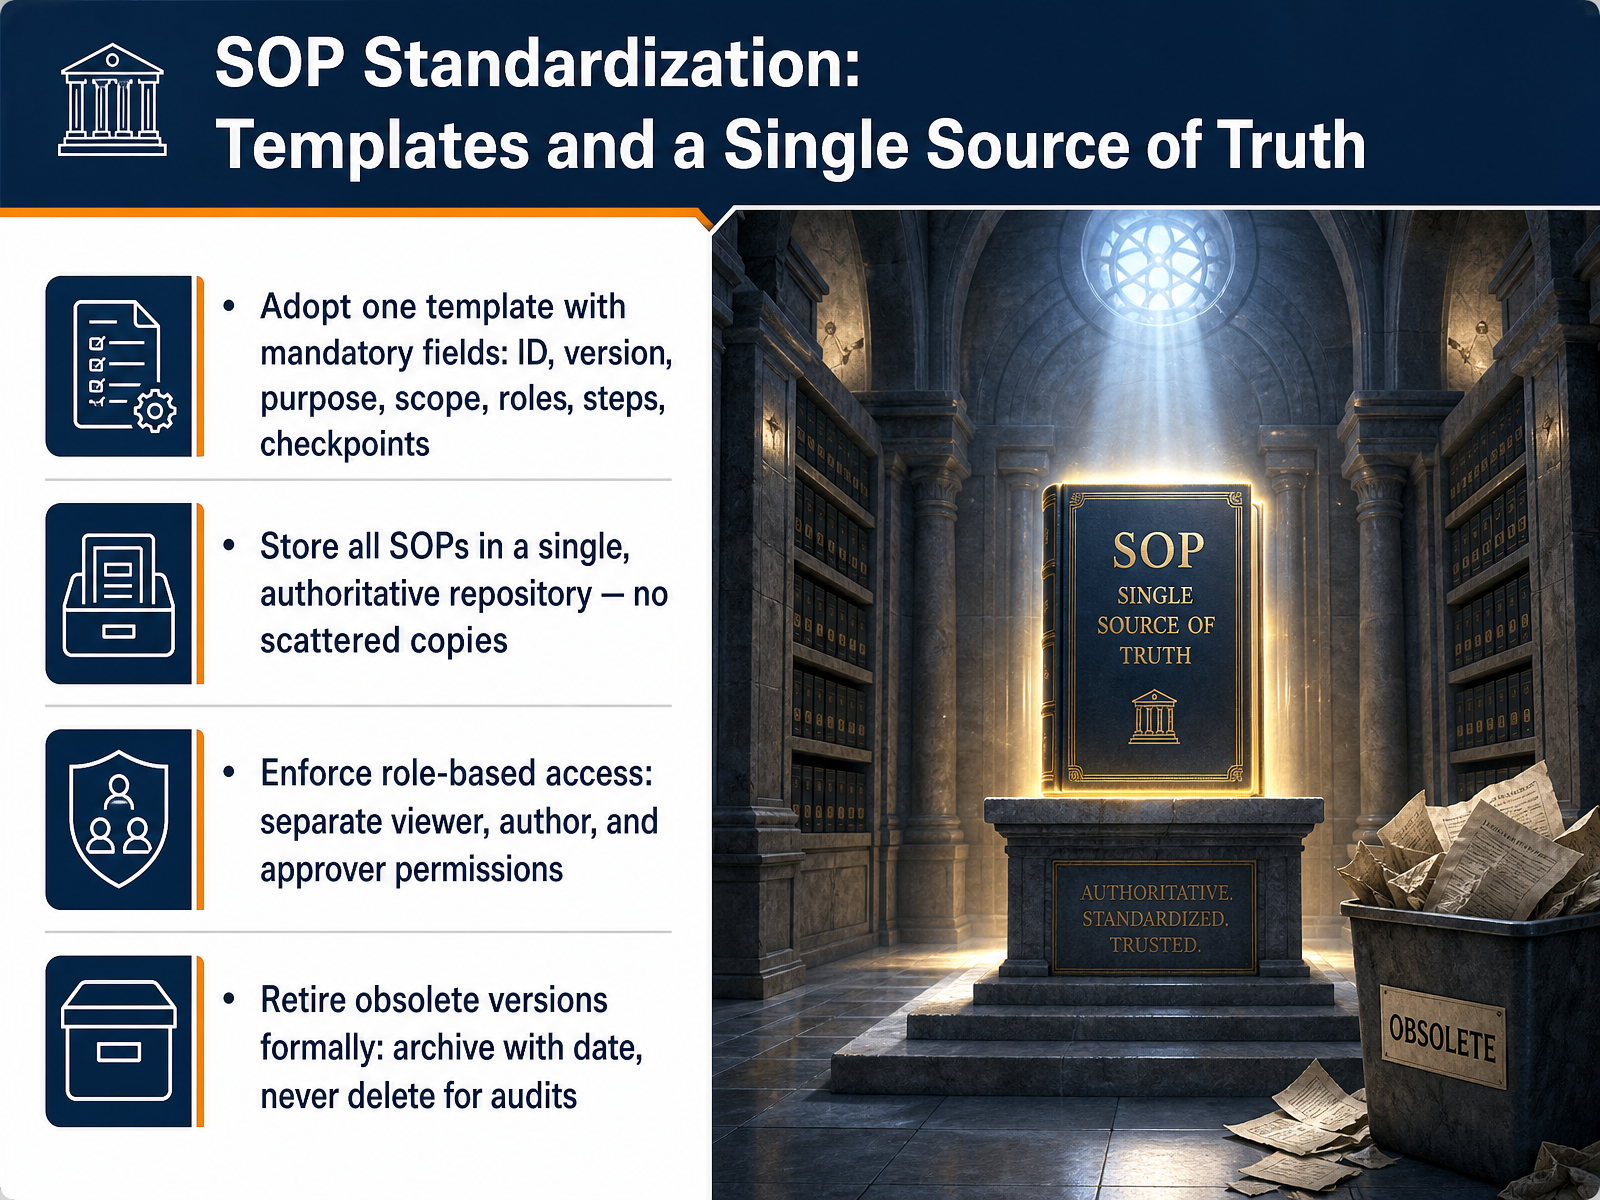
2 min - 14SOP Standardization: Templates and a Single Source of TruthNow let's talk about how you maintain consistency once those first few SOPs are written. Standardization comes from three simple controls. First, adopt one template. Every SOP you publish should use the same mandatory fields: ID, version, purpose, scope, roles, steps, and checkpoints. When a technician opens any procedure, they should know exactly where to look. Second, store all SOPs in a single, authoritative repository. No scattered copies on desktops or shared drives. One source of truth means one place to update. Third, enforce role-based access. Viewers can read. Authors can draft. Approvers can release. This prevents unofficial edits. Finally, retire obsolete versions formally. Archive them with a retirement date, but never delete them. Audit trails depend on that history. In the final slide, we'll wrap up with key takeaways and what your first 30 days as an SOP writer should look like.
 2 min
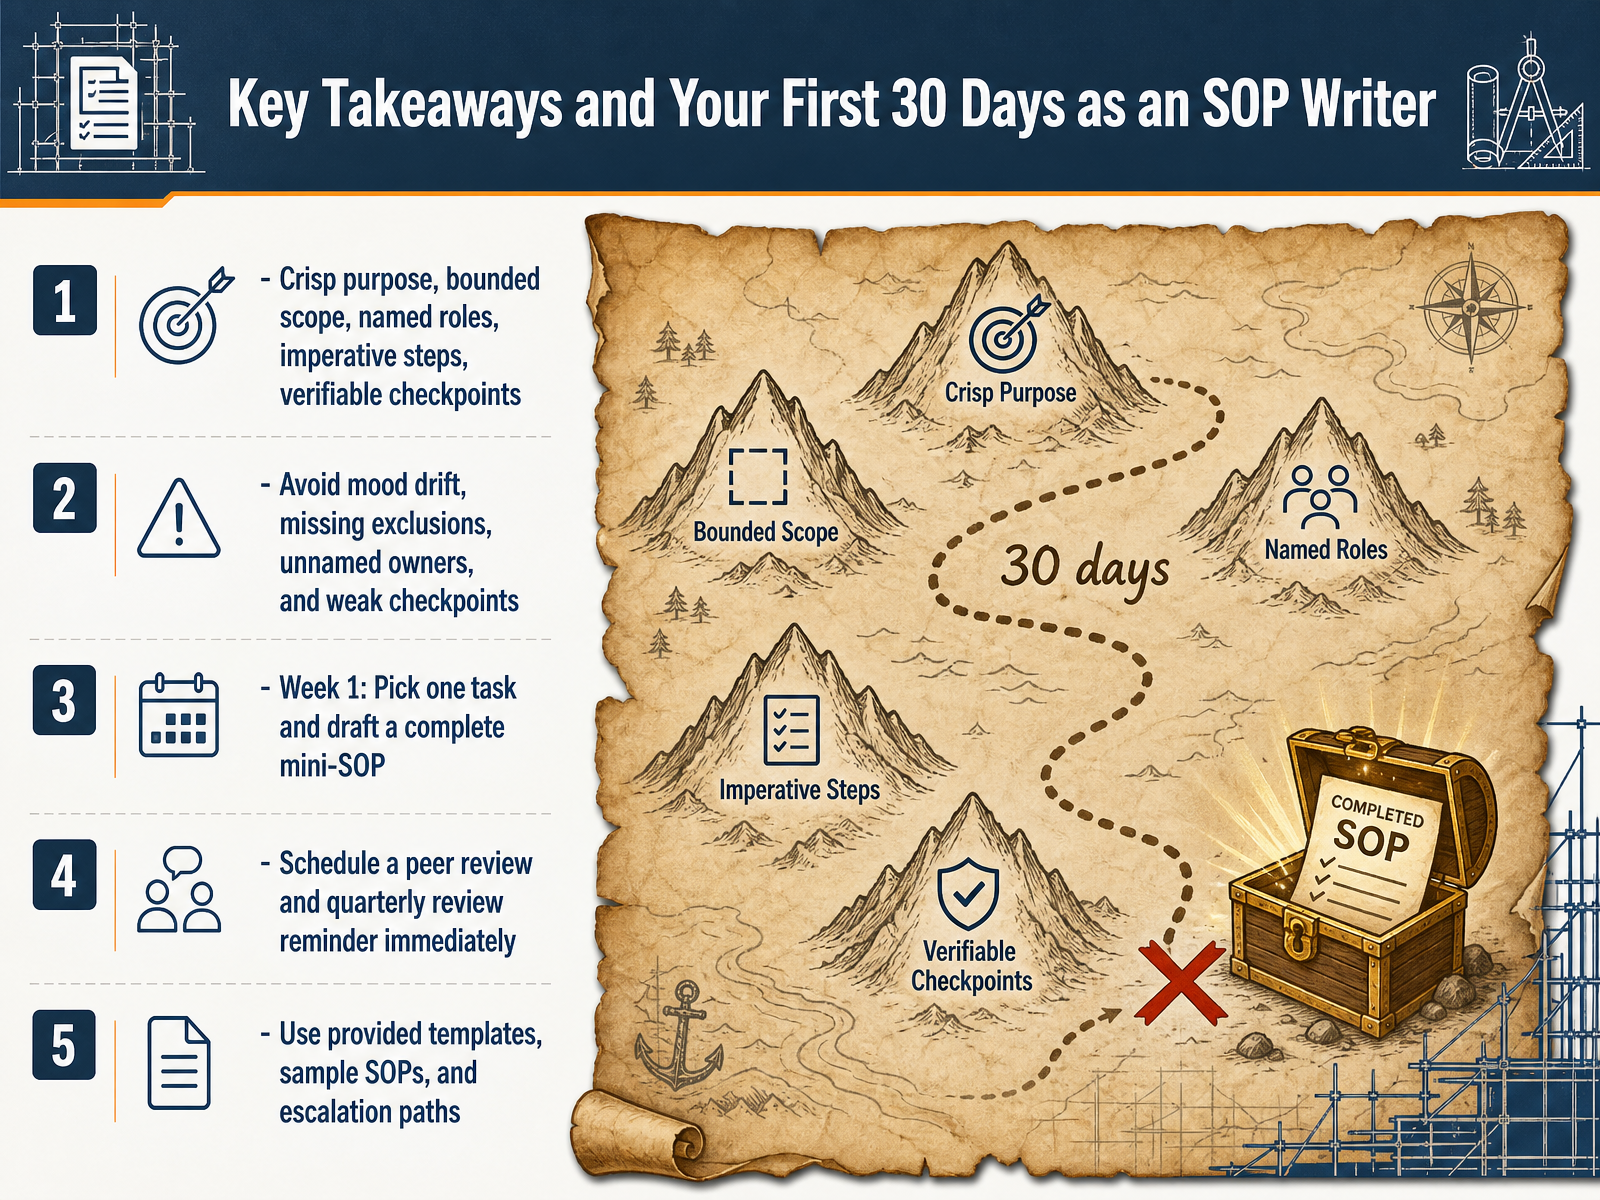
2 min - 15Key Takeaways and Your First 30 Days as an SOP WriterBefore we close, let's look at what you'll do in your first thirty days as an SOP writer. Keep the five structural elements front and center: a crisp purpose, a bounded scope, named roles, imperative steps, and verifiable checkpoints. Watch out for the most common traps: mood drift, missing exclusions, unnamed owners, and weak checkpoints that can't be verified. Your week one assignment is concrete: pick one repeated task you know well and draft a complete mini-SOP. As soon as you finish that draft, schedule a peer review and set a quarterly review reminder. Let the calendar hold you accountable right from the start. Use the provided templates, sample SOPs, and escalation paths so you're never starting from a blank page. You now have the structure and the next actions. Thank you for investing this time, and good luck turning your know-how into clear, usable procedures.
 1 min
1 min
Take the deck with you
Download this course as a file — free, no sign-up needed.
- PDF handoutEvery slide page, ready to print or share.16 pages · 5.1 MBDownload
- Narrated PowerPointThe deck that presents itself — every slide carries the digital human's narration video.16 pages · 26.9 MBDownload
- PowerPoint slidesThe full deck as a .pptx — open it in PowerPoint, Keynote, or Google Slides.16 pages · 5.0 MBDownload
Free to use in your own training — please keep the PersonWise credit page at the end.
Have your own deck? Turn it into a course