Begin
15 pages · ~30 min
Locking Excel Spreadsheets
Learn how to lock an Excel spreadsheet to protect your data from unwanted edits. Ideal for professionals who want to secure their workbooks.
A digital instructor presents all 15 pages. Hold “Ask” at any point and ask out loud — the answer comes from this course. No sign-up needed.
What you’ll learn
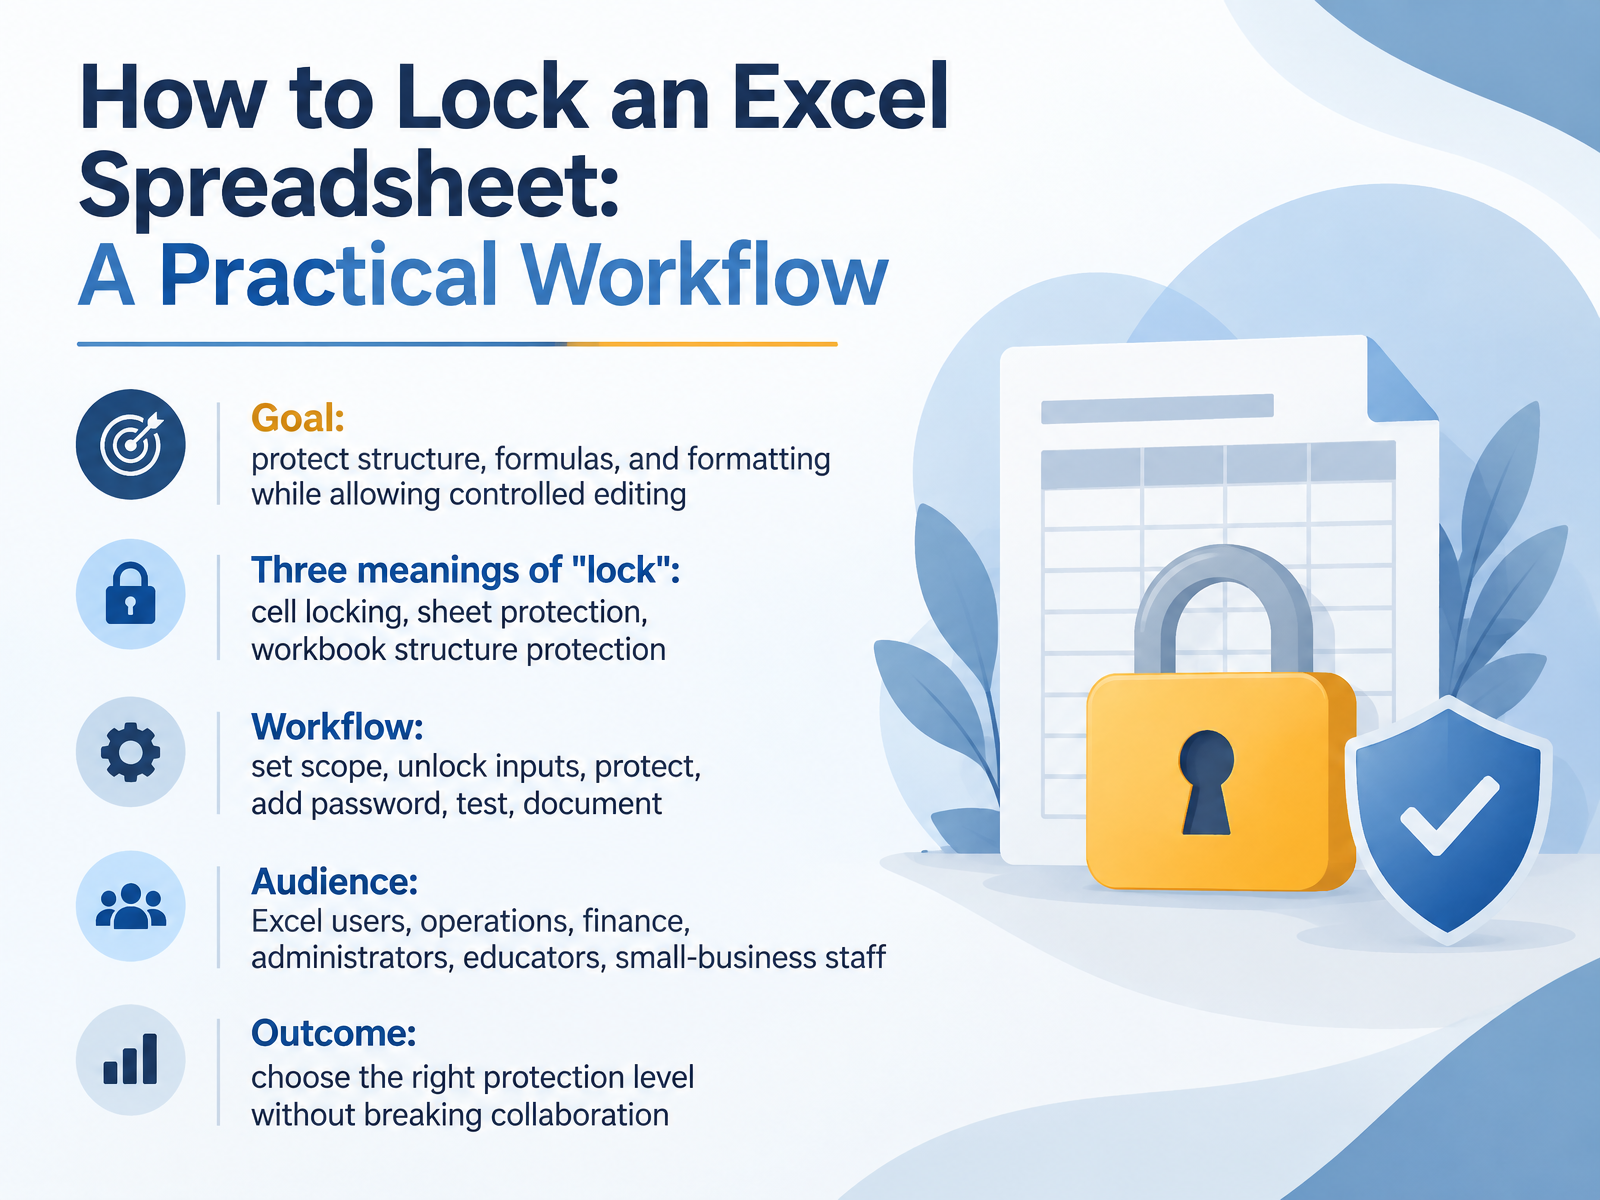
- 01How to Lock an Excel Spreadsheet: A Practical WorkflowWelcome. This course walks you through a practical workflow for locking an Excel spreadsheet, so you can protect structure, formulas, and formatting while still allowing controlled editing.
Before we start, let's separate three meanings of lock. Cell locking controls what can be edited once a sheet is protected. Sheet protection controls how users can work within a worksheet. Workbook structure protection prevents others from adding, moving, deleting, hiding, or renaming sheets.
Our workflow follows six steps: set the scope, unlock input cells, protect, add a password, test, and document.
This is built for Excel users in operations, finance, administration, education, and small-business settings.
By the end, you'll choose the right protection level without breaking collaboration. Next, we'll look at why locking matters and what it does not do.support.microsoft.comsupport.microsoft.comsupport.microsoft.com+21 min
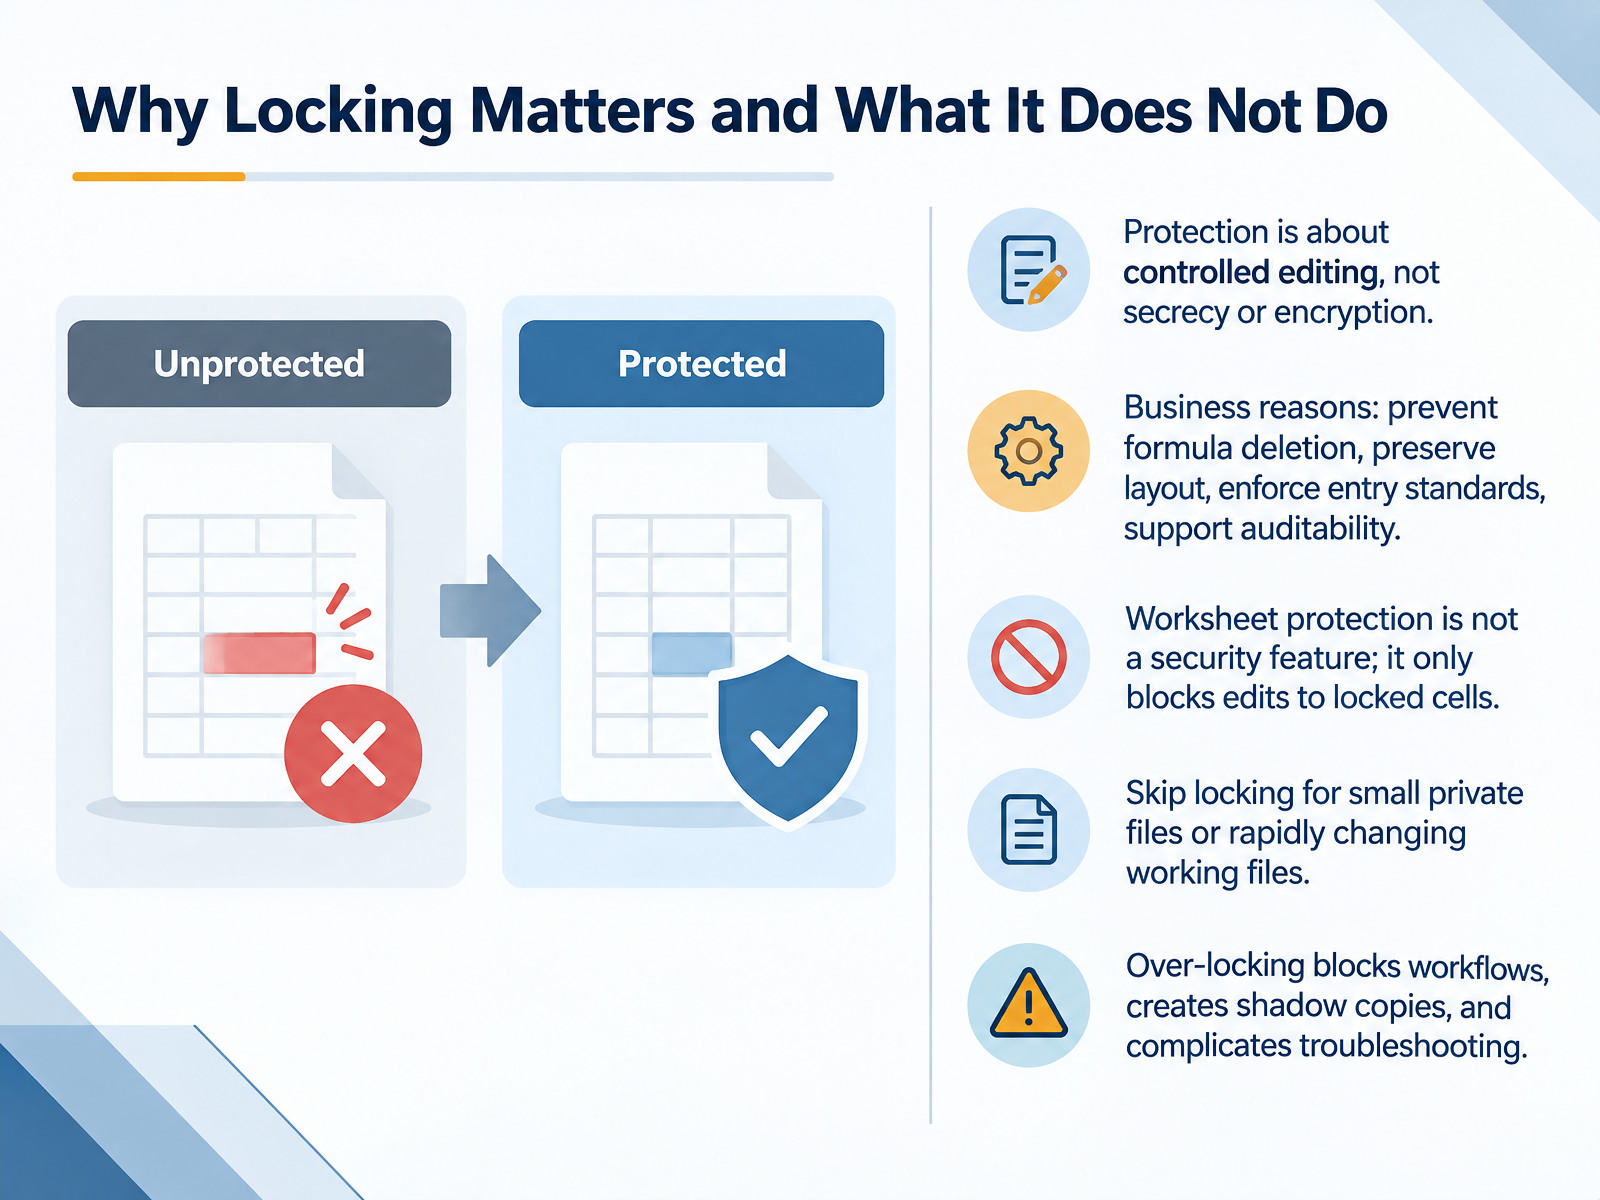
- 02Why Locking Matters and What It Does Not DoNow, let's get clear on what locking actually does. Protection is about controlled editing, not secrecy or encryption. It keeps your structure and formulas intact while others work in the file. The business reasons are practical. Prevent formula deletion. Preserve your layout. Enforce entry standards. And support auditability. Just remember one thing: worksheet protection is not a security feature. It only blocks edits to locked cells. It does not hide data, and it is not encryption. Now, when should you skip locking? For small private files, or rapidly changing working files, it often is not worth the friction. Over-locking blocks workflows, creates shadow copies, and complicates troubleshooting. So lock with intent. Next, we'll cover core concepts: cell locking, sheet protection, and workbook protection.
 support.microsoft.comsupport.microsoft.comsupport.microsoft.com+21 min
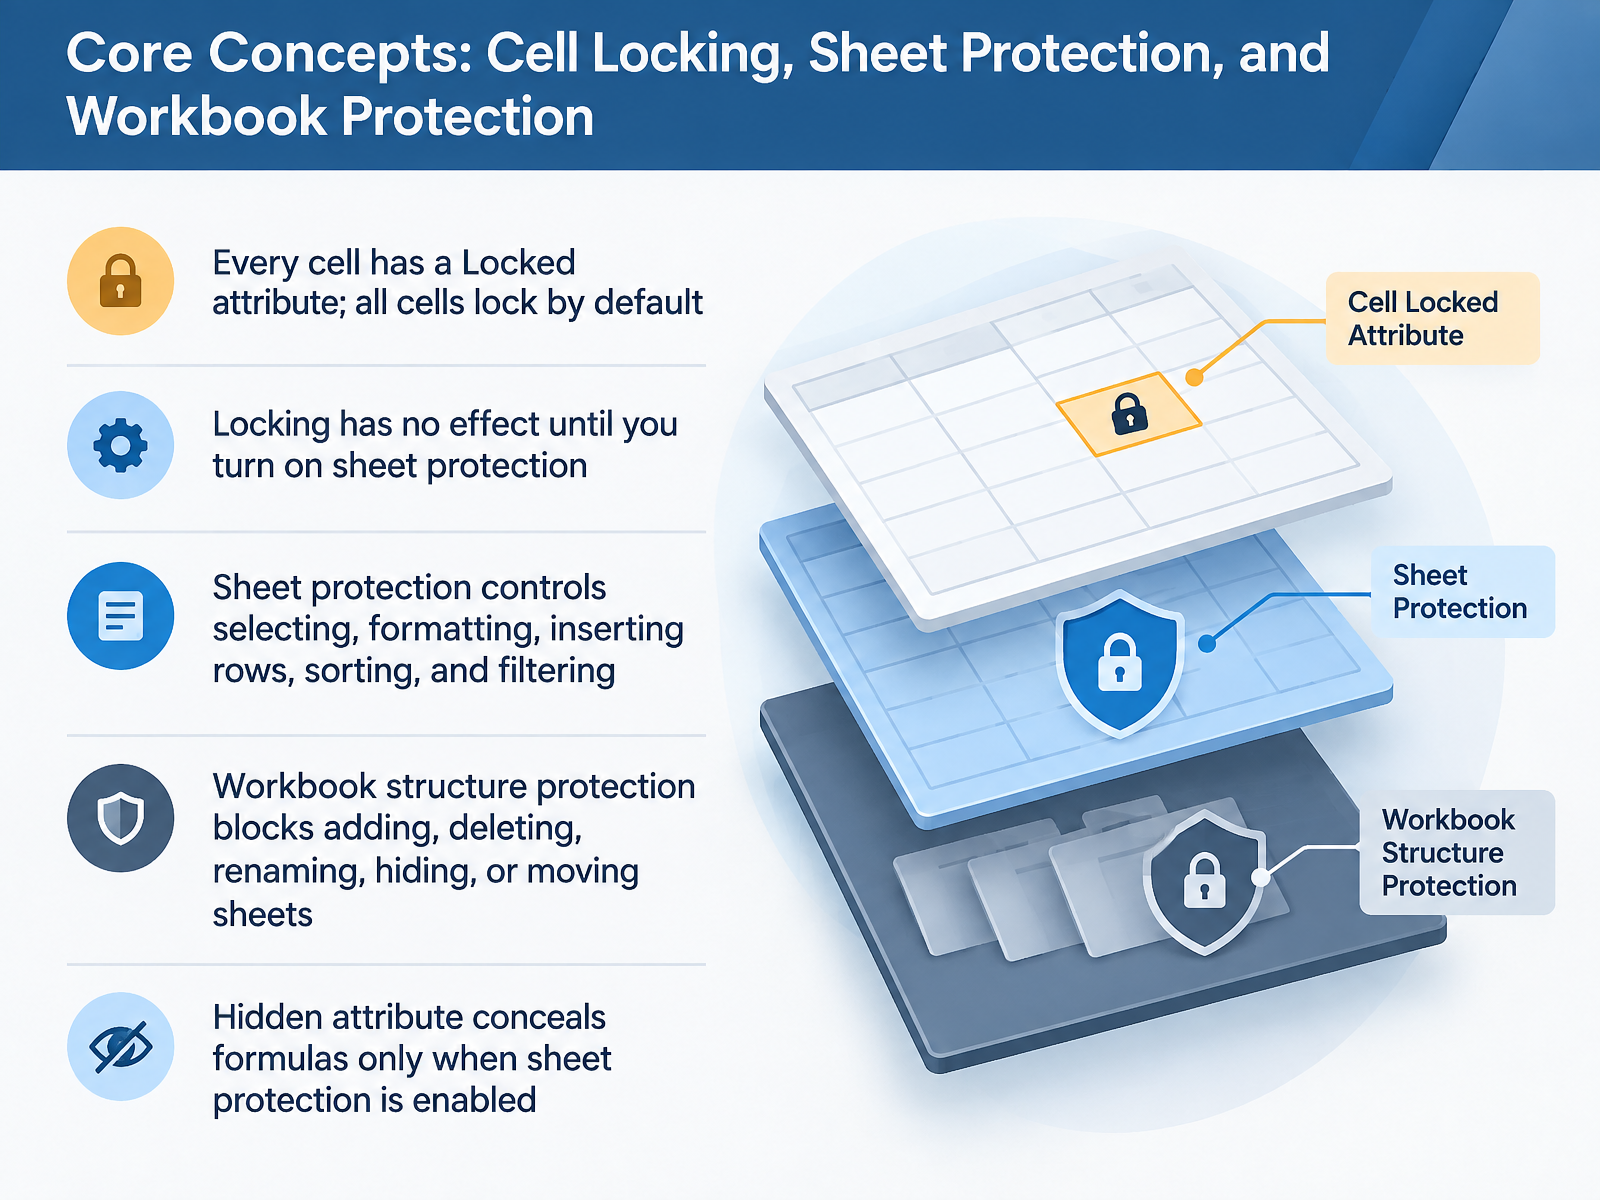
 - 03Core Concepts: Cell Locking, Sheet Protection, and Workbook ProtectionLet's define the core concepts you'll apply throughout this workflow. Every cell in Excel carries a Locked attribute, and that attribute is on by default. Here's the key point. Locking on its own does nothing. The lock only takes effect once you turn on sheet protection. Think of the lock as the setting and protection as the switch. Sheet protection controls what users can do inside a single worksheet: selecting cells, applying formats, inserting rows, sorting, and filtering. Those permissions are yours to allow or deny. Workbook structure protection operates at a different level. It blocks adding, deleting, renaming, hiding, or moving sheets across the entire file. Finally, the Hidden attribute conceals formulas from view, but it only works when sheet protection is enabled. So a hidden formula on an unprotected sheet is still visible. Review these three layers, confirm which one matches your goal, and you'll choose the right protection every time. Before You Lock: Preparing the Workbook.
 support.microsoft.comsupport.microsoft.comsupport.microsoft.com+22 min
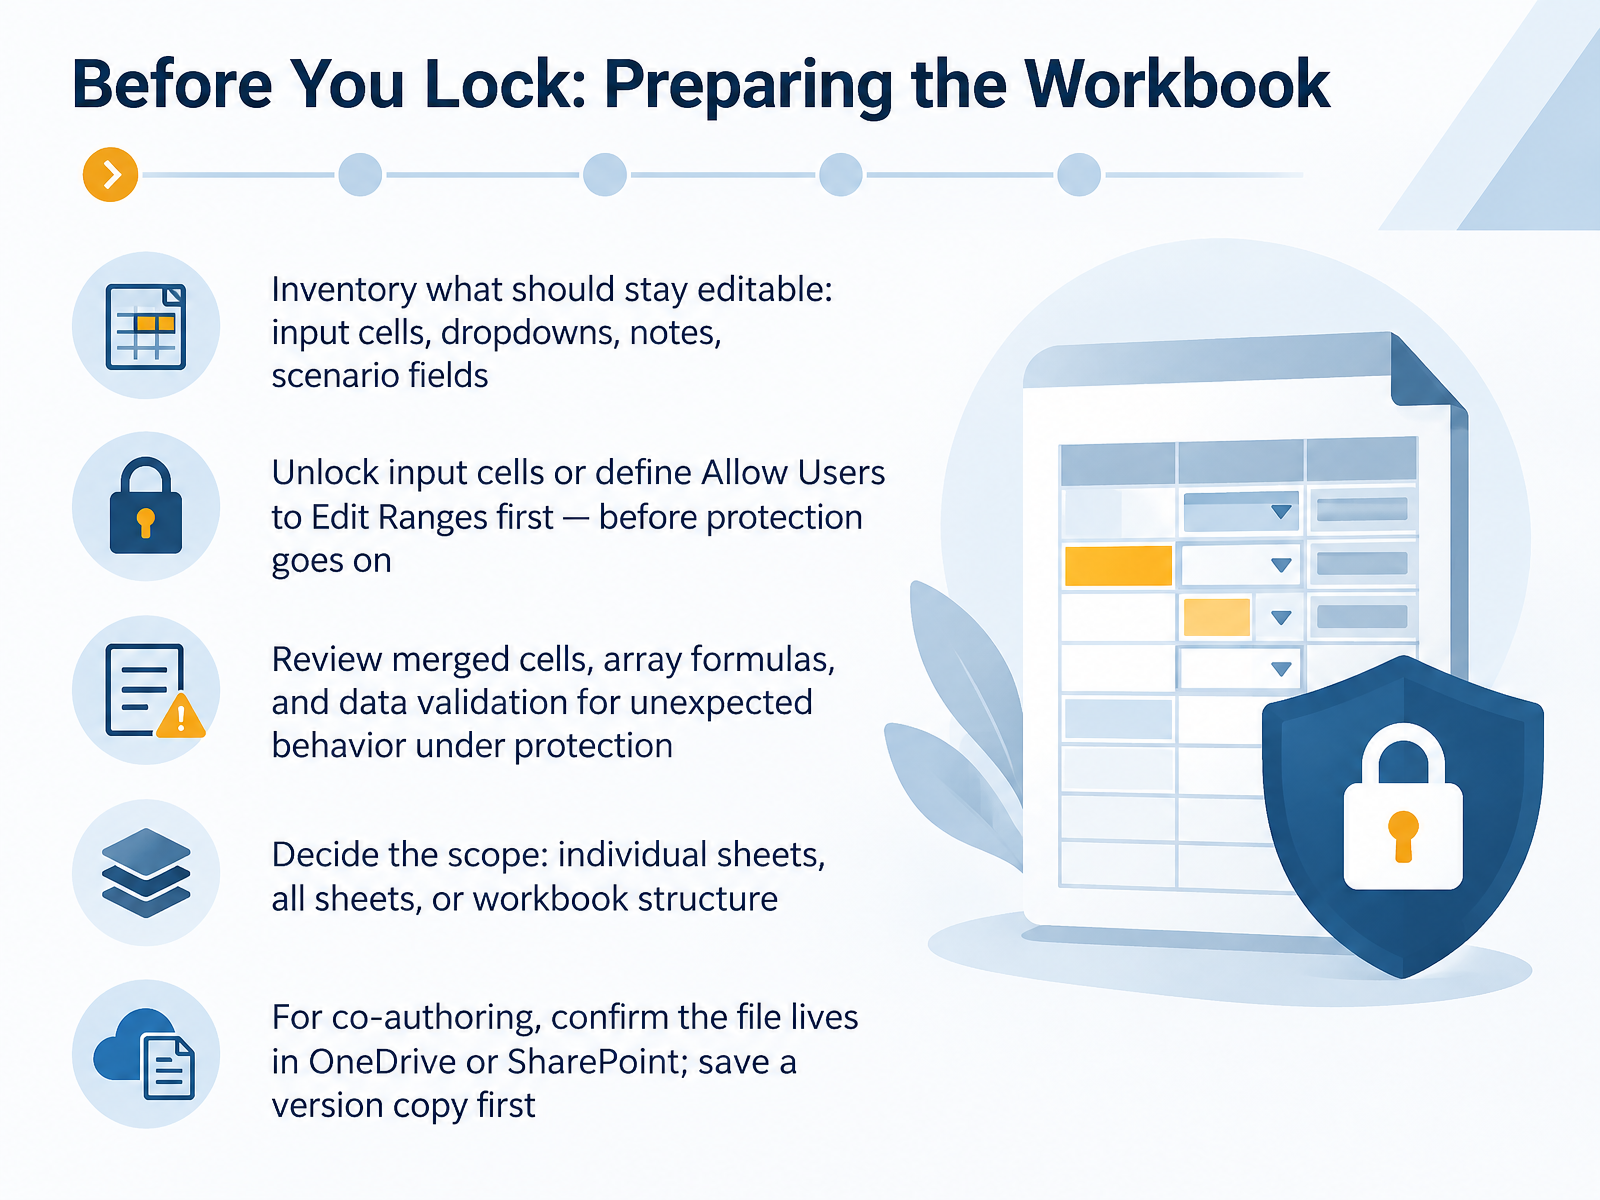
 - 04Before You Lock: Preparing the WorkbookNow let's prepare before you lock anything. Start by inventorying what should stay editable: input cells, dropdowns, notes, and scenario fields. Unlock those input cells, or define Allow Users to Edit Ranges, before protection goes on. Confirm the scope of protection as well. It can apply to individual sheets, all sheets, or workbook structure. For each range you unlock, select New, name it, set the cell reference, and note any range password in your documentation. Also review merged cells, array formulas, and data validation, since they can behave unexpectedly under protection. If the file is meant for co-authoring, confirm it lives in OneDrive or SharePoint, not on a local drive or an on-premises server. Save a version copy first. And keep in mind, password encryption and Information Rights Management can block co-authoring entirely, even when the file is stored in the right place. Prep first, protection second. Next, we will walk through Step-by-Step: Protecting a Worksheet.
 support.microsoft.comsupport.microsoft.comlearn.microsoft.com+22 min
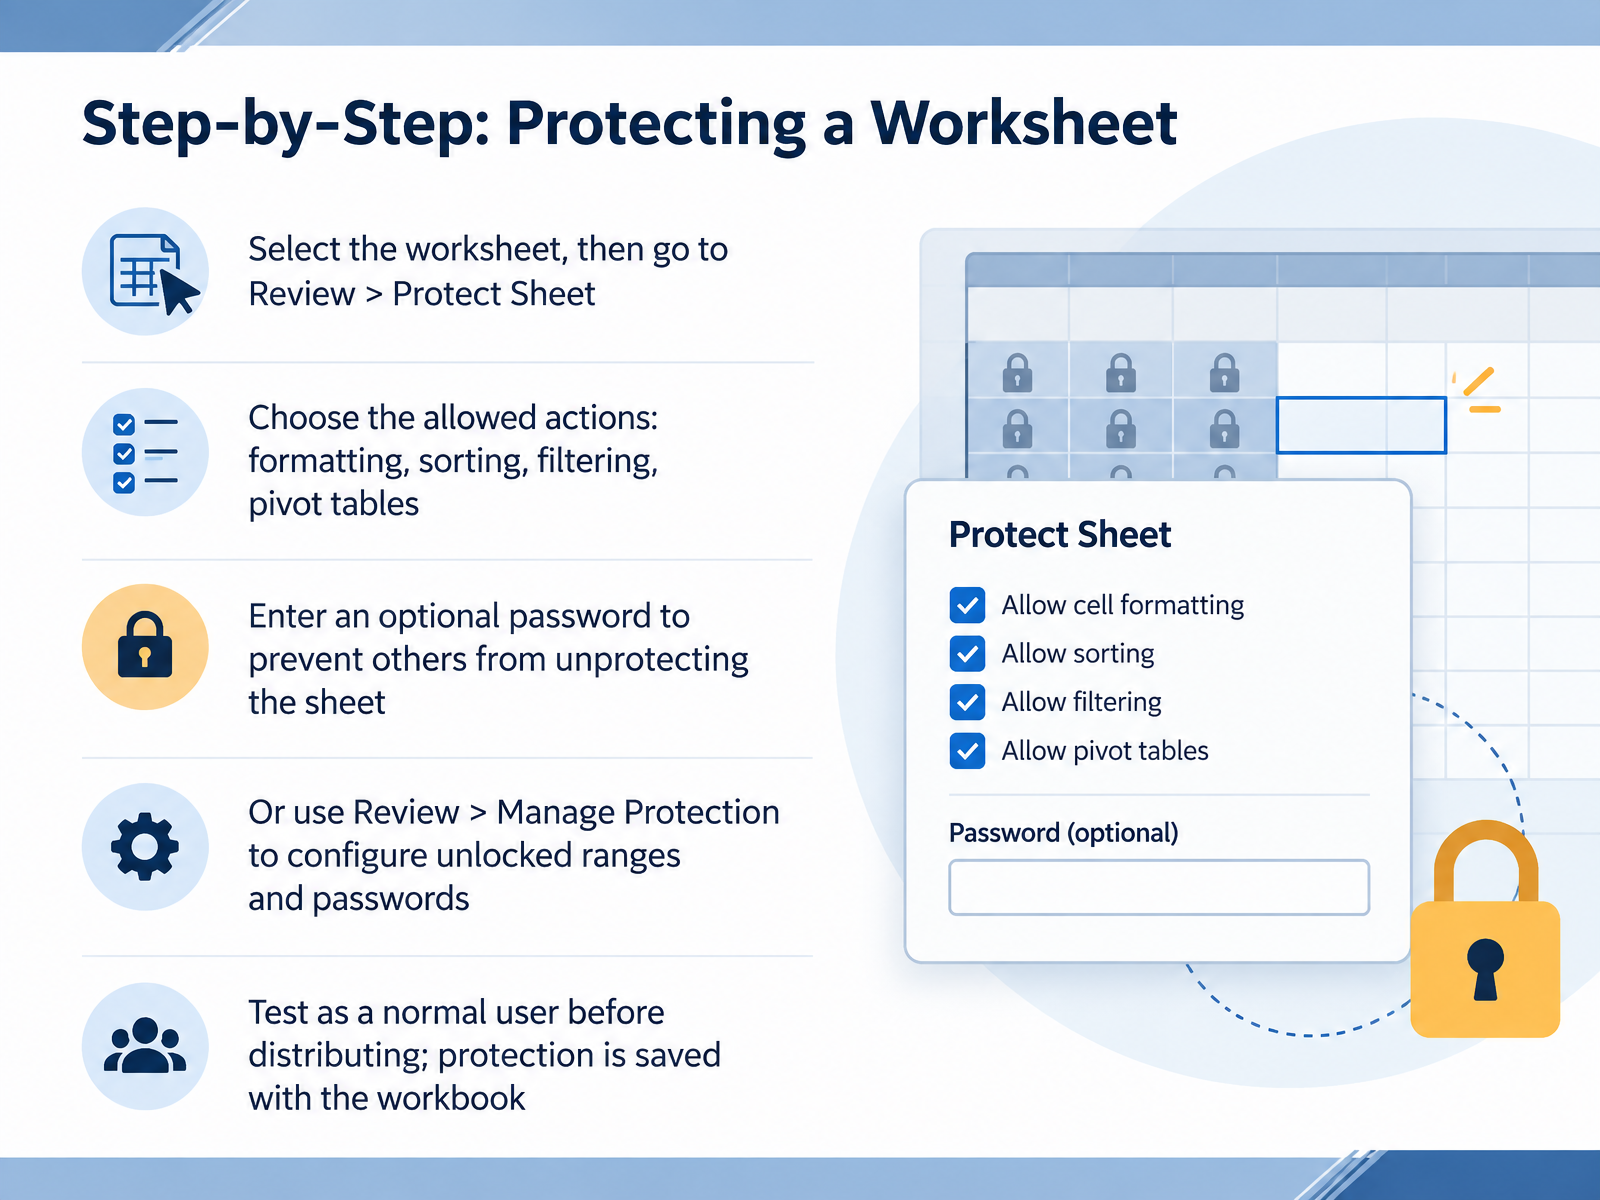
 - 05Step-by-Step: Protecting a WorksheetNow let's walk through the protection workflow itself. Select the worksheet you want to lock, then go to the Review tab and choose Protect Sheet. In the dialog box, decide what users may still do. Check the boxes for formatting, sorting, filtering, or pivot tables as needed. Everything else stays locked. Next, enter an optional password in the password to unprotect sheet box. This password stops others from simply turning protection off, so store it somewhere safe, because Microsoft cannot retrieve it. For finer control, choose Review, then Manage Protection. There you can define unlocked ranges and assign passwords to specific ranges. When you finish, click OK, and confirm the password if prompted. Then test the sheet as a normal user before distributing it. Protection is saved with the workbook, so it travels with the file. Now let's look at protecting the workbook structure.
 support.microsoft.comsupport.microsoft.comexcelmojo.com+22 min
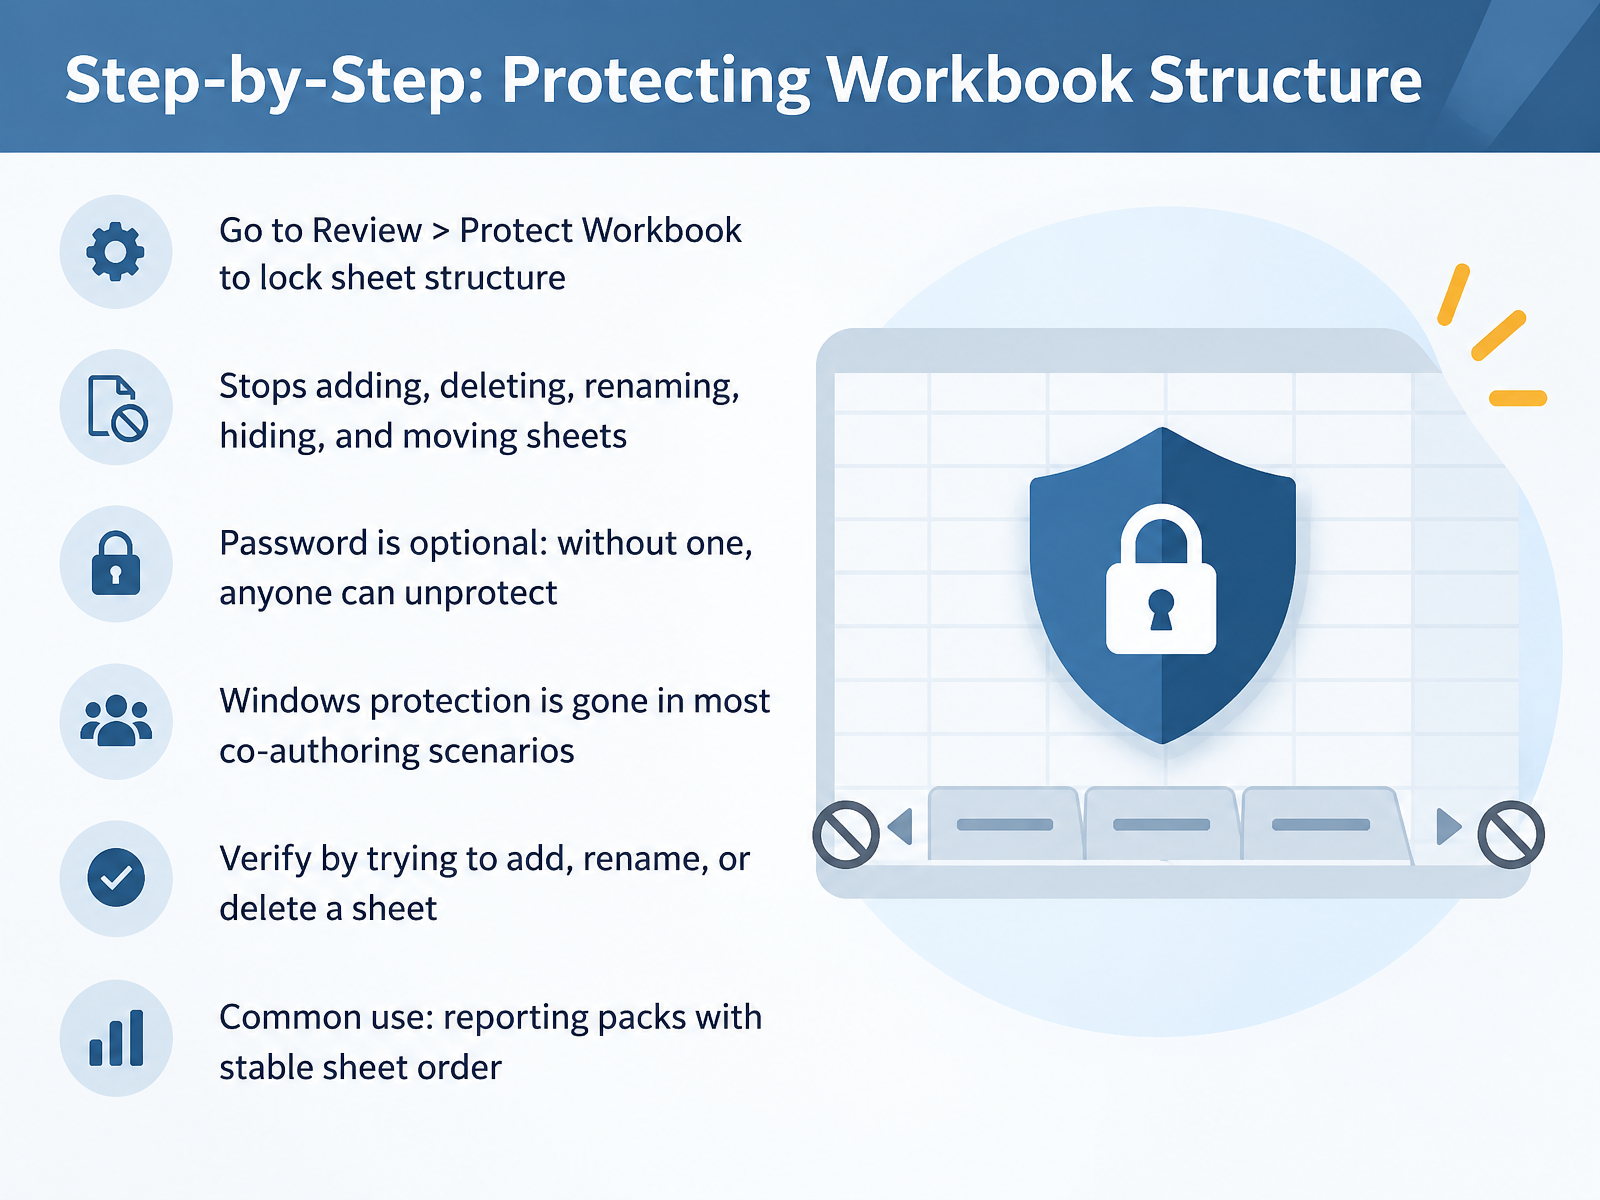
 - 06Step-by-Step: Protecting Workbook StructureNow let's protect the workbook structure itself. Go to the Review tab, then select Protect Workbook. Select the Structure checkbox. This locks the relative position of your sheets. It stops others from adding, deleting, renaming, hiding, or moving worksheets. The password is optional. Without one, anyone can unprotect and change the structure. Know that this Windows protection is gone in most co-authoring scenarios. Always verify your work. Try to add, rename, or delete a sheet. You should see those options grayed out. A common use is a reporting pack with a fixed sheet order. Keep your structure stable and predictable. Next, we will look at allowing controlled editing with input cells and edit ranges.
 support.microsoft.comlearn.microsoft.comsupport.microsoft.com+21 min
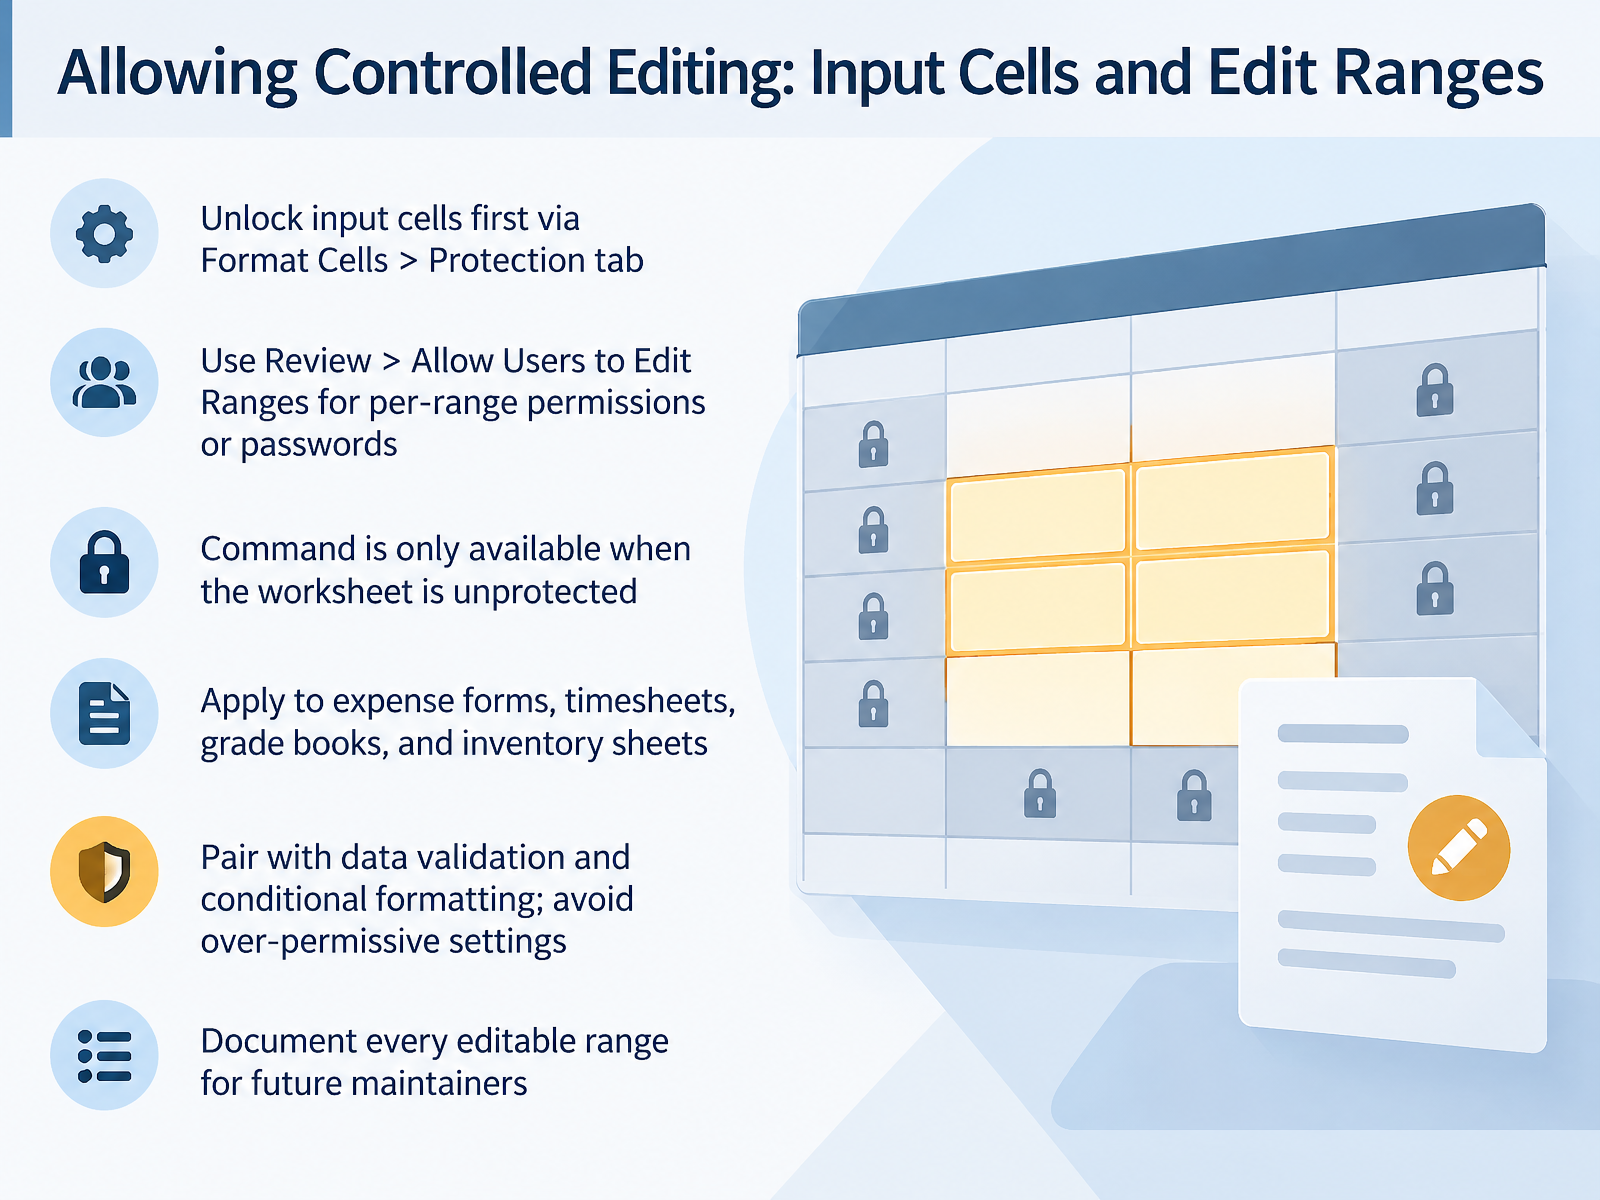
 - 07Allowing Controlled Editing: Input Cells and Edit RangesNow let's talk about allowing controlled editing. This is how you keep a sheet protected while still letting people fill in the blanks. First, decide which cells are inputs. Select them, open Format Cells, go to the Protection tab, and clear the Locked checkbox. Do that before you protect the sheet. Next, if you need tighter control, use Review, then Allow Users to Edit Ranges. This command only works while the worksheet is unprotected, so set it up first. There, you can name each range, set a range password, and assign per-range permissions. A quick note: per-user permissions depend on your Windows domain, so many teams simply share a strong range password instead. You will see this pattern in expense forms, timesheets, grade books, and inventory sheets. Pair it with data validation and conditional formatting, and avoid over-permissive settings. Finally, document every editable range so the next person can maintain it. A short list of range names and passwords saves hours later. With input cells unlocked and edit ranges defined, you have precise, reversible control. Next, let's look at protecting formulas and hidden data.
 support.microsoft.comsupport.microsoft.comsupport.microsoft.com+12 min
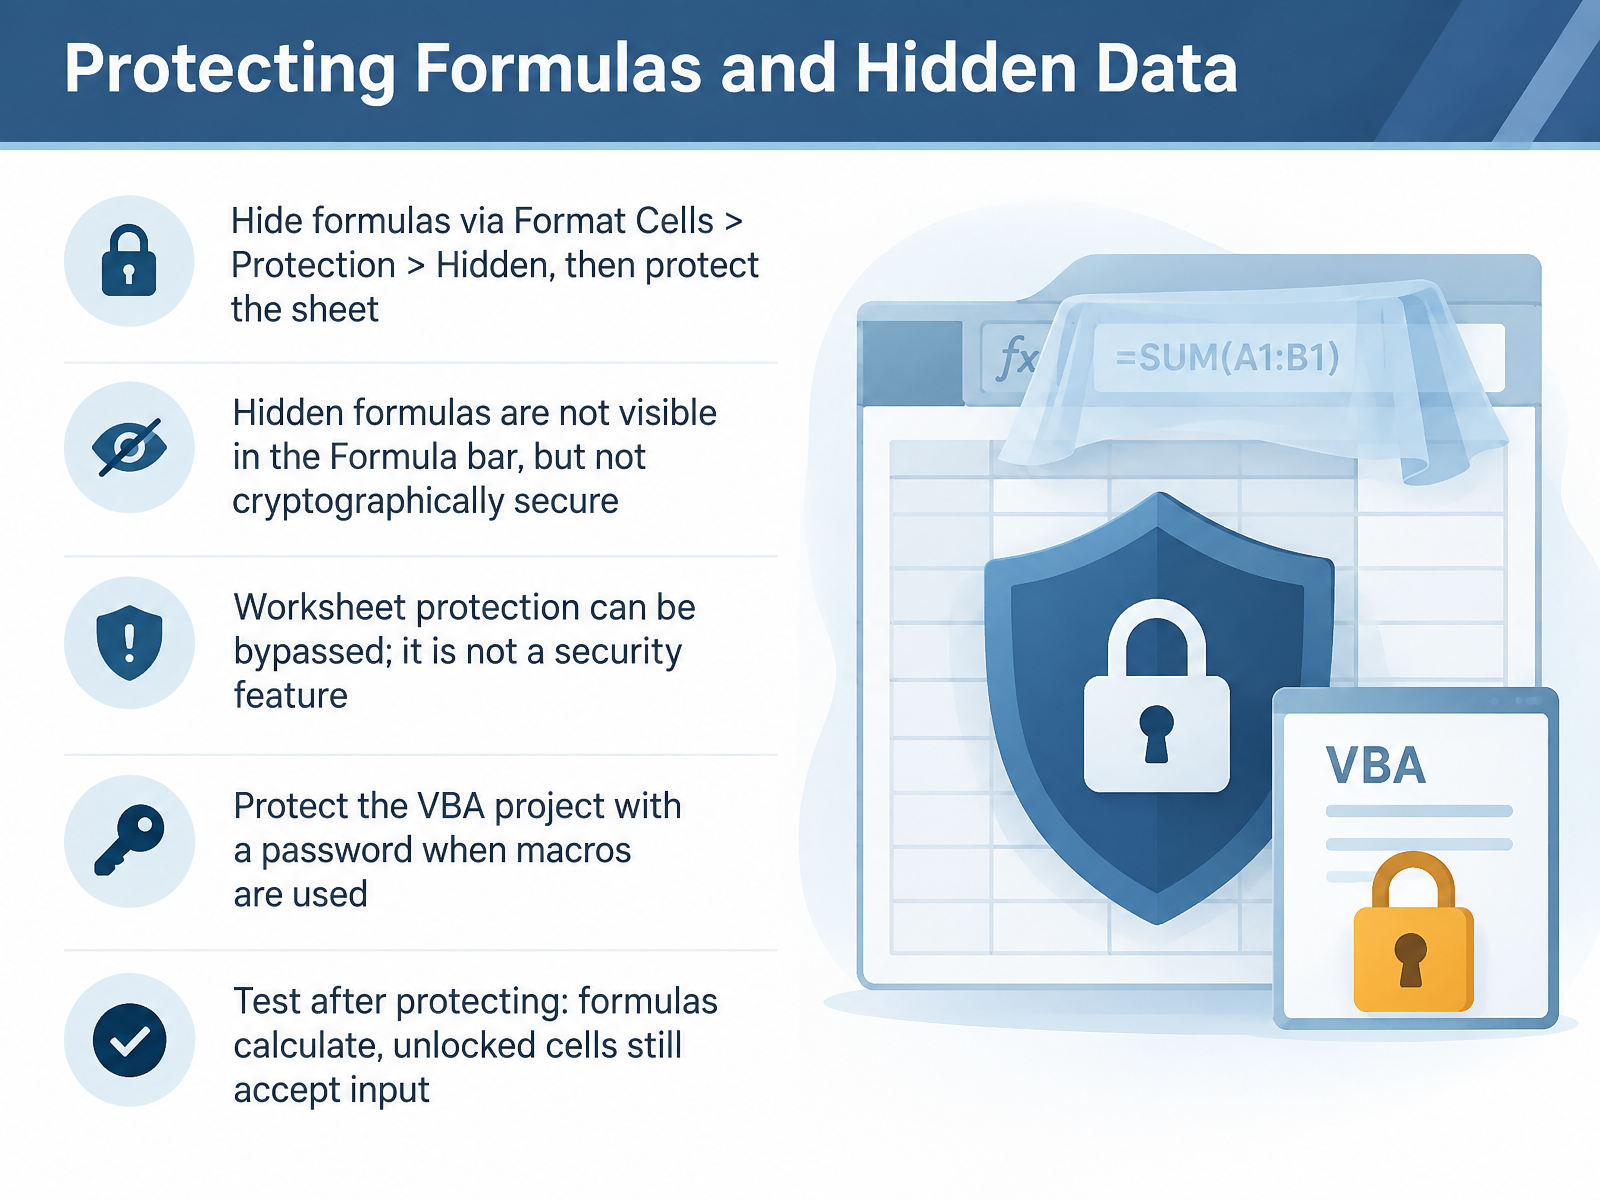
 - 08Protecting Formulas and Hidden DataNext, let's protect the formulas themselves and any hidden data behind them. Select the cells containing formulas, open Format Cells, go to the Protection tab, and check Hidden. Then protect the sheet. Once protected, those formulas no longer appear in the Formula bar. Just be clear on what this is: it is not cryptographic security. Worksheet protection can be bypassed, because it is a convenience feature, not a security feature. So do not rely on it to guard sensitive data. If your workbook uses macros, also protect the VBA project with a password, since the code is stored separately. Then test after protecting. Confirm that formulas still calculate correctly and that unlocked cells still accept input. That quick check catches locked ranges you did not intend. Next, we will look at Co-Authoring and Cloud Storage: What Changes with Protection.
 support.microsoft.comlearn.microsoft.comsupport.microsoft.com+21 min
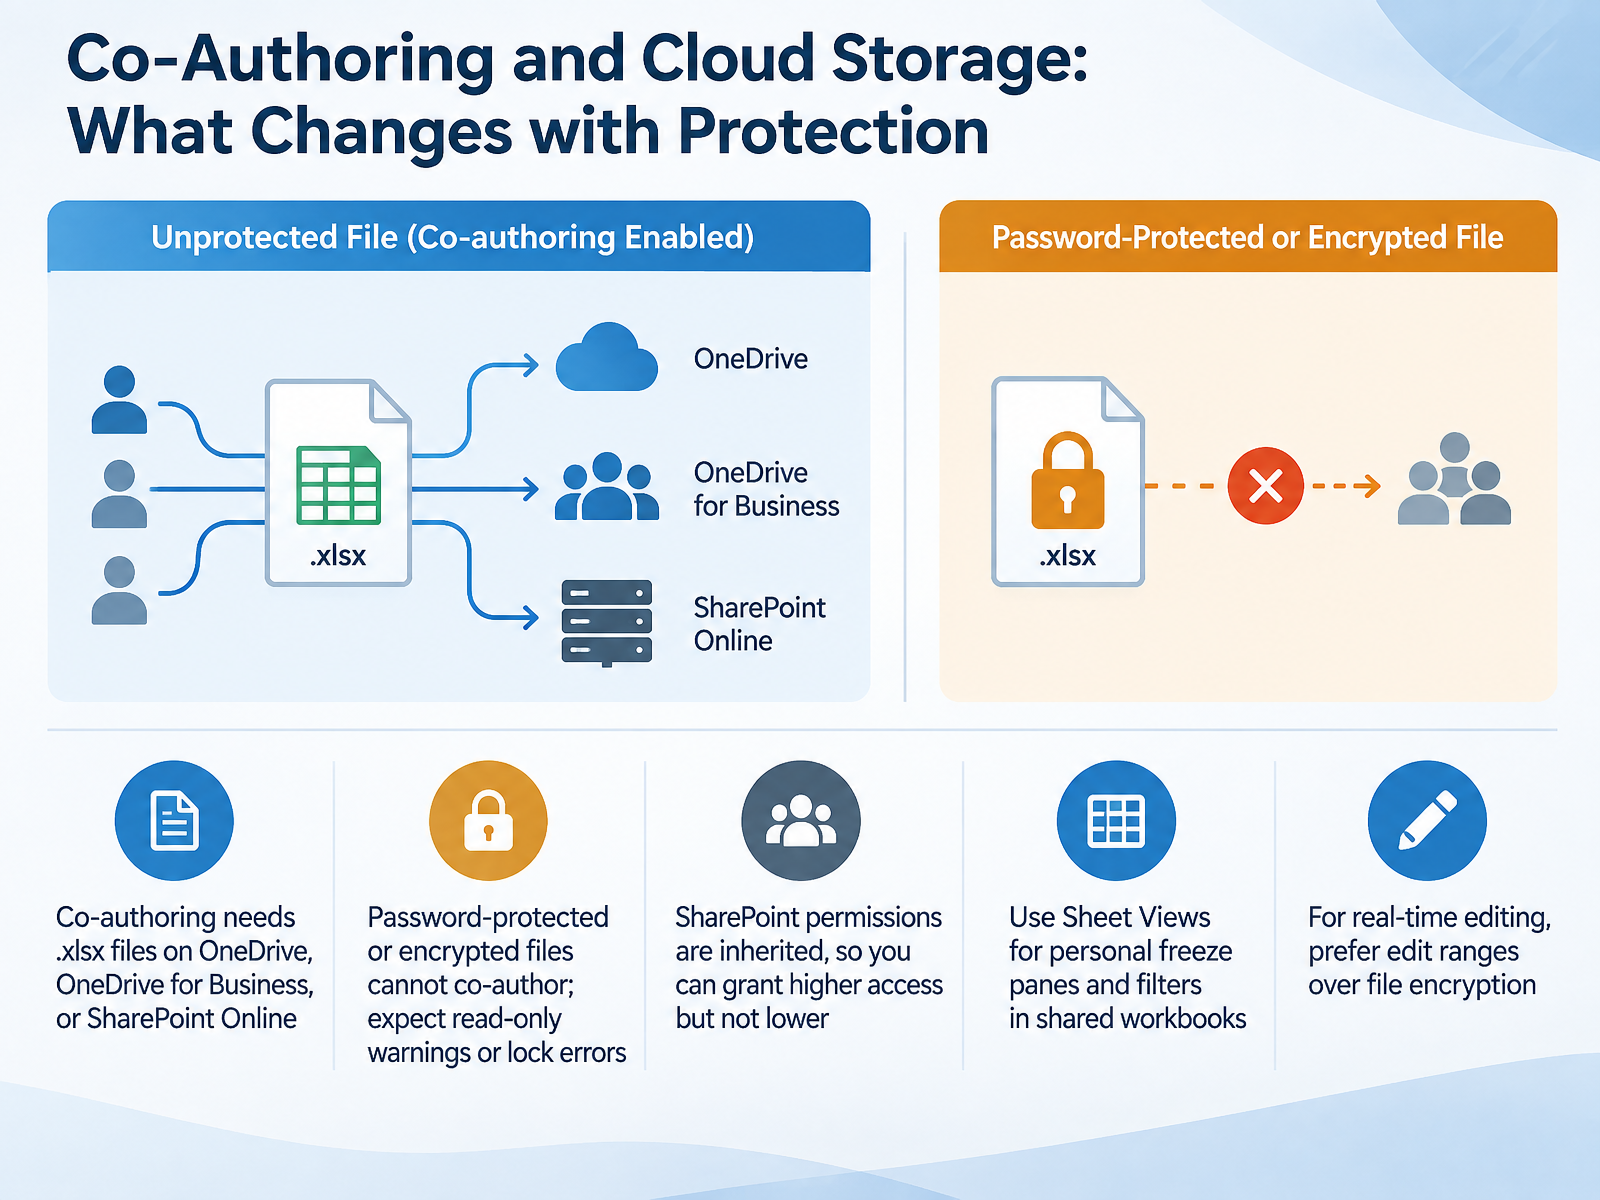
 - 09Co-Authoring and Cloud Storage: What Changes with ProtectionNow let's look at what changes when you combine protection with co-authoring and cloud storage. Co-authoring only works with .xlsx files stored on OneDrive, OneDrive for Business, or SharePoint Online. It does not work on SharePoint On-Premises sites. Keep this in mind: password-protected or encrypted files cannot co-author. If you encrypt a workbook, expect read-only warnings or lock errors when others try to edit at the same time. Next, SharePoint permissions are inherited. You can grant higher access, like edit rights, but you cannot lower access below the library's setting. So if the library allows editing for everyone, you cannot restrict a few people to view-only. For personal adjustments, use Sheet Views. Each person can freeze panes, hide columns, or filter without affecting anyone else's screen. Finally, for real-time editing, prefer edit ranges over file encryption. Edit ranges let specific people work in defined areas while the rest of the workbook stays protected. To wrap up: cloud storage supports collaboration, but file encryption blocks it. Choose edit ranges when you need both protection and live teamwork. Next, we will cover managing, unprotecting, and troubleshooting locked workbooks.
 support.microsoft.comsupport.microsoft.comlearn.microsoft.com+22 min
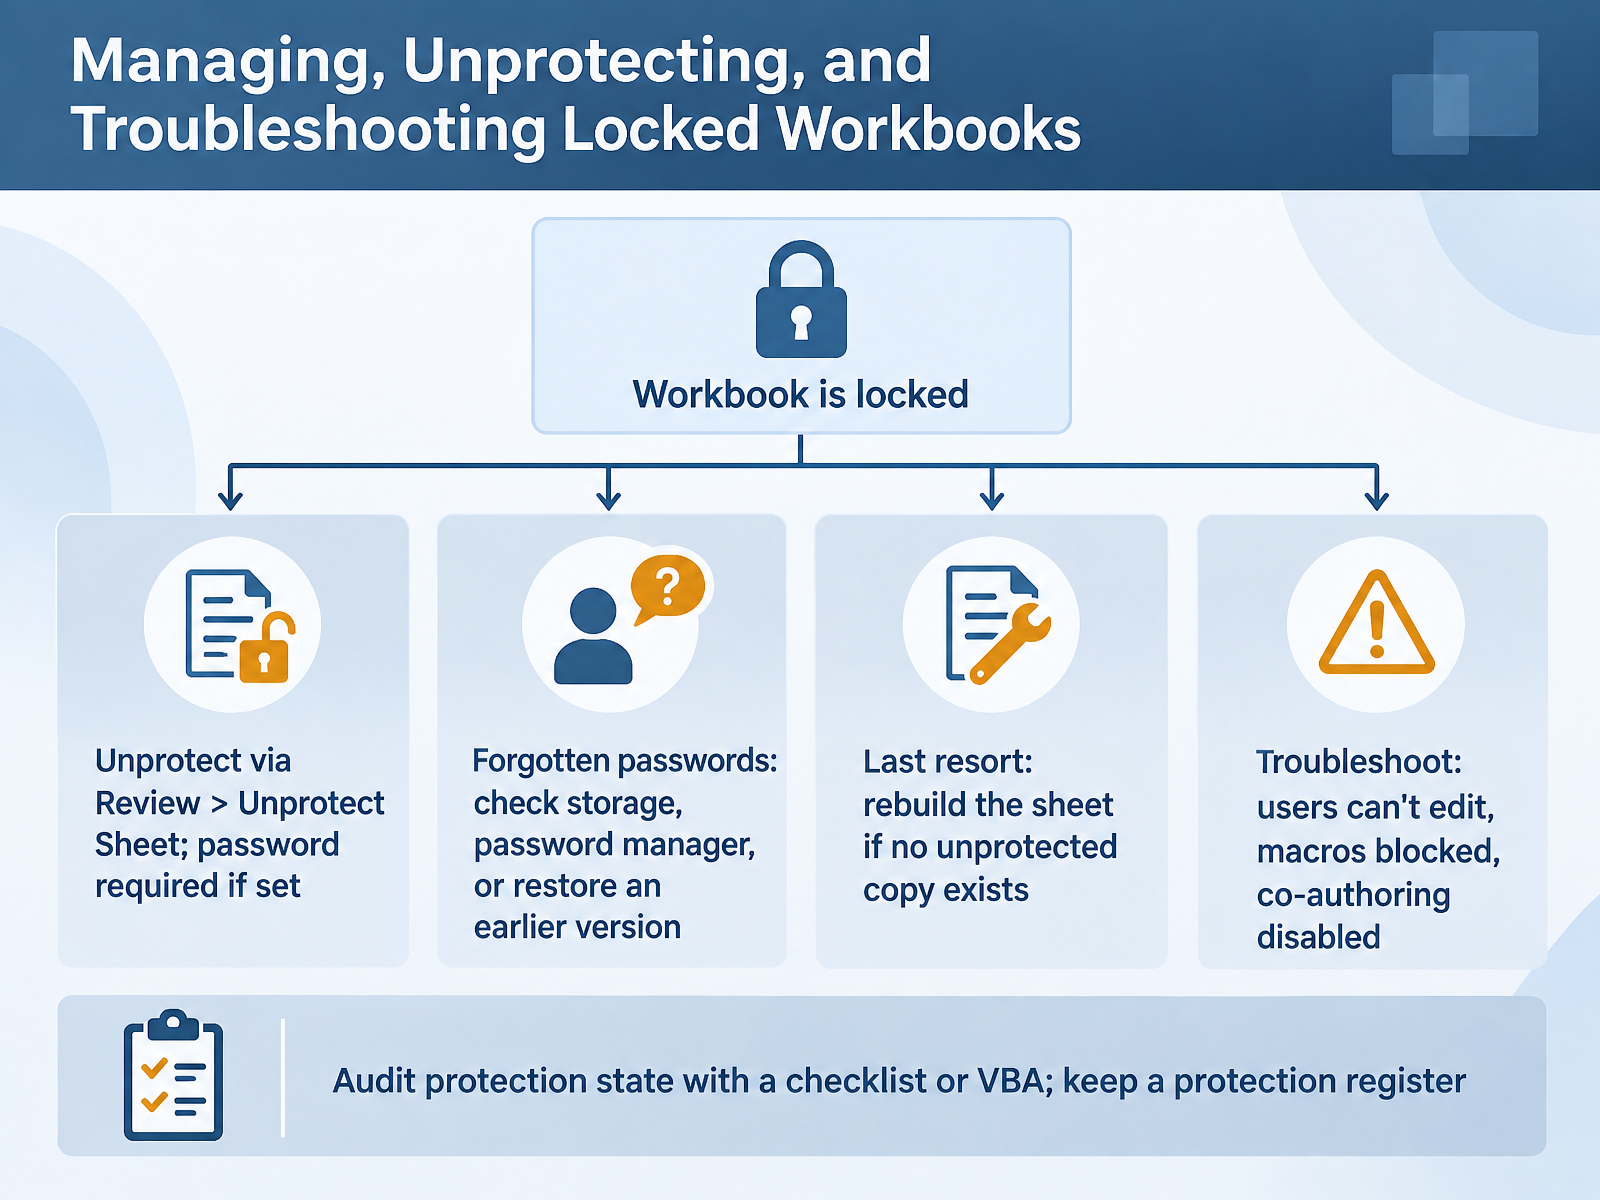
 - 10Managing, Unprotecting, and Troubleshooting Locked WorkbooksLet's move on to managing, unprotecting, and troubleshooting locked workbooks. Start with a routine unlock. Go to the Review tab, select Unprotect Sheet, and enter the password if one was set. If the workbook structure is protected, use Protect Workbook to toggle it off in the same way. Now for the harder case. If a password is forgotten, Excel cannot recover or reset it. So check your storage first, then your password manager, and restore an earlier version from OneDrive or SharePoint if one predates the protection. If nothing works, rebuilding the sheet is the last resort. When something breaks, check three things: users cannot edit, macros are blocked, or co-authoring is disabled. And keep a protection register, so you always know what is locked and why. Next, we'll look at password strategy and realistic security expectations.
 support.microsoft.comsupport.microsoft.comlearn.microsoft.com+21 min
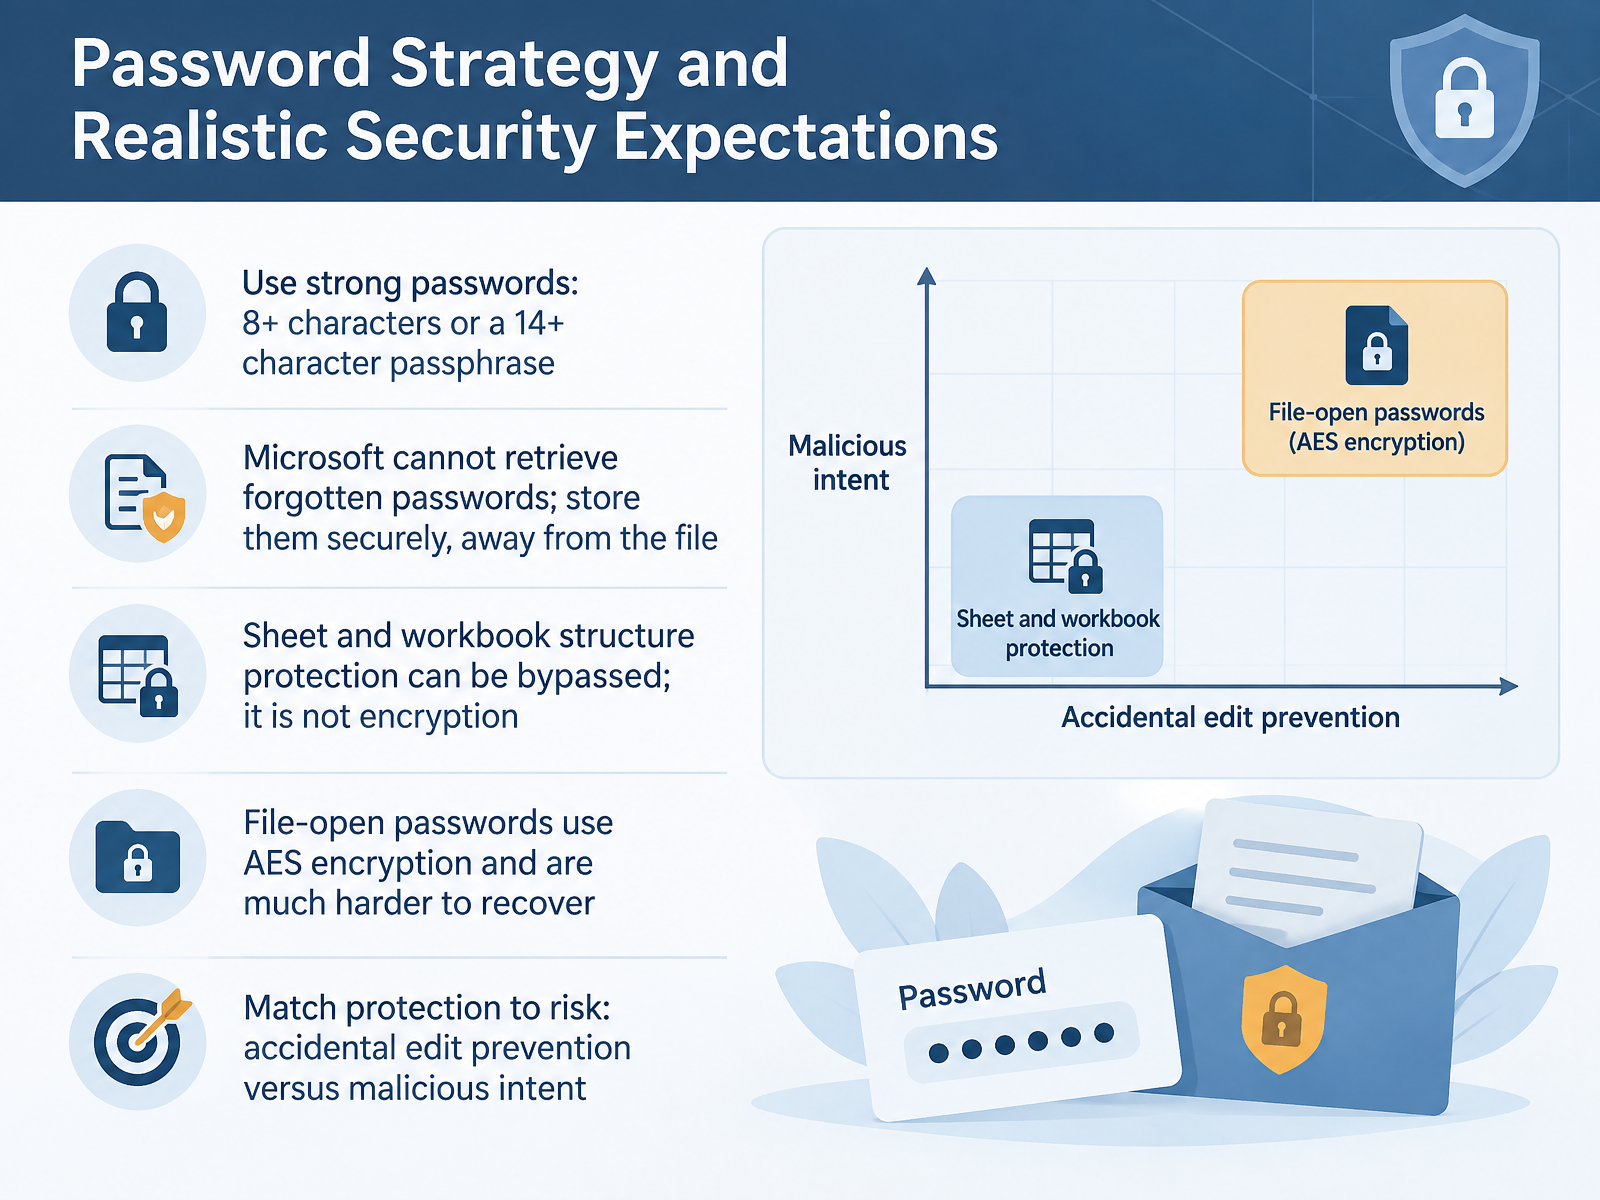
 - 11Password Strategy and Realistic Security ExpectationsNow let's set realistic expectations about passwords and security. Use a strong password: at least eight characters, or better, a passphrase of fourteen characters or more. Mix uppercase and lowercase letters, numbers, and symbols. And remember, Microsoft cannot retrieve a forgotten password. Store it securely, away from the file itself. Here is the key distinction. Sheet and workbook structure protection can be bypassed. It is not encryption. Treat it as a guard against accidental edits, not a defense against malicious intent. File open passwords are different. They use AES encryption and are much harder to recover. So match your protection to the risk. Use sheet protection to prevent mistakes. Use file encryption when the data itself is sensitive. Next, we will walk through a practical workflow checklist.
 support.microsoft.comsupport.microsoft.comsupport.microsoft.com+21 min
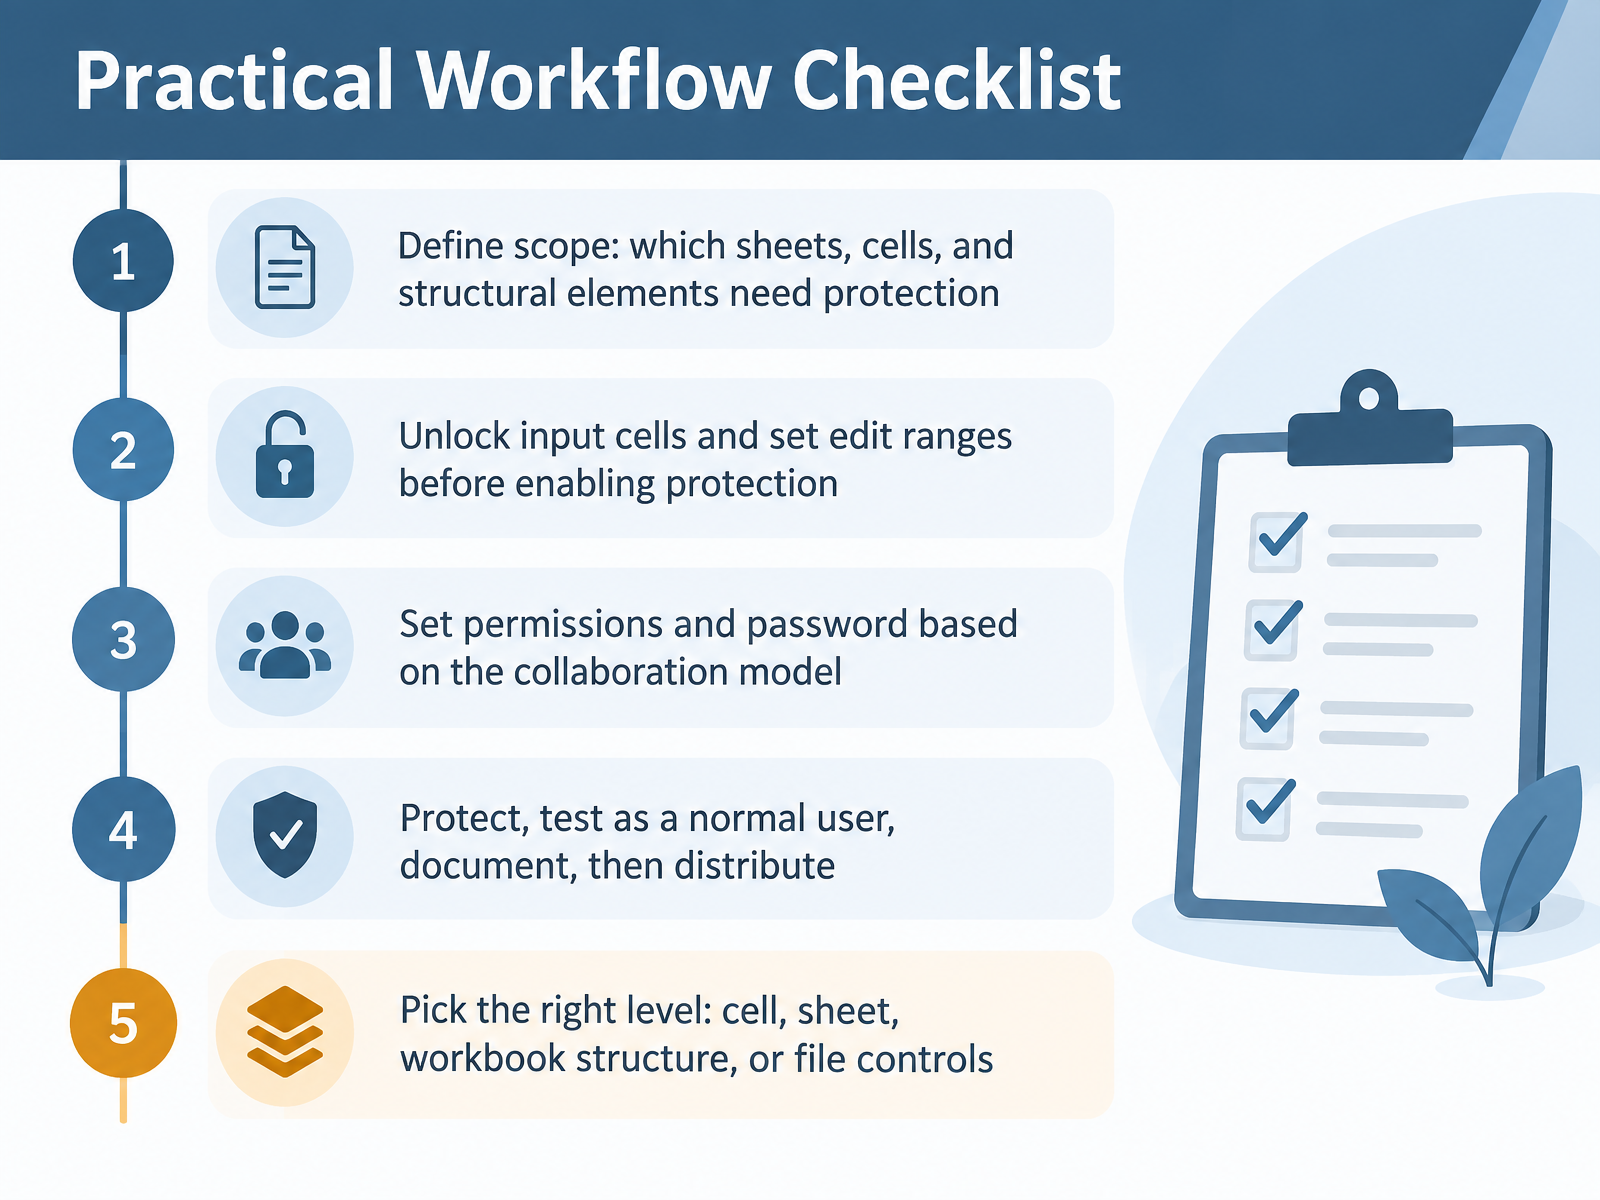
 - 12Practical Workflow ChecklistLet's bring the workflow together as a checklist you can run before you distribute any workbook. First, define your scope. Decide which sheets, cells, and structural elements actually need protection. Second, unlock the input cells and set your edit ranges before you enable protection. Do this first, so users can still enter data where they should. Third, set permissions and passwords based on your collaboration model. Use a strong passphrase, and remember that Microsoft cannot recover a forgotten password. Fourth, protect the workbook, then test it as a normal user would, document what you changed, and only then distribute. Finally, pick the right level. Cell, sheet, workbook structure, or file controls. Match the level to the job, and use one or more together as needed. Run this checklist and you keep structure protected while editing stays controlled. Up next, Governance and Template Maintenance.
 support.microsoft.comsupport.microsoft.comsupport.microsoft.com+21 min
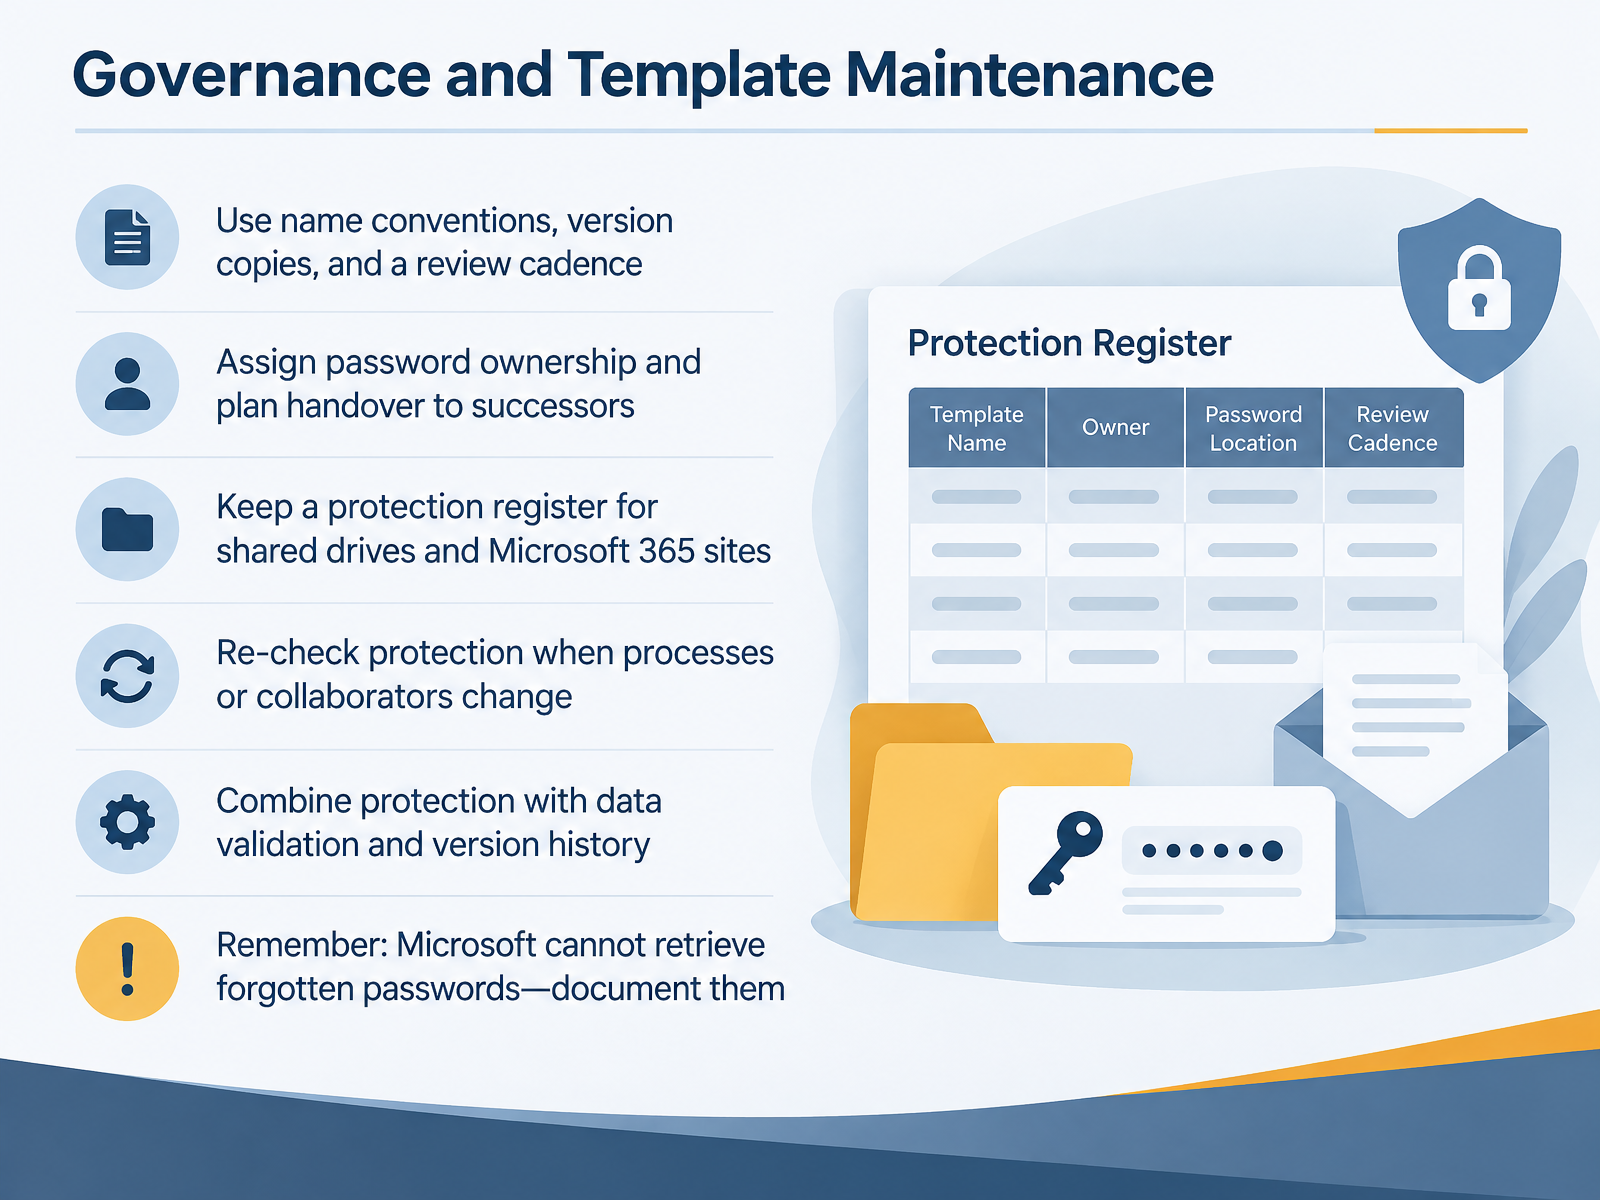
 - 13Governance and Template MaintenanceThink about how protection survives over time. Use clear name conventions, keep version copies, and set a review cadence. Assign password ownership, and plan handover to successors so access never stalls. Keep a protection register for shared drives and Microsoft 365 sites. Re-check protection whenever processes or collaborators change. Combine protection with data validation and version history for layered control. And remember, Microsoft cannot retrieve forgotten passwords, so document them in a secure location. Next, you will put these habits into practice in the practice task: Protect a Sample Expense Workbook.
 support.microsoft.comlearn.microsoft.comsupport.microsoft.com+21 min
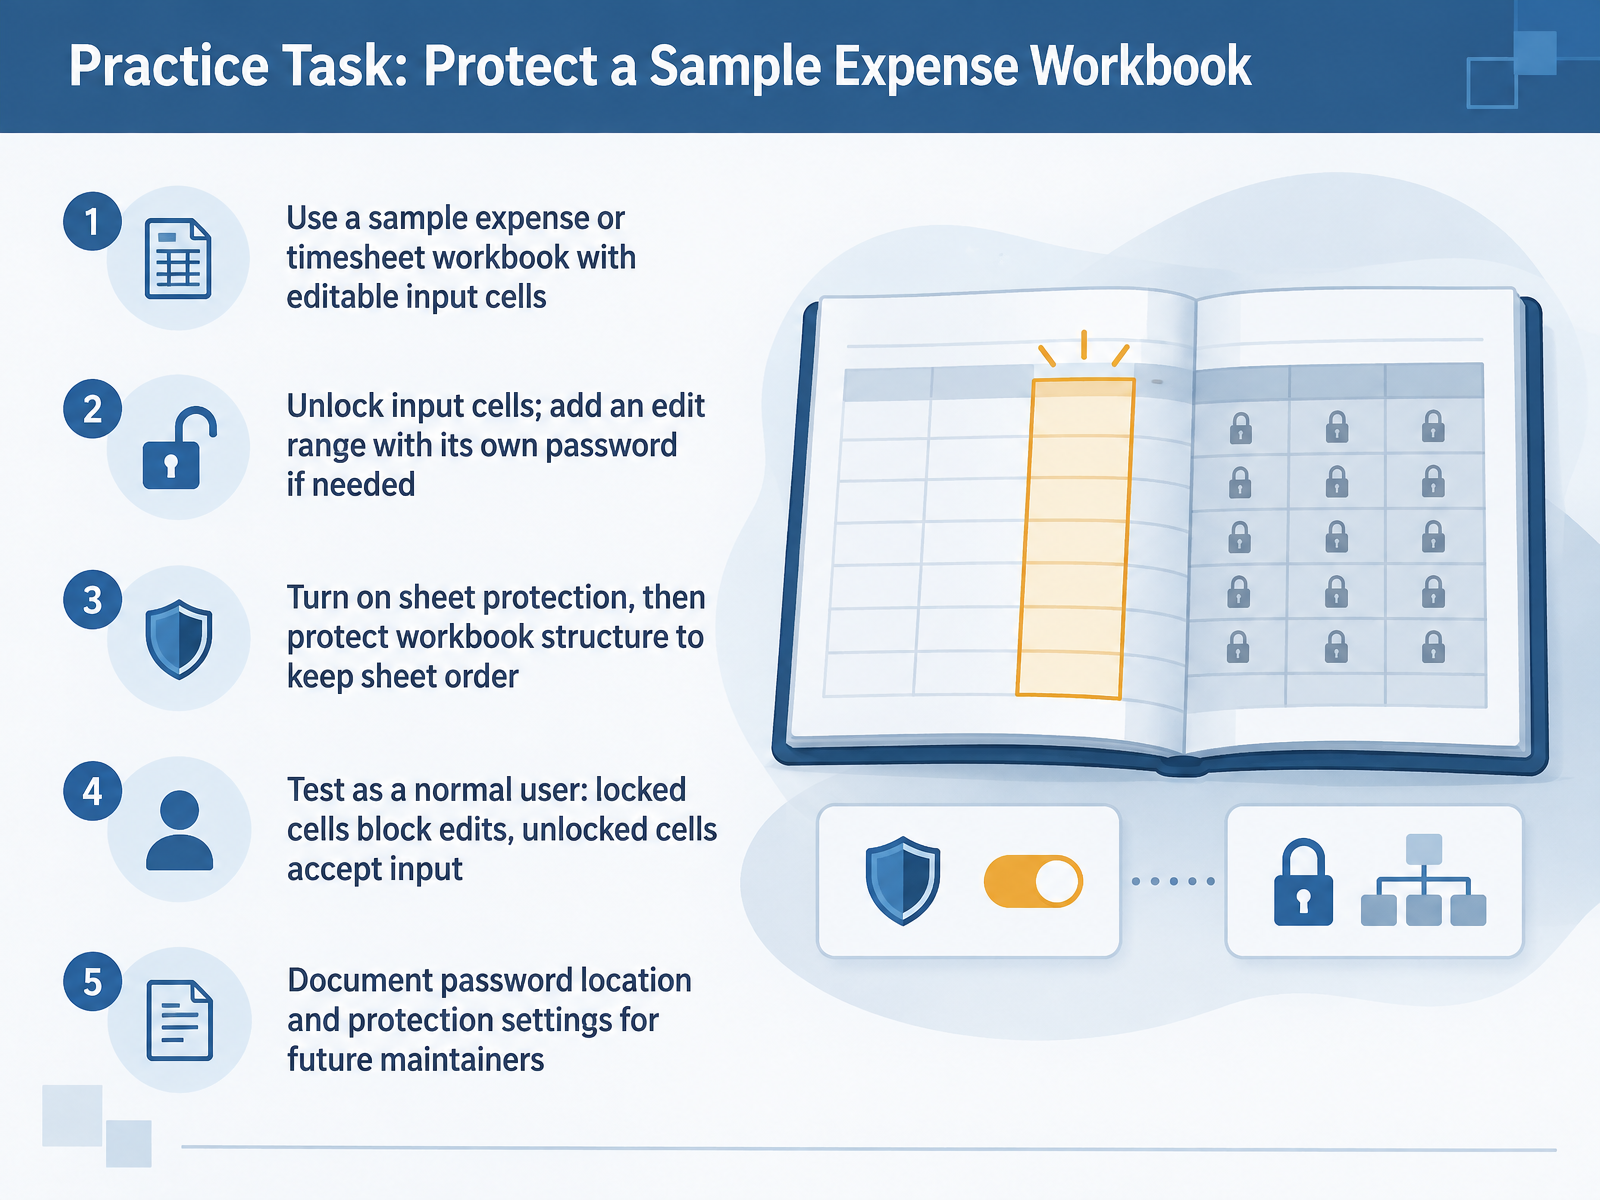
 - 14Practice Task: Protect a Sample Expense WorkbookNow let's apply everything in a practice task. Open a sample expense or timesheet workbook that already has designated input cells. First, select those input cells, open Format Cells, and clear the Locked checkbox on the Protection tab. Next, go to the Review tab, choose Allow Edit Ranges, and add an edit range. Give it a clear title, confirm the cell reference, and assign a range password if you need to restrict who can type there. Then select Protect Sheet. Review the allowed actions, such as selecting unlocked cells, and confirm your sheet password. After that, protect the workbook structure so sheet order stays fixed. Now test it as a normal user. Try editing a locked cell; it should be blocked. Then type into an unlocked input cell; it should accept your entry. Finally, document where the password is stored and which protection settings you applied, so future maintainers can adjust things safely. Next, let's cover next steps and common pitfalls. We will recap the key points and look at the mistakes to avoid.
 support.microsoft.comsupport.microsoft.comsupport.microsoft.com+21 min
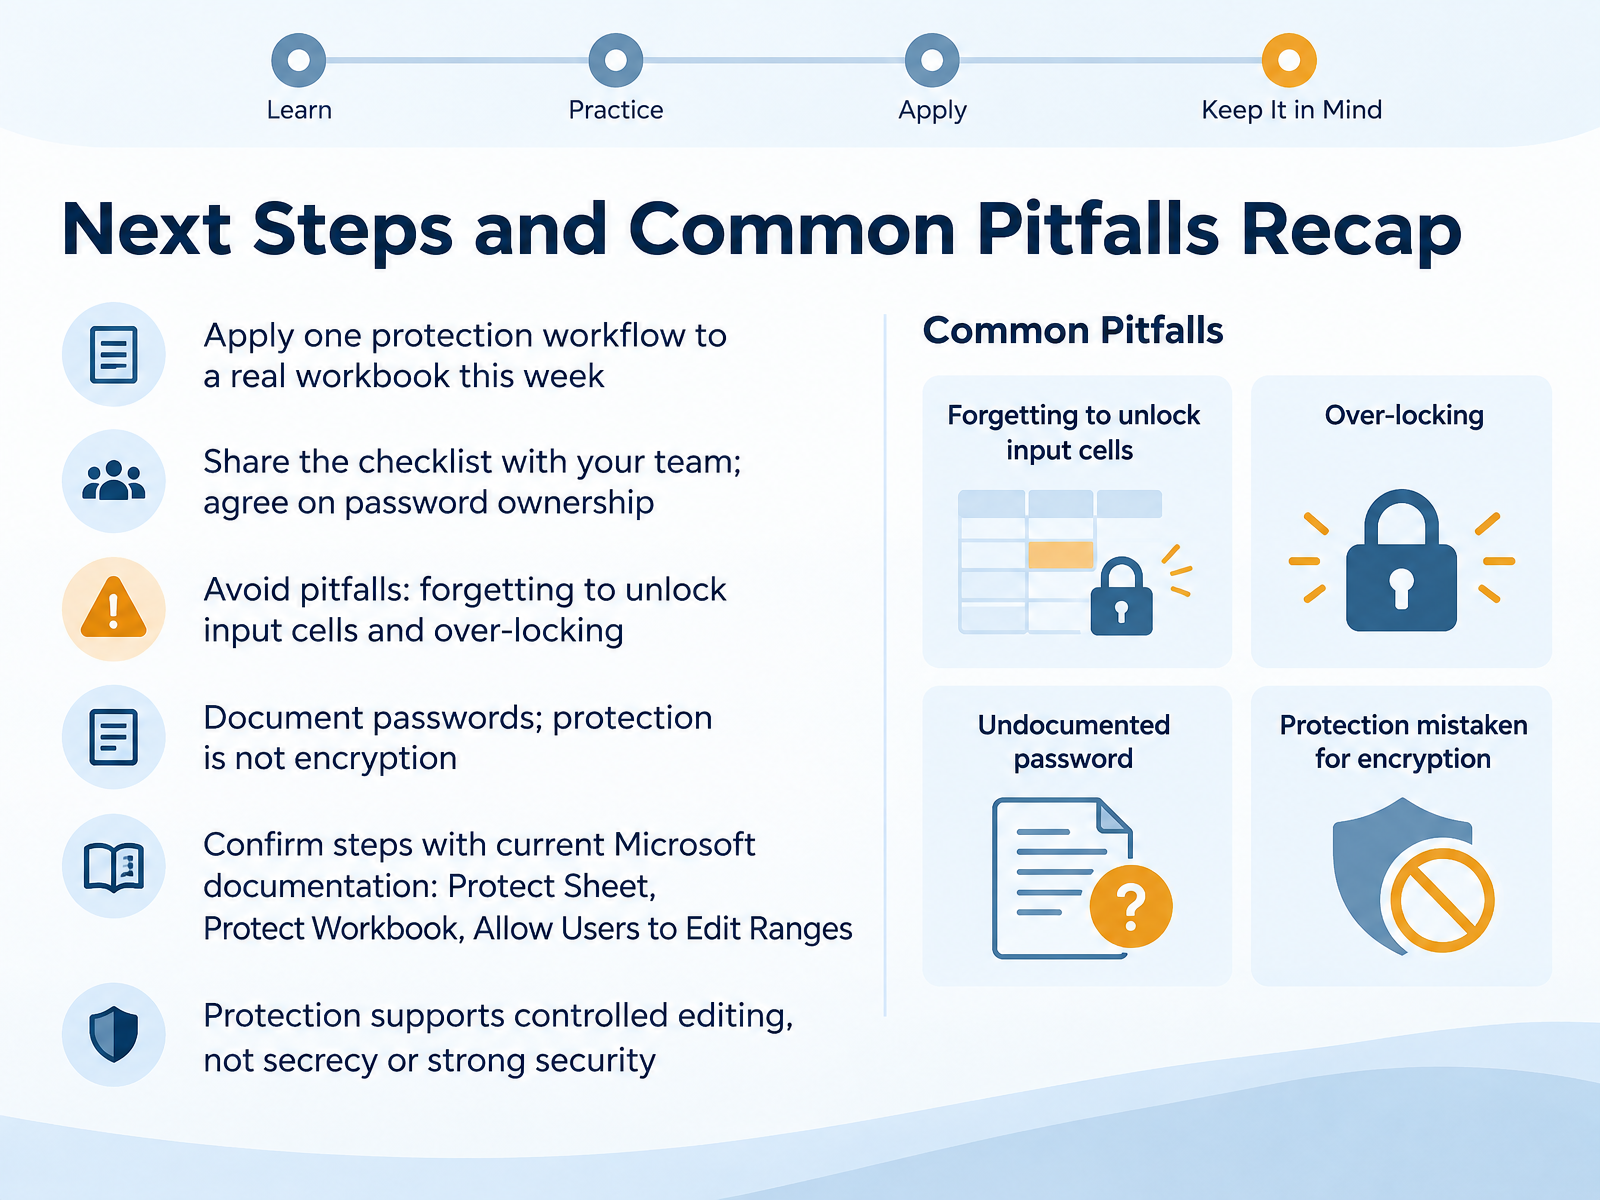
 - 15Next Steps and Common Pitfalls RecapLet's close with a practical recap. This week, apply one protection workflow to a real workbook. Start by unlocking the input cells, then protect the sheet, the workbook structure, or a specific range. Share the checklist with your team, and agree on who owns each password. Two common pitfalls to avoid: forgetting to unlock input cells, so no one can enter data, and over-locking, which blocks work that should stay editable. Document your passwords in a safe place, and remember that protection is not encryption. It supports controlled editing, not secrecy or strong security. Confirm each step against current Microsoft documentation for Protect Sheet, Protect Workbook, and Allow Users to Edit Ranges. Make protection a deliberate, reversible choice, and you keep your spreadsheets reliable for everyone. Thank you for working through this course. You now have a clear, repeatable process, so go protect that first workbook with confidence.
 support.microsoft.comsupport.microsoft.comsupport.microsoft.com+22 min
Take the deck with you
Download this course as a file — free, no sign-up needed.
- PDF handoutEvery slide page, ready to print or share.16 pages · 3.3 MBDownload
- Narrated PowerPointThe deck that presents itself — every slide carries the digital human's narration video.16 pages · 13.9 MBDownload
- PowerPoint slidesThe full deck as a .pptx — open it in PowerPoint, Keynote, or Google Slides.16 pages · 3.2 MBDownload
Free to use in your own training — please keep the PersonWise credit page at the end.
Have your own deck? Turn it into a course
Sources consulted
Web sources consulted while building this course.
- Protection and security in Excel | Microsoft Support — support.microsoft.com
- Protect a workbook | Microsoft Support — support.microsoft.com
- Protect a worksheet | Microsoft Support — support.microsoft.com
- Protect a worksheet - Microsoft Support — support.microsoft.com
- https://learn.microsoft.com/en-us/visualstudio/vsto/how-to-programmatically-protect-worksheets?view=visualstudio — learn.microsoft.com
- Protect a workbook — support.microsoft.com
- Is it safe to store account credentials in an Excel sheet protected with a password? — security.stackexchange.com
- [MS-OE376]: Part 4 Section 3.2.29, workbookProtection (Workbook Protection) | Microsoft Learn — learn.microsoft.com
- Document collaboration and co-authoring - Microsoft Support — support.microsoft.com
- Troubleshoot co-authoring in Office — support.microsoft.com
- Suppose if we Encrypted with password in Excel and also we protect the workbook structure and protect current sheet after doing this process I'm uploaded SharePoint Users can edit simultaneously..? - Microsoft Q&A — learn.microsoft.com
- Shared workbook where specific people can edit but read-only for everyone else - Microsoft Q&A — learn.microsoft.com
- Document collaboration and co-authoring - Microsoft Support — support.microsoft.com
- Protect Sheet In Excel - Examples, How to Protect Sheet & Cells? — excelmojo.com
- How to Protect a Sheet in Excel: Step by Step Guide — geeksforgeeks.org
- Protect a worksheet - Microsoft Support — support.microsoft.com
- Workbook.Protect method (Excel) - Microsoft Learn — learn.microsoft.com
- Protect a workbook | Microsoft Support — support.microsoft.com
- Require a password to open or modify a workbook — support.microsoft.com
- Lock or unlock specific areas of a protected worksheet — support.microsoft.com