Begin
14 pages · ~28 min
Astronomy Tool Selection and Workflow Design
Learn to select the right astronomy tools and design effective observation workflows, tailored for amateur and aspiring astronomers.
A digital instructor presents all 14 pages. Hold “Ask” at any point and ask out loud — the answer comes from this course. No sign-up needed.
What you’ll learn
- 01Astronomy Tools: Selection and Workflow DesignWelcome! If you're a beginner, a student, or an educator, and you've ever looked up at the night sky and wondered how to make sense of it, you are in the right place. This course is designed to be your friendly guide to the tools of astronomy. We're going to cut through the confusion of endless gear choices and complex software. Instead, we will build a foundation, a simple, repeatable workflow for how you choose, plan, and use the right tools. Our journey will cover the main categories of tools, from your own eyes to binoculars and telescopes, and even the apps that help you find your way. We will talk about how to select what actually works for you, whether you are in a classroom, your backyard, or out at a dark sky site. And, just as important, we will talk about the common pitfalls to avoid, so you don't get frustrated. Our goal is simple: to build your confidence so you can go outside and have a successful observing session. With that in mind, let's begin with the most important mindset: observing first, and buying gear second.cosgrovescosmos.comastronomical.orgasnsw.com+22 min
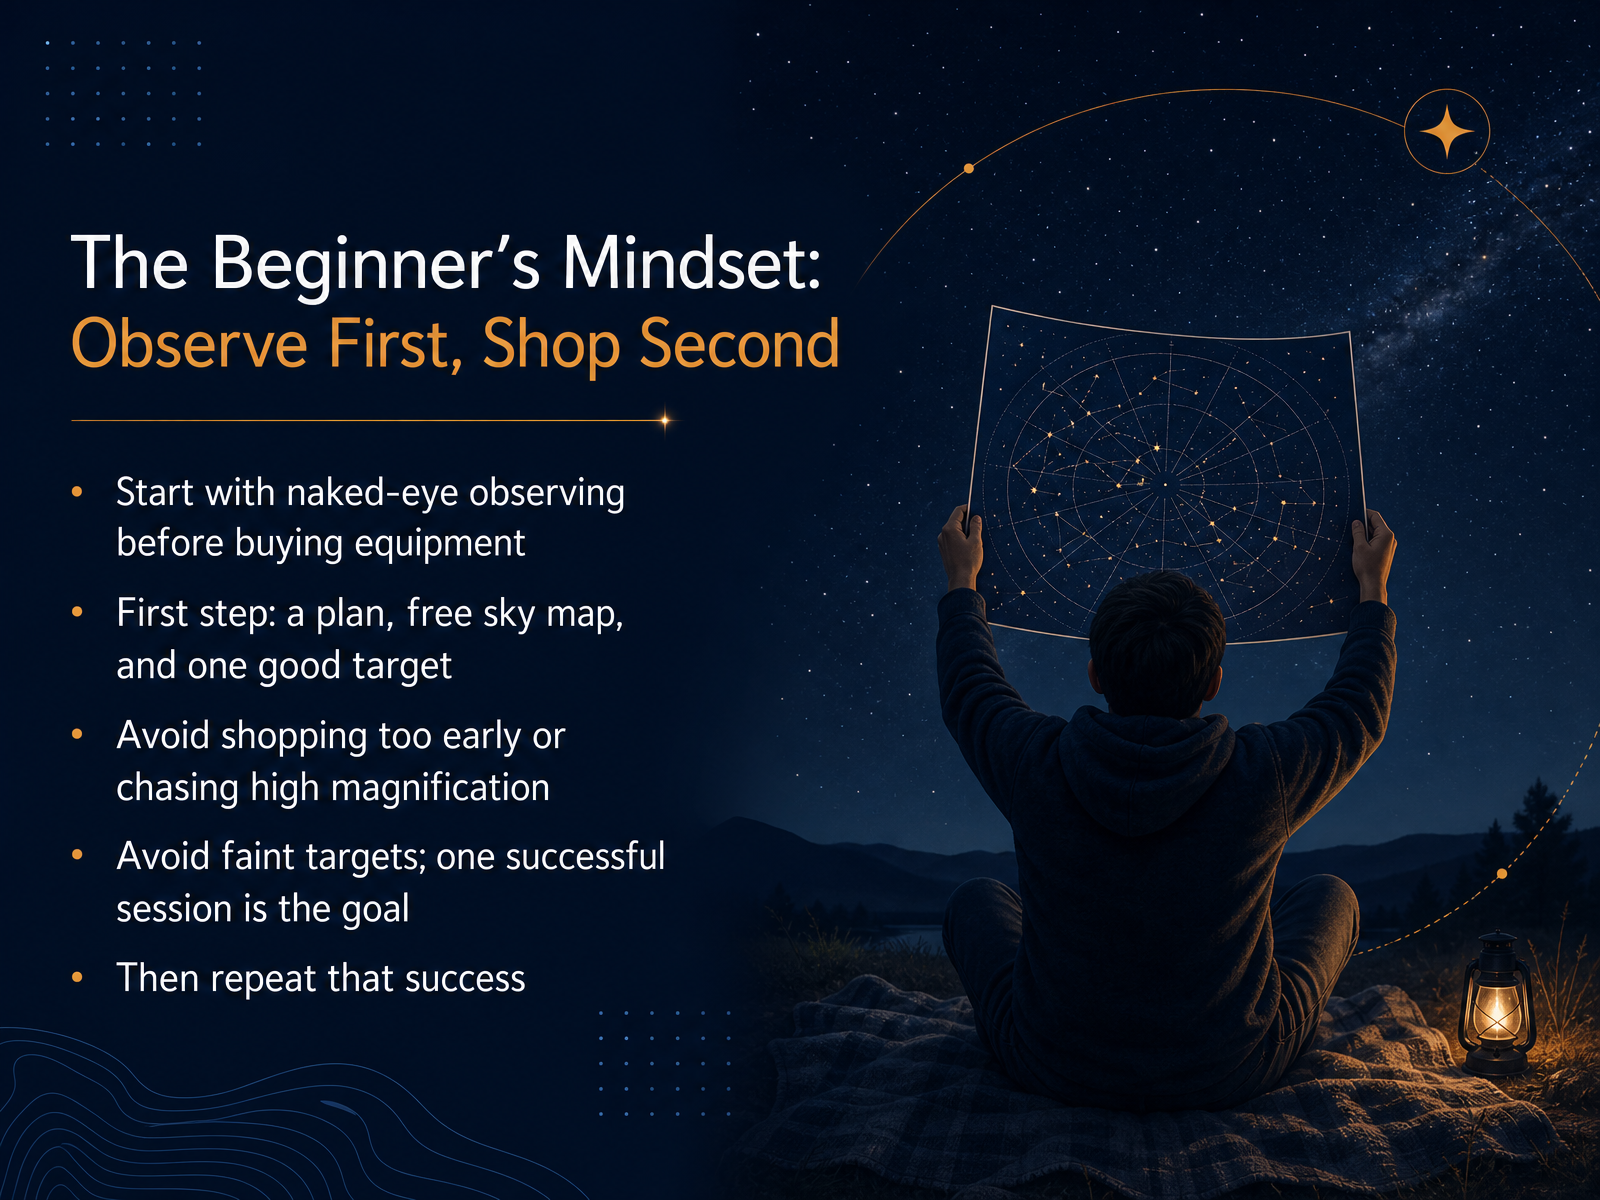
- 02The Beginner's Mindset: Observe First, Shop SecondNow, before we talk about tools, let's talk about the beginner's mindset. The biggest tip here is simple: observe first, shop second. Start with just your eyes and a free sky map. That's it. Pick one bright, easy target, like the Moon or a bright star pattern. Your only job is to find it and enjoy the view. Resist the urge to buy gear right away. Fancy equipment won't help if you don't know your way around the sky yet. And please, don't chase high magnification. Higher power often just makes things dimmer and shakier. Also, skip the faint fuzzy galaxies for now. They're frustrating under bright skies, and they can make you want to quit. So your goal for this week is one successful session. Not mastering astronomy. Just one good, satisfying experience that makes you want to go out again. Then repeat that same success. Do that a few times, and you're already becoming an observer. Next, we'll look at the main tool categories, so you can see what each type actually does.
 cosgrovescosmos.comastronomical.orgasnsw.com+21 min
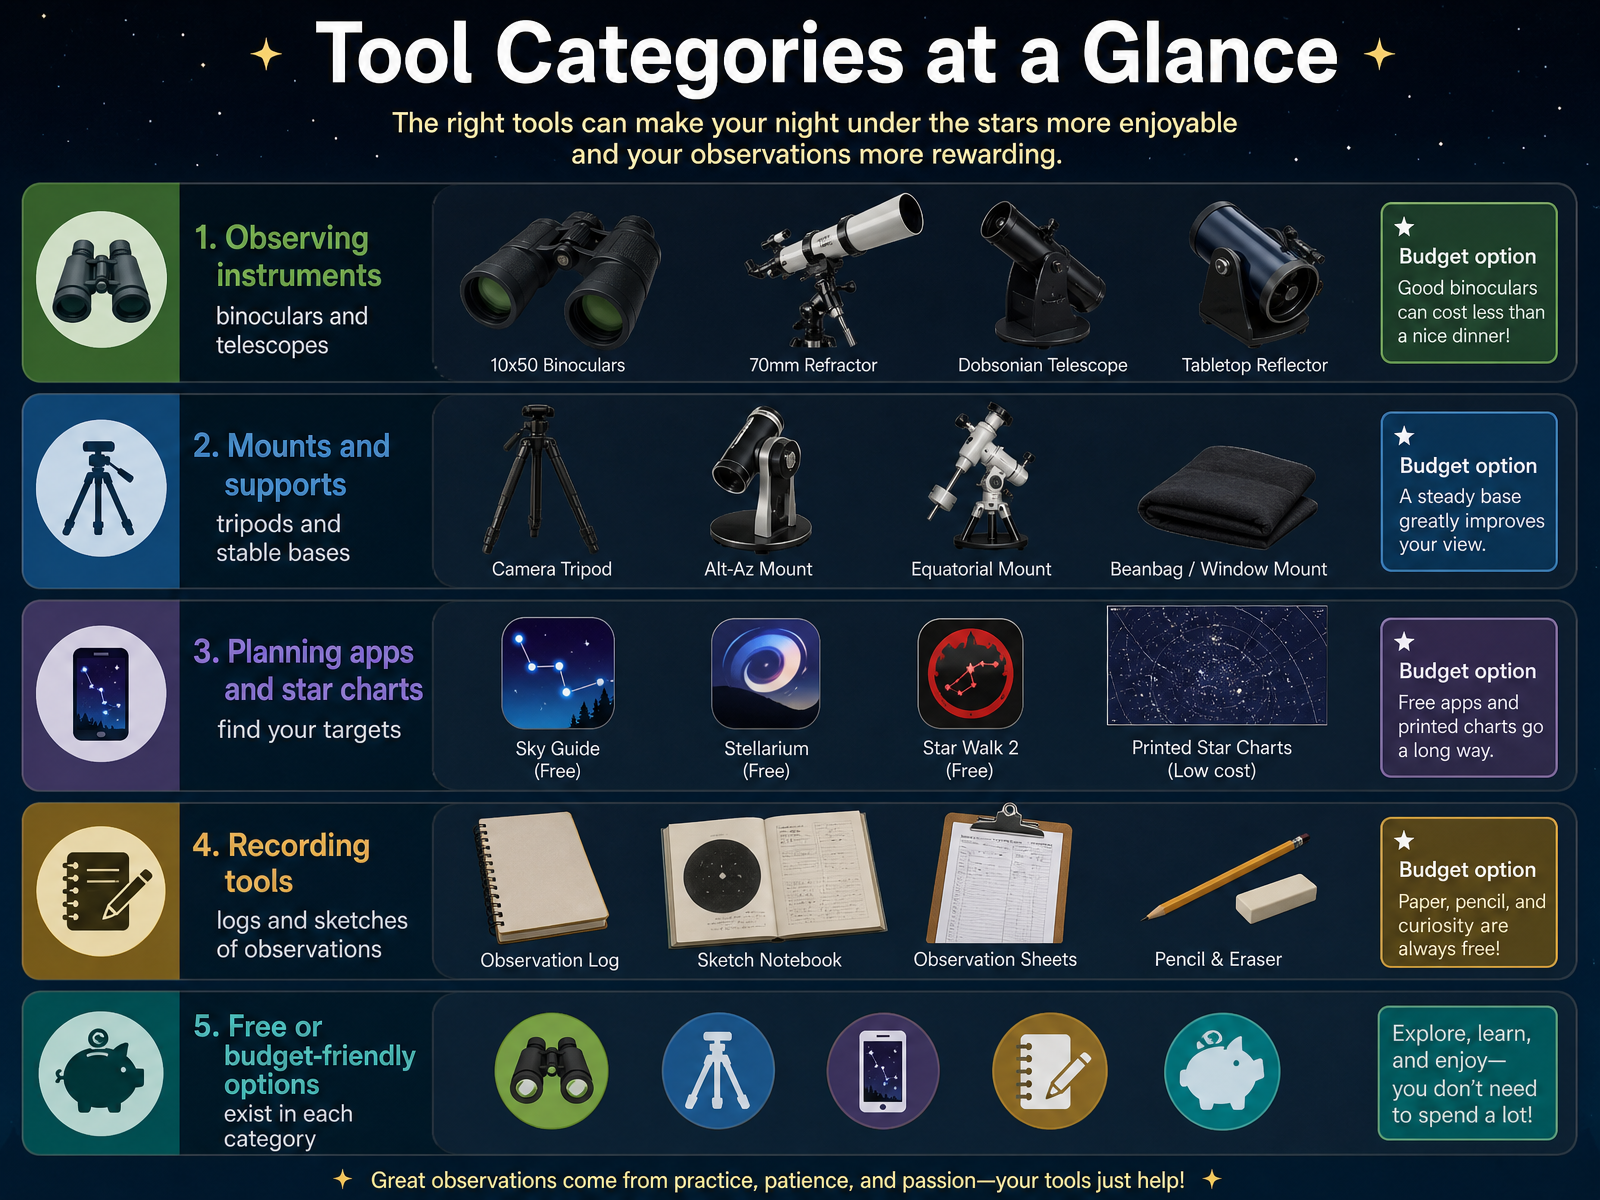
 - 03Tool Categories at a GlanceNow, let's get a clear picture of the different kinds of tools you'll encounter. Think of them in four simple groups. The first group is your observing instruments: binoculars and telescopes. These are your core tools for gathering light and getting a closer look. The second group, mounts and supports, like tripods and stable bases, are just as important. A shaky mount can ruin the view through even the best telescope, so a solid foundation is key. The third group is all about finding your way. Planning apps and star charts help you know what's up in the sky and where to point your instrument. Finally, there are recording tools like observation logs and sketching pads. These help you track what you've seen and build your skills over time. A great thing to remember is that you can find good, budget-friendly options in every single one of these categories, so getting started doesn't have to be expensive. Speaking of budget-friendly ways to begin, the most recommended first instrument is a pair of binoculars. Let's take a closer look at why.
 outerspacetrip.comwatchthestars.co.ukwatchthestars.co.uk+21 min
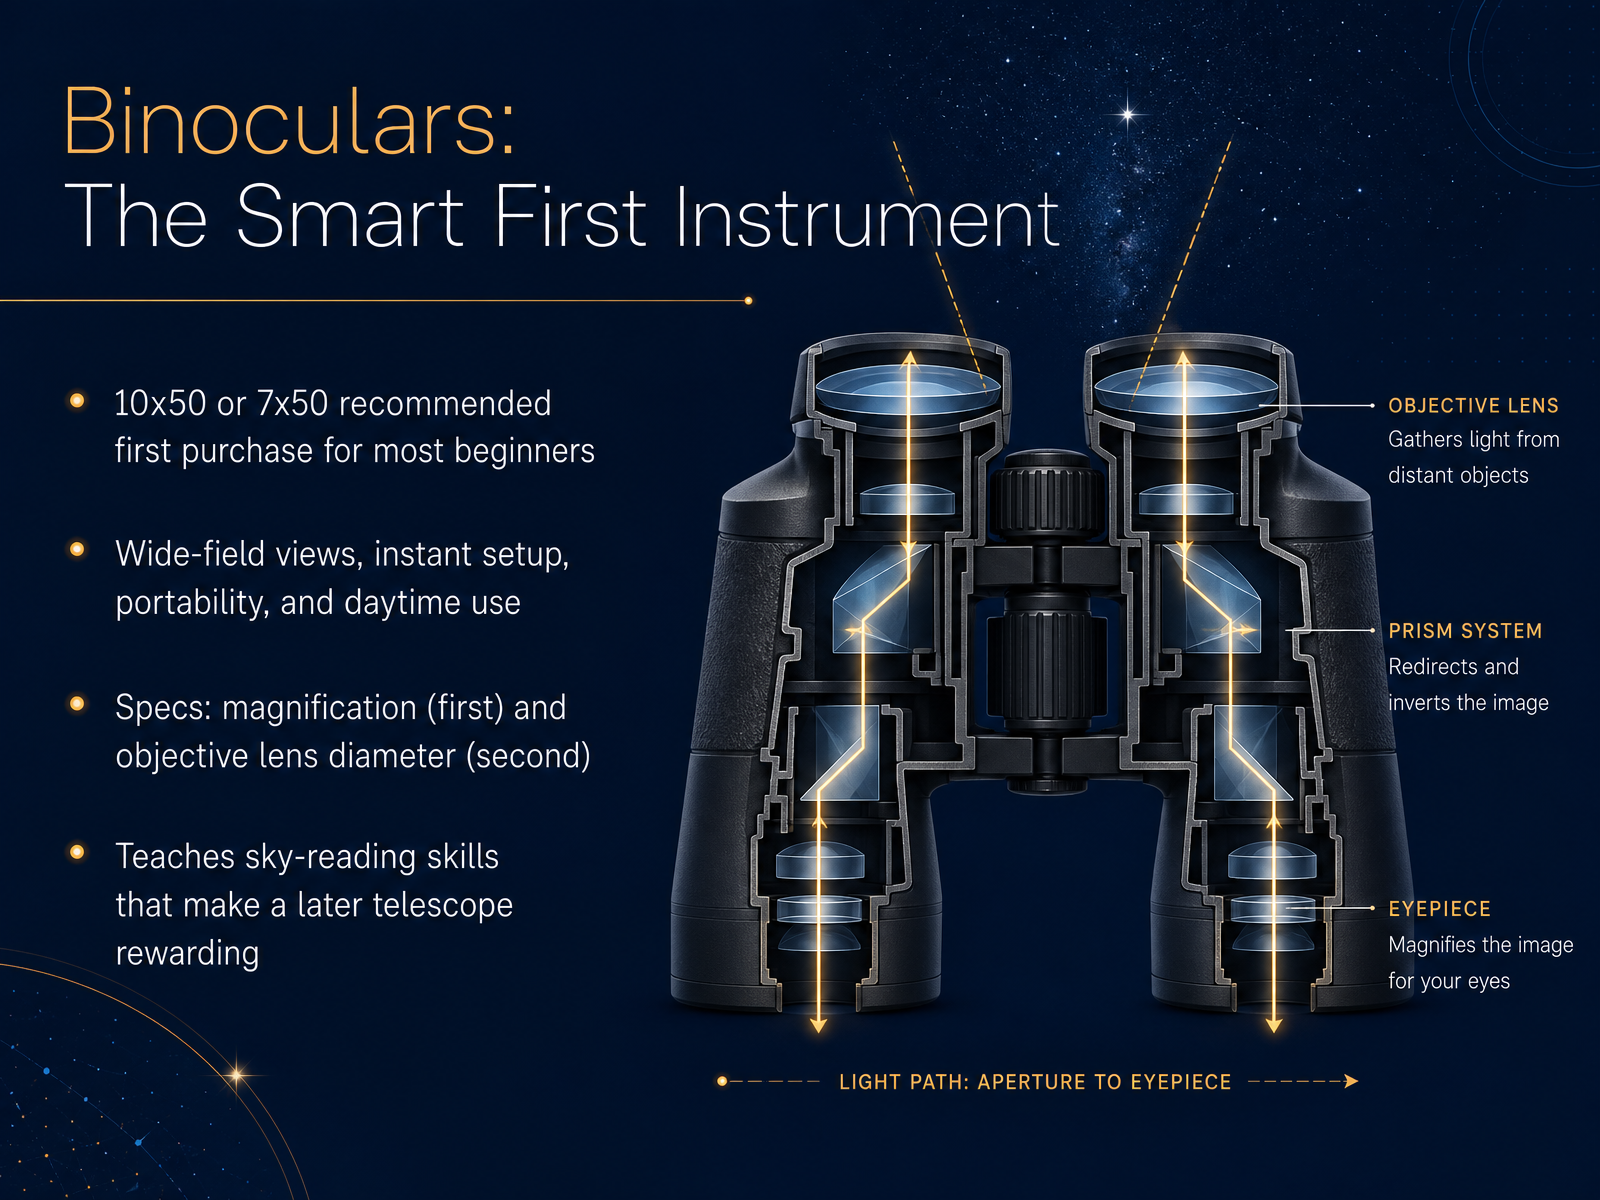
 - 04Binoculars: The Smart First InstrumentNow let's talk about the smartest first instrument you can buy, which might surprise you. It is not a telescope. It is a pair of binoculars. For most beginners, a ten by fifty or a seven by fifty pair is the ideal starting point. Let me break down what those numbers mean, because they are simpler than they look. The first number is the magnification, so how much closer things appear. The second number is the diameter of the front lens in millimeters, which decides how much light you gather. Bigger front lenses mean brighter, clearer views of faint objects. Binoculars give you wide, sweeping views of the Milky Way and star clusters, with almost no setup time. You just lift them up and look. They are easy to carry, and you can even use them for birdwatching or daytime views. Most importantly, they teach you to read the sky and find your way around, a skill that will make using a telescope so much more rewarding later. So, take a moment to think about whether you would rather start with wide views and easy learning, or jump straight to high detail. Next, we will look at choosing your first telescope.
 outerspacetrip.comwatchthestars.co.ukwatchthestars.co.uk+21 min
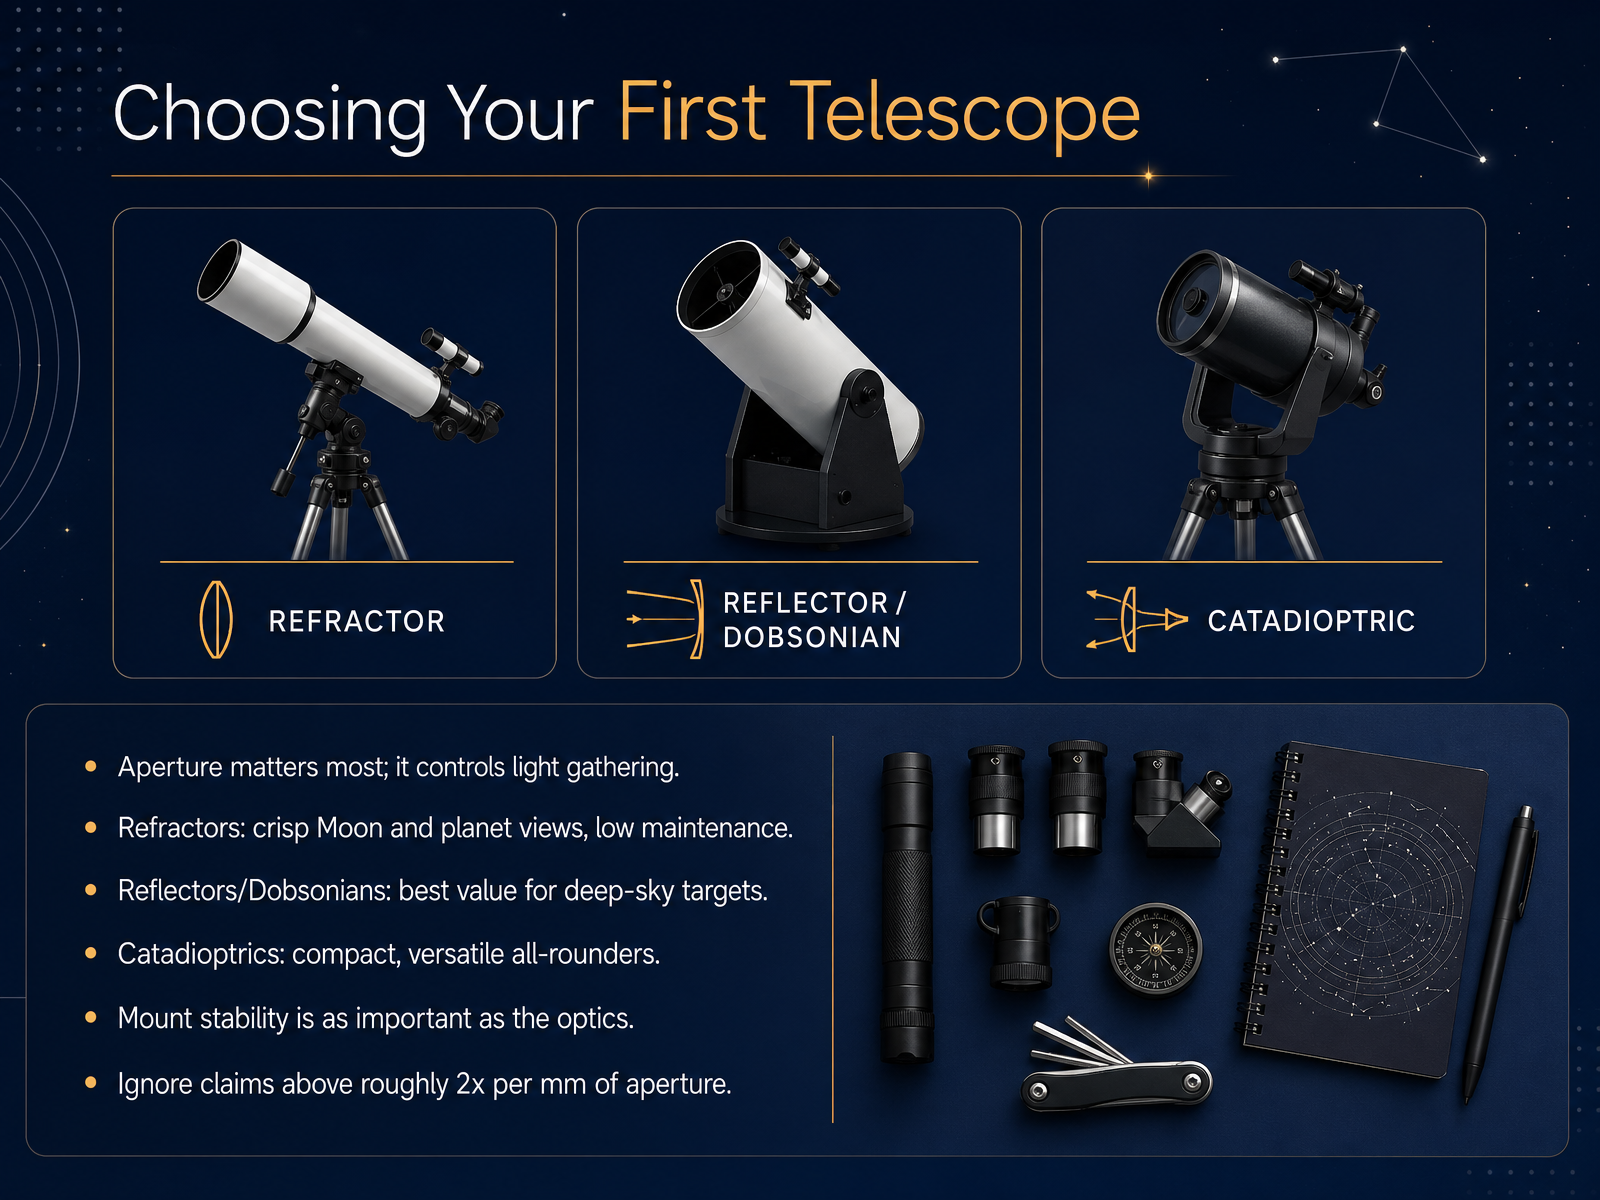
 - 05Choosing Your First TelescopeSo you are ready to pick out your first telescope. That is exciting, and the biggest thing to know is this. Aperture matters most. Aperture is just the width of the main lens or mirror, and it controls how much light your telescope gathers. More light means you can see fainter objects and finer detail. Now, the three main designs each have a personality. Refractors use lenses and give crisp views of the Moon and planets with almost no maintenance. Reflectors, especially Dobsonians, use mirrors and give you the most light gathering for your money, which makes them great for deep sky targets like galaxies and nebulas. Catadioptrics are a hybrid, compact and versatile all rounders, but usually pricier. And here is a secret beginners often miss. The mount matters just as much as the optics. A shaky mount makes even great views frustrating. Also, be wary of wild magnification claims. The useful limit is roughly two times the aperture in millimeters. That cheap box promising six hundred seventy five power is not your friend. Next, we will look at planning apps and star charts to help you find your way.
 outerspacetrip.comwatchthestars.co.ukwatchthestars.co.uk+22 min
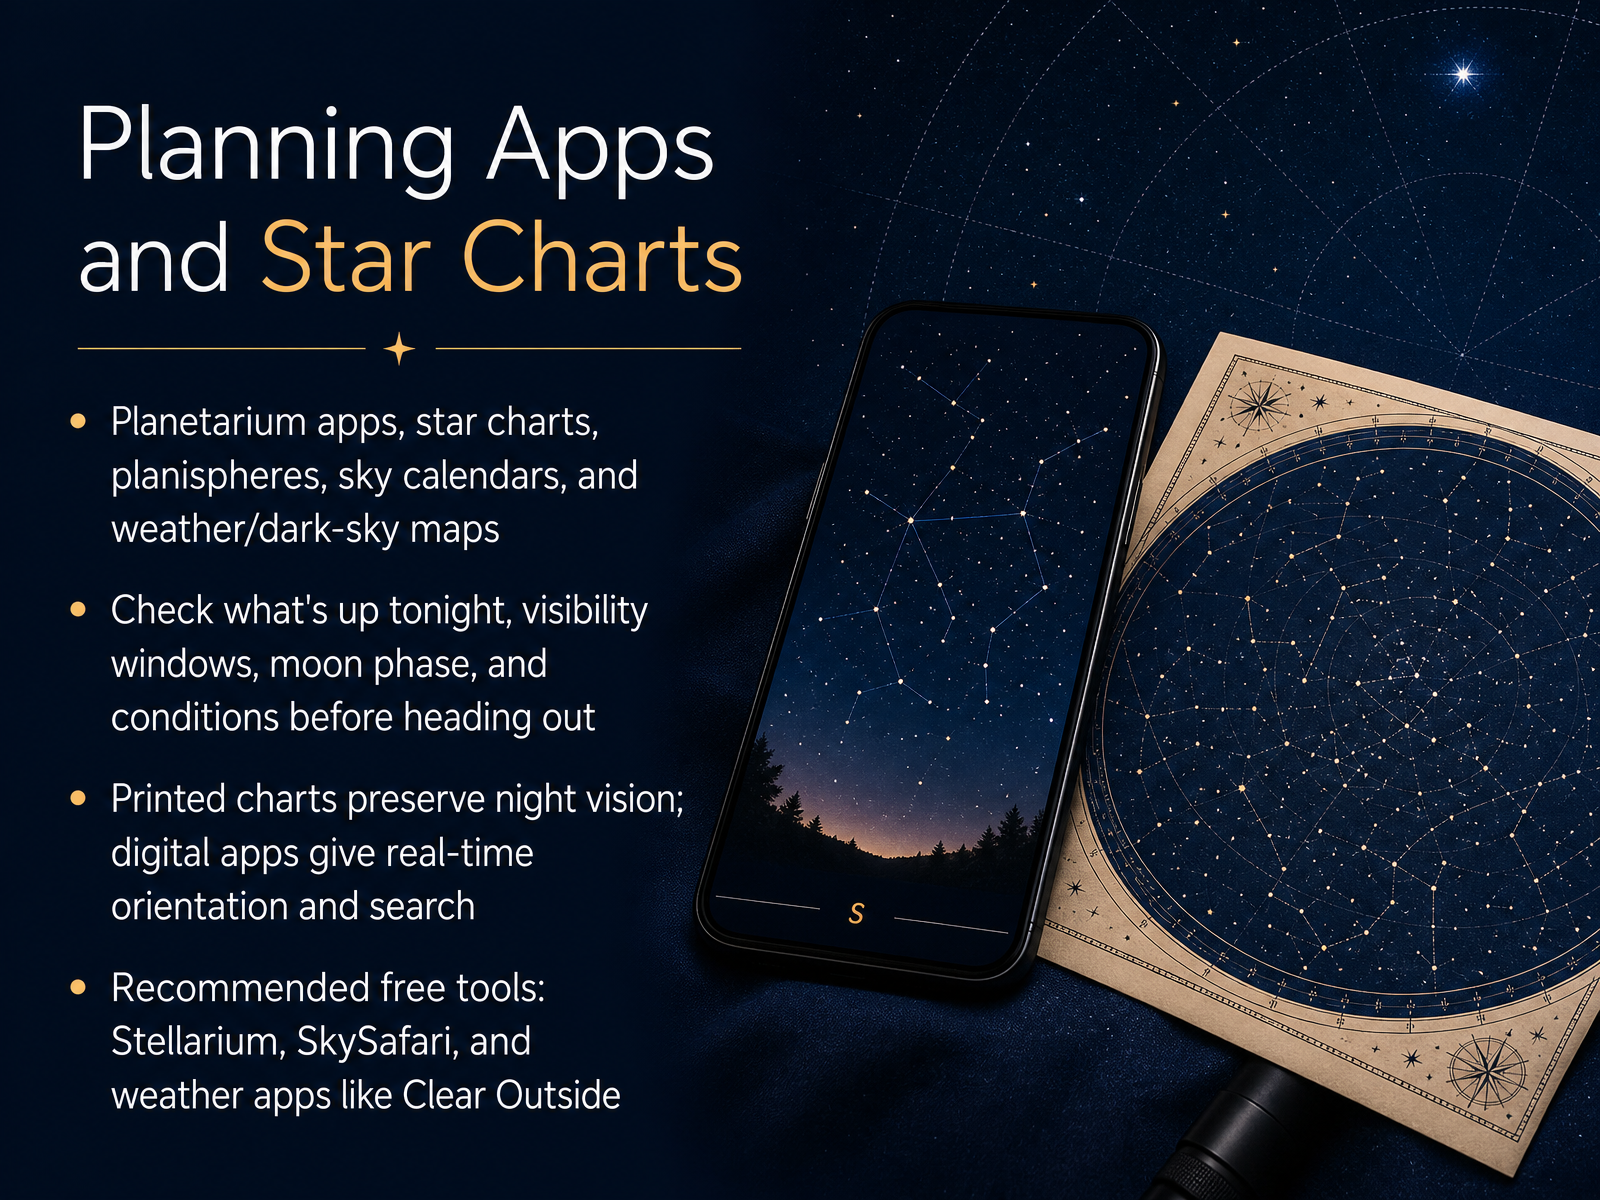
 - 06Planning Apps and Star ChartsNow let's talk about planning apps and star charts, your pre-flight checklist for a good night under the stars. Before you head outside, check what's actually up tonight. Look at the moon phase, since a bright moon can wash out fainter objects. Check the weather too, including cloud cover and how steady the air is. A free tool like Clear Outside shows all of this at a glance. For seeing what's in the sky, Stellarium and SkySafari are both excellent free options. They let you hold your phone up and identify stars and planets in real time. But don't give up on printed charts or a plastic planisphere. Paper doesn't ruin your night vision the way a bright screen can, even in red-light mode. A smart workflow is to use an app for planning at your desk, then use a red flashlight and a printed chart outside. Before you go, decide on one or two realistic targets. That simple step prevents a lot of frustration. Next, we'll bring this together by designing your observing workflow.
 telescopeadvisor.comspace.comapps.apple.com+21 min
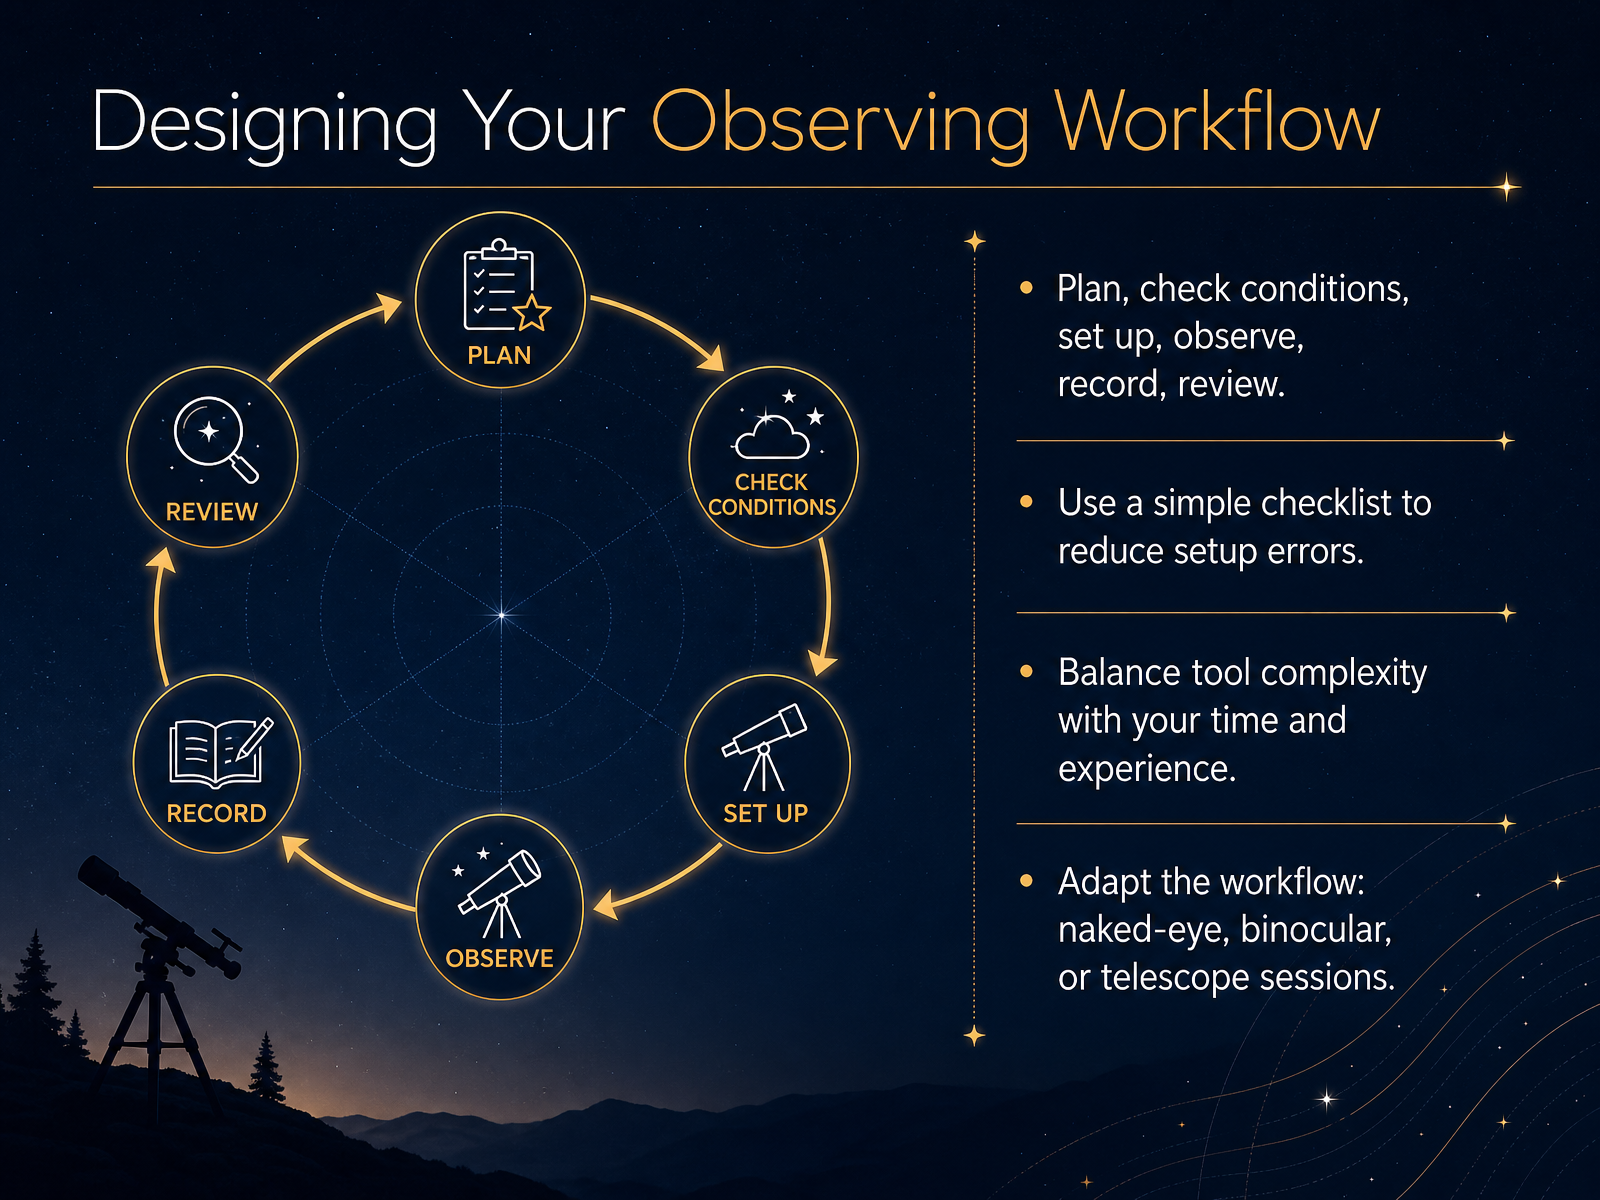
 - 07Designing Your Observing WorkflowThat brings us to the flow of a typical observing night. It starts long before you step outside. A simple workflow can be thought of as plan, check conditions, set up, observe, record, and review. Breaking down the evening this way makes it feel less overwhelming. You are not trying to memorize the entire sky at once; you are just following a sensible order. A simple checklist helps you avoid common setup errors, like forgetting to align the finder or bringing a red flashlight. It is important to balance the complexity of your tools with your available time. If you only have twenty minutes, a pair of binoculars or just your eyes might serve you better than wrestling with a full telescope setup. You should adapt this workflow to match your context, whether you are leading a classroom, observing from a backyard, or working with a telescope for the first time. The key is to make the process repeatable. Once you finish observing, you will want to capture what you saw. Next, let's look at recording and logging those observations.
 cosgrovescosmos.comastronomical.orgasnsw.com+21 min
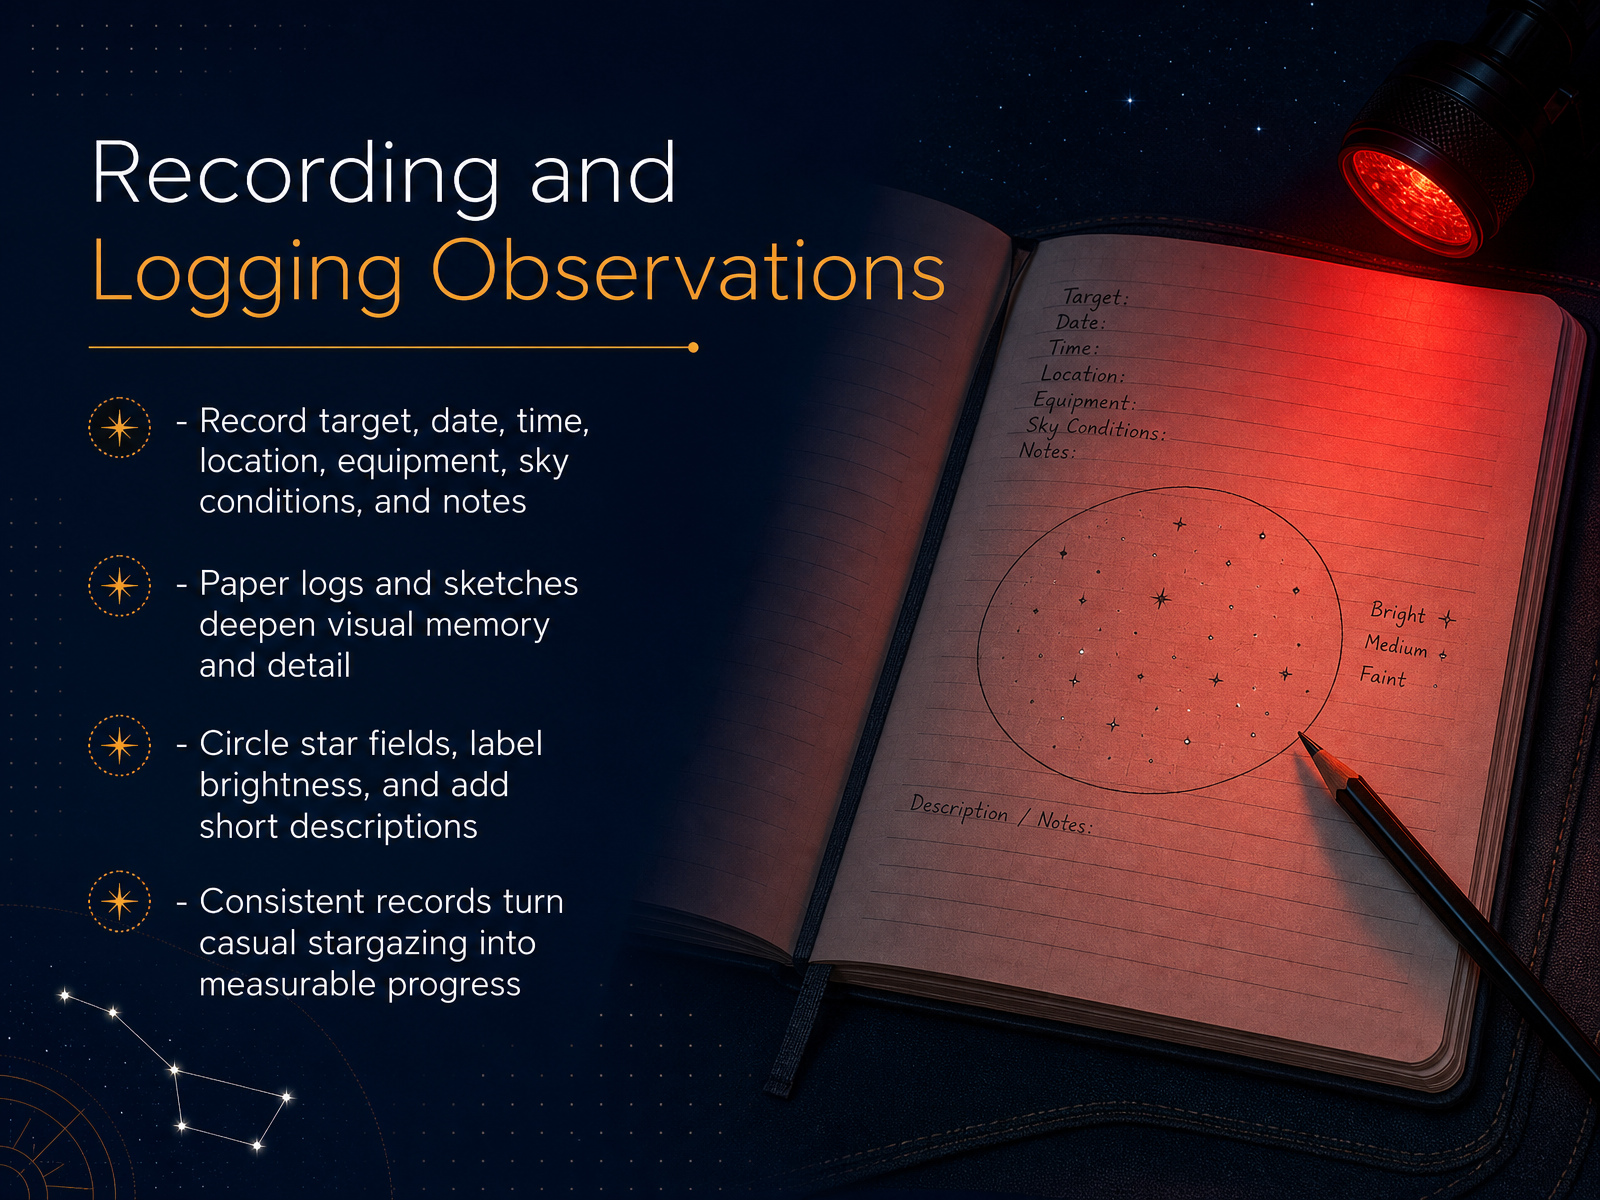
 - 08Recording and Logging ObservationsNow let's talk about recording and logging your observations. This is where casual stargazing becomes real progress, because your log is simply your memory, written down. For each object you see, record the basics. What was the target? When did you observe it? Where were you? What equipment did you use? And what were the sky conditions like? You can keep this log on paper, or with an app. Many observers find that paper logs and simple sketches do something special. Drawing what you see forces you to slow down and notice details you would otherwise miss. When you sketch, circle the star fields, label which stars are brighter, and add a short written description, maybe just a sentence or two about what impressed you. Consistency is the real key here. One entry is nice, but ten entries become a story you can look back on. So your takeaway is this. Start a simple log tonight, even if it is just a few lines and a rough circle sketch. That one action turns a casual look at the sky into a measurable first step. Next, we will look at avoiding common selection pitfalls.
 nightbase.applagoon-app.comallthingsn.com+22 min
 - 09Avoiding Common Selection PitfallsNow, let's talk about some common traps people fall into when choosing gear, so you can avoid the frustration and keep the fun in stargazing. The biggest one is overbuying. A complex telescope with a computer and a dozen knobs might look impressive, but if you are still learning to find the Moon, it will mostly create headaches. Start simple and upgrade once your skills grow. Another silent killer is ergonomics. If your gear takes forty minutes to set up, or it is heavy and awkward to carry, you will probably leave it in the closet on clear nights. The best instrument is always the one you actually use. Also, think about your local sky. Buying a huge scope for faint galaxies makes little sense if you live under bright city lights. The planets and the Moon will still look great, but that giant deep space rig may end up wasting your money and enthusiasm. So before spending a single dollar, remember this: start free. Use your naked eyes to learn the constellations, download a stargazing app, and see if you can borrow a pair of binoculars from a friend or a local club. That approach builds real skills without any risk. With those pitfalls in mind, let's look at how to build a simple, effective beginner tool kit.
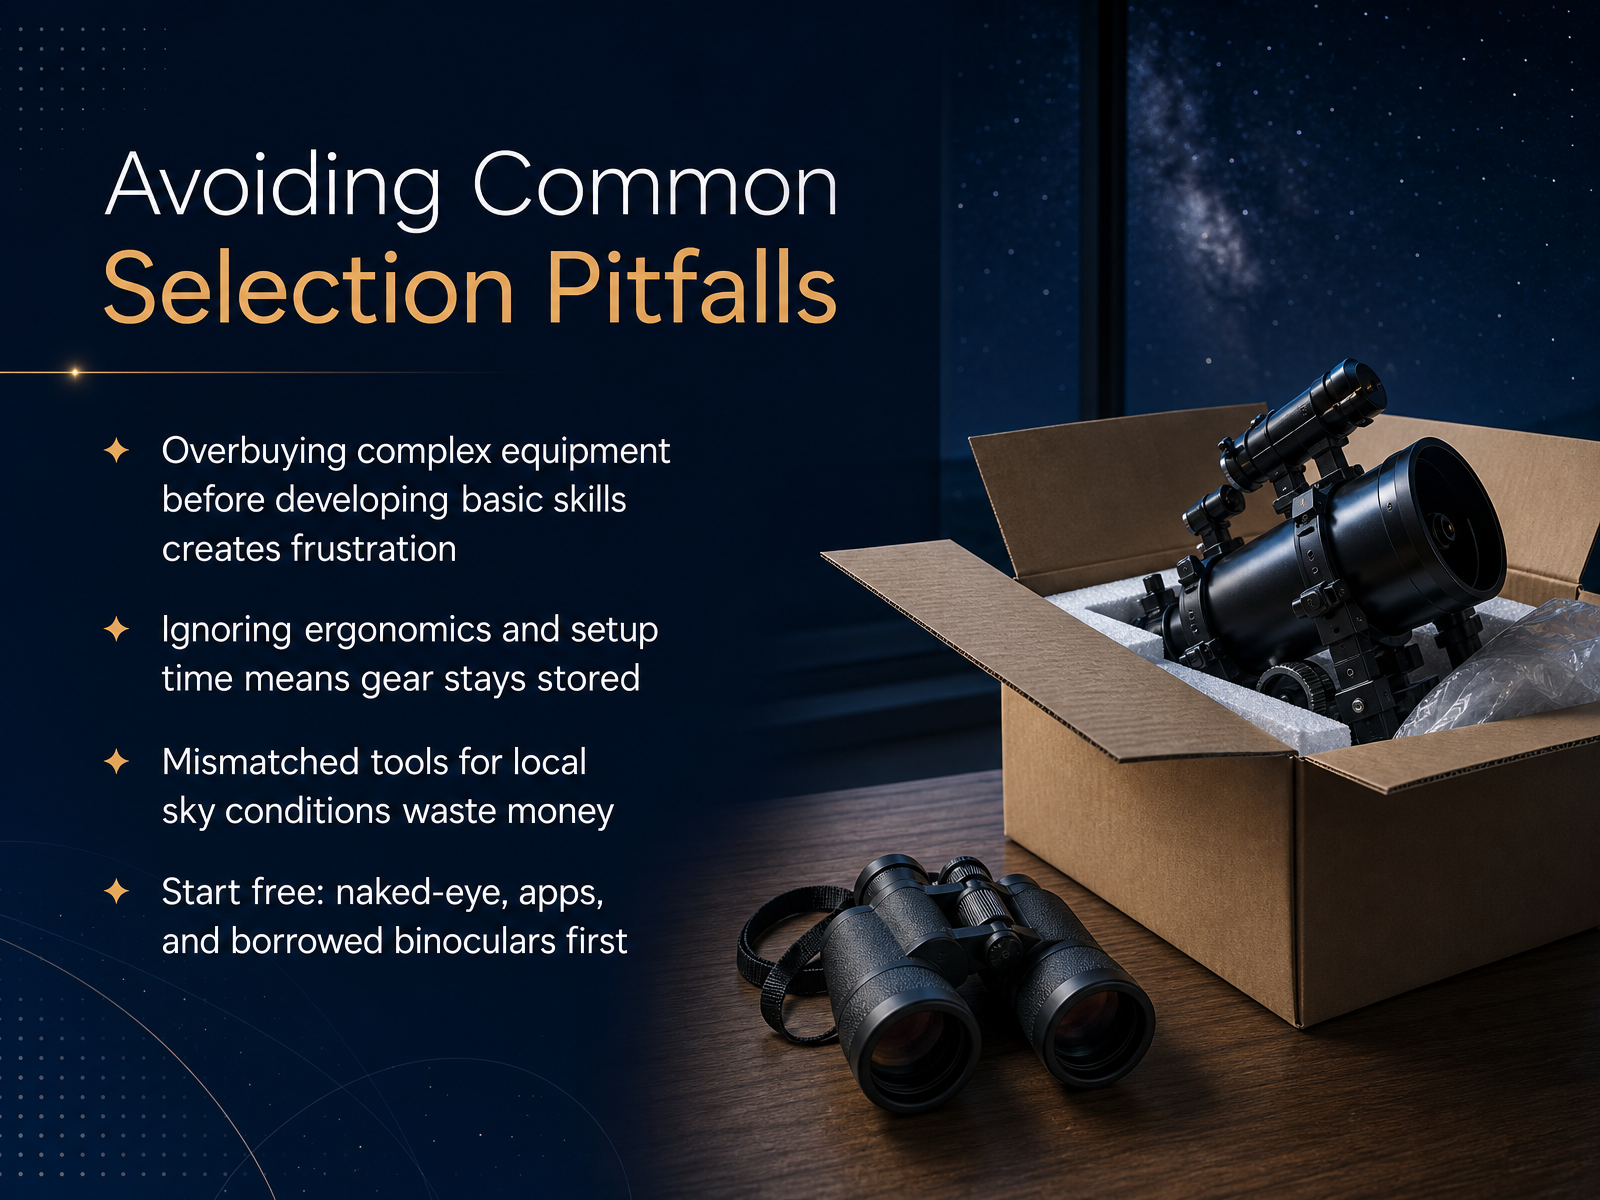 astronomy-gear.com1 min
 - 10Building a Beginner Tool KitNow let's put all that advice together and build a realistic beginner toolkit. You might be surprised to learn that the best kit often starts with a pair of binoculars. A 10 by 50 pair is a fantastic first purchase. It's affordable and lets you learn the sky without any complicated setup. You can see Jupiter's moons and sweep across the Milky Way. If your main goal is wide-field viewing, pair those binoculars with a reclining chair to save your neck. But if you are mostly excited to see the craters on the Moon or the rings of Saturn, you'll want a telescope. A small refractor or a Maksutov-Cassegrain is a great choice for that. A small Dobsonian is also a solid option. For your very first, minimal kit, you really only need a few things: a star chart, a red flashlight to protect your night vision, and some warm clothing, because you will get cold standing still. If you want to take simple pictures to share, you could consider a basic smart telescope or even just a camera on a sturdy tripod. Let's talk about cost. A good pair of binoculars can run from forty to one hundred fifty dollars. A quality first telescope typically costs between two hundred and four hundred dollars. Most other accessories are under fifty bucks. Think about your main goal, start simple, and you'll build a kit that gets used. Next, we'll talk about how to test and refine your workflow so you get the most out of every session.
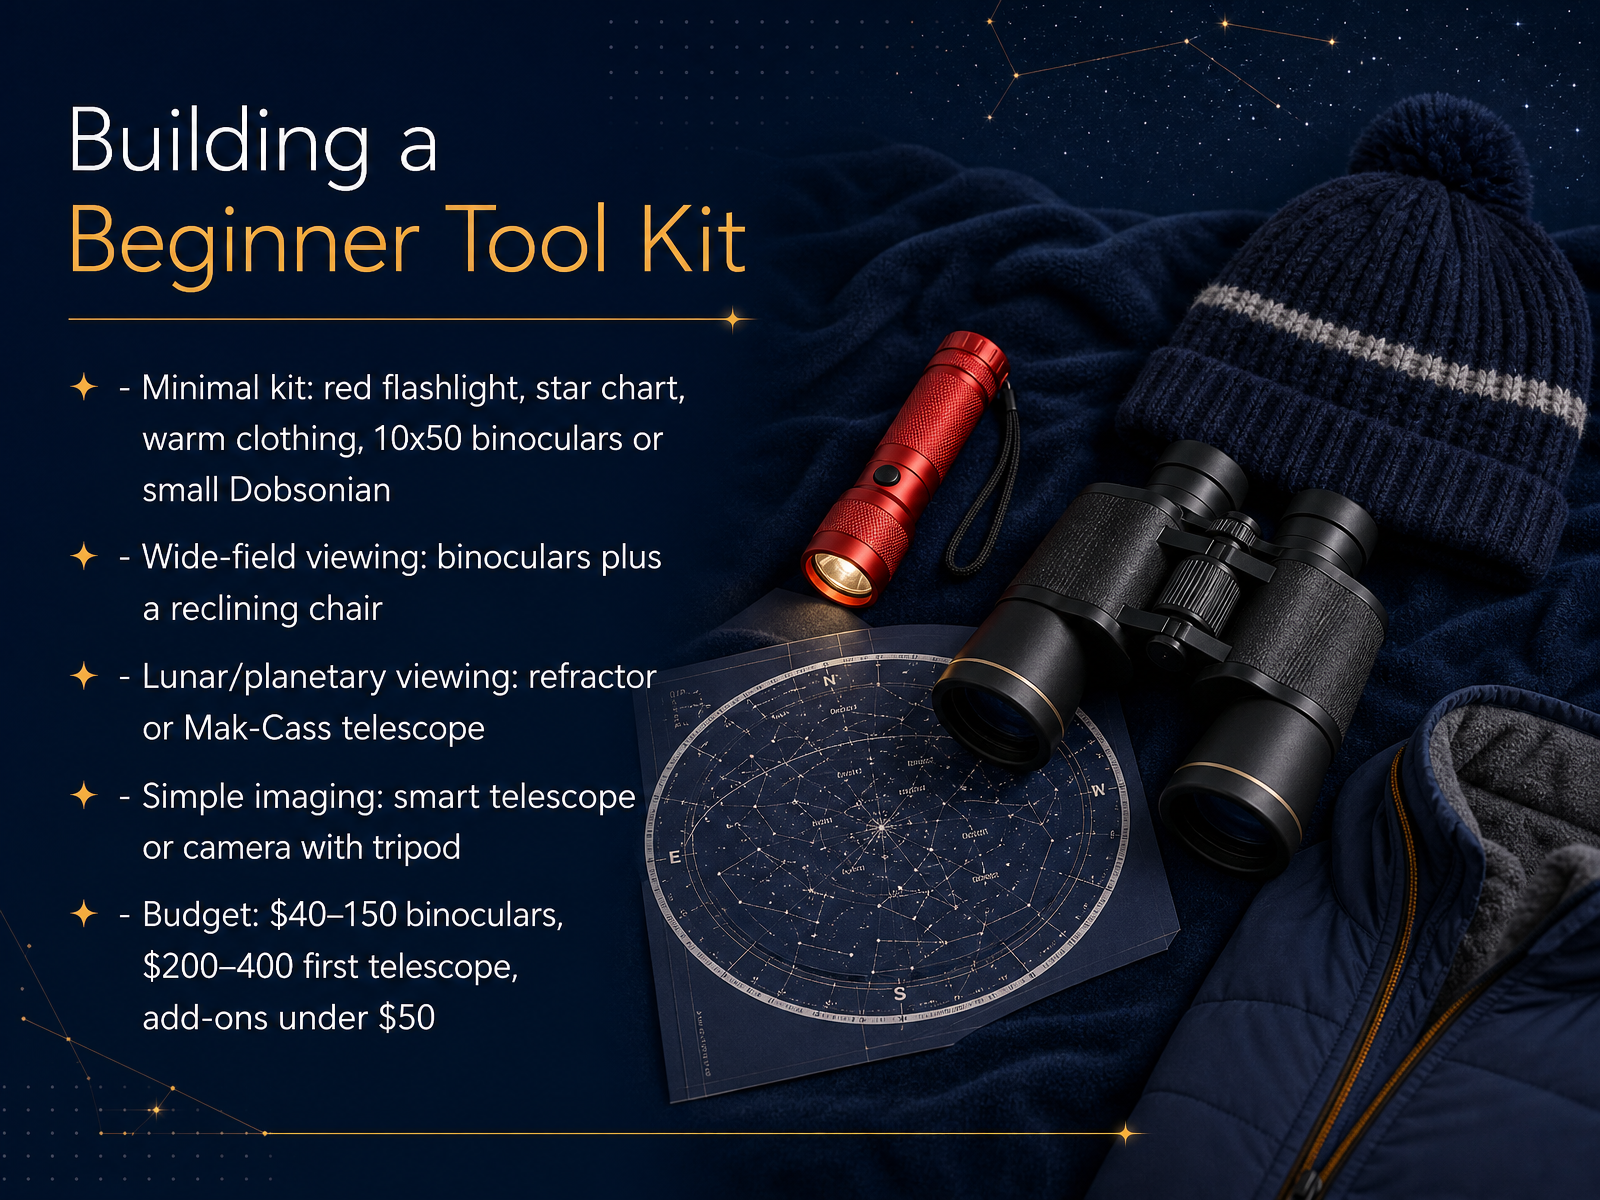 watchthestars.co.ukouterspacetrip.comwatchthestars.co.uk+21 min
 - 11Testing and Refining Your WorkflowNow, how do you make all of this smoother next time? The answer is simple. Run a practice session before a long night out. Even thirty minutes in your backyard can reveal what works and what slows you down. After each session, take a quick mental note. What went well? What felt clunky? Maybe your finder needed realigning, or you spent too long hunting for a pen. Write it down. Over time, you will see your progress build, and that feels great. Also, remember the seasons change the game. In winter, plan for cooldown time so your telescope gives sharp views sooner. In summer, twilight lingers, so start with bright targets like the Moon or planets first. Tonight, ask yourself one thing: what is the single biggest friction point I can fix before my next session? Next, we will look at the core observing skills to practice.
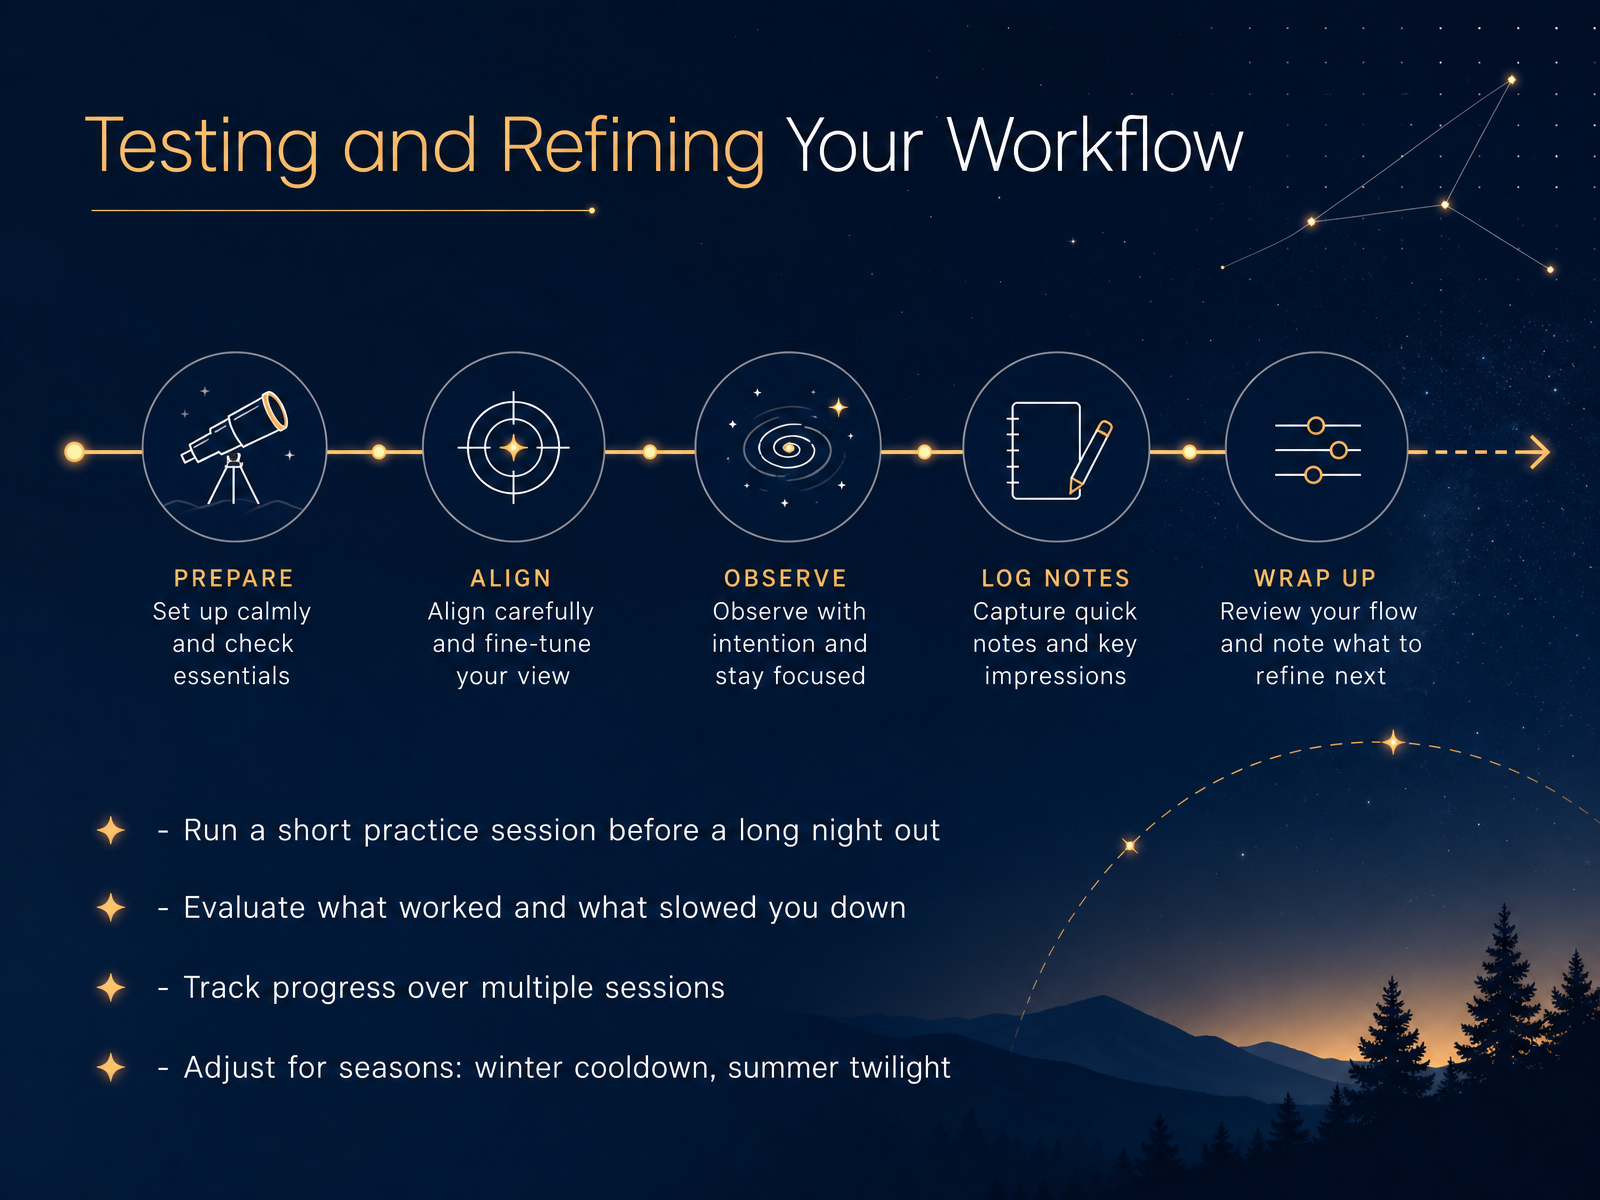 astronomy.comcosgrovescosmos.comastronomical.org+21 min
 - 12Core Observing Skills to PracticeNow let's focus on the core skills that will make your observing sessions so much smoother. First, align your finder scope during the day before each session. Point your telescope at a distant treetop or building, center it in your main eyepiece, and then adjust the finder until it points at the same spot. It saves so much frustration at night. When you are ready to find something, always use that finder scope first, then move to your main eyepiece. For faint objects like galaxies and nebulae, you will want to star-hop. That just means starting from a bright star you can identify, and using your lowest power eyepiece to make small moves across patterns of stars until you arrive at your target. The wider view makes it much easier to match what you see with your star chart. Remember to protect your night vision by using only dim red lights and turning down your phone screen. And when a faint object is in your eyepiece but you can barely detect it, try looking slightly to the side of it with averted vision. Often, it will pop right into view. These are all simple habits, and they get easier every time you practice. Up next, we will cover resources and next steps to keep building on what you have learned.
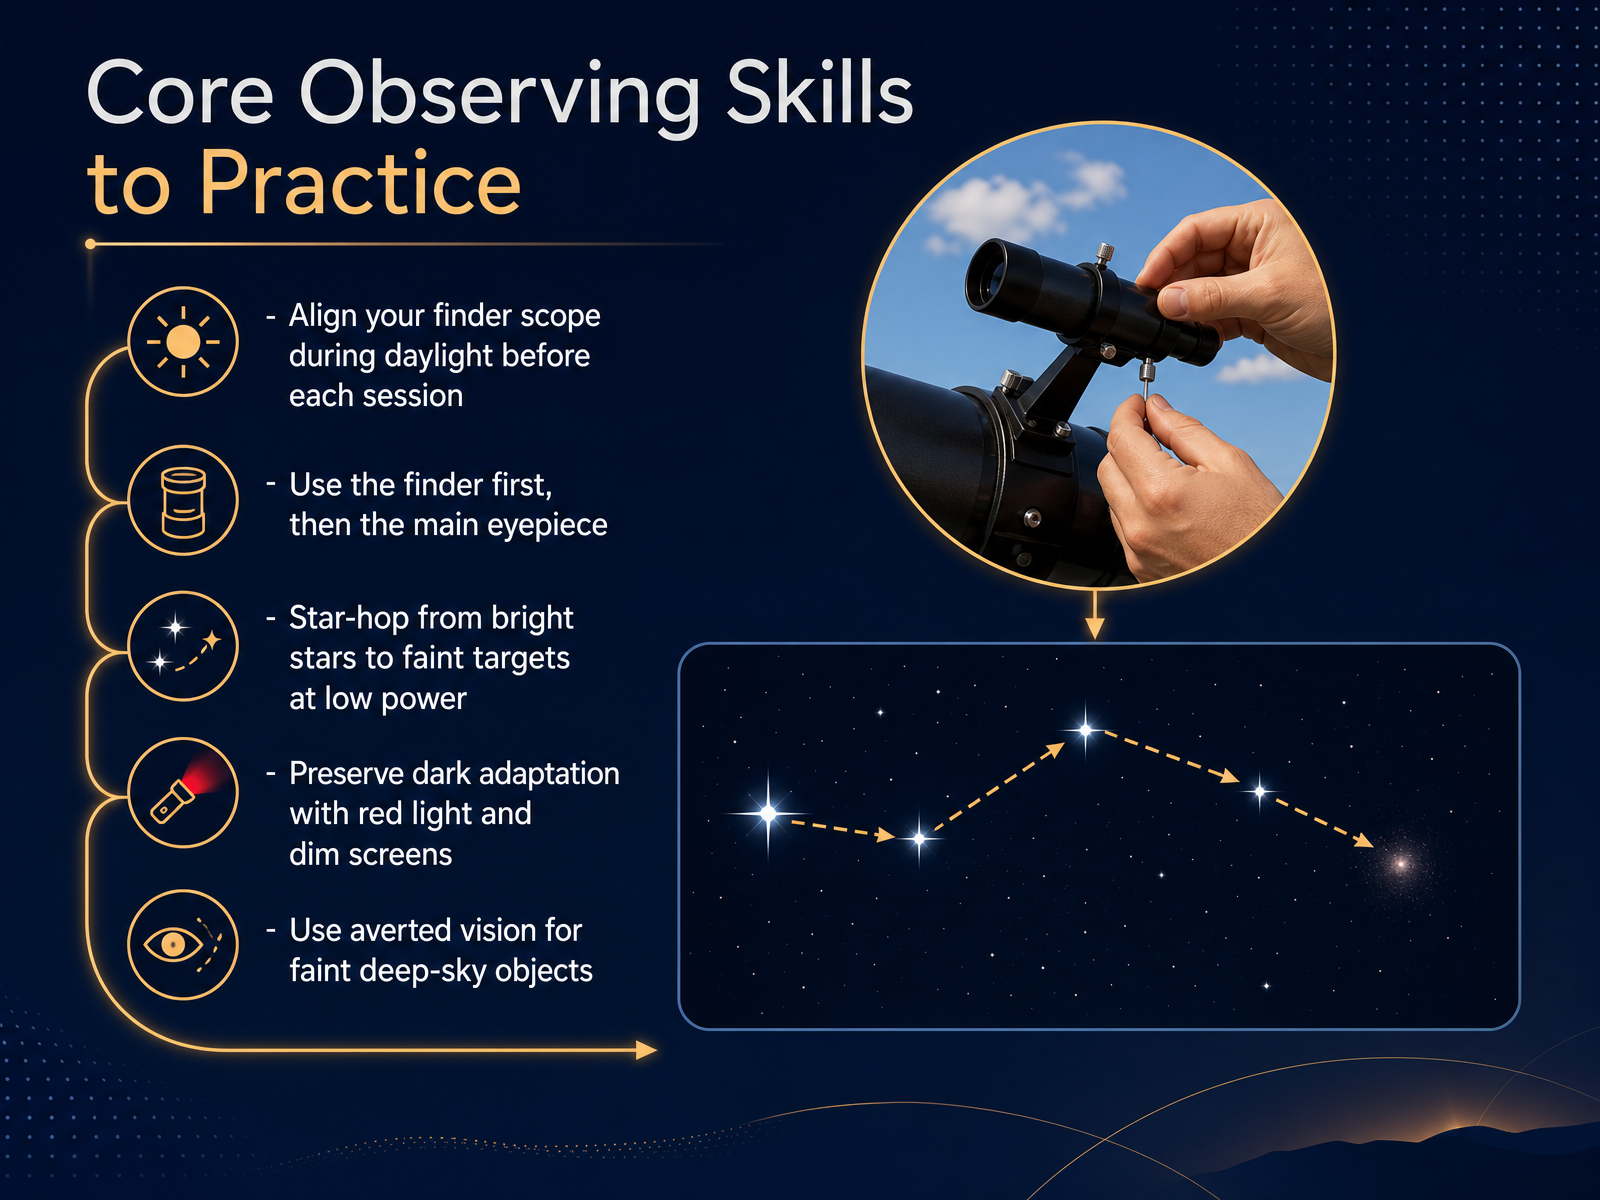 astronomy.comcosgrovescosmos.comastronomical.org+22 min
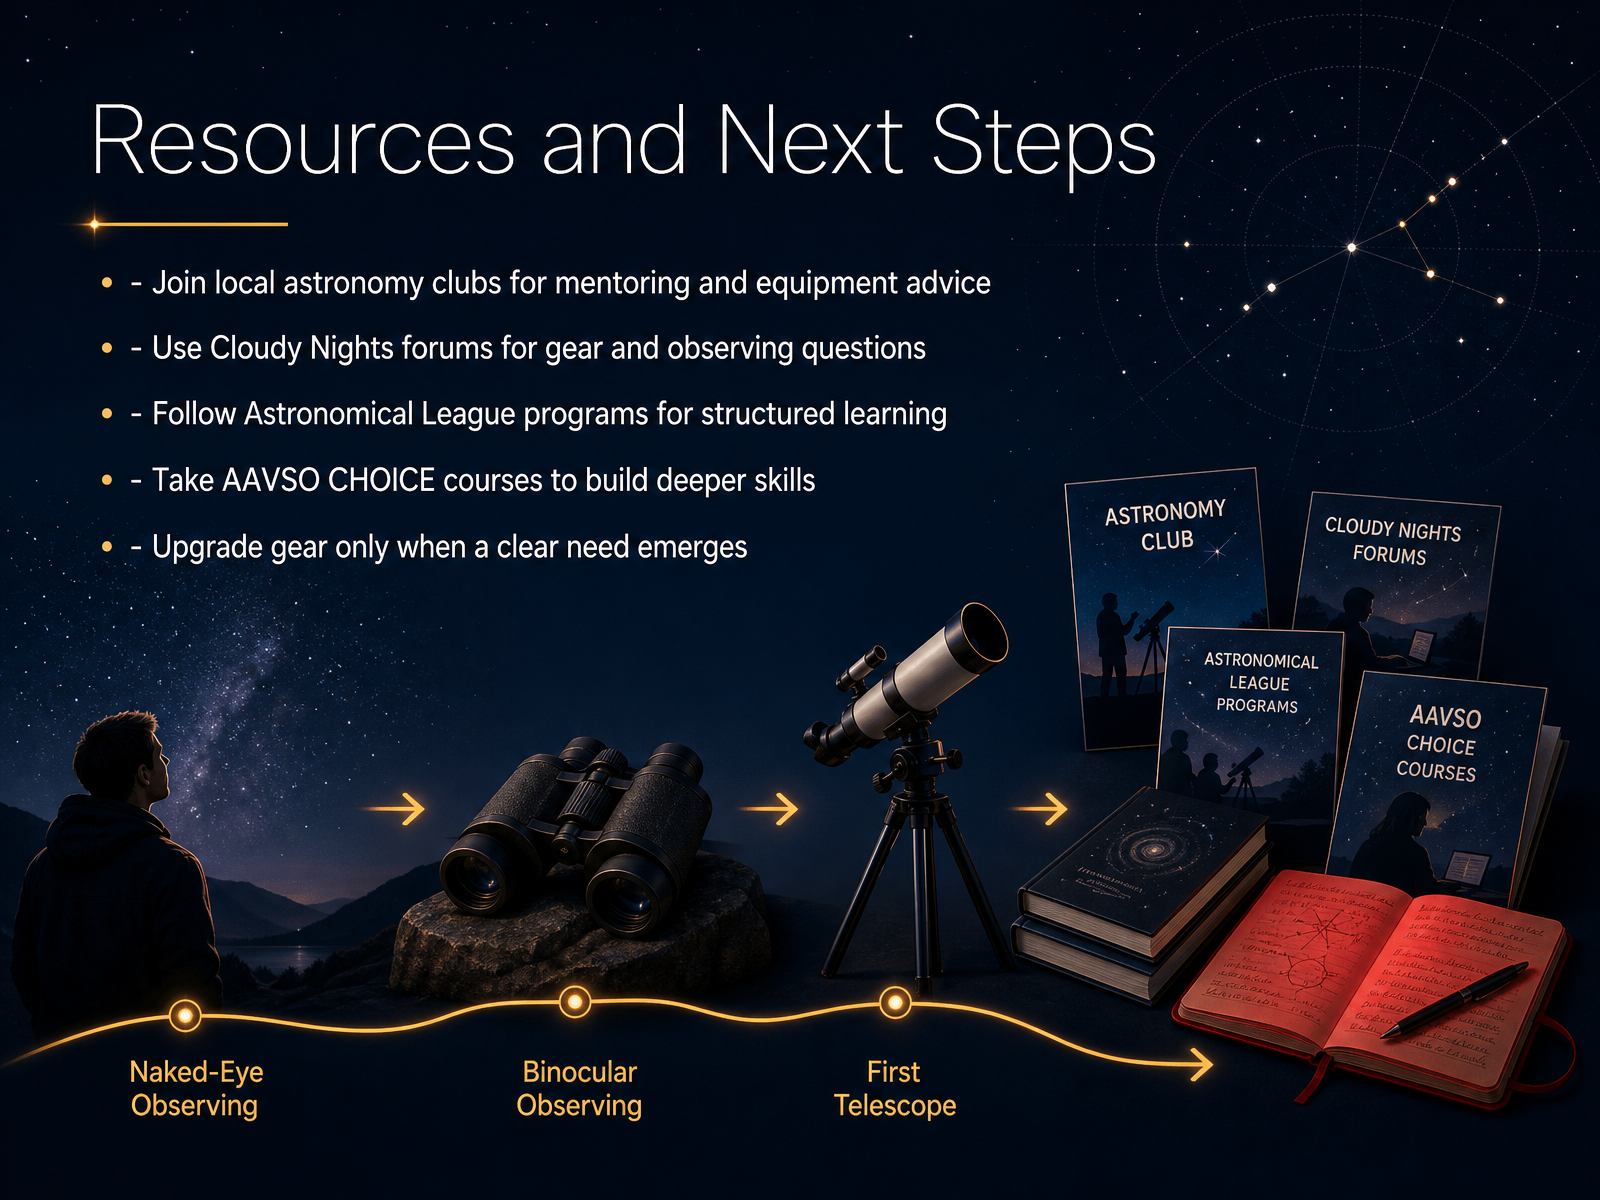
 - 13Resources and Next StepsYou do not have to figure all of this out alone. One of the best moves you can make is to connect with other observers. Local astronomy clubs are full of people who love helping beginners, and many let you try out equipment before you buy it. For online help, Cloudy Nights is a great place to ask gear questions or figure out what you just saw in the eyepiece. If you want more structure, look into Astronomical League observing programs. They give you a clear target list and a reason to keep going. When you are ready to build deeper skills, AAVSO CHOICE courses cover topics like observing techniques and data recording. And when it comes to buying new gear, let a real need guide you. If your current setup is still teaching you something, hold off. Up next, we will put everything together into a simple plan for tonight.
 cosgrovescosmos.comastronomical.orgasnsw.com+21 min
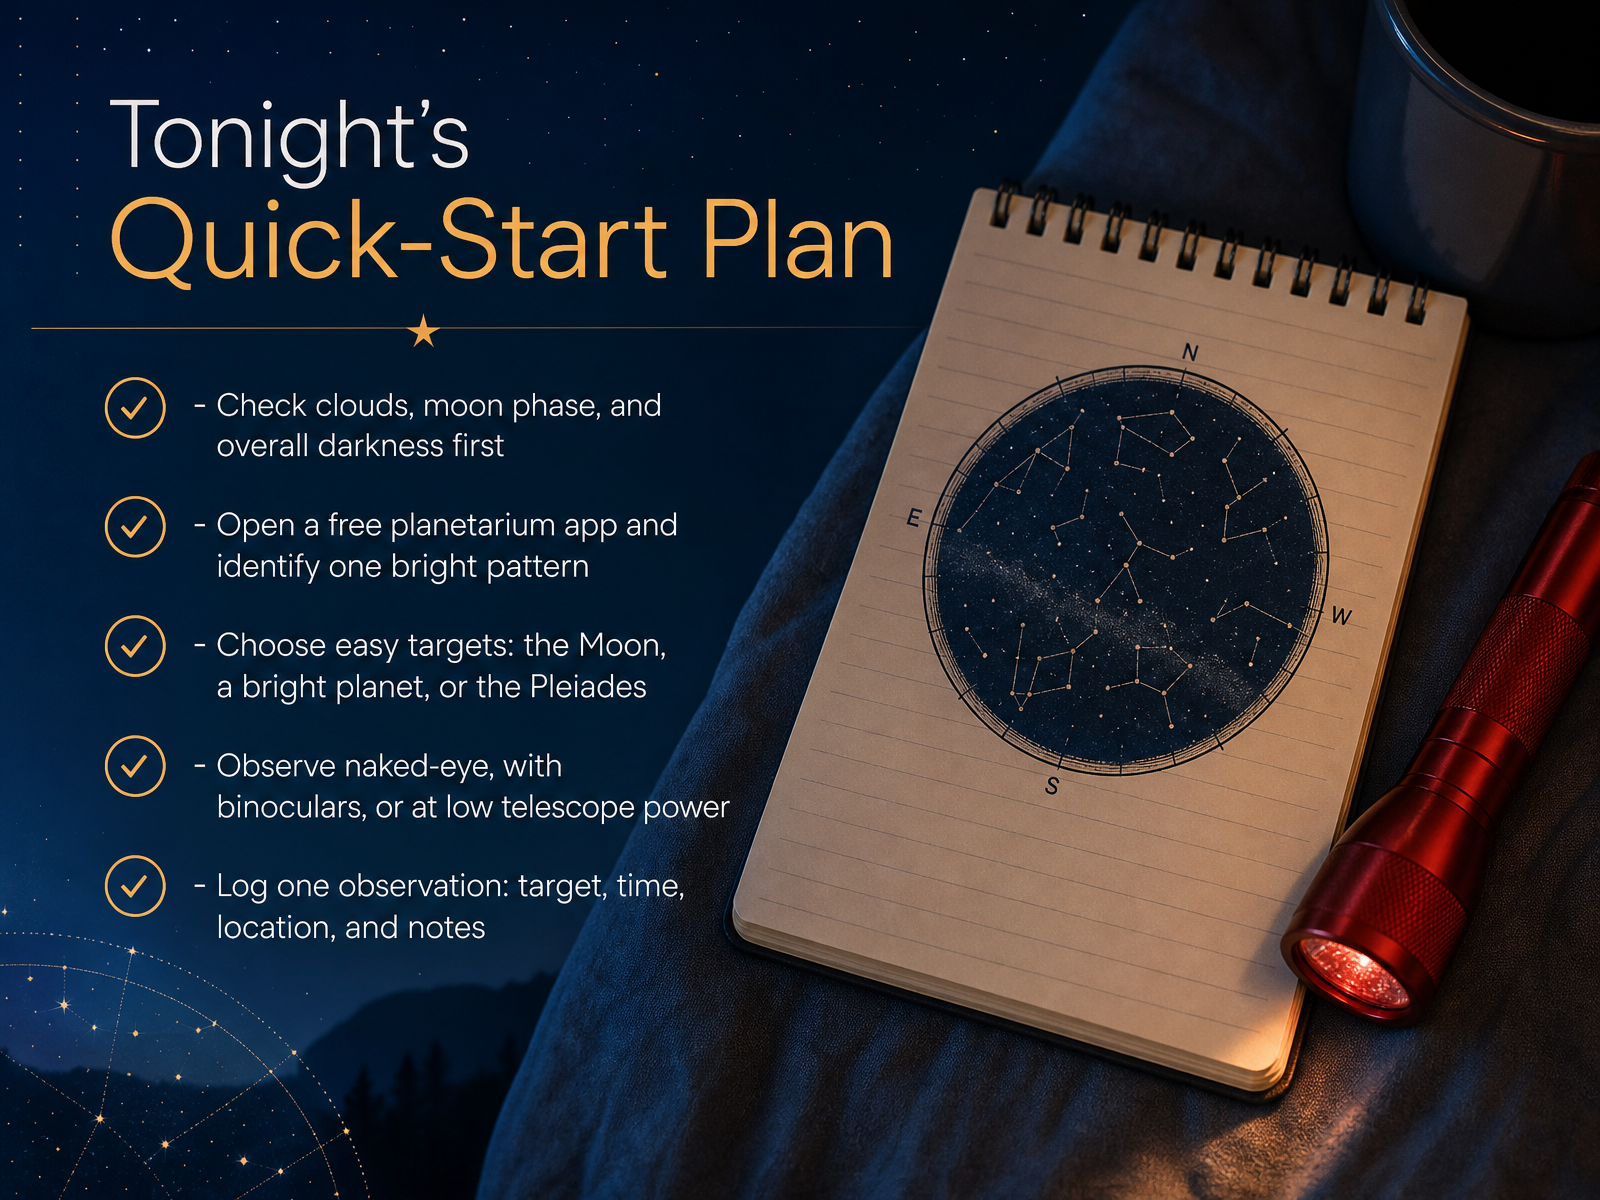
 - 14Tonight's Quick-Start PlanLet's turn this into a simple plan you can use tonight. Before you head outside, check the clouds, the moon phase, and how dark your sky really is. If the moon is nearly full, stick with bright targets and save faint ones for another night. Then open a free planetarium app and find one bright pattern. That could be the Big Dipper, Orion, or Cassiopeia, depending on what is up where you live. Once you can point to that, choose one easy target. The Moon is always a great first choice. A bright planet works too, or the Pleiades if they are visible. Observe with just your eyes, binoculars, or a telescope at low power. Low power is easier to aim and less frustrating. When you are done, write one line in a notebook or on your phone. Record the target, the time, your location, and a note about what you saw. That one entry is your first real observation. Do not try to see everything. One clear target and one short note is a successful night. Thank you for joining this introduction. Take the plan, step outside, and enjoy your first look.
 cosgrovescosmos.comastronomical.orgasnsw.com+21 min
Take the deck with you
Download this course as a file — free, no sign-up needed.
- PDF handoutEvery slide page, ready to print or share.15 pages · 3.9 MBDownload
- Narrated PowerPointThe deck that presents itself — every slide carries the digital human's narration video.15 pages · 14.9 MBDownload
- PowerPoint slidesThe full deck as a .pptx — open it in PowerPoint, Keynote, or Google Slides.15 pages · 3.8 MBDownload
Free to use in your own training — please keep the PersonWise credit page at the end.
Have your own deck? Turn it into a course
Sources consulted
Web sources consulted while building this course.
- Beginner Astronomy: Start Here (What to Do Tonight) — Cosgrove's Cosmos — cosgrovescosmos.com
- PAS Beginner's Series — astronomical.org
- I2AO Part 6: Catalogues and Planning an Observing Session — asnsw.com
- Preparation for an astronomical observation — naseprogram.org
- The ABCs of observing | Astronomy.com — astronomy.com
- Binoculars vs. Telescope: Which Should a Beginner Buy First? — Outer Space Trip — outerspacetrip.com
- Best Telescopes and Astronomy Equipment 2026 —… | WatchTheStars — watchthestars.co.uk
- Complete Astronomy Starter Kits 2026 — UK… | WatchTheStars — watchthestars.co.uk
- The 2026 Buyer's Guide to Astronomy Gear — astronomy-gear.com
- How to buy your first telescope — astronomy.com
- Best Astronomy Apps 2026: SkySafari, Stellarium and More Reviewed — telescopeadvisor.com
- Best stargazing apps 2026: Use your phone to identify stars and planets — space.com
- SkySafari App - App Store — apps.apple.com
- Stellarium - Star Map - Apps on Google Play — play.google.com
- Gaia - Star Atlas App - App Store — apps.apple.com
- Night Sky Explorer, Star Map & Catalog - Nightbase — nightbase.app
- Lagoon - Astronomy Companion — lagoon-app.com
- Astronomy Observation Log — Offline Life List | Nightsight — allthingsn.com
- StarLogger — starlogger.app
- DeepskyLog/DeepskyLog — github.com