Begin
14 pages · ~28 min
Excel Spreadsheet Saving Workflow
This practical workflow teaches users how to save an Excel spreadsheet, helping beginners and everyday users confidently preserve and manage their work.
A digital instructor presents all 14 pages. Hold “Ask” at any point and ask out loud — the answer comes from this course. No sign-up needed.
What you’ll learn
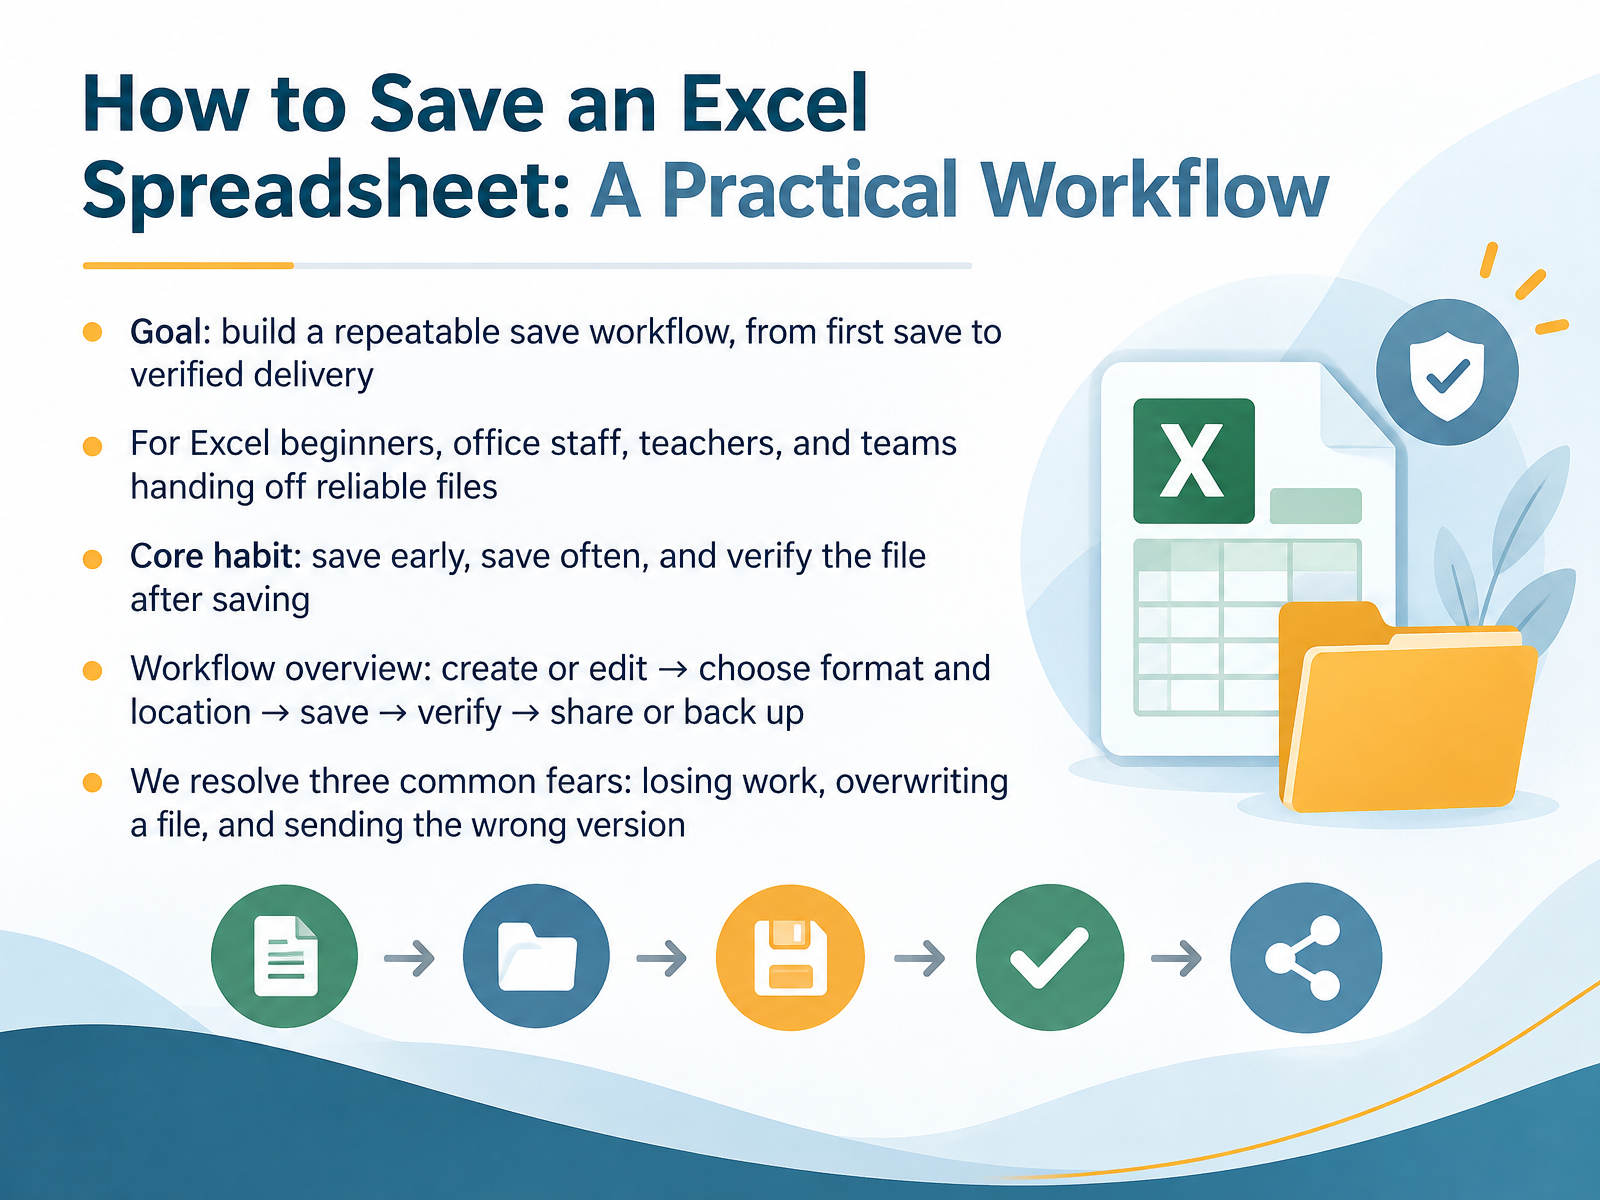
- 01How to Save an Excel Spreadsheet: A Practical WorkflowWelcome. This course is about one small skill with a big payoff, saving an Excel spreadsheet. We will build a repeatable workflow, from your very first save to handing off a file you know is correct. This is for beginners, and for office staff, teachers, and teams who share files with others. No prior Excel knowledge is needed. You will learn one core habit. Save early, save often, and verify the file after saving. The workflow has five steps. Create or edit your data. Choose the format and location. Save. Verify. Then share or back up. Along the way, we address three common fears. Losing your work, overwriting a file by mistake, and sending the wrong version. Keep this simple idea in mind. A saved file you have checked is a file you can trust. You should now see the overall workflow on the screen. Next, we look at workbook, worksheet, and file, and what you are actually saving.support.microsoft.comsupport.microsoft.comlearn.microsoft.com+22 min
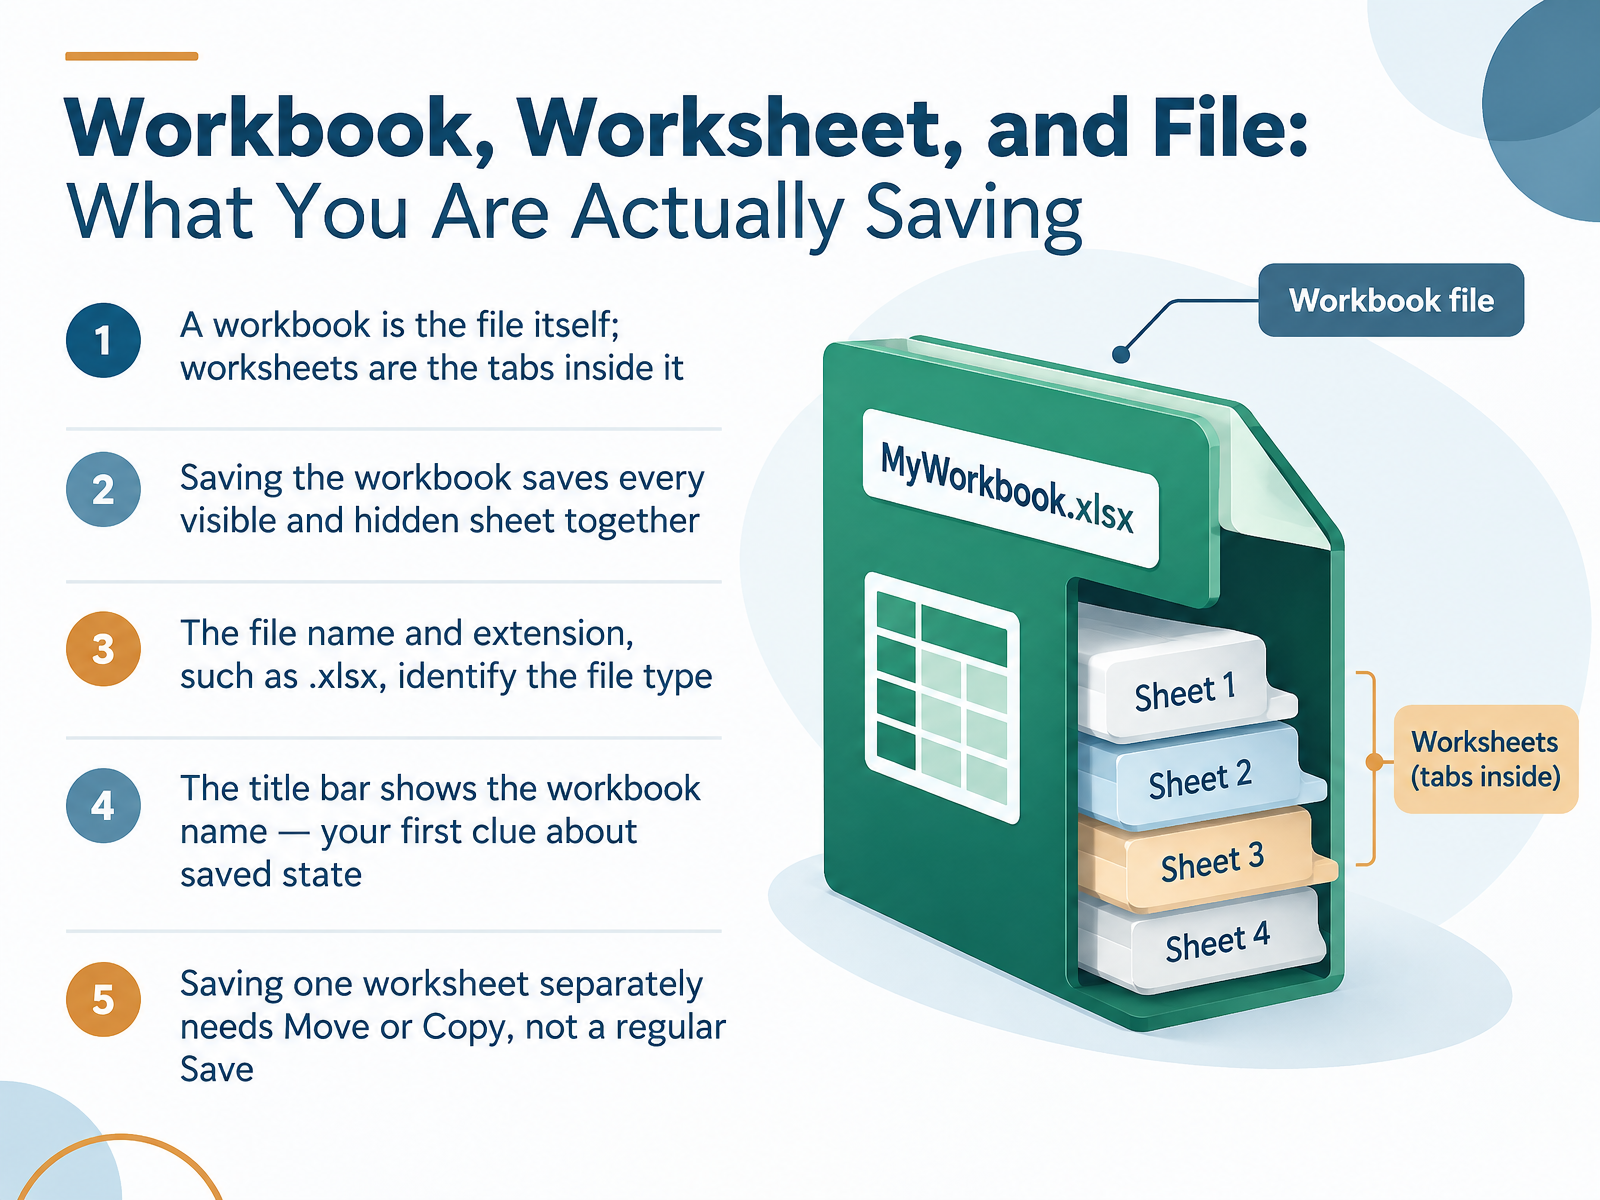
- 02Workbook, Worksheet, and File: What You Are Actually SavingNow let's make sure you know exactly what you are saving. In Excel, the workbook is the file itself. Think of it as the whole folder. The worksheets are the tabs inside it, like single pages. When you save the workbook, you save every sheet at once, including hidden sheets. Each file also has a name and an extension, such as dot x l s x. That extension tells you the file type. Next, look at the title bar at the top of the window. It shows the workbook name. That is your first clue about whether your work is saved. And here is one point to remember. A regular Save always saves the entire workbook. To save just one worksheet as its own file, right-click the tab, choose Move or Copy, select new book, and tick Create a copy. You should now see the workbook name in the title bar, and you know it covers every tab. Next, we will look at the formats that matter: dot x l s x, dot x l s m, C S V, and P D F.
 support.microsoft.comlearn.microsoft.comsupport.microsoft.com+22 min
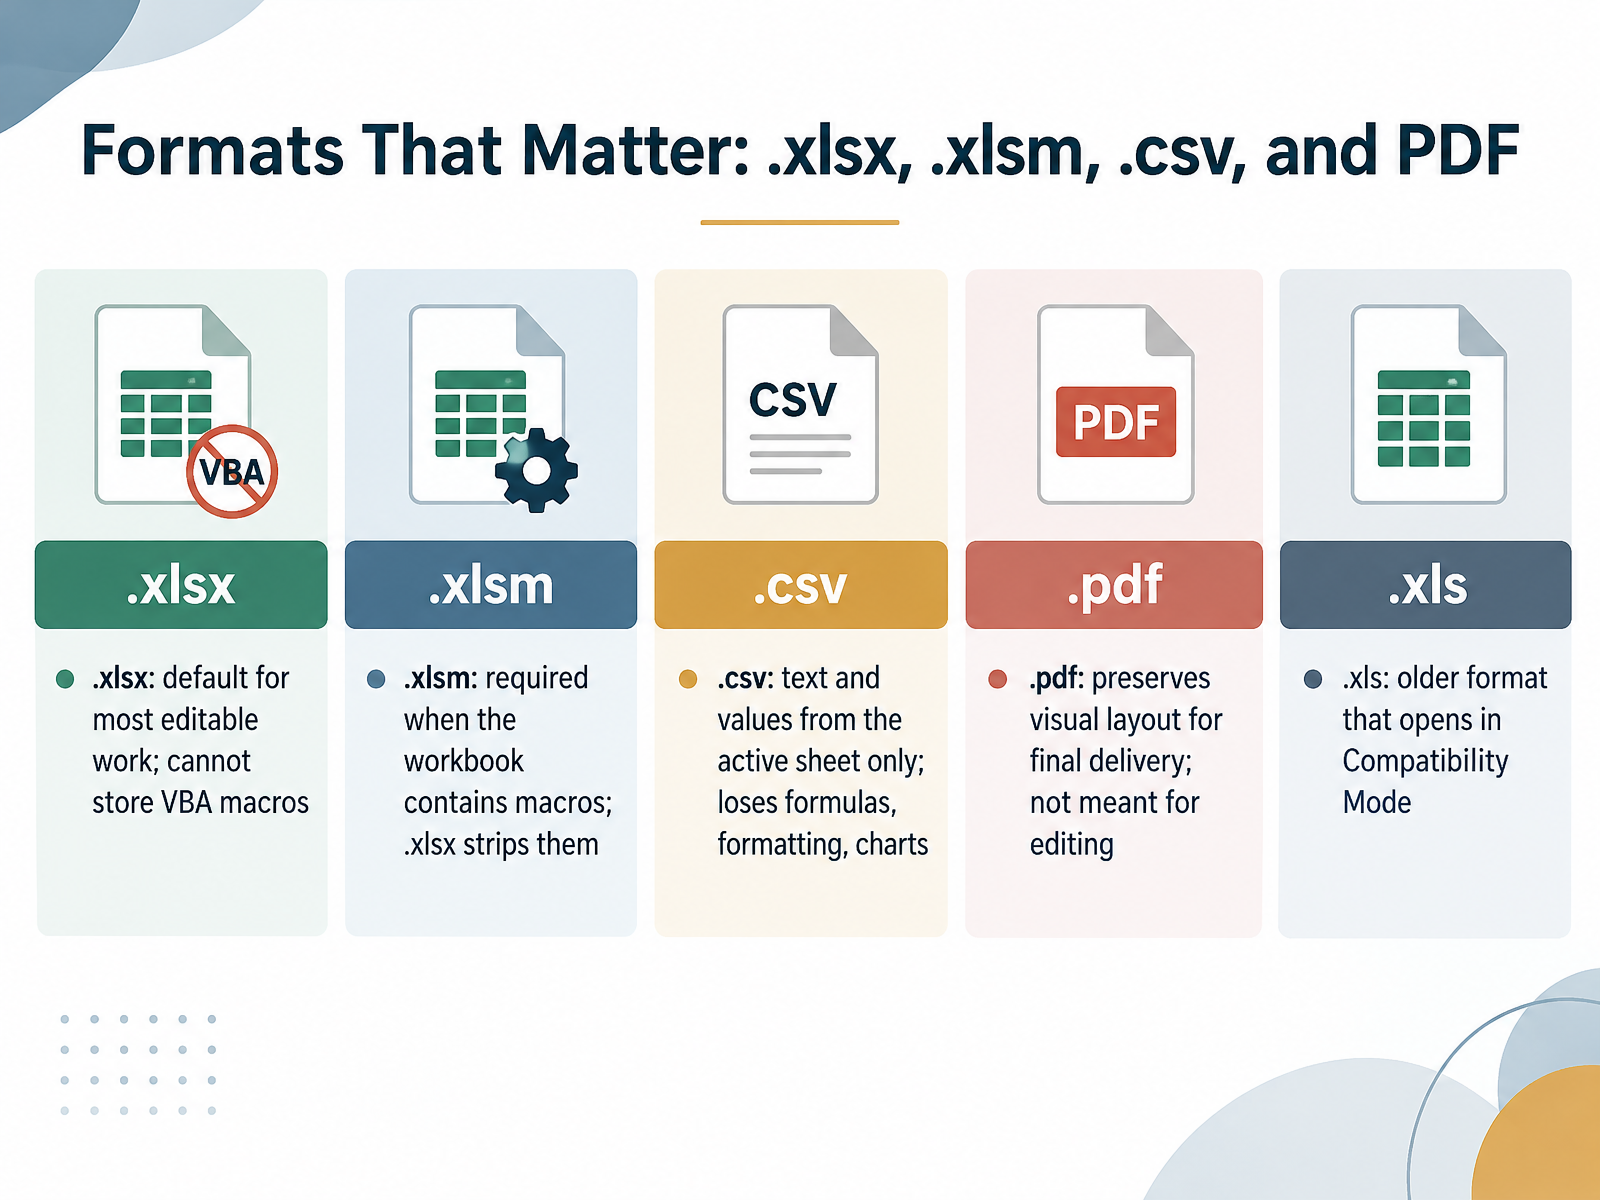
- 03Formats That Matter: .xlsx, .xlsm, .csv, and PDFNow let's look at the file formats that matter. First, there is x l s x. This is the default format for most editable work. It cannot store V B A macros. Next, x l s m. Use this format when your workbook contains macros. If you save to x l s x, the macros are stripped out. Then there is c s v. A c s v file keeps only text and values from the active sheet. It loses formulas, formatting, and charts. After that, P D F. A P D F preserves the visual layout for final delivery. It is not meant for editing. Finally, x l s. This is the older format, and it opens in Compatibility Mode. You should now see the difference between these formats. Next, we will look at the save commands: Save, Save As, and Save a Copy.
 support.microsoft.comlearn.microsoft.comsupport.microsoft.com+21 min
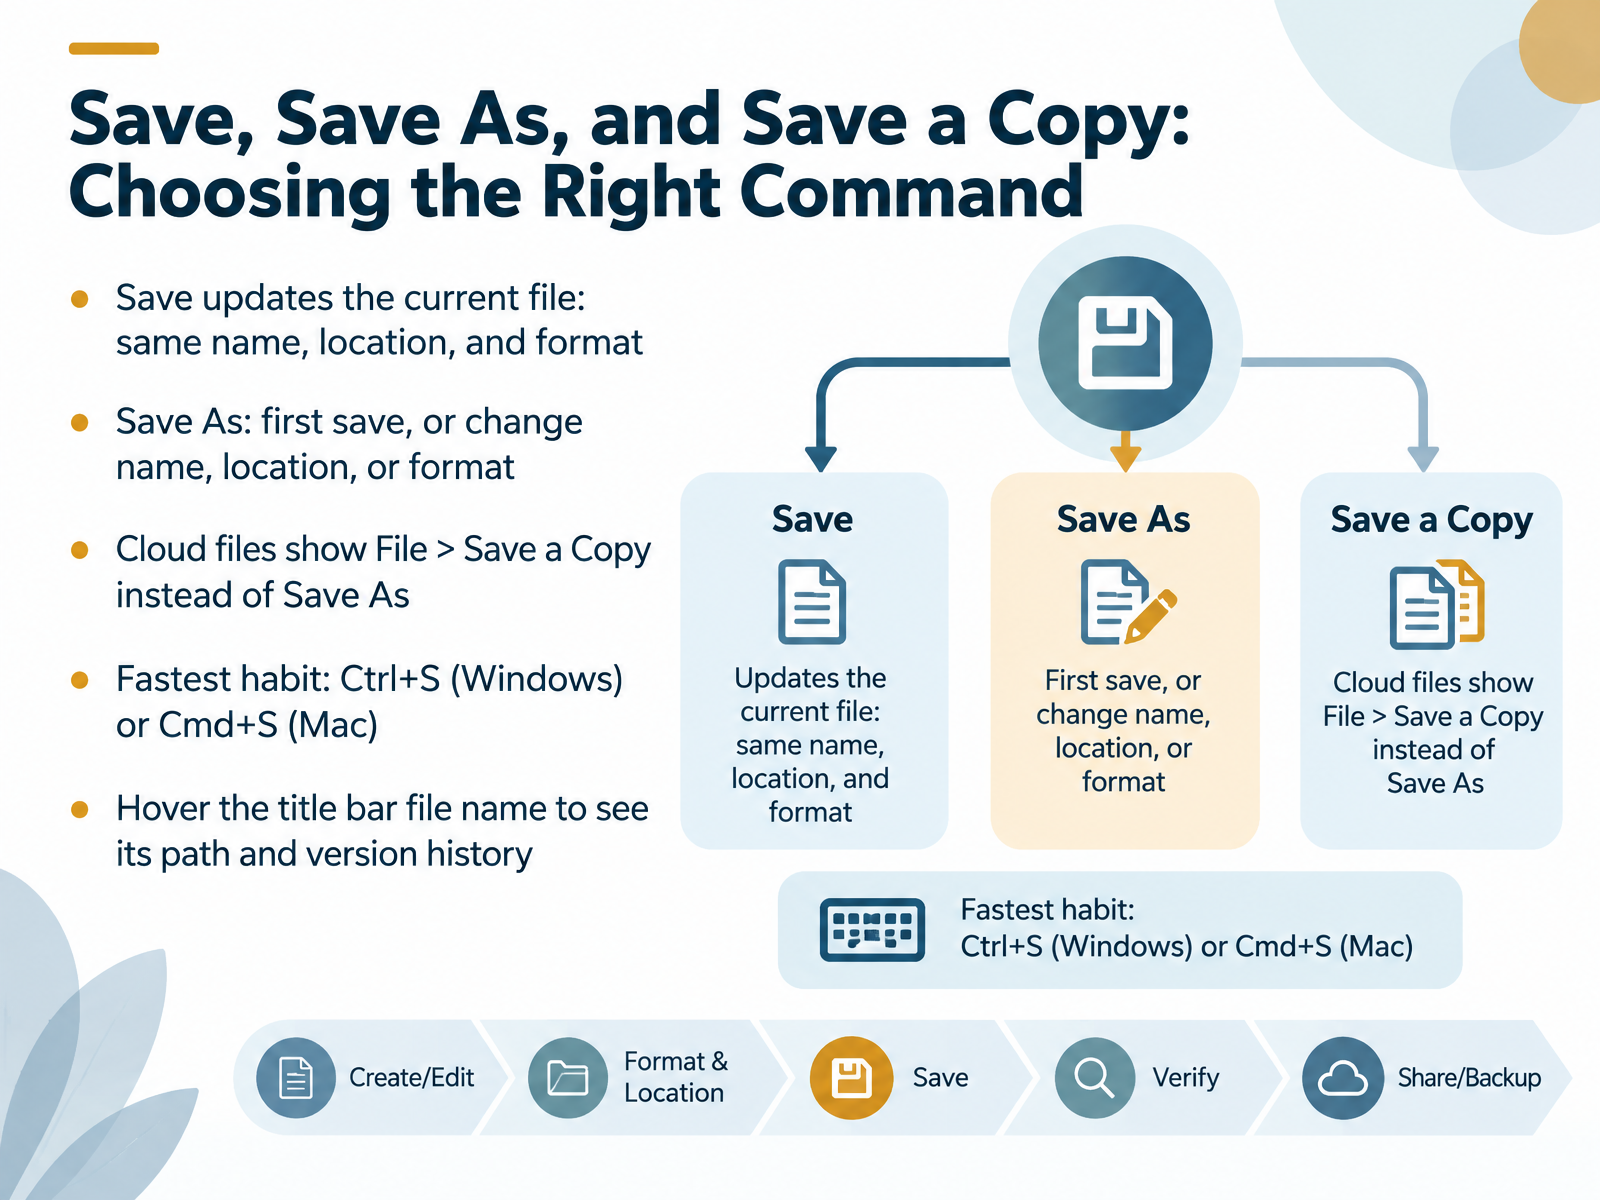
- 04Save, Save As, and Save a Copy: Choosing the Right CommandNow let us look at the three save commands, and when to use each one. First, Save. Save updates the current file. It keeps the same name, the same location, and the same format. Next, Save As. Use Save As for your first save. Use it also to change the name, the location, or the format. Then, if your file is stored in the cloud, you will see File, then Save a Copy, instead of Save As. This creates a separate copy and protects your original file. The fastest habit is the keyboard shortcut. On Windows, press Control plus S. On Mac, press Command plus S. Finally, hover over the file name in the title bar. You should now see the full file path, and you can open version history from there. Next, we will walk through saving a new workbook for the first time.
 support.microsoft.comsupport.microsoft.comlearn.microsoft.com+21 min
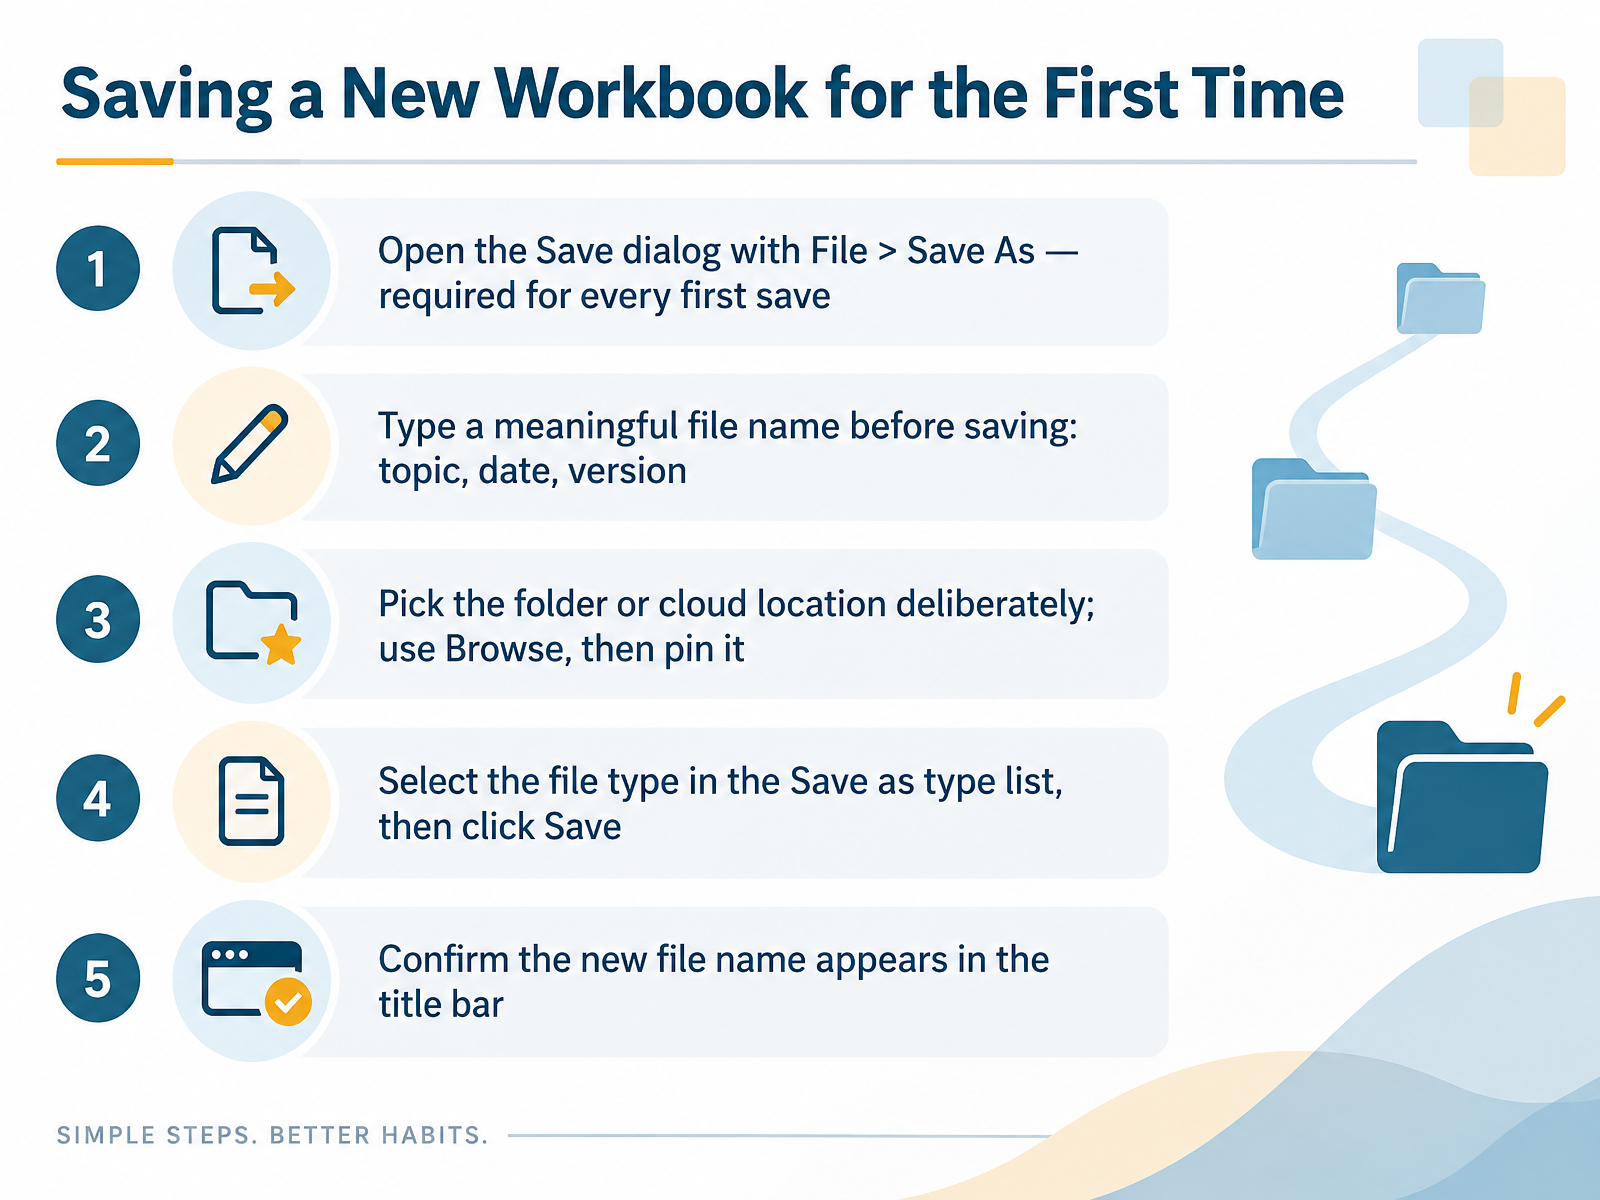
- 05Saving a New Workbook for the First TimeNow let us save a brand new workbook. This first save is different, because the file has no name yet. First, go to the File tab, and click Save As. Save As is the command that always asks where and how to save. Next, type a meaningful file name. Include the topic, the date, and a version, for example, Budget Review, March fifth, version one. Then choose the folder or cloud location on purpose. Click Browse to find it exactly. After you pick it, right-click the folder and choose Pin to Quick access. That saves time later. Then look at the Save as type list. Leave it on Excel Workbook for a normal file. Finally, click Save. You should now see your new file name in the title bar. Next, we will compare saving locations, local, network, or cloud, and when to use each one.
 support.microsoft.comsupport.microsoft.comlearn.microsoft.com+22 min
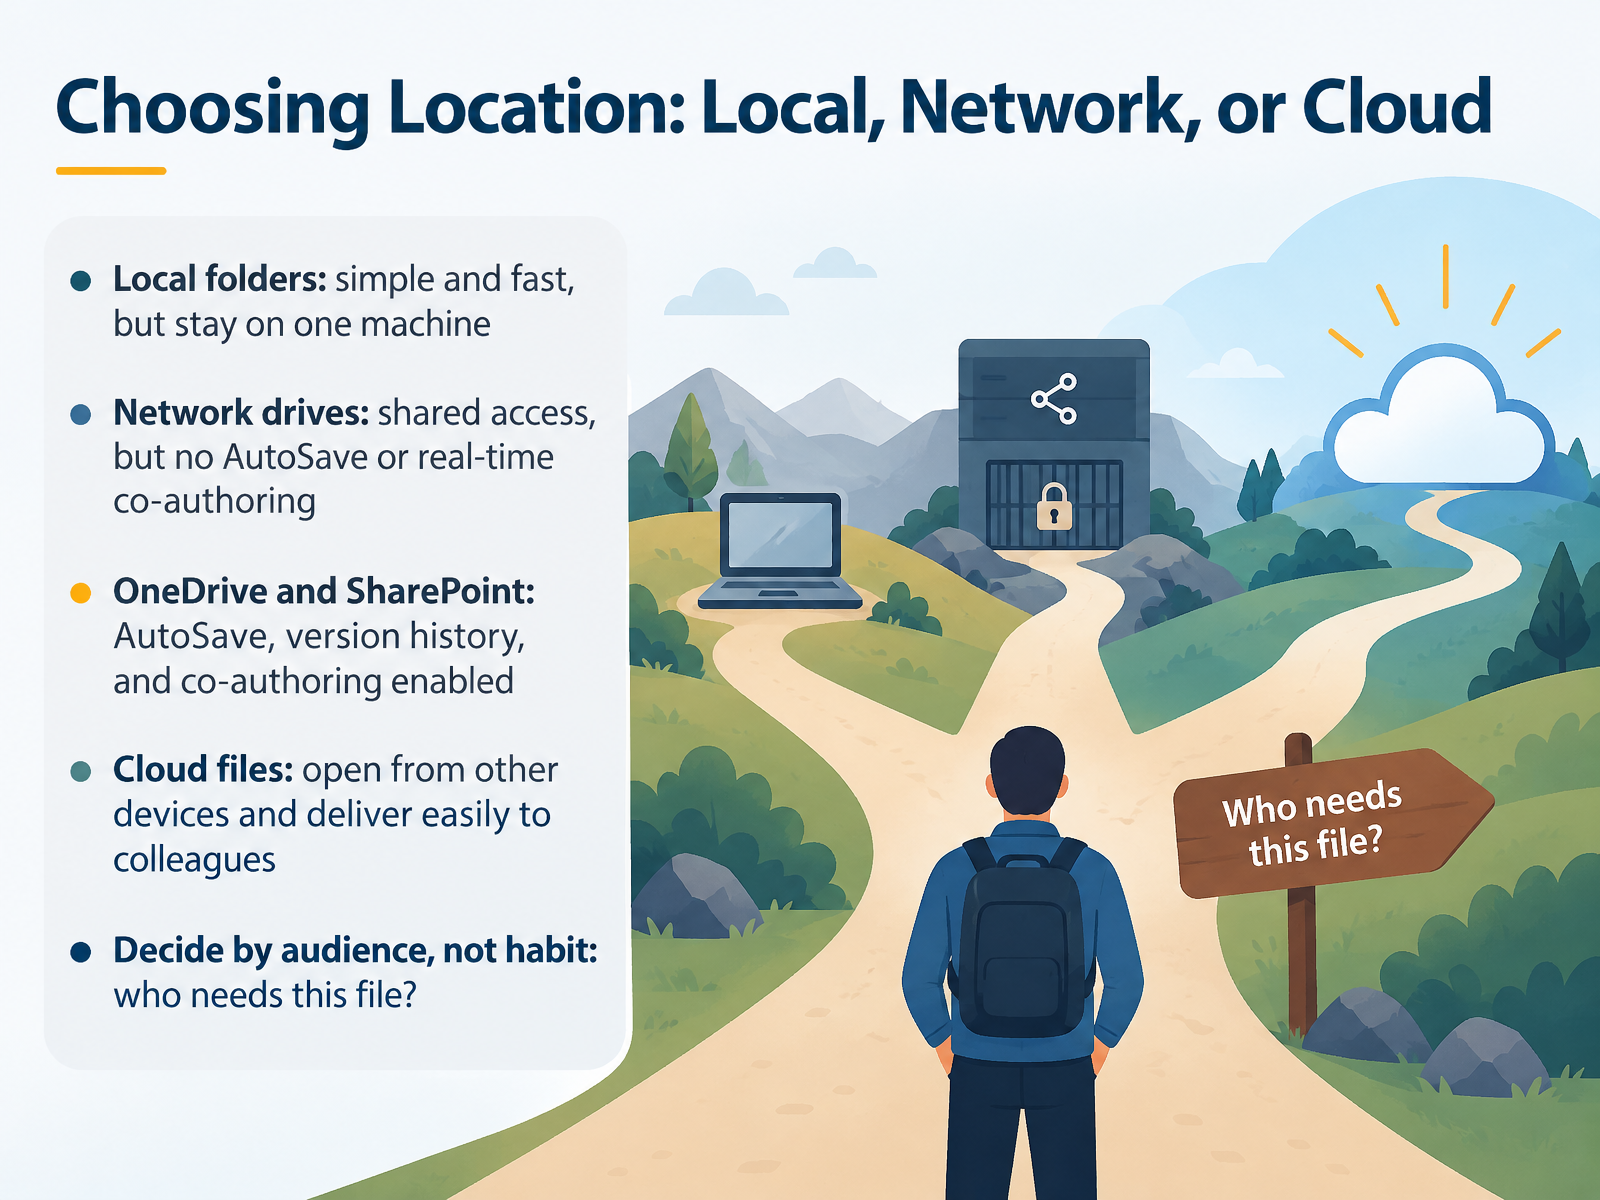
- 06Choosing Location: Local, Network, or CloudNow let us look at where you save the file. First, local folders. These are folders on your own computer. Local folders are simple and fast. But the file stays on one machine. Next, network drives. A network drive is a shared folder on your company server. Several people can open the file. But AutoSave is off, and real-time co-authoring is not available. Co-authoring means working in the same file at the same time. Then, OneDrive and SharePoint. These are cloud locations. Save there, and AutoSave turns on. Version history keeps past copies you can restore. Co-authoring lets colleagues see your changes in seconds. Cloud files also open from other devices and are easy to deliver to colleagues. When you decide, think about your audience, not your habit. Ask one question. Who needs this file? You should now see which location matches the people who will open your workbook. Next, we will cover naming conventions and folder habits that prevent lost files.
 support.microsoft.comsupport.microsoft.comsupport.microsoft.com+22 min
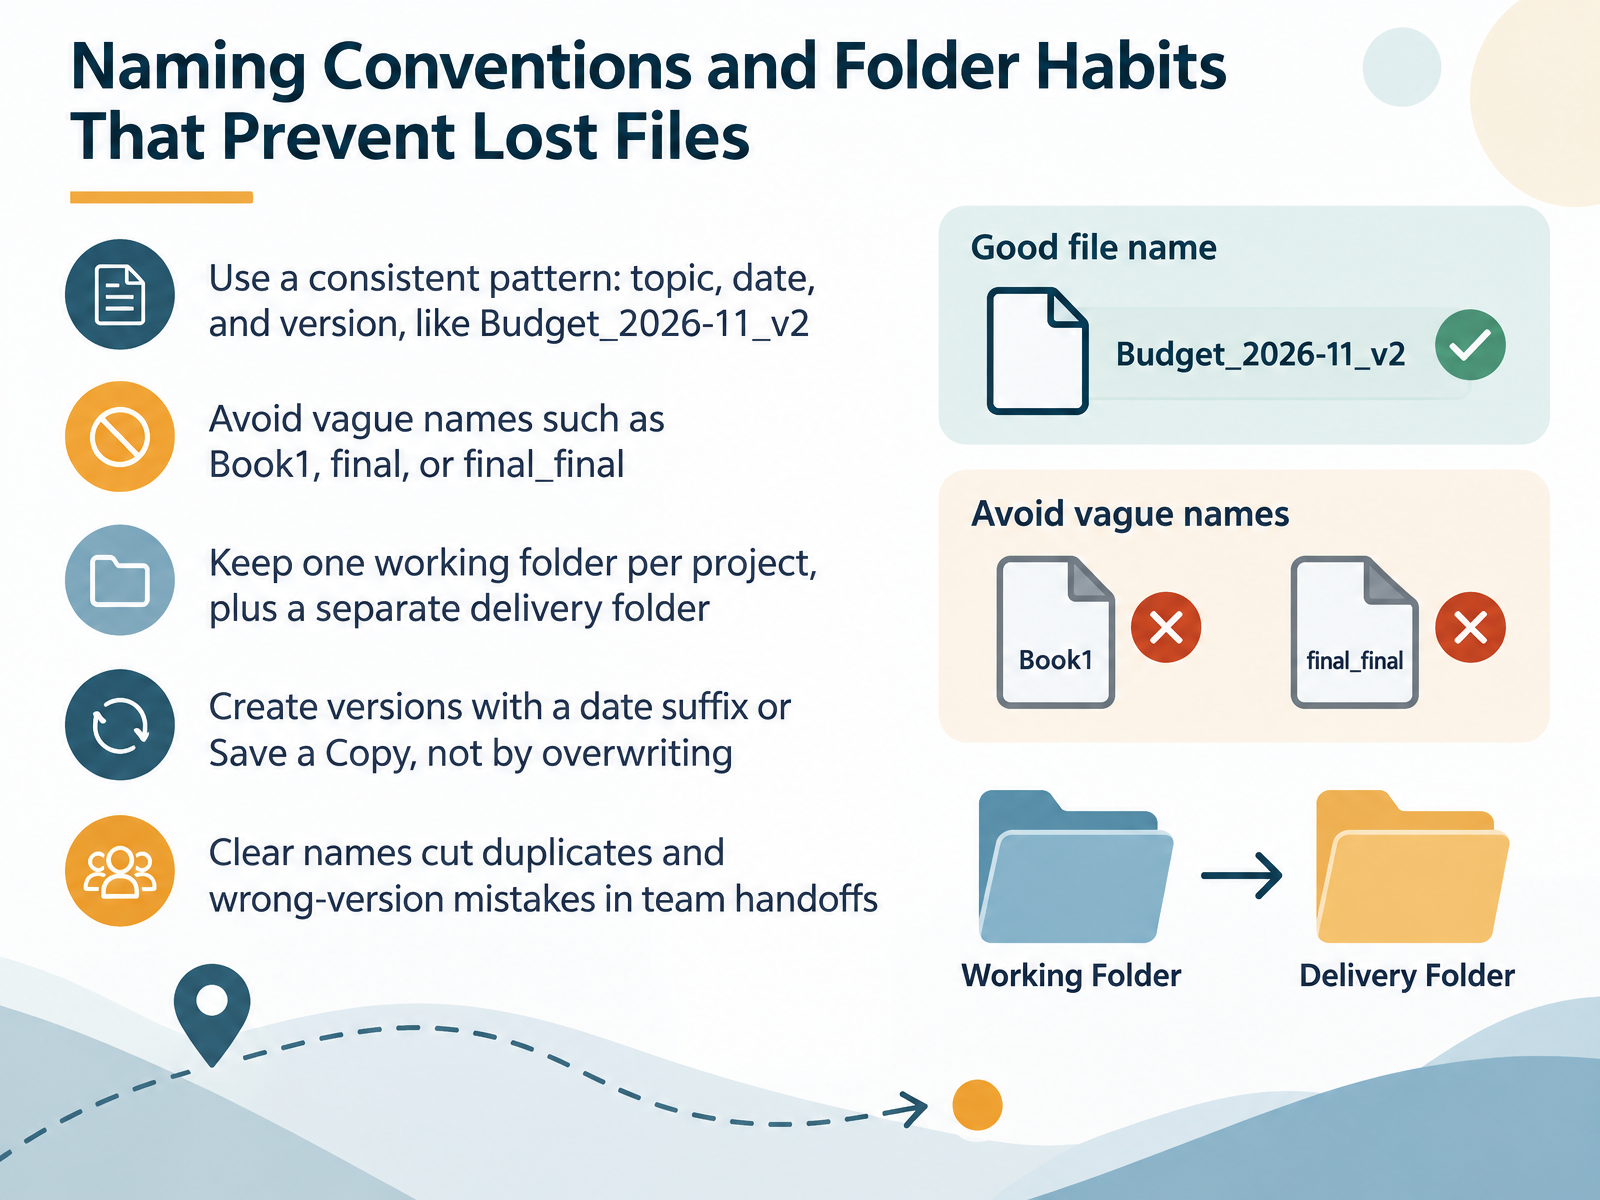
- 07Naming Conventions and Folder Habits That Prevent Lost FilesNow let's talk about naming and folders, which prevent most lost-file problems. First, use a consistent pattern: topic, date, and version. For example, Budget underscore 2026-11 underscore v2. Next, avoid vague names like Book1, final, or final_final. Instead, keep one working folder per project, plus a separate delivery folder for files you send to others. Then, create versions with a date suffix or by using Save a Copy, not by overwriting the same file. Save a Copy is under the File tab, and it gives you a new file while keeping the original intact. Clear names cut duplicates and wrong-version mistakes in team handoffs. You should now see how a simple naming habit protects your work. Next, we will look at AutoSave and AutoRecover: What Protects Your Work.
 support.microsoft.comsupport.microsoft.comlearn.microsoft.com+21 min
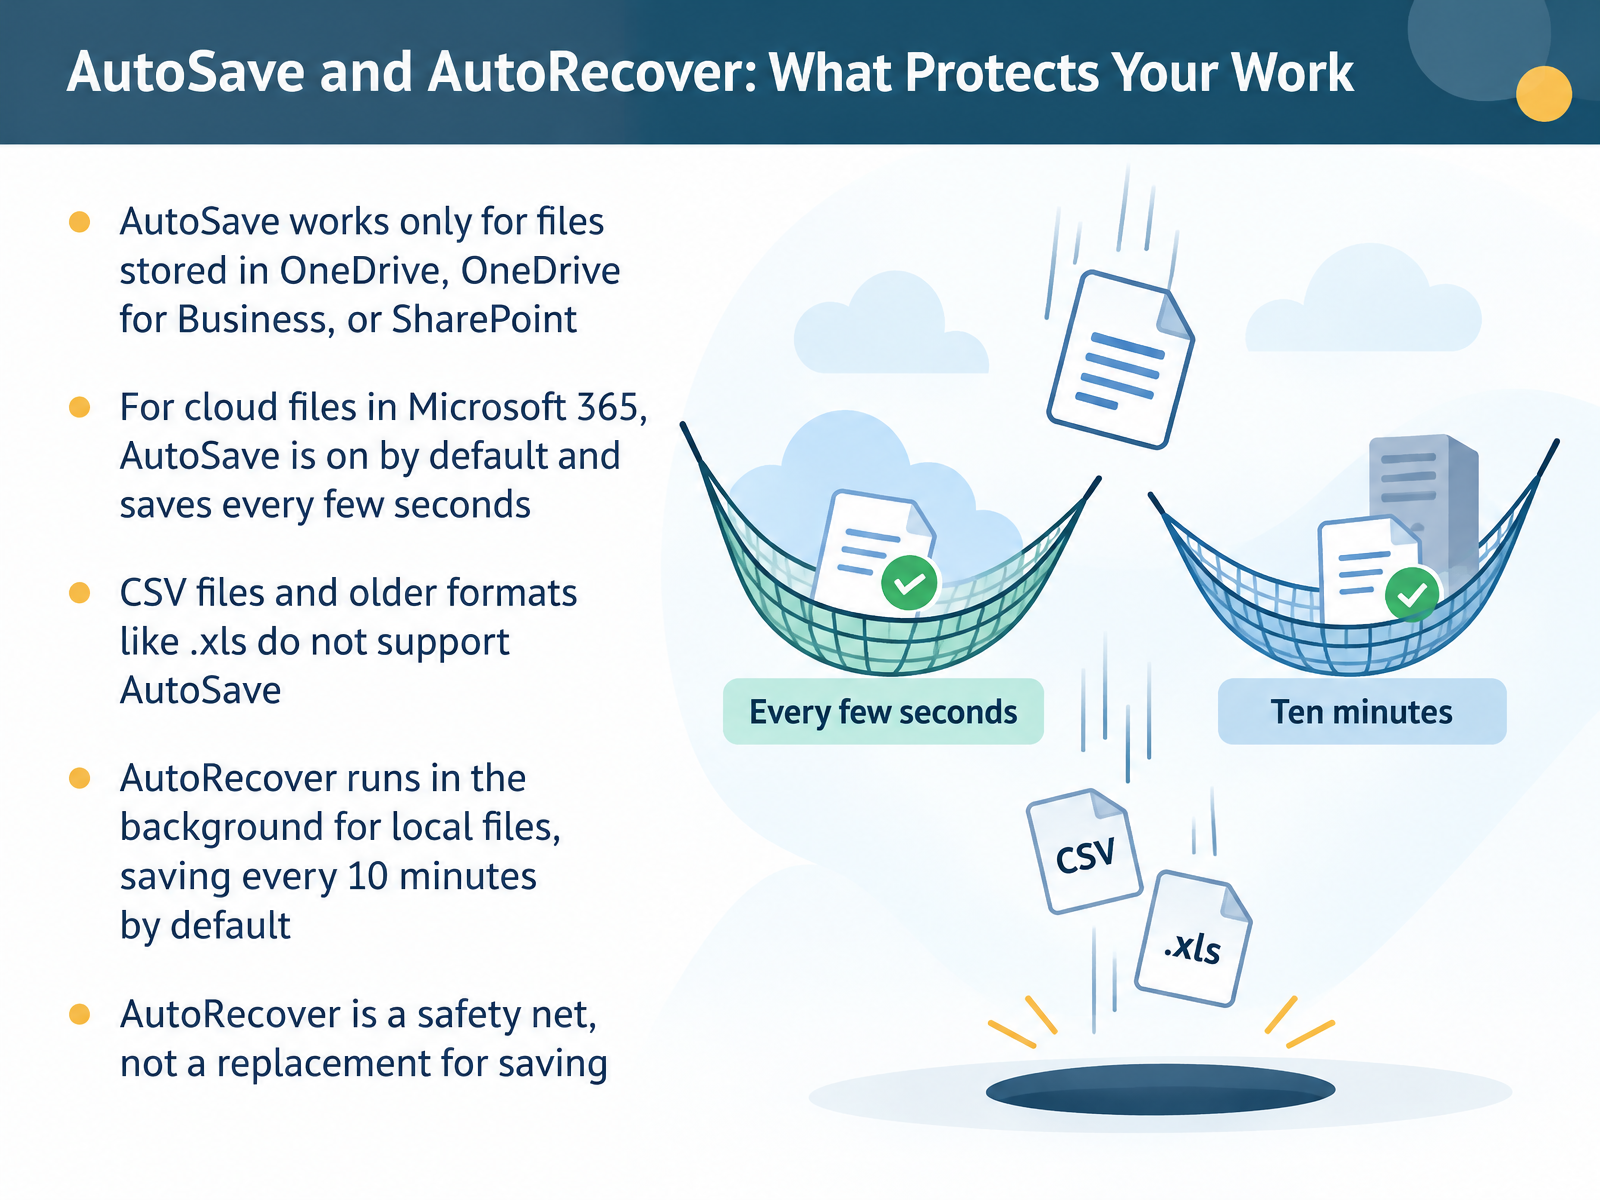
- 08AutoSave and AutoRecover: What Protects Your WorkNext, let us look at how Excel helps protect your work. Here is a simple distinction. AutoSave is the feature that saves your file automatically while you work, but it only works for files stored in OneDrive, OneDrive for Business, or SharePoint. For cloud files in Microsoft 365, AutoSave is on by default, and it saves every few seconds. Now, keep in mind that some files do not support AutoSave. For example, CSV files and older formats like x l s do not support it. So what happens with local files? AutoRecover runs in the background for local files, and it saves every ten minutes by default. Think of AutoRecover as a safety net, not a replacement for saving. It helps after a crash, but it is not the same as you saving the workbook. You should now see which feature protects cloud files and which one protects local files. Next, we will look at why AutoSave is sometimes off and what to do.
 support.microsoft.comsupport.microsoft.comsupport.microsoft.com+21 min
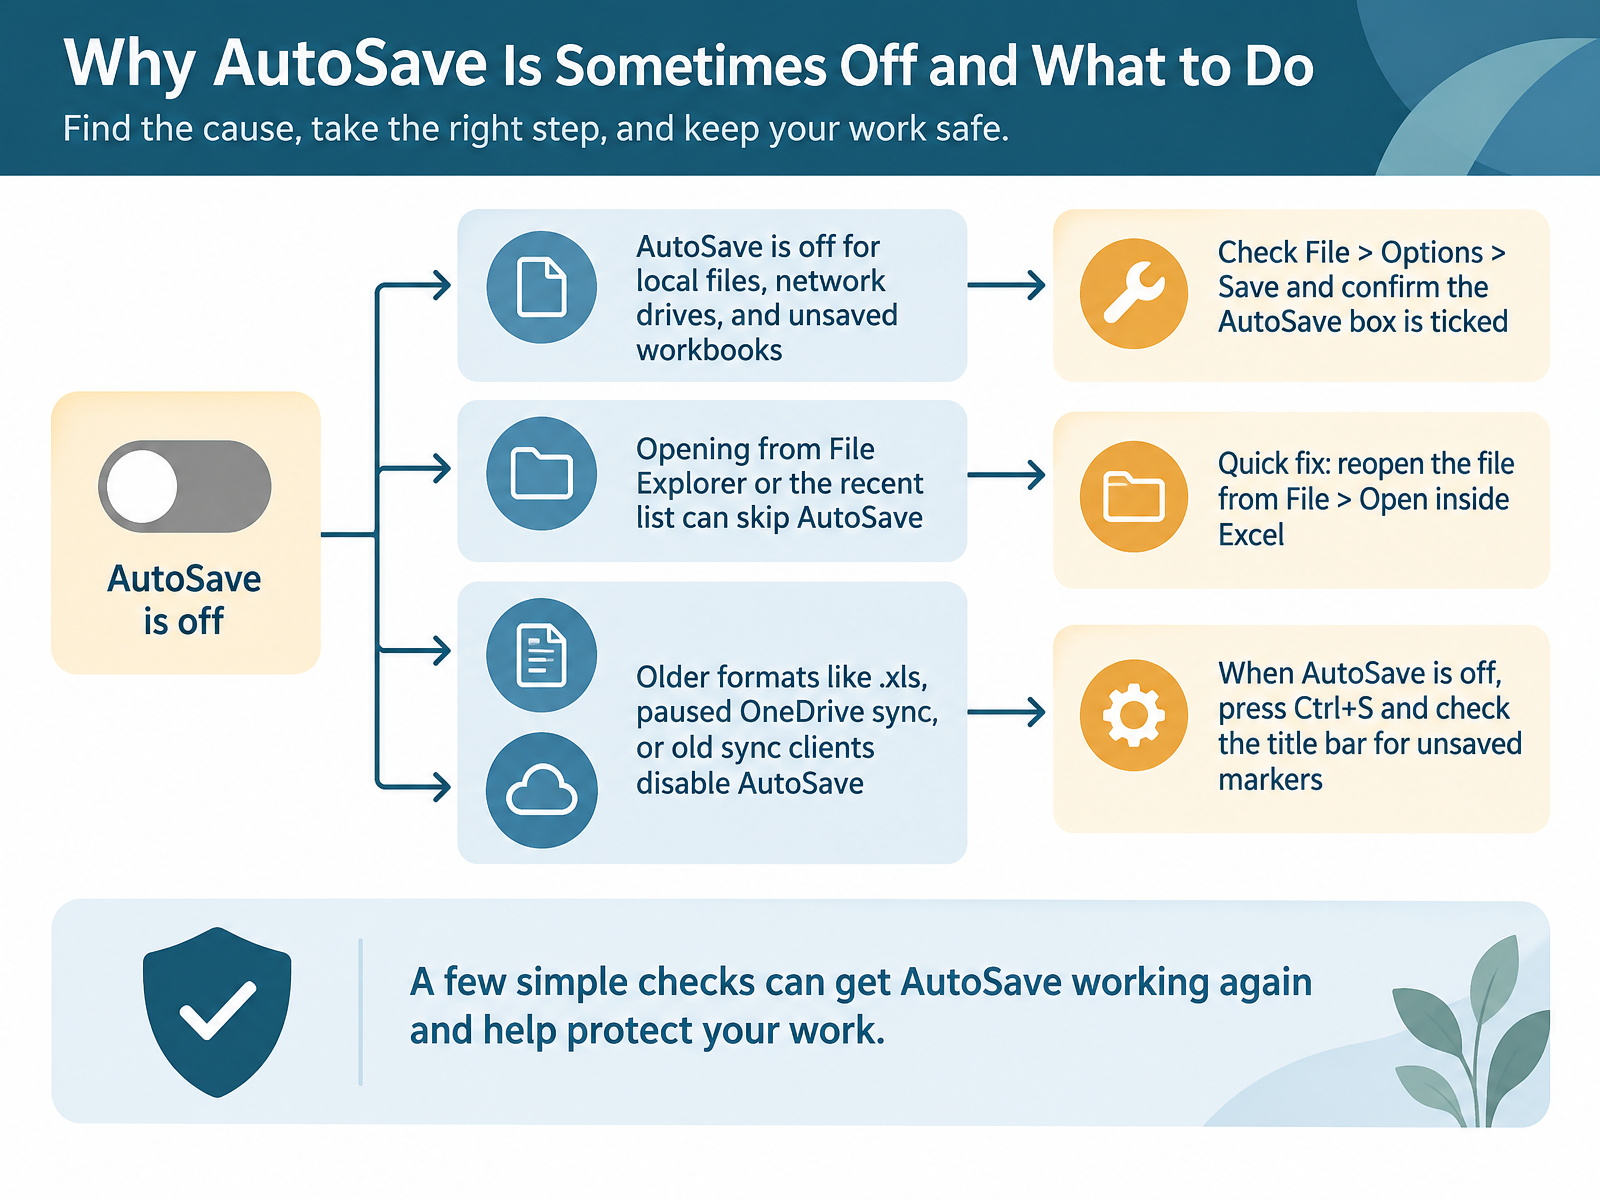
- 09Why AutoSave Is Sometimes Off and What to DoNow, let's look at why AutoSave is sometimes off, and what to do about it. First, know that AutoSave only works when a file is stored in OneDrive or SharePoint. It stays off for local files, network drives, and workbooks you have not saved yet. Next, opening a file from File Explorer or from the recent list can skip AutoSave. To fix that, close the file. Then reopen it from File, then Open, inside Excel. Also, older formats like dot x l s, a paused OneDrive sync, or an old sync client can disable AutoSave. To check the setting, go to File, then Options, then Save. Confirm the AutoSave box is ticked. When AutoSave is off, press Control S to save manually. Then check the title bar for unsaved markers, such as the words Save to This PC. You should now see the AutoSave switch and know how to confirm your file is saved. Next, we will look at protecting versions with Save a Copy, Version History, and overwrites.
 support.microsoft.comsupport.microsoft.comsupport.microsoft.com+22 min
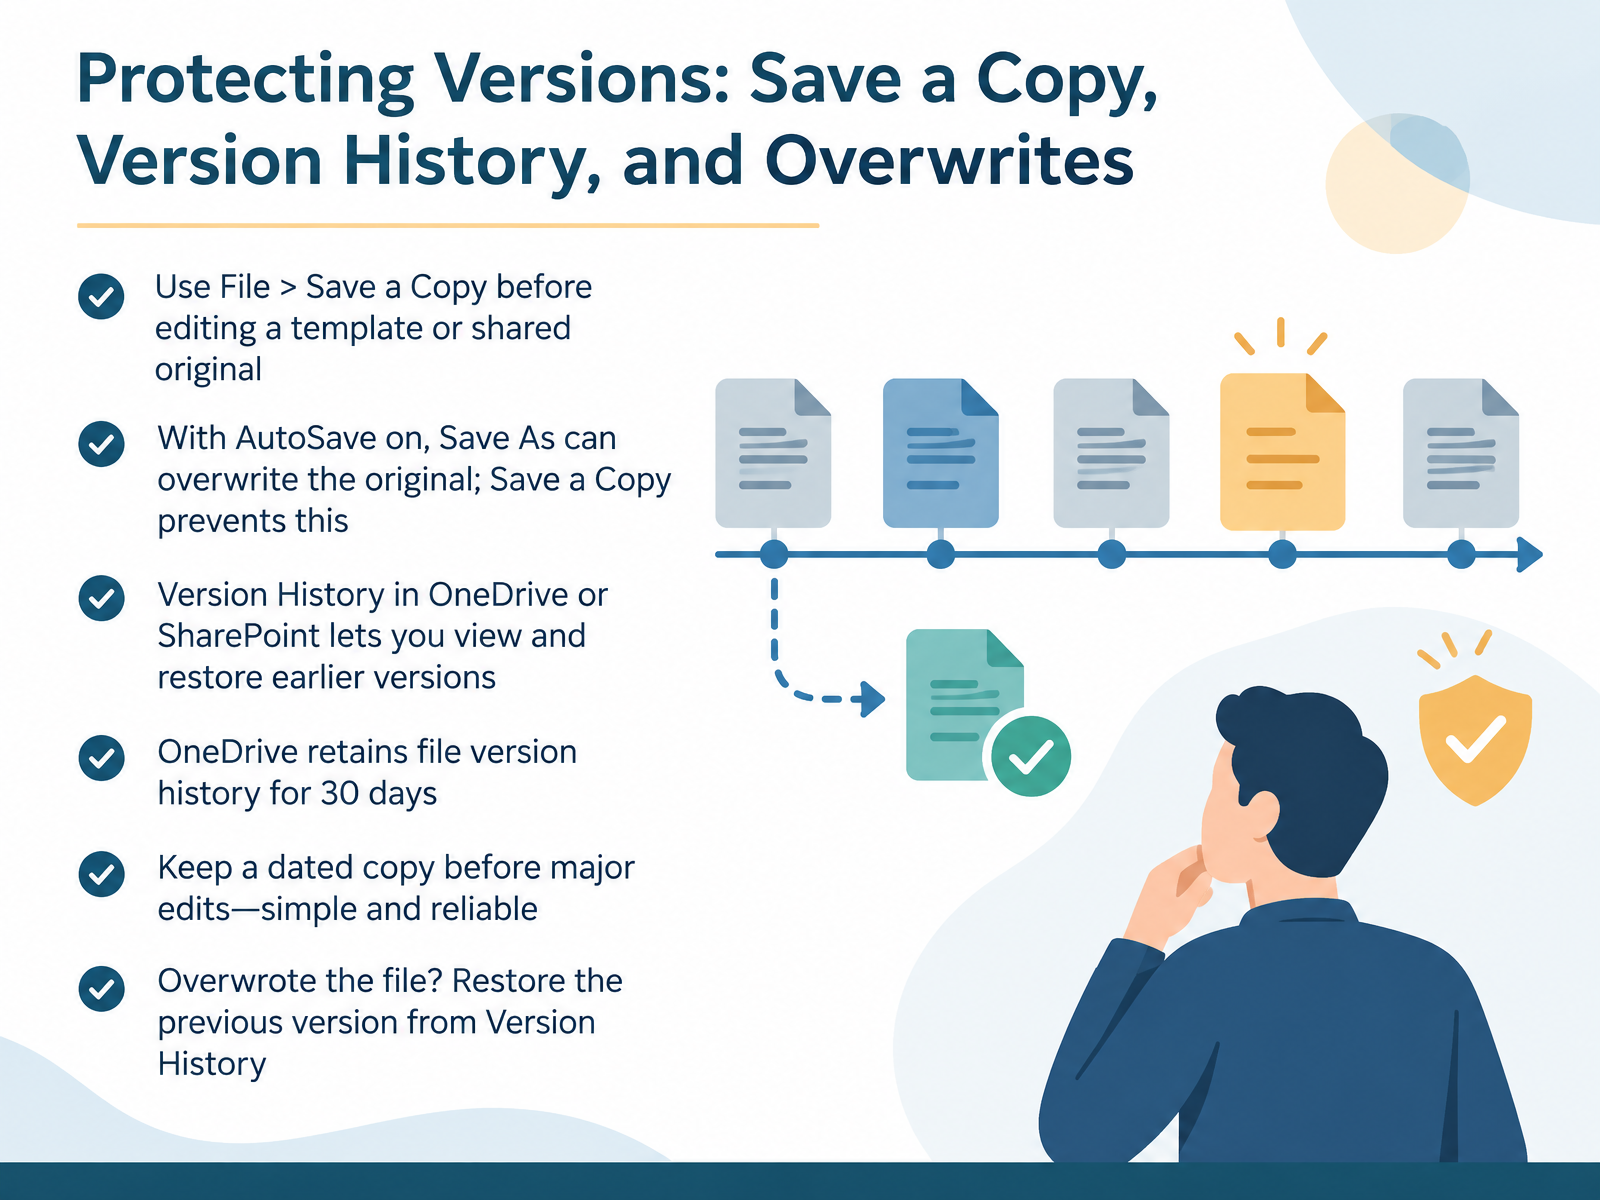
- 10Protecting Versions: Save a Copy, Version History, and OverwritesNow let's talk about protecting versions of your workbook. This matters when you open a template or a shared original file. First, before you make any changes, go to File, then choose Save a Copy. A pause here is fine. Save a Copy creates a separate file for your edits. Next, understand why this step matters. When AutoSave is on, Save As can overwrite the original file. Save a Copy prevents that. Then, check Version History. This feature works when your file is stored in OneDrive or SharePoint. It lets you view earlier versions and restore one if needed. Keep one limit in mind. OneDrive keeps version history for thirty days. My simple advice is this. Keep a dated copy before major edits. For example, name it budget March tenth. This is simple and reliable. Now, what if you already overwrote the file? Open Version History and restore the previous version. You should now see the version list and the Restore option for each copy. Next, we move on to Co-Authoring and Team Delivery in the Cloud.
 support.microsoft.comsupport.microsoft.comsupport.microsoft.com+22 min
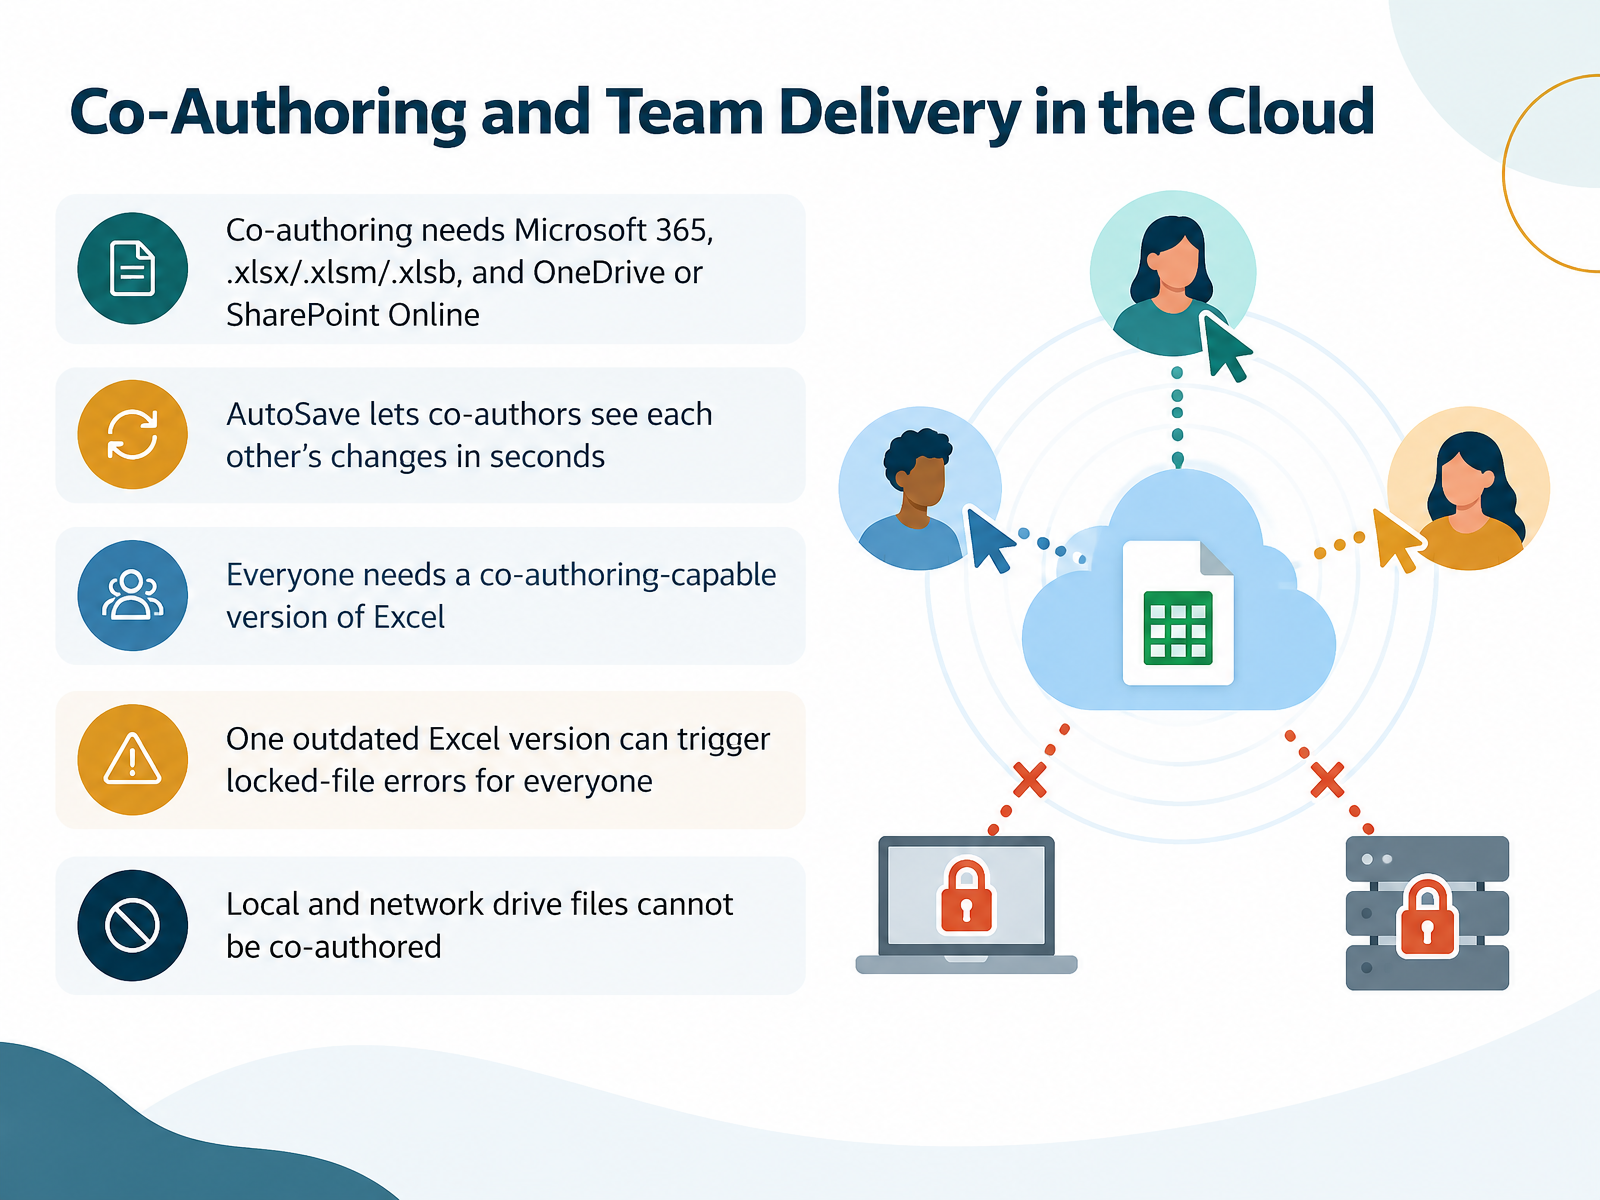
- 11Co-Authoring and Team Delivery in the CloudNow let's look at co-authoring and team delivery in the cloud. Co-authoring means two or more people open the same workbook at the same time. First, understand the requirements. You need a Microsoft 365 subscription. The file must use the .xlsx, .xlsm, or .xlsb format. And the file must be stored in OneDrive or SharePoint Online. Next, turn on AutoSave. AutoSave is a switch in the upper-left corner of Excel. With AutoSave on, co-authors see each other's changes in seconds. Then check that everyone has a co-authoring-capable version of Excel. This matters, because one outdated Excel version can trigger locked-file errors for everyone. Also keep in mind that files on local drives or network drives cannot be co-authored. To fix that, use File, then Save a Copy, and save to OneDrive or SharePoint. You should now see the AutoSave switch in the upper-left corner. Next, we will cover saving as PDF for reliable delivery.
 support.microsoft.comsupport.microsoft.comsupport.microsoft.com+22 min
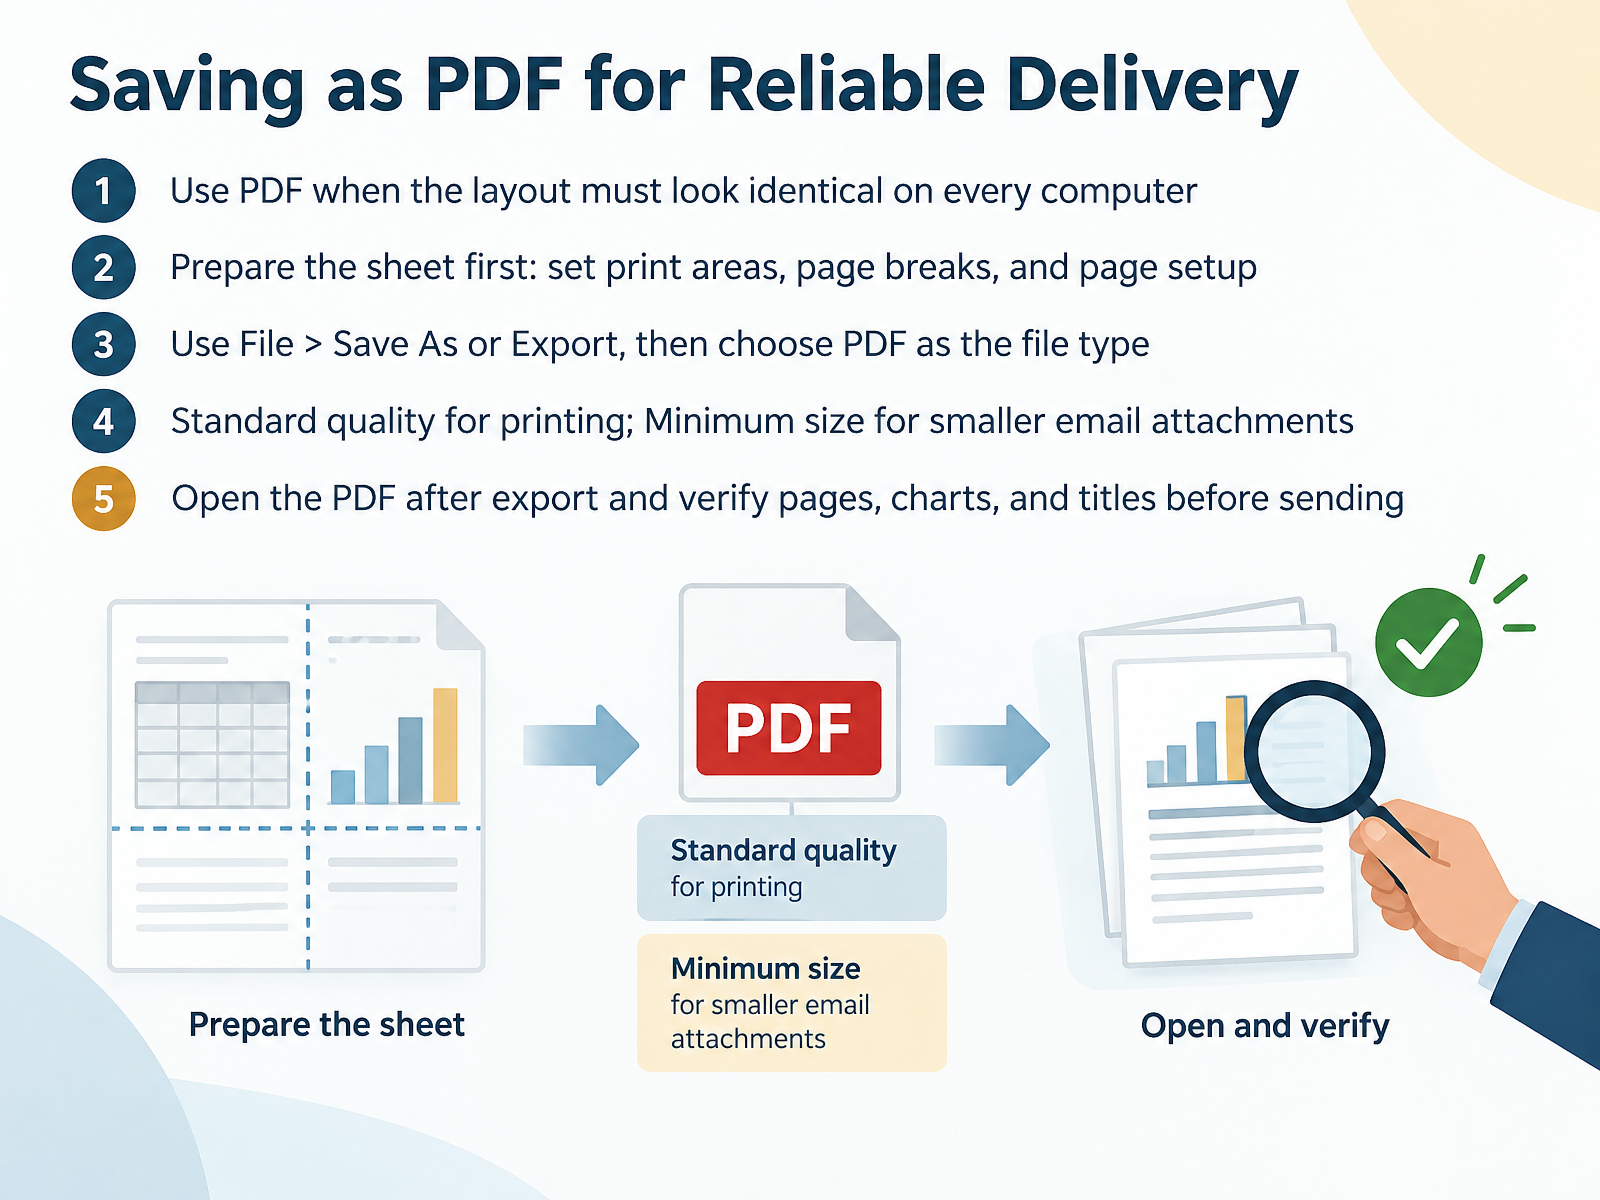
- 12Saving as PDF for Reliable DeliveryNow let's look at saving as PDF for reliable delivery. A PDF, or Portable Document Format, keeps the layout identical on every computer. Use it when someone will review or print your sheet, not edit it. First, prepare the sheet. Set the print areas, add page breaks, and check the page setup. Next, go to File, then Save As or Export, and choose PDF as the file type. Then pick a quality. Choose Standard for printing. Choose Minimum size when you need a smaller email attachment. After the export, open the PDF and check the pages, the charts, and the titles before you send it. You should now see a PDF that matches your worksheet. Next, we will cover common save problems and quick fixes.
 support.microsoft.comsupport.microsoft.comlearn.microsoft.com+21 min
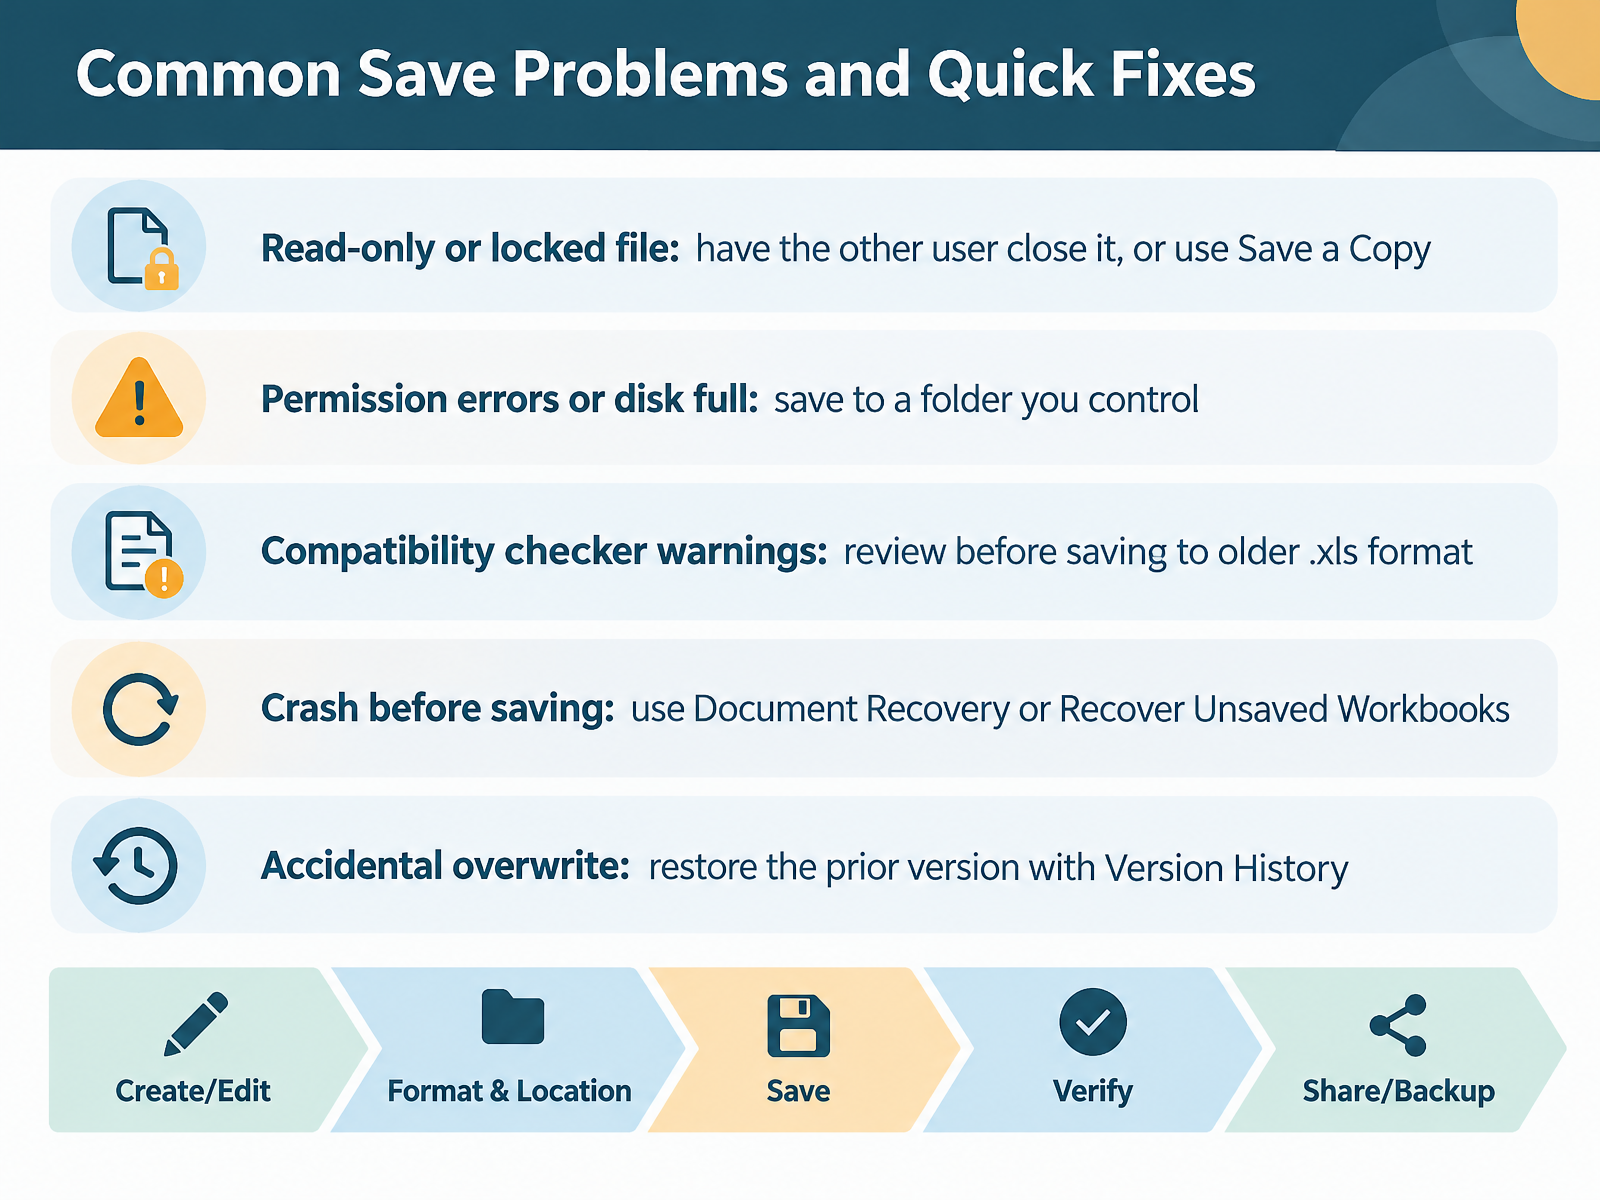
- 13Common Save Problems and Quick FixesNow let's look at common save problems and their quick fixes. First, if a file is read-only or locked, another user may have it open. Ask that person to close it. Or use Save a Copy to keep your changes in a new file. Next, if you see a permission error or a disk full message, save to a folder you control, such as your Desktop or Documents. Then, if the Compatibility Checker appears, read the warnings before you save to the older dot x l s format. Some features may be lost. If Excel crashes before you save, reopen Excel. Then go to File, Open, and choose Recover Unsaved Workbooks. Or look for the Document Recovery pane. Finally, if you overwrite a file by mistake, right-click it and select Version History. Choose an earlier version, then select Restore. You should now see that each problem has one clear action. Next, we'll put everything together in the Quick Reference Workflow and Team Checklist.
 support.microsoft.comsupport.microsoft.comsupport.microsoft.com+21 min
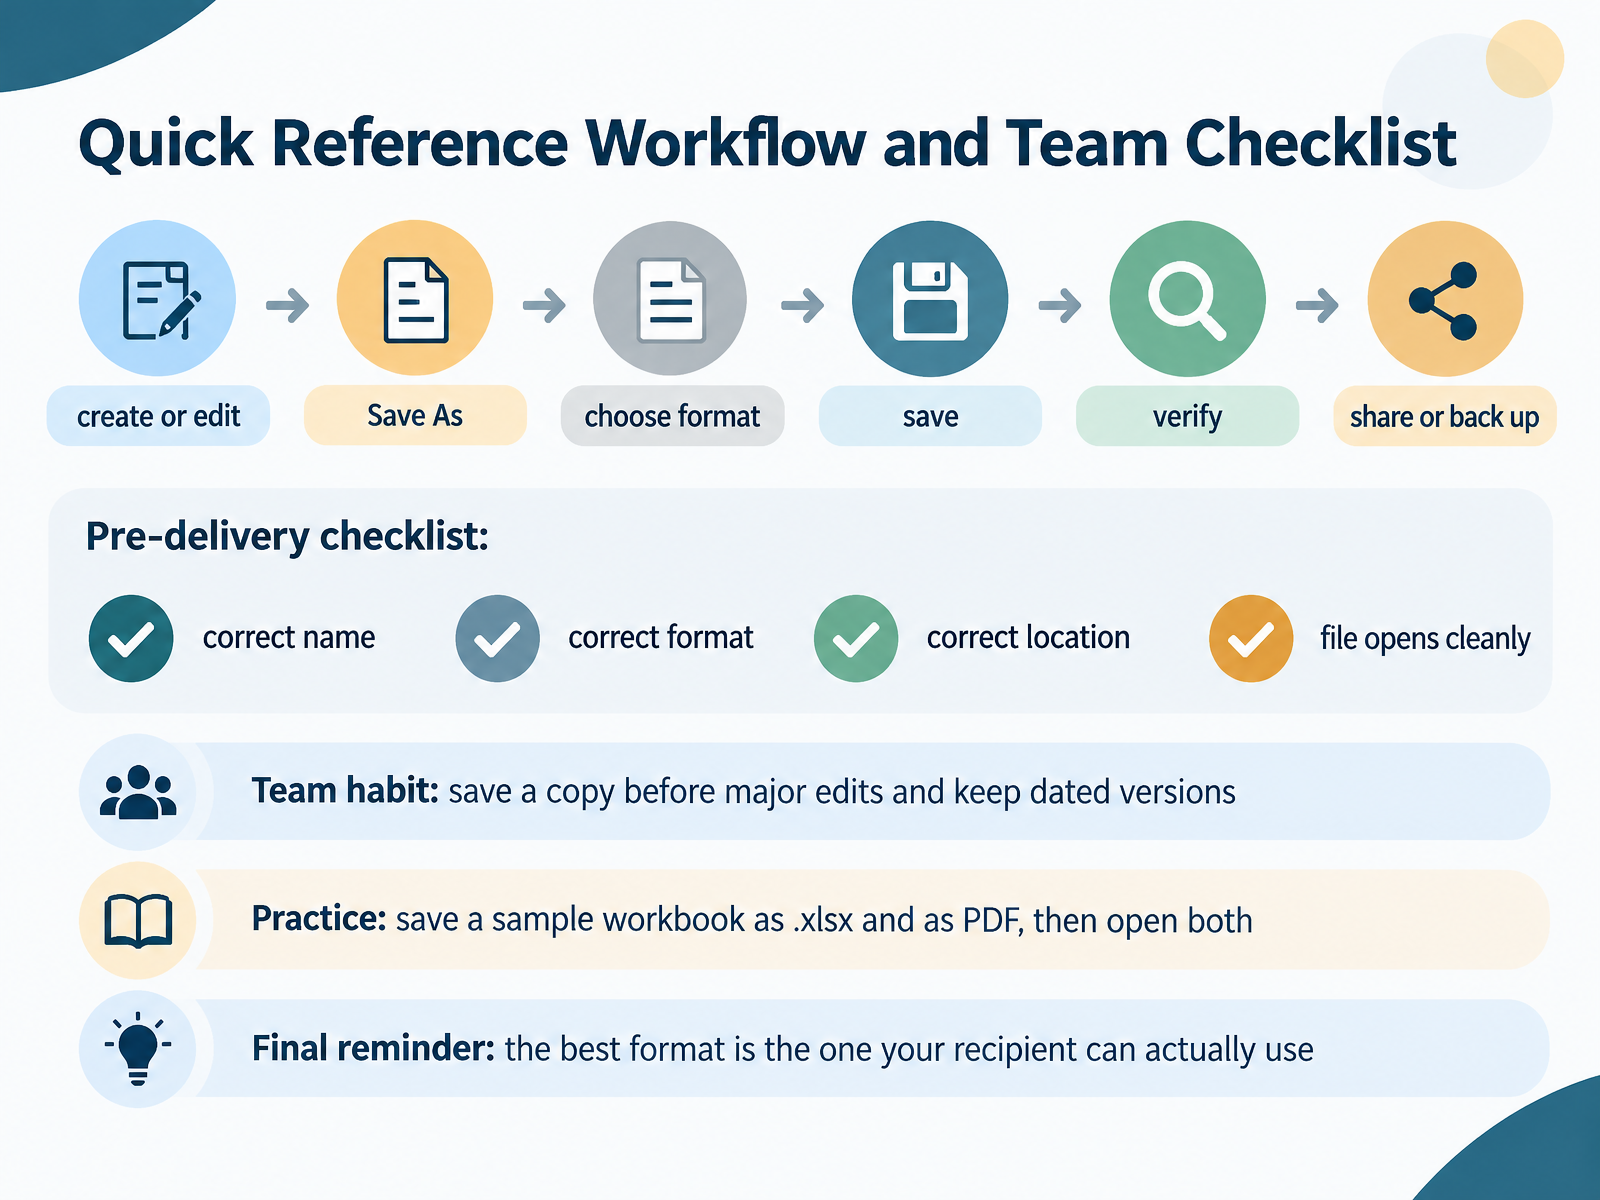
- 14Quick Reference Workflow and Team ChecklistLet's bring everything together. Here is the workflow to remember. First, create or edit your workbook. Next, open Save As. Then, choose your format. After that, save the file. Then, verify it opens cleanly. Finally, share it or back it up. Before you deliver a file, run this checklist. Confirm the name is correct. Confirm the format is correct. Confirm the location is correct. Confirm the file opens cleanly. As a team habit, save a copy before major edits. Keep dated versions, so you can always go back. For practice, save a sample workbook as x l s x, and also as P D F. Then open both files. And keep this final reminder in mind. The best format is the one your recipient can actually use. You now have a reliable, repeatable way to save your work. Thank you for following along. Practice this workflow once this week, and saving will soon feel automatic.
 support.microsoft.comsupport.microsoft.comlearn.microsoft.com+22 min
Take the deck with you
Download this course as a file — free, no sign-up needed.
- PDF handoutEvery slide page, ready to print or share.15 pages · 3.1 MBDownload
- Narrated PowerPointThe deck that presents itself — every slide carries the digital human's narration video.15 pages · 12.8 MBDownload
- PowerPoint slidesThe full deck as a .pptx — open it in PowerPoint, Keynote, or Google Slides.15 pages · 3.0 MBDownload
Free to use in your own training — please keep the PersonWise credit page at the end.
Have your own deck? Turn it into a course
Sources consulted
Web sources consulted while building this course.
- Save your workbook | Microsoft Support — support.microsoft.com
- Save your workbook to OneDrive in Excel | Microsoft Support — support.microsoft.com
- Troubleshoot why Excel doesn't save changes — learn.microsoft.com
- Basic tasks in Excel for the web | Microsoft Support — support.microsoft.com
- Save an Excel workbook for compatibility with earlier ... — support.microsoft.com
- File formats that are supported in Excel | Microsoft Support — support.microsoft.com
- File format reference for Word, Excel, and PowerPoint - Office | Microsoft Learn — learn.microsoft.com
- Saving xls to xlsx xlsm | Microsoft Support — support.microsoft.com
- Excel formatting and features that are not transferred to ... — support.microsoft.com
- Why can't I open my Excel file? | Microsoft Support — support.microsoft.com
- Turn on autosave in Microsoft 365 apps | Microsoft Support — support.microsoft.com
- What is AutoSave? | Microsoft Support — support.microsoft.com
- Collaborate on Excel workbooks at the same time with co-authoring | Microsoft Support — support.microsoft.com
- What is AutoSave? - Microsoft Support — support.microsoft.com
- https://learn.microsoft.com/en-us/office/vba/api/excel.workbook.autosaveon — learn.microsoft.com
- Restore a previous version of an Excel file | Microsoft Support — support.microsoft.com
- View previous versions of Office files | Microsoft Support — support.microsoft.com
- Recover an earlier version of an Office file | Microsoft Support — support.microsoft.com
- Restore a previous version of a file stored in OneDrive — support.microsoft.com
- What is AutoSave? - Microsoft Support — support.office.com