Introduction to Kanban Boards
Begin
16 pages · ~32 min
Introduction to Kanban Boards
Learn how to use Kanban boards to visualize workflows, limit work in progress, and improve team efficiency.
What you’ll learn
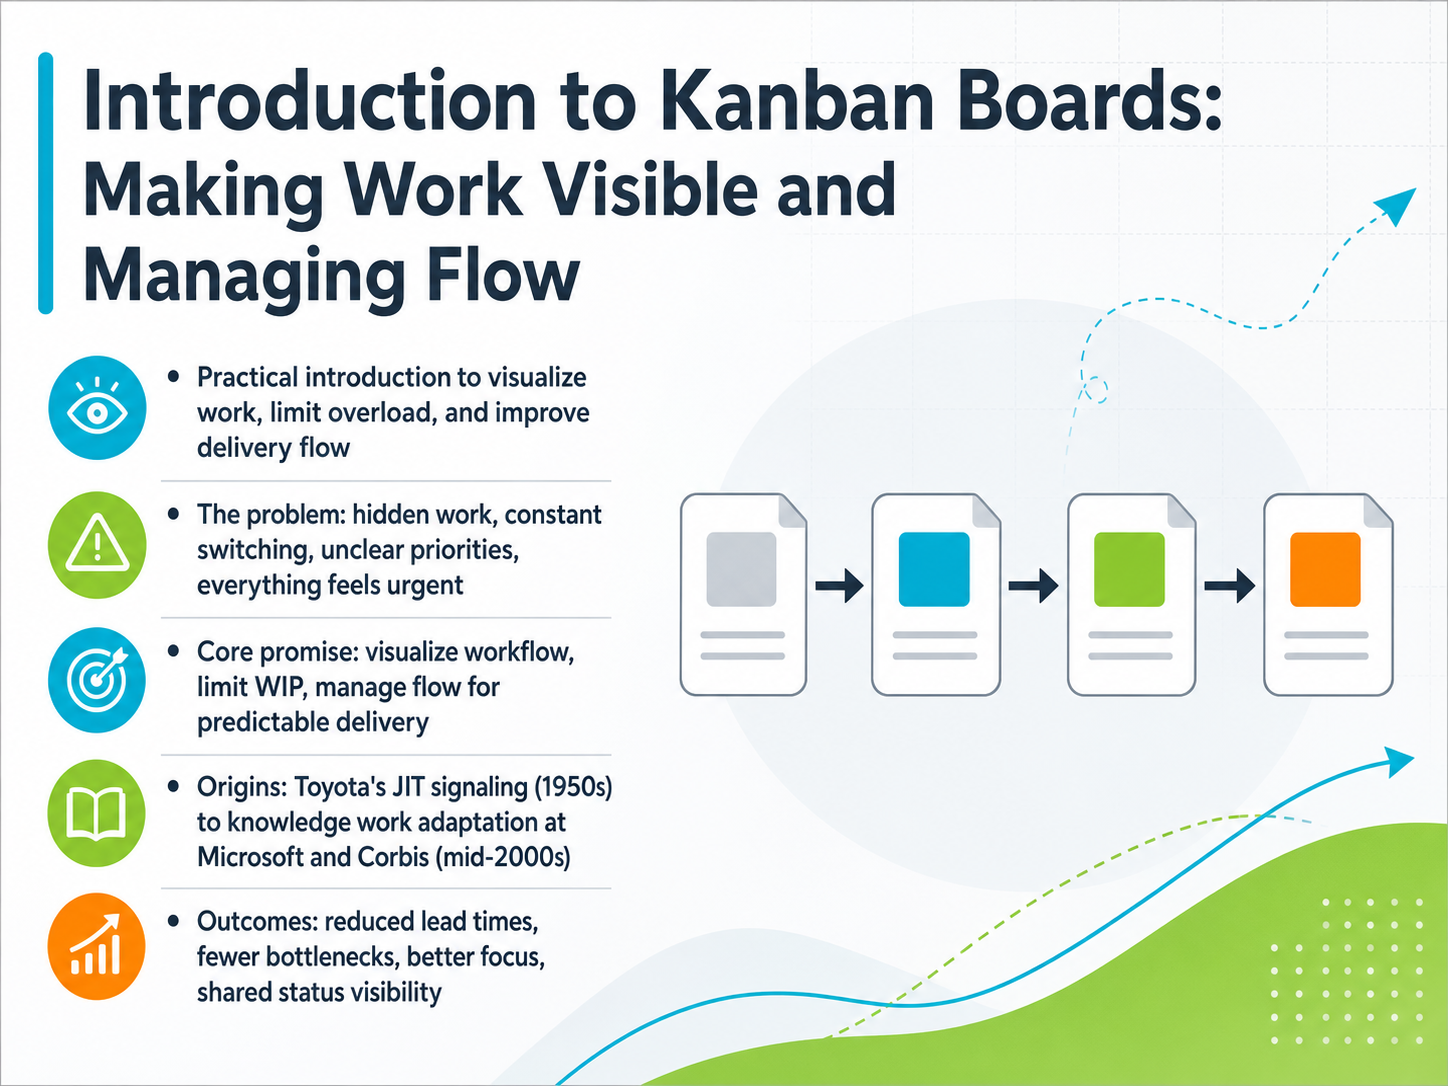
- 01Introduction to Kanban Boards: Making Work Visible and Managing FlowWelcome! I'm glad you're here. Today, we're going to explore a practical tool that can fundamentally change how your team gets work done: the Kanban board. The goal is simple: to help you make work visible and manage flow. If you're tired of hidden work, constant context switching, and that feeling where everything seems urgent, you're in the right place. This course is a practical introduction to visualizing your workflow, limiting overload, and improving delivery flow. We'll trace the core ideas from their origins in Toyota's just-in-time signaling in the 1950s to their adaptation for knowledge work at places like Microsoft and Corbis in the mid-2000s. By the end, you'll understand how this approach leads to reduced lead times, fewer bottlenecks, better focus, and a shared view of status across your team. Let's get started by understanding why visualizing work matters so much.djaa.comkanbanguides.orgkanbanguides.org+22 min
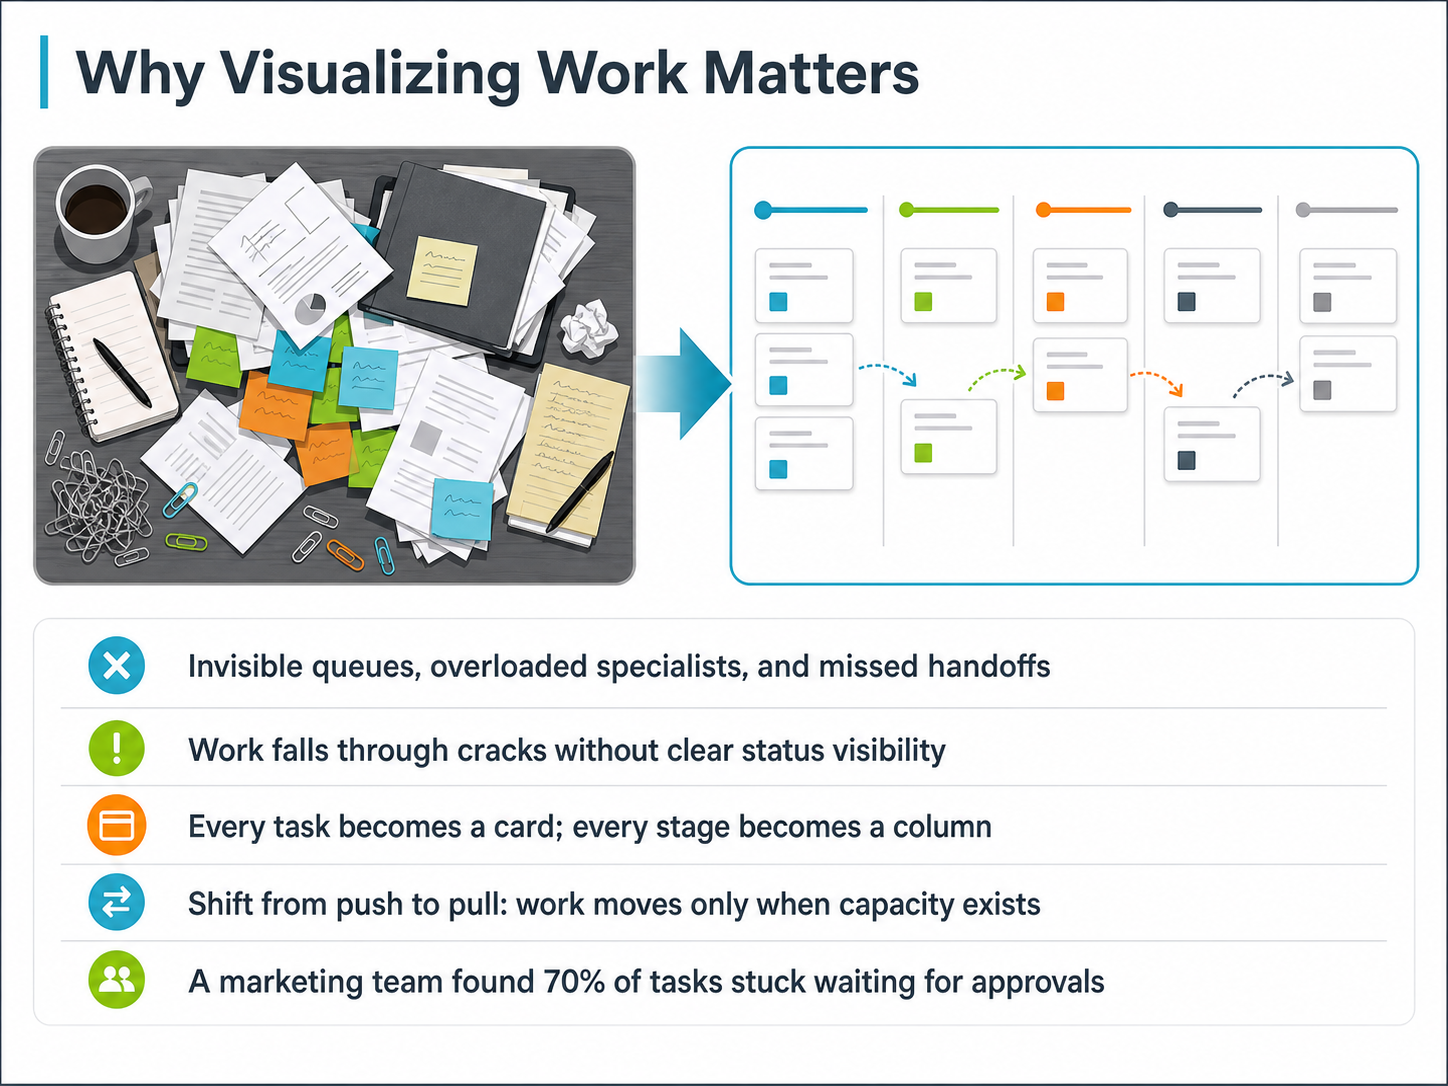
- 02Why Visualizing Work MattersSo, why does visualizing work really matter? Without a clear view, work lives in invisible queues, overloaded specialists, and missed handoffs. Tasks slip through the cracks because no one can see the true status. A Kanban board changes that. You turn every task into a card, and every stage of your process into a column. Suddenly, the work is visible. This creates a shift from a push system, where work is assigned regardless of capacity, to a pull system. In a pull system, you move a card from 'To Do' to 'In Progress' only when you have the capacity to handle it. This prevents overload. A real-world example: one marketing team mapped their process and found that seventy percent of their tasks were simply stuck, waiting for approvals. Visualizing that bottleneck was the first step to fixing it. Now, let's look at the core components of the board itself, in 'What Is a Kanban Board? Core Components.'
 agilitylaunchpad.comkanbanzone.comthebottleneck.io+22 min
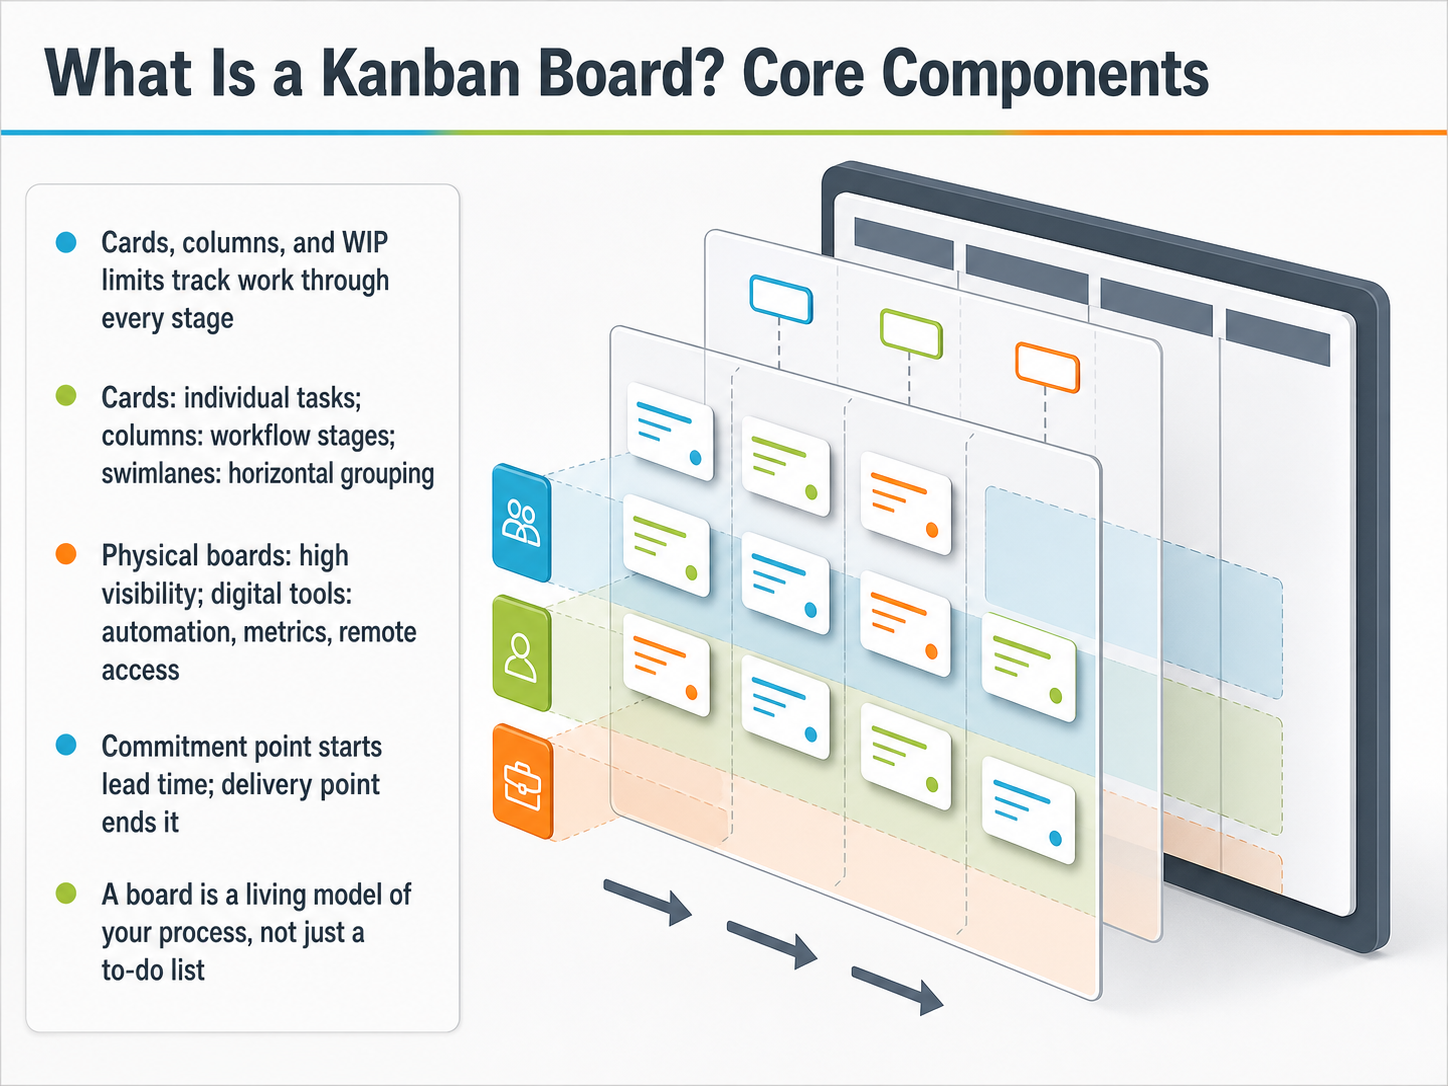
 - 03What Is a Kanban Board? Core ComponentsSo, what exactly makes up a Kanban board? It's more than a digital to-do list; it's a living model of your team's process, built from a few core components. First, you have cards. Each card represents one individual task, like a feature request or a bug fix. Those cards travel across columns, which are the stages of your workflow, such as 'To Do,' 'In Progress,' and 'Done.' As you start work, you move a card from left to right. To organize these tasks, you can use horizontal swimlanes, which group work by type, like separating urgent bugs from planned features. Now, a critical piece is the work in progress limit, or WIP limit. This is simply a cap on the number of cards allowed in a column at one time. Its purpose is to prevent overload and help your team focus on finishing tasks before starting new ones. This is also where we track time. The commitment point is the moment you start work on a card, and the delivery point is when it reaches the customer. The time between them is your lead time, a key metric for measuring flow. Whether you use a physical board for high visibility or a digital tool for automation and remote access, these components give you a shared, real-time view of your work. Next, let's look at the core practices of Kanban that make this system work.
 atlassian.comasana.comairtable.com+22 min
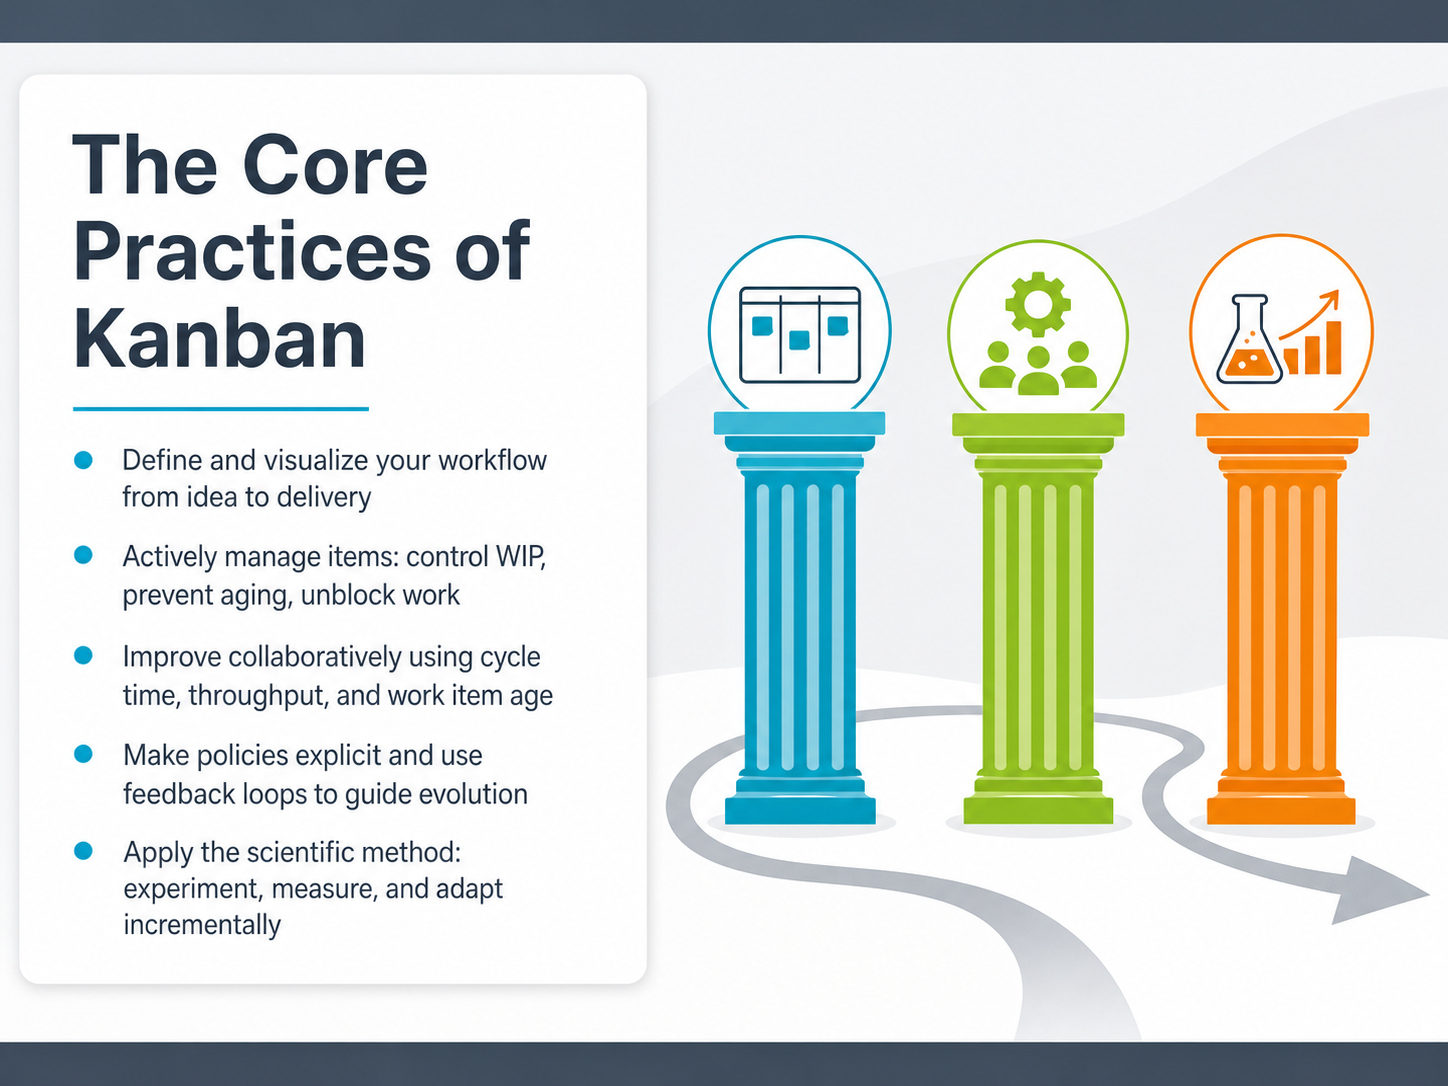
 - 04The Core Practices of KanbanNow let’s walk through the core practices that make Kanban work. First, you define and visualize your workflow. That means you map out every step your work goes through, from idea to delivery, and make it visible on a board. Next, you actively manage the items in that workflow. This is where you control work in progress, or WIP, which means setting a limit on how many items can be in any stage at one time. You also prevent work from aging too long and unblock anything that gets stuck. Then, you improve flow collaboratively. You use metrics like cycle time, throughput, and work item age to see where delays happen and decide what to adjust together. You also make your policies explicit. Write down the rules for how work moves, and use feedback loops like daily standups or regular reviews to guide how your process evolves. Finally, apply the scientific method. Treat each change as an experiment, measure the results, and adapt in small, safe steps. These practices work together to help you move from a messy, invisible workflow to a system you can actually see and steadily improve. Next, let’s look at mapping your workflow to a board.
 kanbanguides.orgkanbanguides.orgkanban.university+22 min
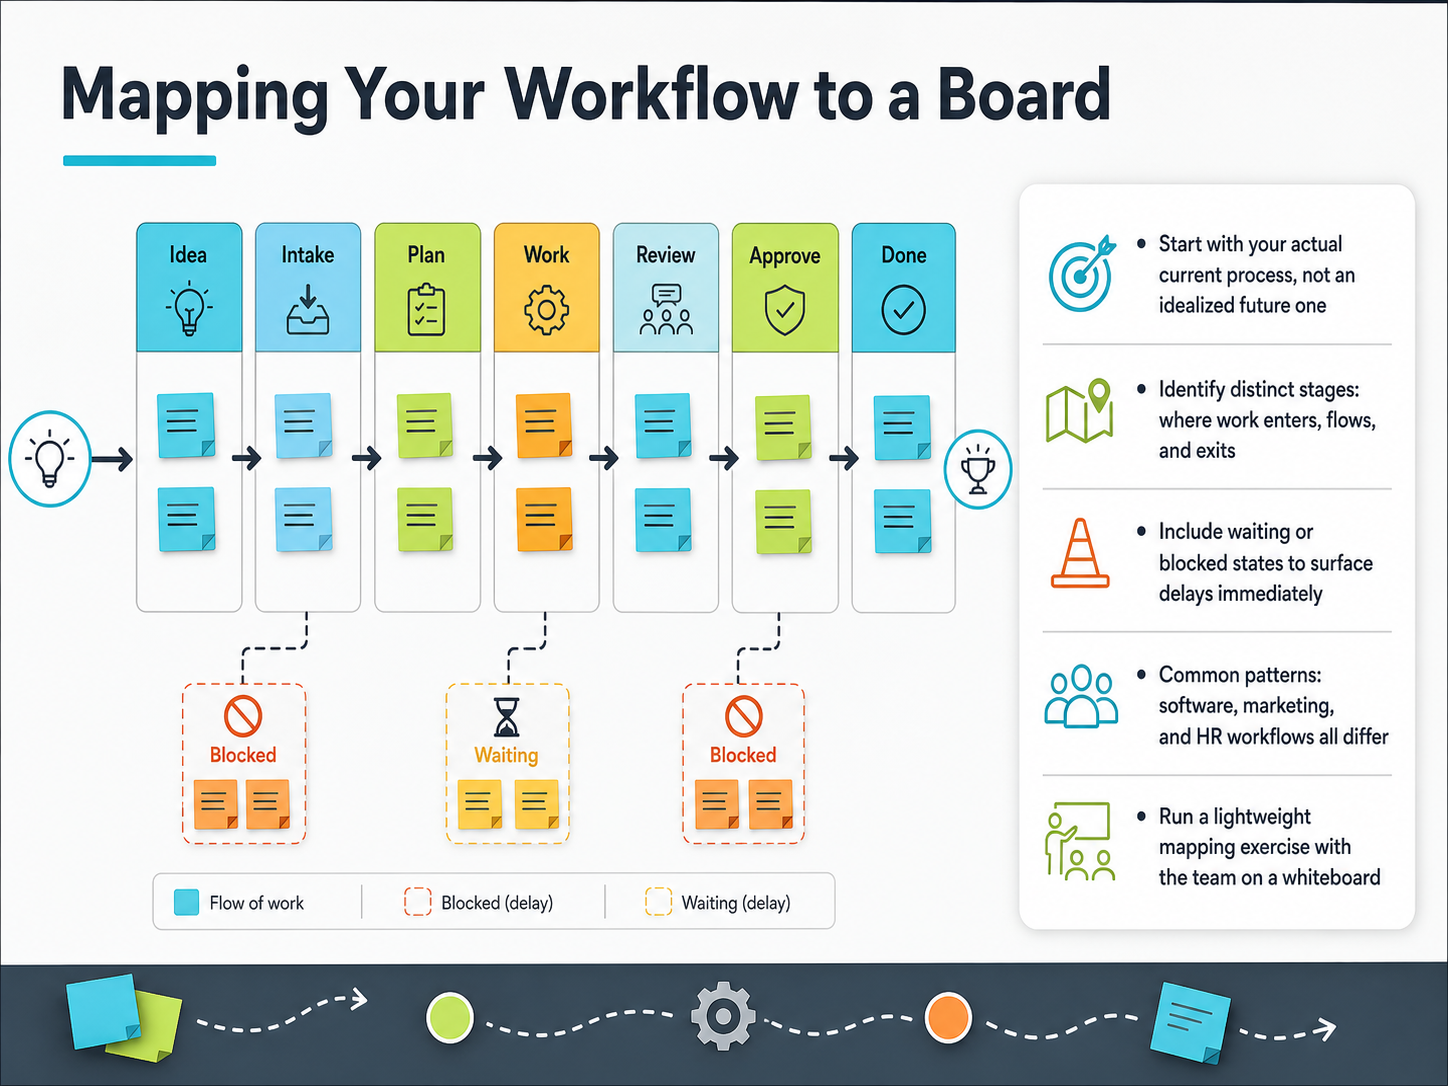
 - 05Mapping Your Workflow to a BoardNow, let's talk about how to actually map your team's workflow onto a board. The most important rule here is to start with your actual current process, not some idealized future version you wish you had. The goal is accuracy, not perfection. You need to see the real work, with all its messy reality. Get your team together around a whiteboard and walk through how work really travels from start to finish. Identify the distinct stages. Think about where work enters your process, where it flows, and where it finally exits. Look for handoff points where work changes ownership. And critically, include the waiting or blocked states. These are places where work sits idle, and making them visible on your board immediately surfaces delays that might otherwise stay hidden. You'll find that workflows differ. A software team's map, with stages like development and testing, will look completely different from a marketing team's map, which might have stages like drafting and client approval. The key is to run a lightweight, collaborative mapping exercise. Don't overthink it. Just draw the stages as columns on the board, and you'll create a visual model that reflects your team's true reality. Next, we'll take this mapped workflow and begin to manage the flow by understanding and setting WIP limits.
 agilitylaunchpad.comkanbanzone.comthebottleneck.io+22 min
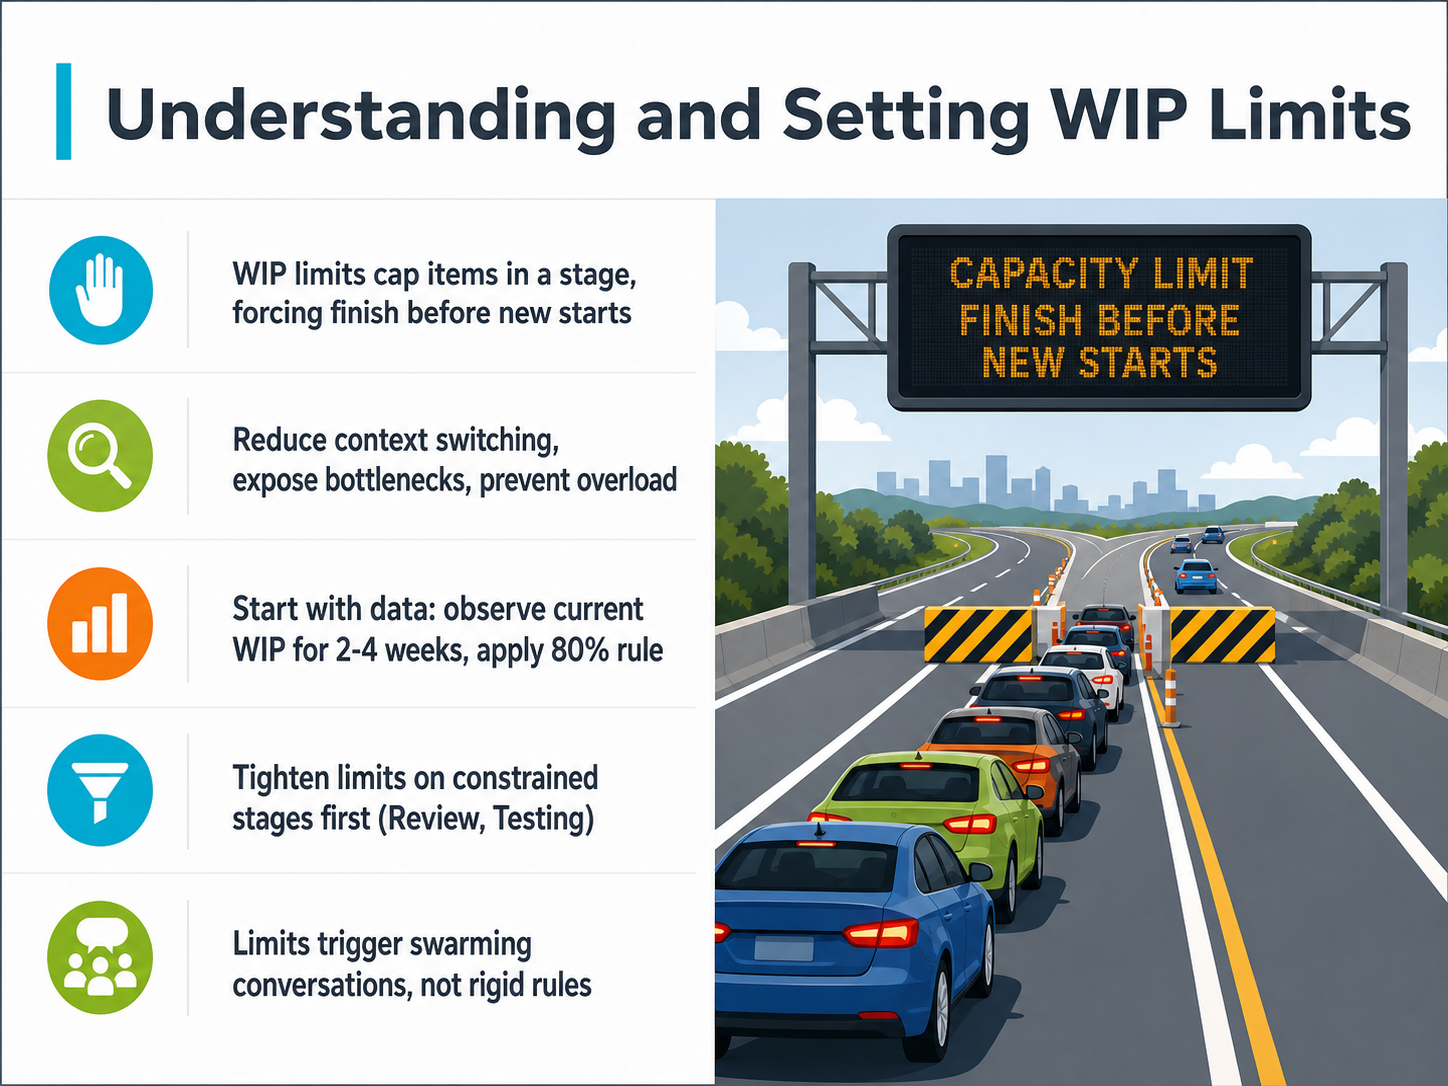
 - 06Understanding and Setting WIP LimitsNow, let’s move from understanding what WIP limits do to actually setting them. A work in progress limit is simply a cap on how many items can be in a single stage at one time. The core idea is 'stop starting, start finishing.' When a column hits its limit, the team must finish something before pulling in new work. This prevents overload, reduces context switching, and exposes bottlenecks. To set your first limits, start with data, not a guess. Observe your current work in progress for two to four weeks. Then, apply the eighty percent rule. If your average is ten items, set your initial limit to eight. This creates a little slack to protect quality. Tighten limits on constrained stages first, like Review or Testing, where small caps force quick collaboration. When a limit is hit, it’s not a rigid rule; it’s a trigger for a swarming conversation. The team asks, 'How can we help clear this column?' Next, we’ll explore managing flow and spotting bottlenecks.
 routine.coatlassian.comkanbanguides.org+22 min
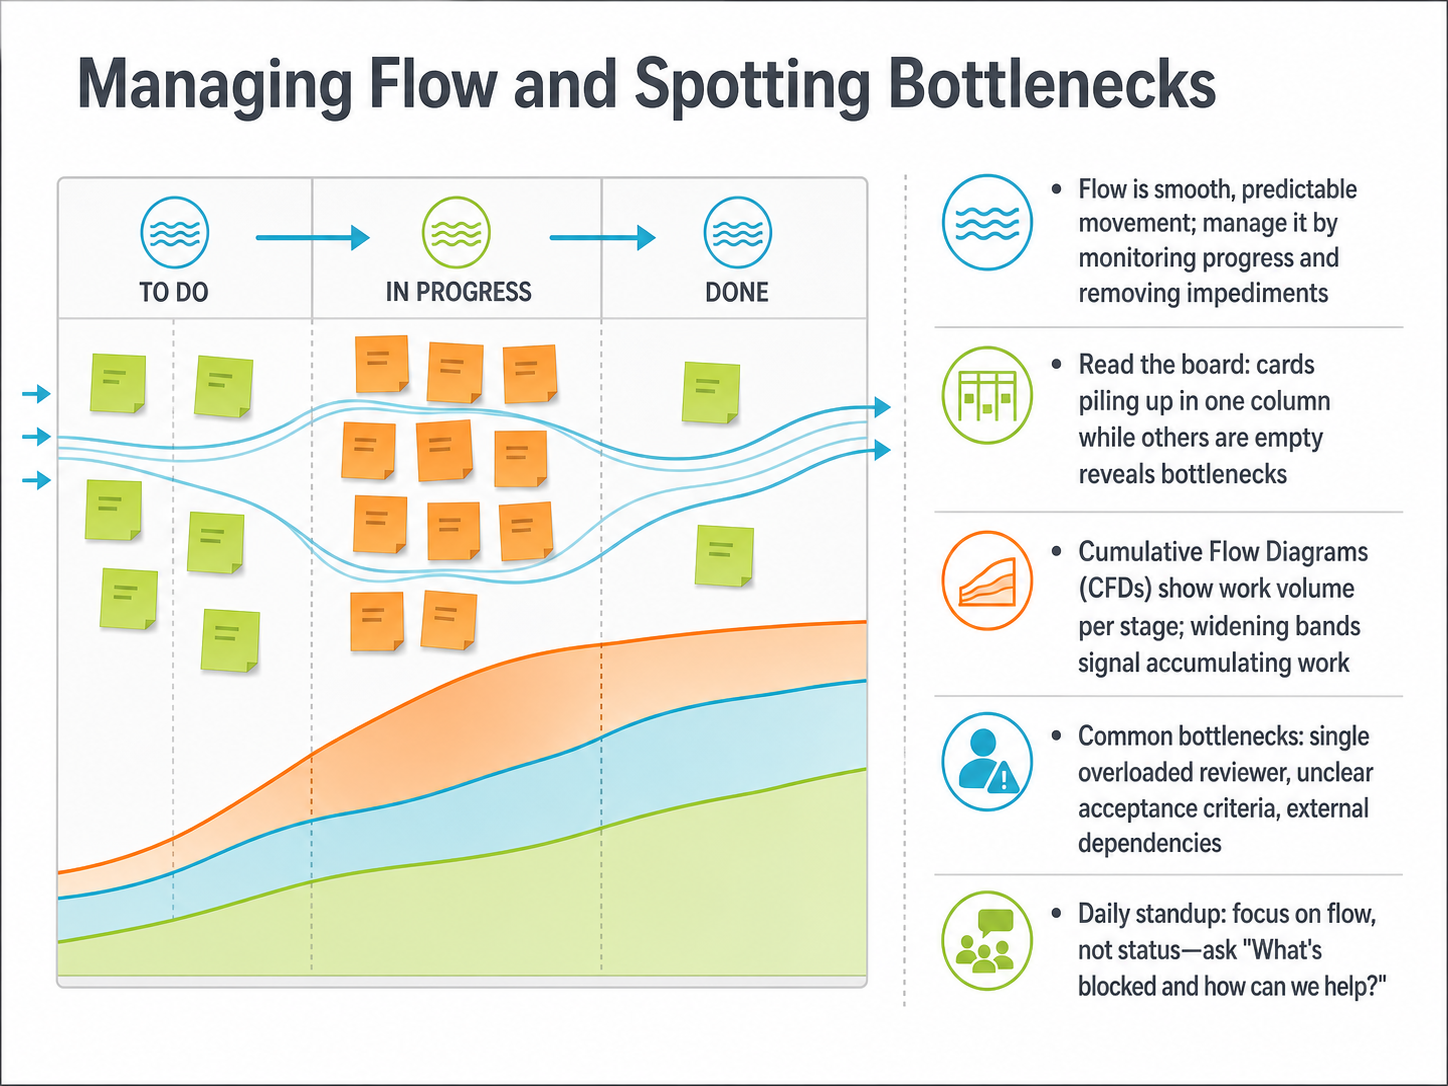
 - 07Managing Flow and Spotting BottlenecksNow let's talk about managing flow and spotting bottlenecks. Flow is the smooth, predictable movement of work through your process. You manage it by monitoring progress and actively removing impediments. Start by reading your board. If cards are piling up in one column while others sit empty, that column is your bottleneck. For a deeper look, use a Cumulative Flow Diagram, or CFD. A CFD is a stacked area chart showing work volume per stage over time. When a colored band widens, work is accumulating in that stage faster than it leaves. That's your visual signal to investigate. Common bottlenecks include a single overloaded reviewer, unclear acceptance criteria, or an external dependency someone else controls. To catch these, shift your daily standup from status to flow. Instead of asking what everyone did, ask: What's blocked, and how can we help clear it? Next, we'll explore the key flow metrics that make these conversations precise: WIP, cycle time, throughput, and work item age.
 kanbanguides.orgkanbanguides.orgkanban.university+22 min
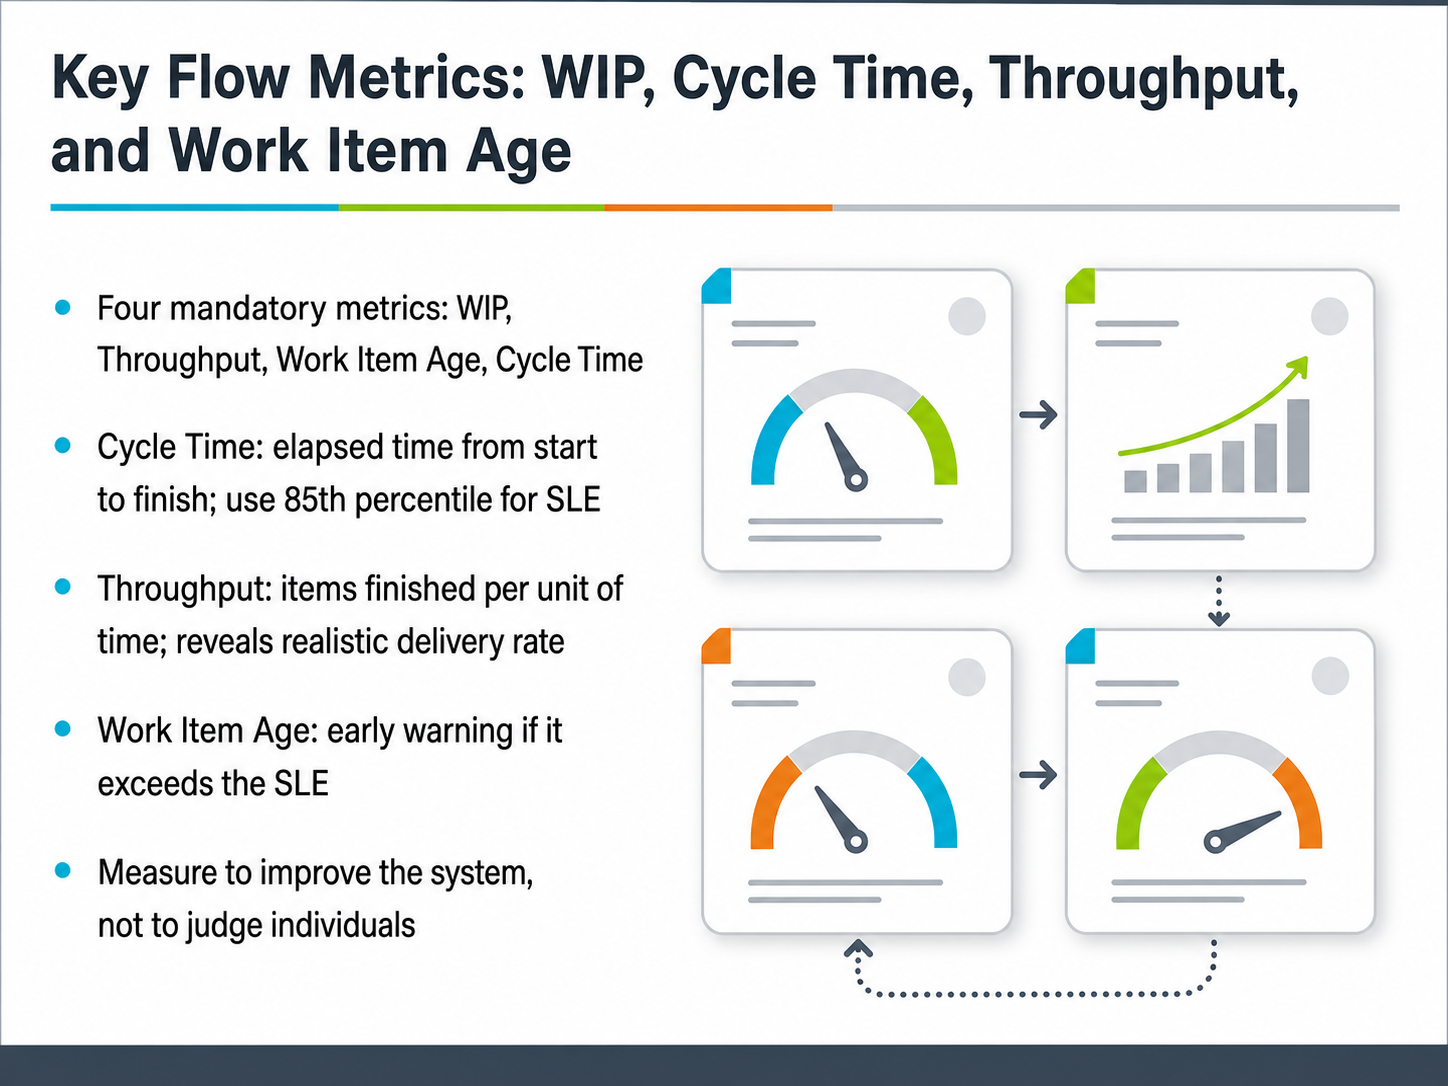
 - 08Key Flow Metrics: WIP, Cycle Time, Throughput, and Work Item AgeNow, let's talk about the numbers that help you manage flow. In Kanban, there are four mandatory flow metrics you need to track. First, WIP, or work in progress, which is simply the number of items you have started but not yet finished. Second, cycle time: the total elapsed time from when an item starts to when it finishes. You typically use the eighty-fifth percentile of your cycle time to set your service level expectation, or SLE, which is a forecast you can commit to. Third, throughput: the count of work items you finish per unit of time, like per week. This shows your team's realistic delivery rate. Finally, work item age: the time an item has been in progress so far. This acts as an early warning system; if the age exceeds your SLE, you know to investigate. Remember, the goal is to measure to improve the system, not to judge individual people. Next, we'll put these concepts into practice with 'Getting Started: Your First Kanban Board in 30 Minutes'.
 kanbanguides.orgkanbanguides.orgkanban.university+22 min
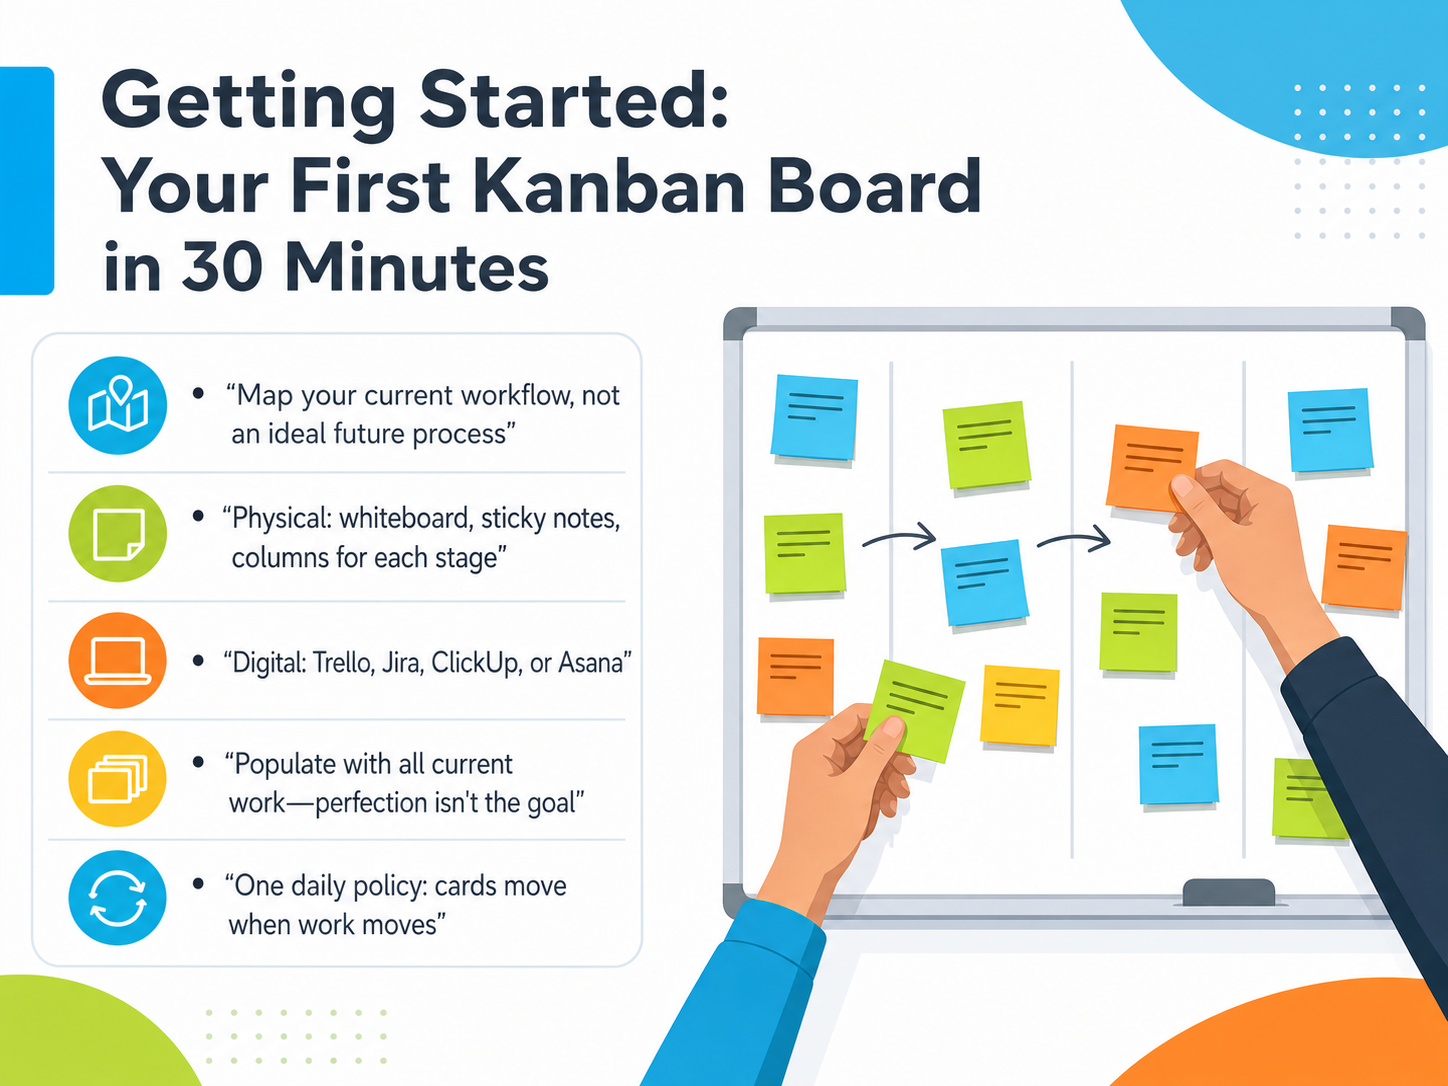
 - 09Getting Started: Your First Kanban Board in 30 MinutesNow, let's get your first board up and running in about thirty minutes. The key is to map your current workflow, not an ideal future process. Grab a whiteboard and sticky notes if you're going physical, with columns for each stage work goes through. If you're choosing a digital tool, popular options include Trello, Jira, ClickUp, or Asana. Each lets you create columns and cards quickly. Next, populate the board with all your current work. Don't chase perfection here. Just get every active task onto a card in the right column so the full picture becomes visible. Finally, agree on one daily policy: cards move when work moves. This simple habit keeps the board accurate and immediately shows you where flow is smooth and where it is getting stuck. Up next, we will look at the first week: what to watch for and adjust.
 atlassian.comasana.comairtable.com+21 min
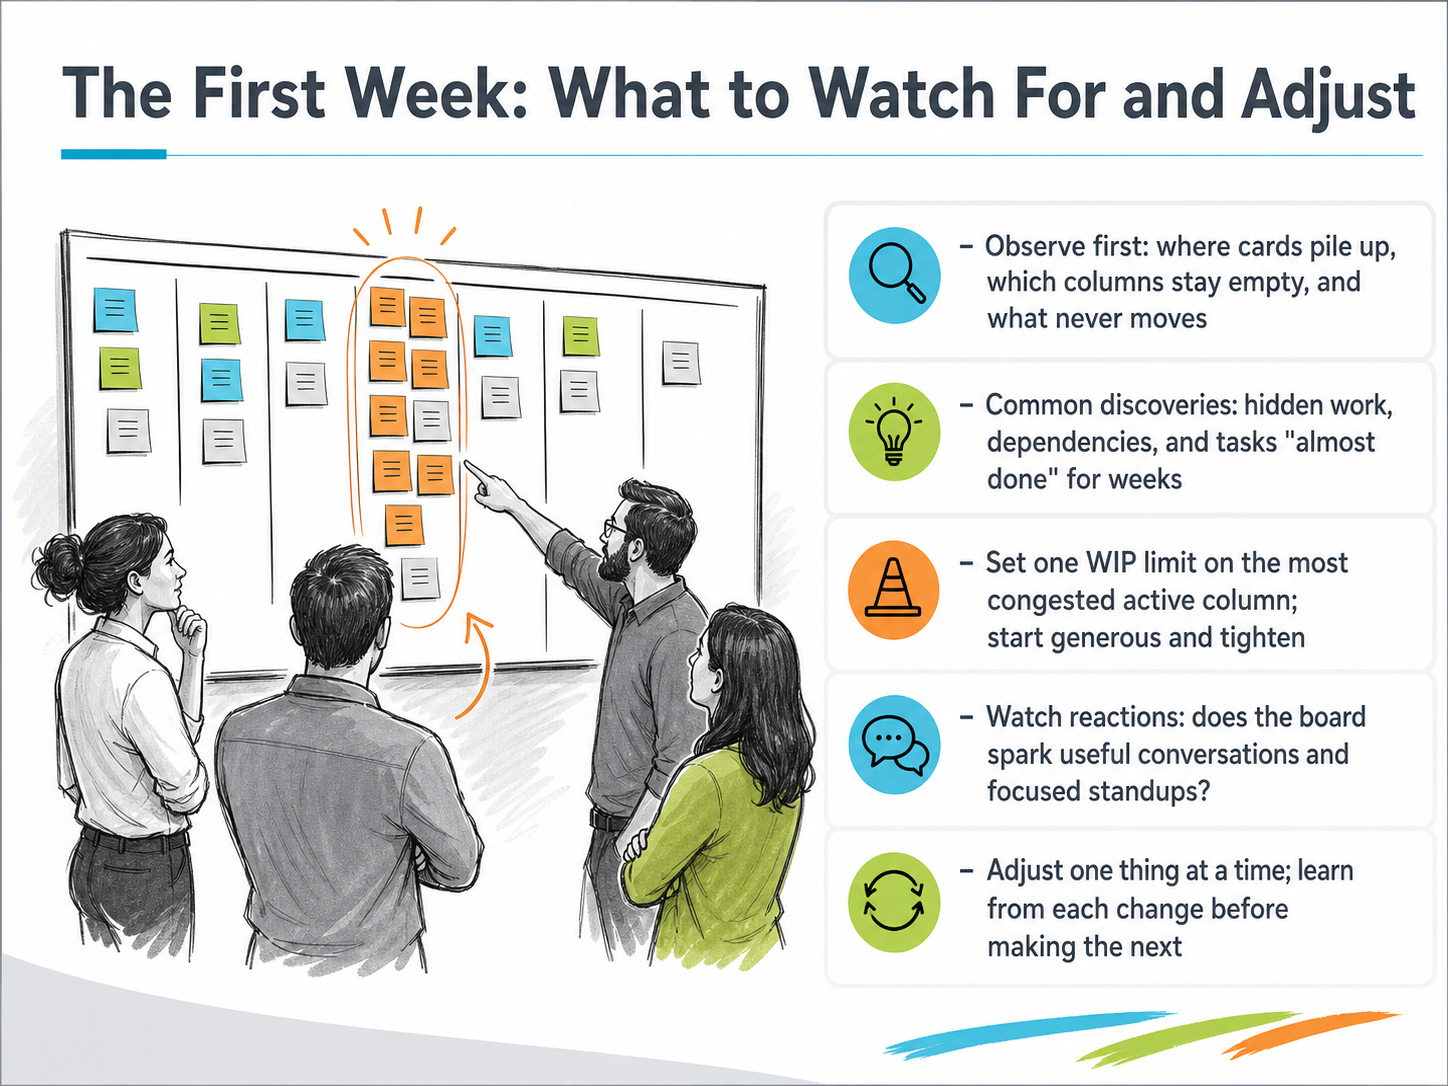
 - 10The First Week: What to Watch For and AdjustSo, you have your board set up and your team has started using it. During the first week, your main job is to observe, not to jump in and fix things right away. Watch where the cards pile up. Notice which columns stay empty, and which tasks seem to never move. You will often discover hidden work, dependencies you didn't know about, and tasks that sit 'almost done' for weeks. After you have watched for a few days, set one work-in-progress limit, or WIP limit, on the most congested active column. A WIP limit is simply a cap on how many items can be in that stage at once. Start with a generous number, maybe a bit below your current count, and then tighten it later. Also, pay attention to the reactions the board sparks. Does it trigger useful conversations during your standups? Are people asking 'how can we help move this card?' rather than just reporting status? Finally, adjust only one thing at a time. Make a change, watch what happens, and learn from the result before you make the next move. This keeps you from causing confusion and helps you understand what is actually improving your flow. Next, we will look at making your policies explicit.
 routine.coatlassian.comagilitylaunchpad.com+22 min
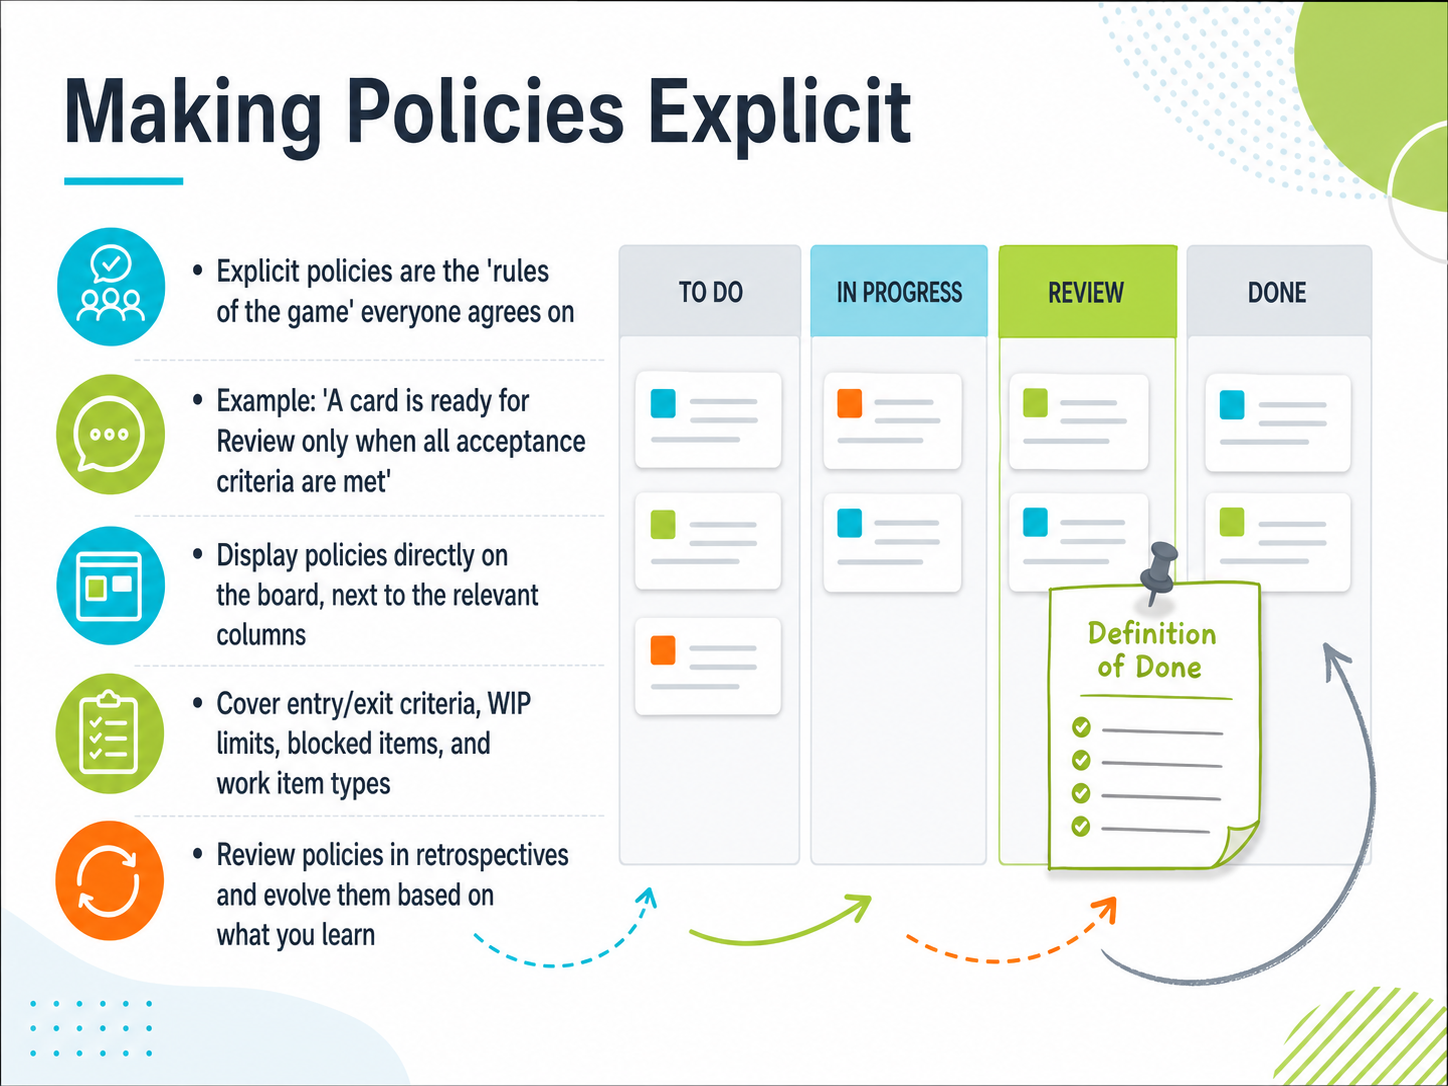
 - 11Making Policies ExplicitLet's look at making policies explicit. Think of these as the rules of the game that everyone on the team agrees to follow. They remove guesswork so you can make consistent decisions fast. For example, a policy might state: 'A card is ready for Review only when all acceptance criteria are met.' That single sentence prevents endless back-and-forth. You want to display these policies directly on the board, right next to the relevant columns. What should they cover? Be sure to include entry and exit criteria, work-in-progress limits, how to handle blocked items, and the types of work items you accept. Finally, don't treat these policies as set in stone. Bring them up in your retrospectives. Ask what worked, what didn't, and evolve the rules based on what you learn. This turns your board into a living agreement that continuously improves your flow. Next, let's explore how to handle different priorities by looking at Classes of Service and Swimlanes.
 kanbanguides.orgkanbanguides.orgkanban.university+22 min
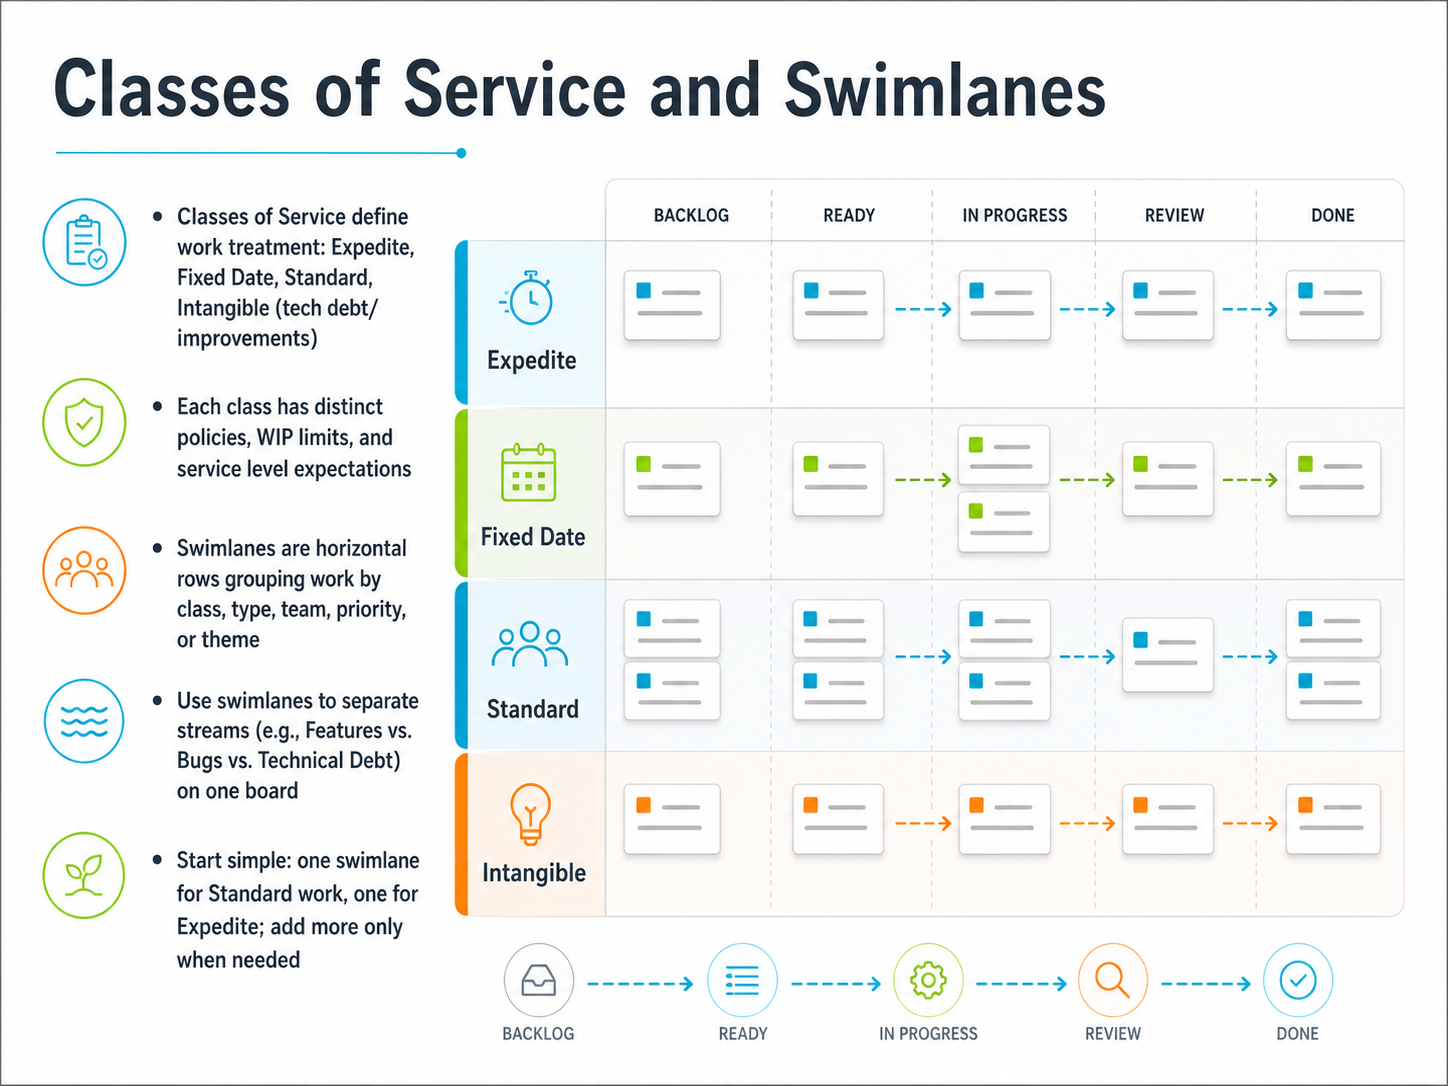
 - 12Classes of Service and SwimlanesNow let’s talk about classes of service and swimlanes, two ways to bring more clarity to your board. Classes of service define how you treat different kinds of work. The four common types are Expedite, for urgent items that need immediate attention; Fixed Date, for work that must be delivered by a specific deadline; Standard, for regular, planned tasks; and Intangible, which covers things like technical debt or process improvements. Each class has its own policies, work in progress limits, and service level expectations. So an Expedite card might skip the normal queue, while a Standard card follows the usual flow. Swimlanes are the horizontal rows on your board. You can use them to group work by class of service, by work type like features versus bugs, by team, or by priority. For example, you might create one row for Expedite and another for Standard work, so you can see at a glance how urgent items are moving. The key is to start simple. Begin with just one swimlane for Standard work and one for Expedite. Add more only when you genuinely need them. Overcomplicating the board early on can hide the very bottlenecks you’re trying to see. Next, we’ll look at digital Kanban tools for distributed teams and how they can support these practices.
 atlassian.comasana.comairtable.com+22 min
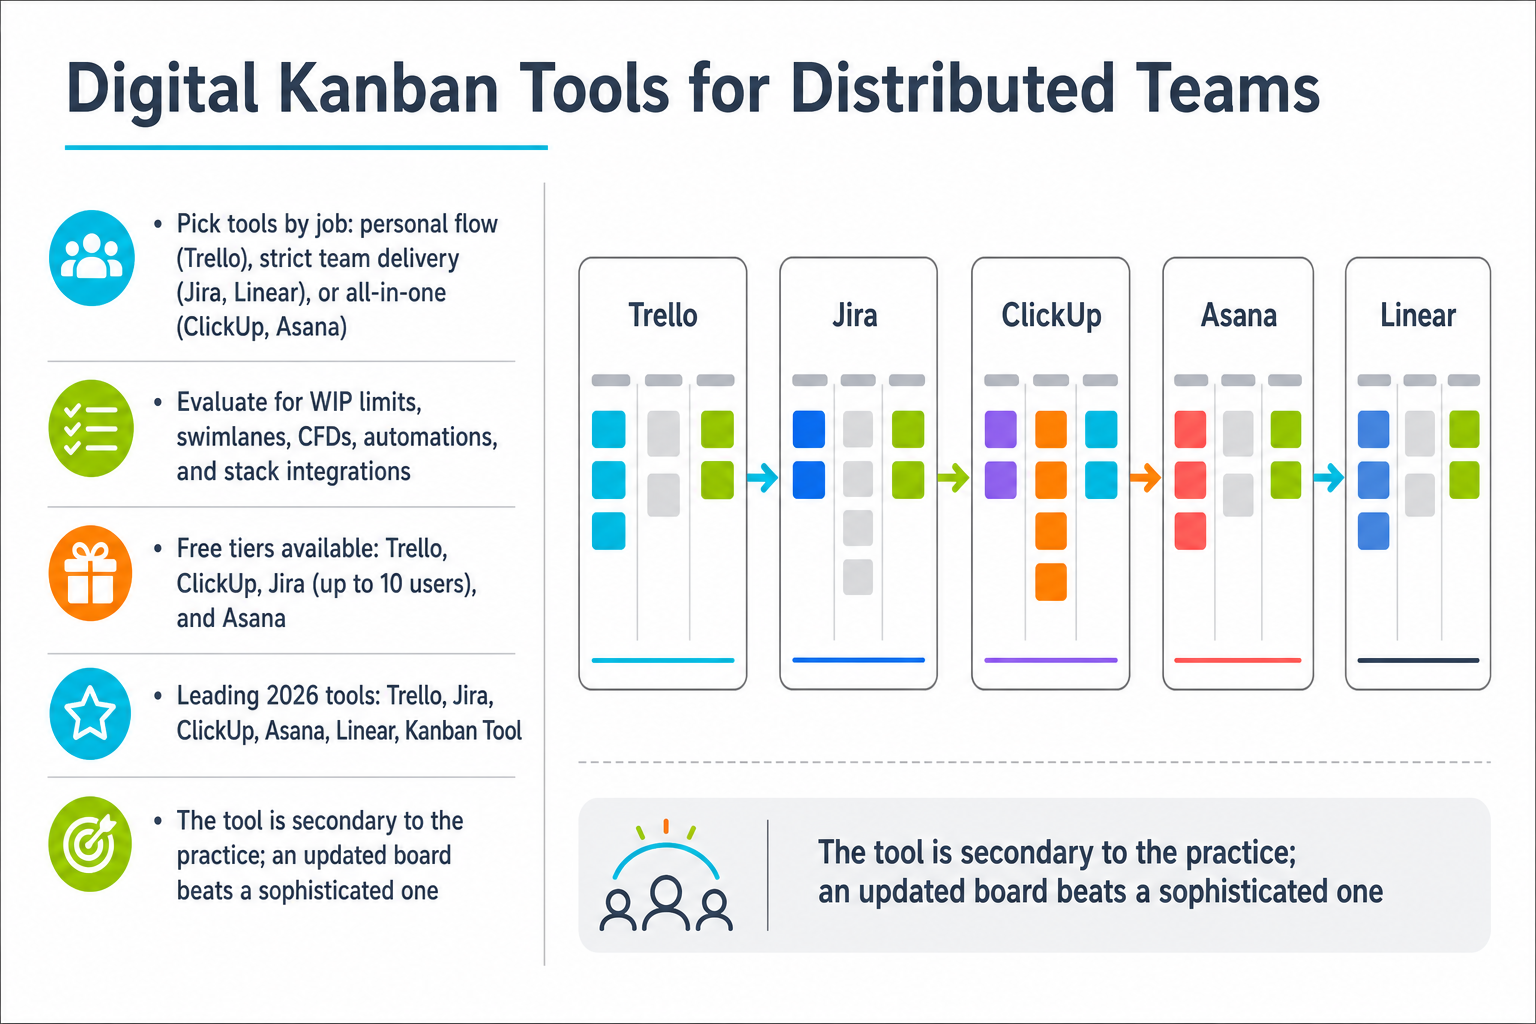
 - 13Digital Kanban Tools for Distributed TeamsNow, let's talk about digital tools for distributed teams. The right tool depends on the job you're hiring it to do. For simple personal flow, something like Trello is a great fit. For strict team delivery with rigid process, Jira or Linear work well. And if you want an all-in-one platform with multiple views, ClickUp or Asana are strong choices. When you evaluate a tool, look for key mechanics like work-in-progress limits, swimlanes, cumulative flow diagrams, automations, and how well it integrates with your current stack. Many of these tools offer free tiers, which are perfect for piloting a board before you commit. As we look at the leading tools in 2026, the list includes Trello, Jira, ClickUp, Asana, Linear, and Kanban Tool. But here is the most important point: the tool is always secondary to the practice. An updated board you actively use beats a sophisticated one that sits empty. Next, we'll look at evolving your board and practices.
 atlassian.comasana.comairtable.com+22 min
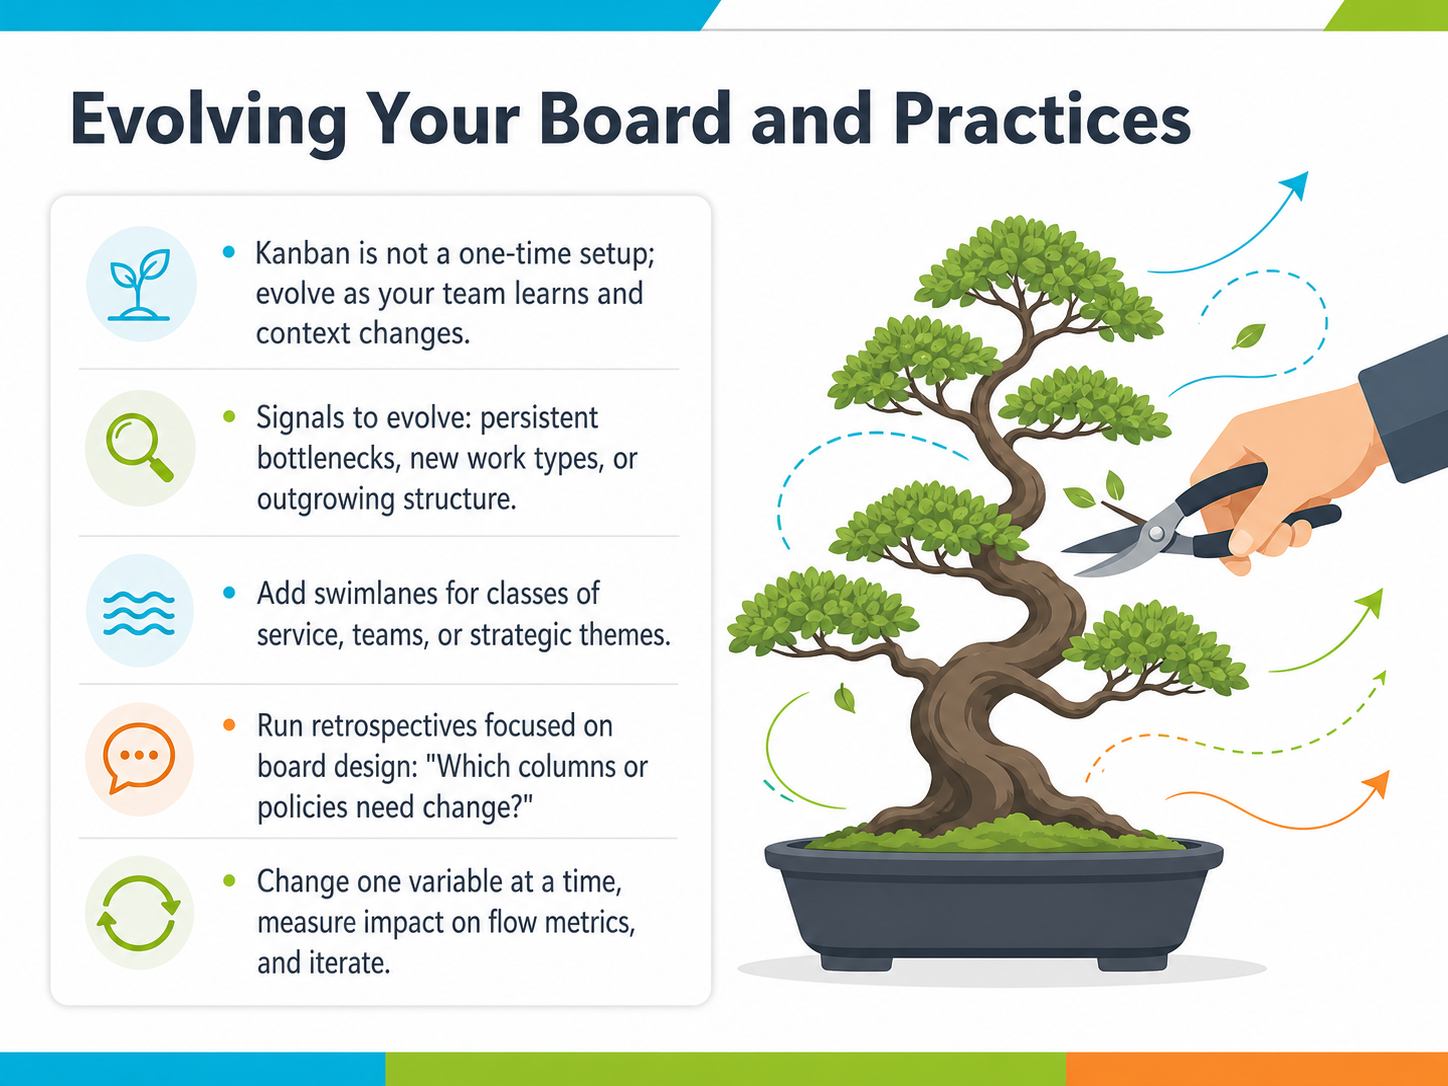
 - 14Evolving Your Board and PracticesYour board is never really finished. It's a living tool that should evolve as your team learns and your context changes. So what signals should you watch for? Persistent bottlenecks, new types of work appearing, or a sense that you've simply outgrown your current structure. When you see those cues, it's time to adapt. One powerful way to do that is by adding swimlanes. You can use swimlanes to separate classes of service, like expedited items versus standard work, or to visualize different teams and strategic themes. To decide what to change, run retrospectives that focus specifically on board design. Ask questions like, 'Which columns or policies are slowing us down?' When you act, remember the golden rule of evolution: change one variable at a time. Measure the impact on your flow metrics, and then iterate. Small, deliberate steps lead to major improvements. Now, let's zoom out and see how these principles scale by moving from a team board to a portfolio Kanban.
 kanbanguides.orgkanbanguides.orgkanban.university+22 min
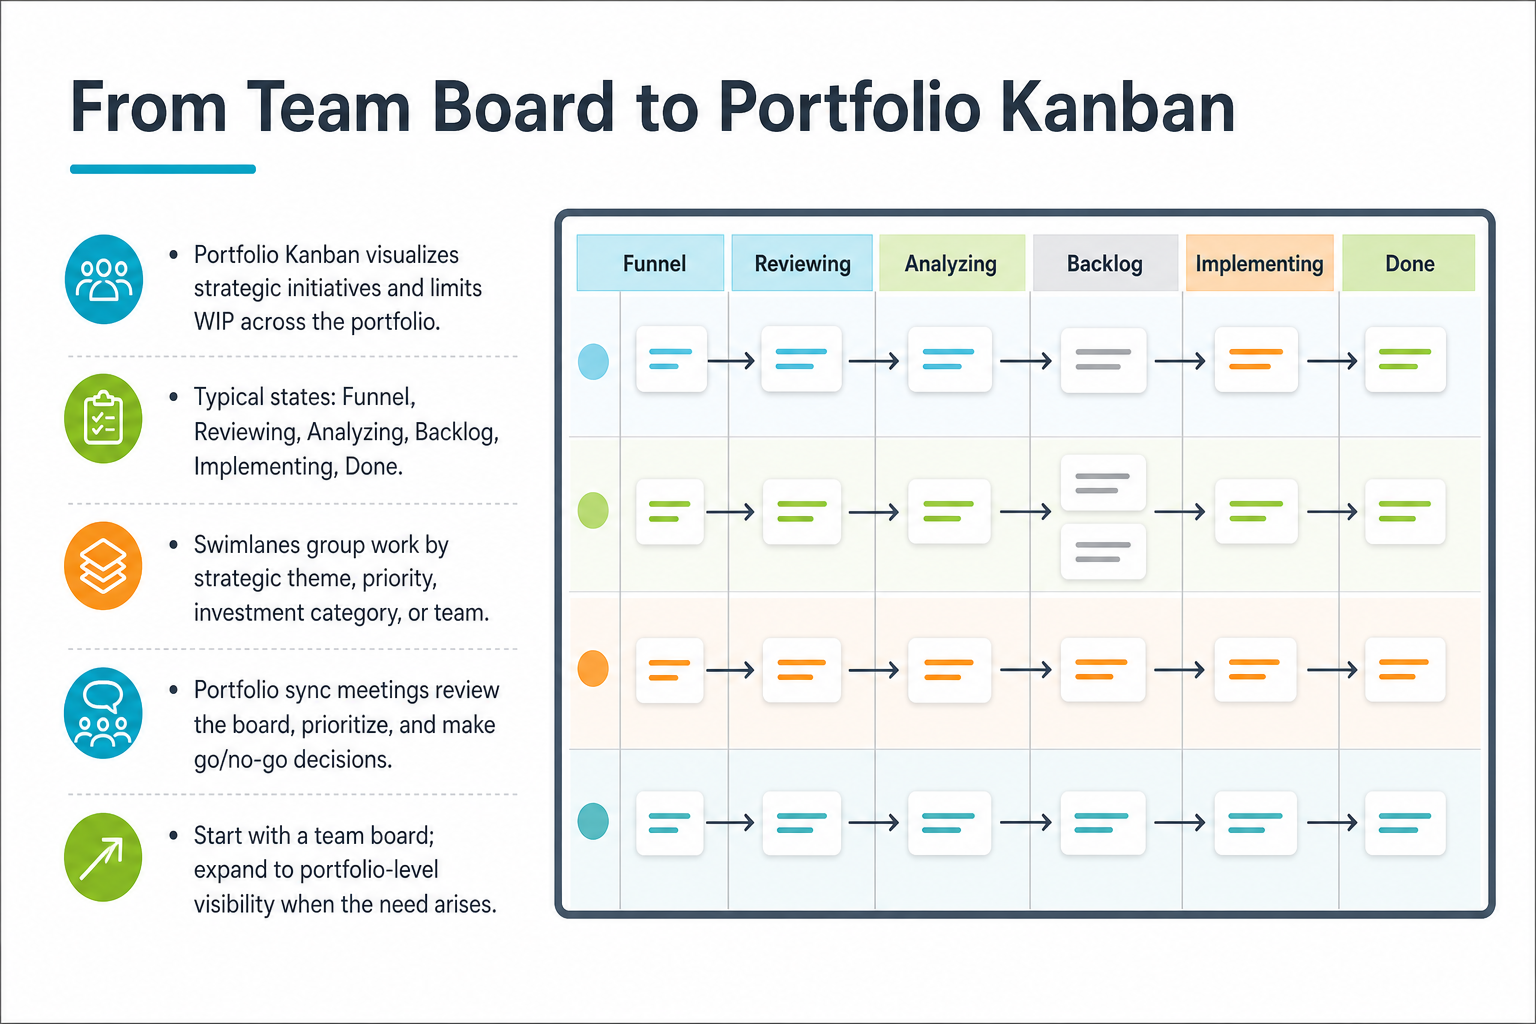
 - 15From Team Board to Portfolio KanbanNow let's zoom out from the team level and look at the bigger picture with a Portfolio Kanban board. While a team board makes daily work visible, a Portfolio Kanban visualizes your strategic initiatives—those big bets that move the organization forward. It also limits work in progress across the entire portfolio, not just a single team. The typical flow moves through states like Funnel, Reviewing, Analyzing, Backlog, Implementing, and Done. To help you see patterns, you can use swimlanes—horizontal bands that group work by strategic theme, priority, investment category, or even by team. This makes it easy to spot imbalances during a review. Speaking of reviews, portfolio sync meetings are where leaders gather around this board to discuss priorities, check flow, and make explicit go or no-go decisions on major initiatives. A good rule of thumb is to start with a solid team board first. Only expand to portfolio-level visibility when the need arises, so you're scaling a practice that already works. Up next, we'll wrap up with the key takeaways and your next steps.
 kanbanguides.orgkanbanguides.orgkanban.university+22 min
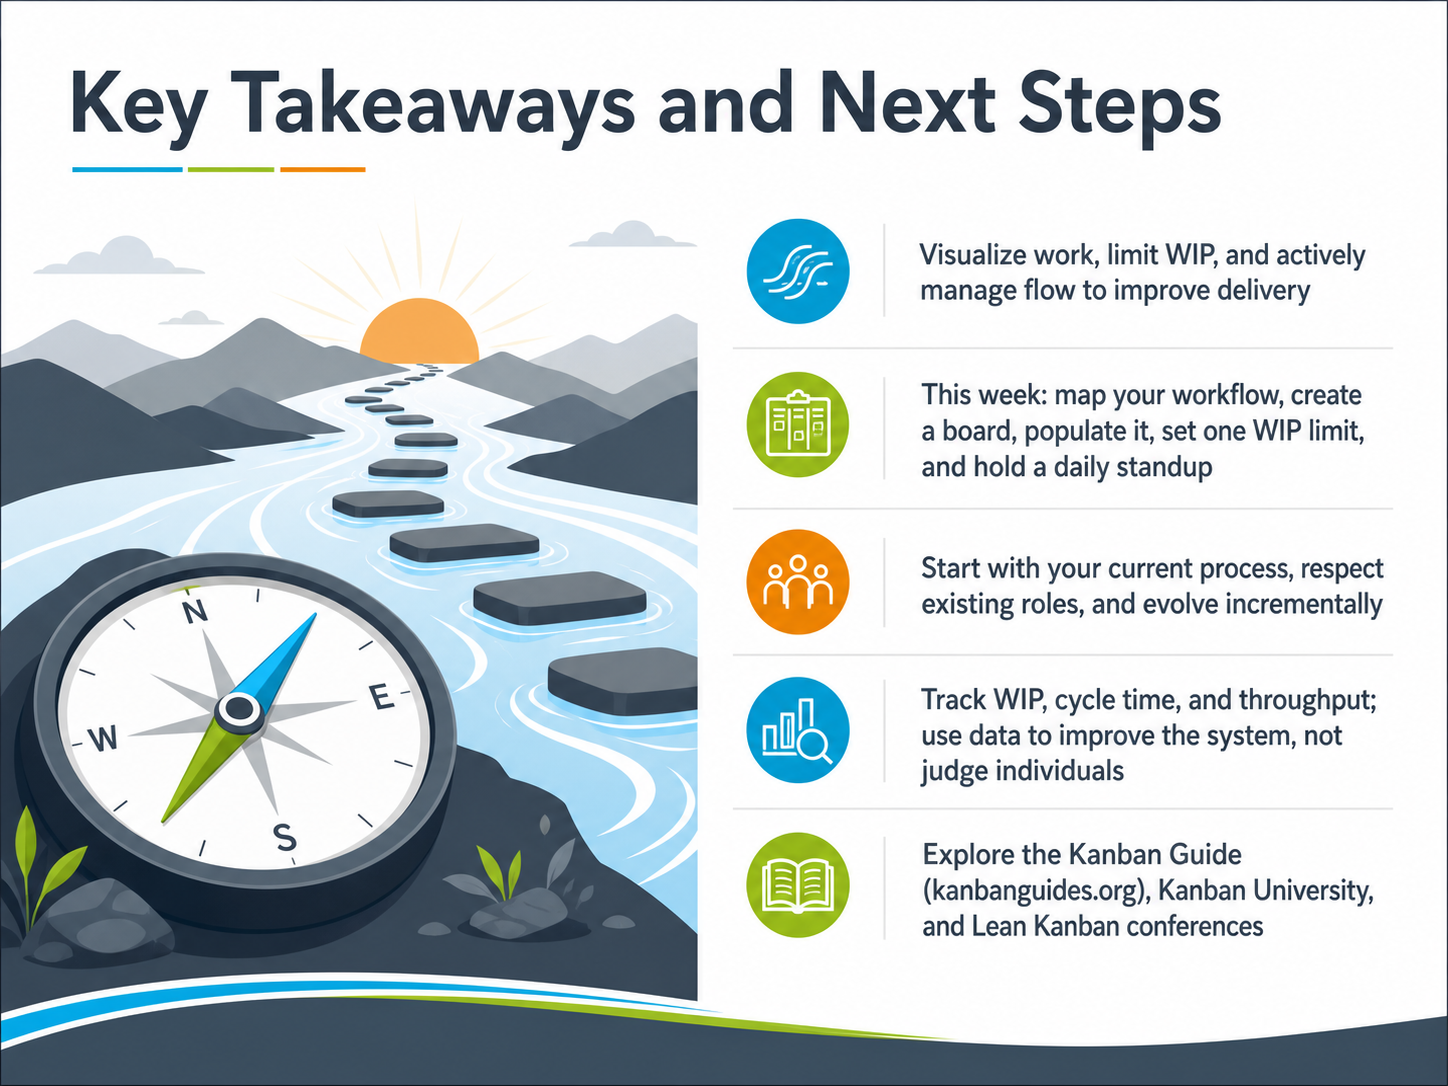
 - 16Key Takeaways and Next StepsLet's quickly recap the key ideas you can take away today. First, the core of Kanban is to visualize your work, limit your work in progress, and actively manage your flow to improve delivery. These three practices work together to make your process predictable and efficient. For your immediate next steps this week, start by mapping your team's actual workflow as it is right now. Create a simple board, populate it with your current work items, and set just one work in progress limit on a column where you see work piling up. Begin holding a daily standup around the board to build flow awareness. And remember, start with your current process, respect the existing roles, and evolve incrementally. As you move forward, track the core metrics: work in progress, cycle time, and throughput. Use this data to improve the system, not to judge individuals. Finally, to deepen your learning, I encourage you to explore the Kanban Guide at kanbanguides dot org, check out the resources from Kanban University, and look into Lean Kanban conferences. Thank you for joining this introduction to Kanban boards. You now have a practical starting point to make work visible and manage flow. Go ahead and get your first board set up this week.
 kanbanguides.orgkanbanguides.orgkanban.university+22 min
Take the deck with you
Download this course as a file — free, no sign-up needed.
- PDF handoutEvery slide page, ready to print or share.17 pages · 3.8 MBDownload
- Narrated PowerPointThe deck that presents itself — every slide carries the digital human's narration video.17 pages · 16.7 MBDownload
- PowerPoint slidesThe full deck as a .pptx — open it in PowerPoint, Keynote, or Google Slides.17 pages · 3.6 MBDownload
Free to use in your own training — please keep the PersonWise credit page at the end.
Have your own deck? Turn it into a course
Sources consulted
Web sources consulted while building this course.
- A Brief History of Kanban for Knowledge Work — djaa.com
- latest | Open Guide to Kanban - In the Context of Knowledge Work | Kanban Guides — kanbanguides.org
- THE KANBAN GUIDE — kanbanguides.org
- Kanban — en.wikipedia.org
- The History and Origins of Kanban: From Toyota to Agile — teachingagile.com
- Value Stream Mapping Workshop: A Step-by-Step Guide for Agile Teams – Agility Launchpad — agilitylaunchpad.com
- Value Stream Mapping: Uncovering Workflow Truths - Kanban Zone — kanbanzone.com
- Implement Value Stream Mapping to Optimize Workflows — thebottleneck.io
- How to Implement a Kanban System | Planview — planview.com
- Mapping for Knowledge Work - Failure Hackers — failurehackers.com
- What is a kanban board? | Atlassian — atlassian.com
- https://asana.com/resources/what-is-kanban — asana.com
- Kanban Boards Guide, Examples, Templates & Software - Airtable — airtable.com
- What is a Kanban Board and How to Use One | Miro — miro.com
- About Kanban boards - Azure Boards | Microsoft Learn — learn.microsoft.com
- Principles and General Practices of the Kanban Method | Kanban University — kanban.university
- Kanban Practices: Master the 6 Core Agile Flow Methods — teachingagile.com
- Core Principles of Kanban: A Complete Guide for Agile Teams — teachingagile.com
- How to Set Effective Work-in-Progress (WIP) Limits That Prevent Team Overload · Routine — routine.co
- Working with WIP limits for kanban | Atlassian — atlassian.com