Begin
14 pages · ~28 min
Print Excel Spreadsheet on One Page
Learn a practical workflow to print Excel spreadsheets on a single page, ideal for professionals who want clean, readable printouts without manual scaling.
A digital instructor presents all 14 pages. Hold “Ask” at any point and ask out loud — the answer comes from this course. No sign-up needed.
What you’ll learn
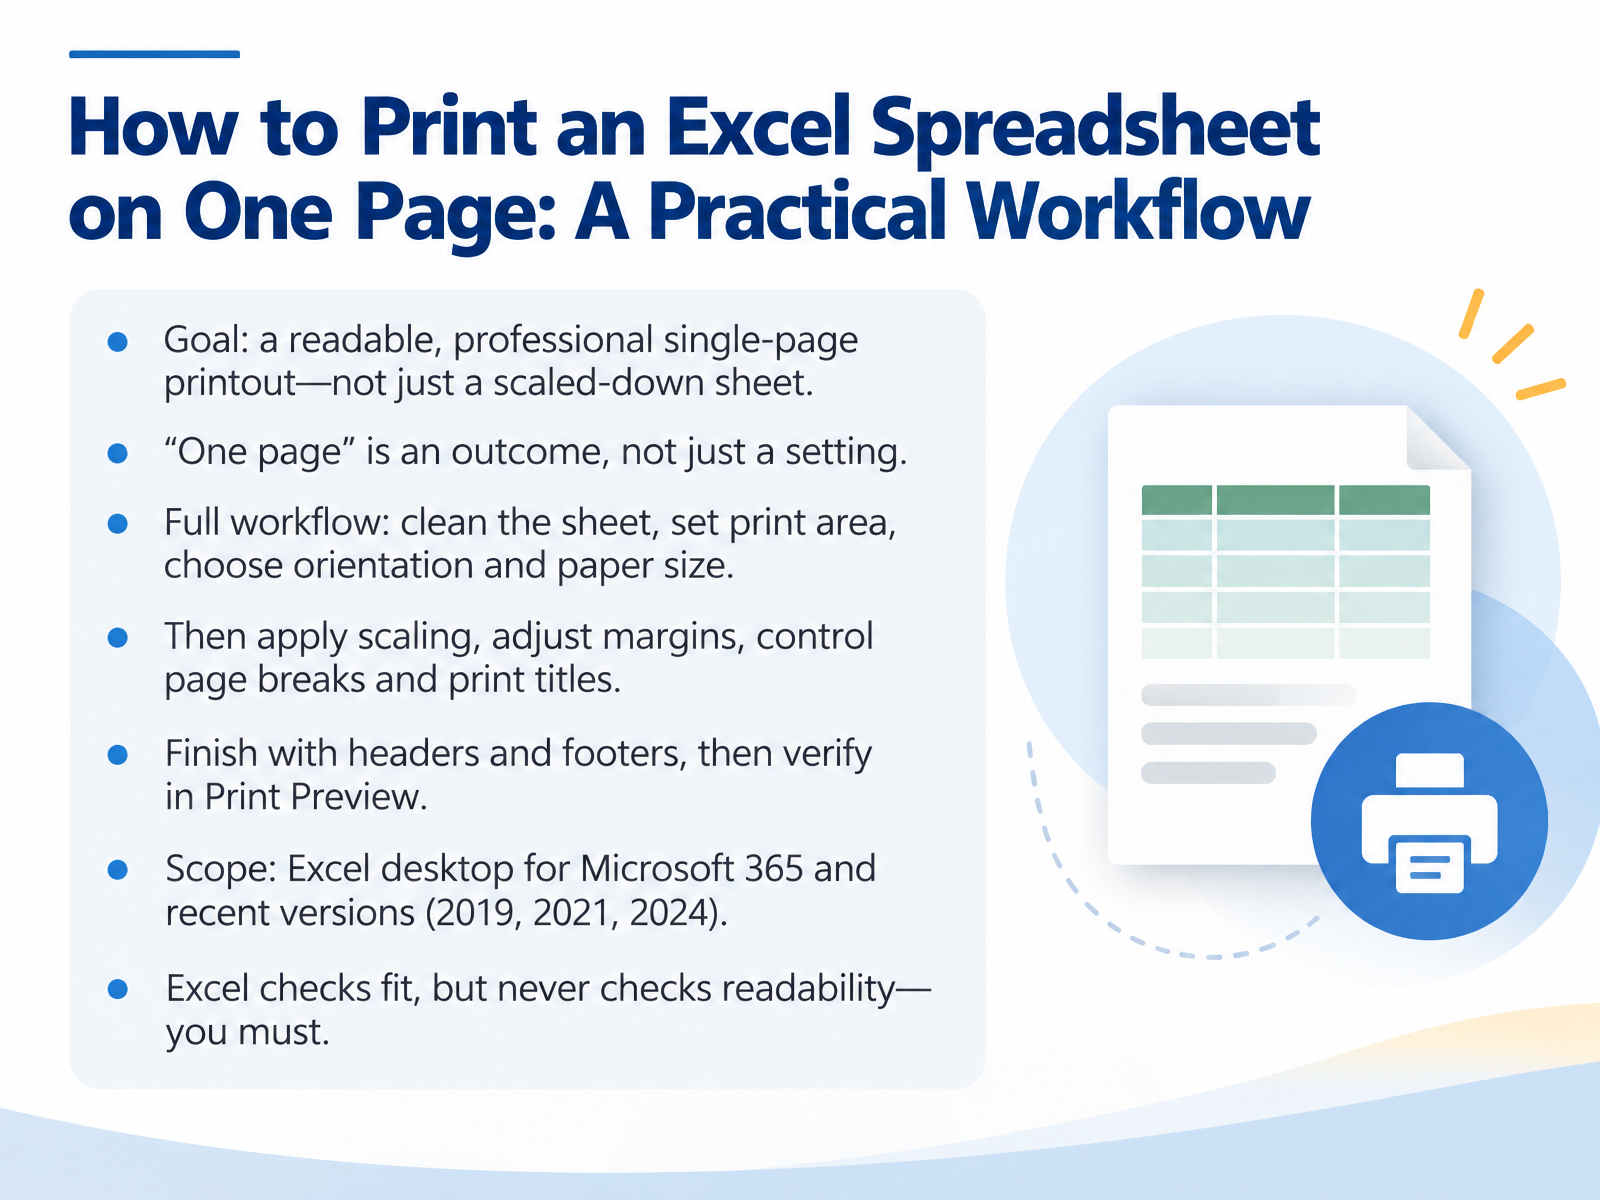
- 01How to Print an Excel Spreadsheet on One Page: A Practical WorkflowWelcome. If you have ever printed a spreadsheet and watched it spill onto three pages, or shrink until nobody can read it, you are in the right place. In this course, we will walk through printing an Excel spreadsheet on one page, as a practical, repeatable workflow. Here is the mindset that makes everything easier. One page is an outcome, not just a setting. Excel can shrink your data to fit, but Excel never checks whether the result is readable. That part is up to you. So we will work through the full sequence: clean the sheet first, set the print area, then choose orientation and paper size. From there, we apply scaling, adjust margins, and control page breaks and print titles. We finish with headers and footers, then verify everything in Print Preview before committing to paper. This course covers Excel desktop for Microsoft 365 and recent versions, including 2019, 2021, and 2024. By the end, you will have a workflow that produces clean, professional, single-page printouts, every time. Next, let us look at when aiming for one page actually makes sense, and when it does not. That is our next topic: When One Page Is the Right Goal and When It Is Not.support.microsoft.comsupport.microsoft.comsupport.microsoft.com+22 min
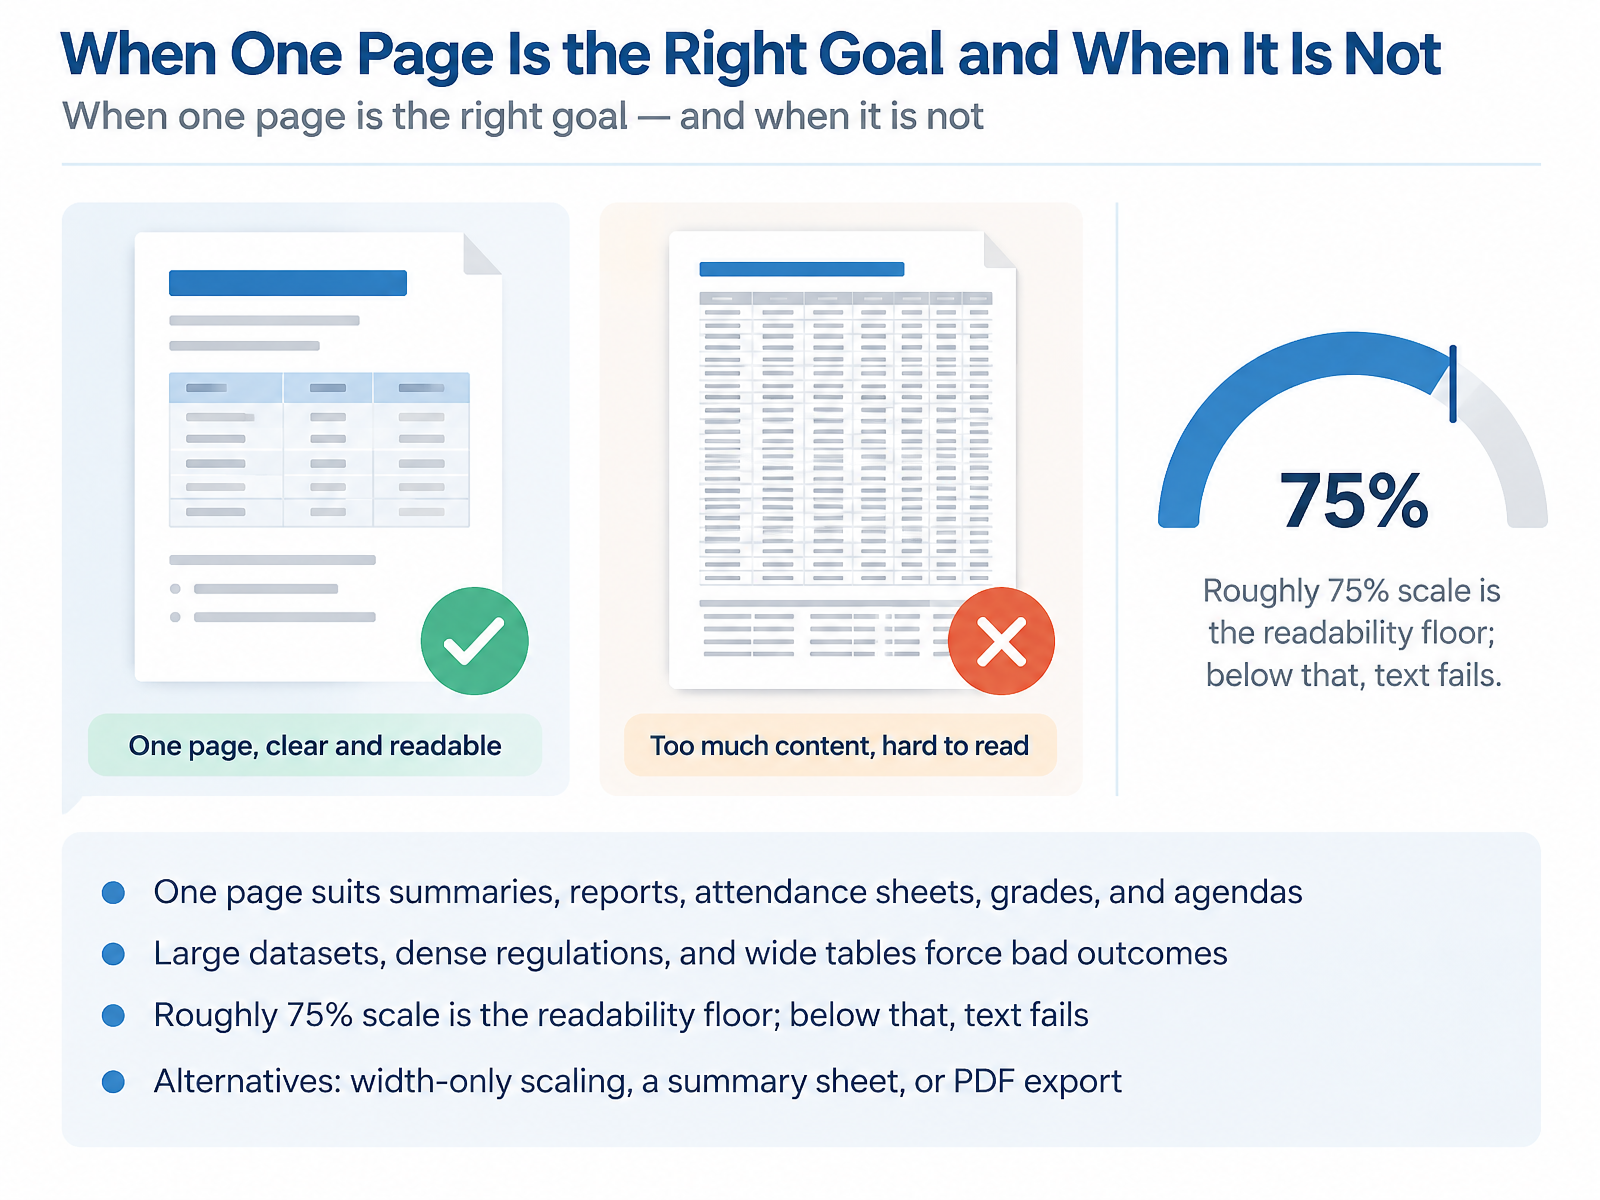
- 02When One Page Is the Right Goal and When It Is NotLet's start with a key decision. When is one page the right goal, and when is it not? One page works well for summaries, reports, attendance sheets, grades, and agendas. These are short, focused documents where everything belongs together. But large datasets, dense regulations, and wide tables force bad outcomes. If you squeeze thirty rows and fifteen columns onto one sheet, the text can shrink to four or five point size. Excel only checks whether it fits. It never checks whether it is still readable. A practical rule is that roughly seventy five percent scale is the readability floor. Below that, stop fighting the layout. Instead, consider alternatives. Use width only scaling, which keeps columns on one page and lets rows flow naturally. Build a summary sheet. Or export to PDF. So before you force a fit, ask whether one page truly serves your reader. Now, let's prepare the sheet before changing any print settings.
 support.microsoft.comsupport.microsoft.comsupport.office.com+21 min
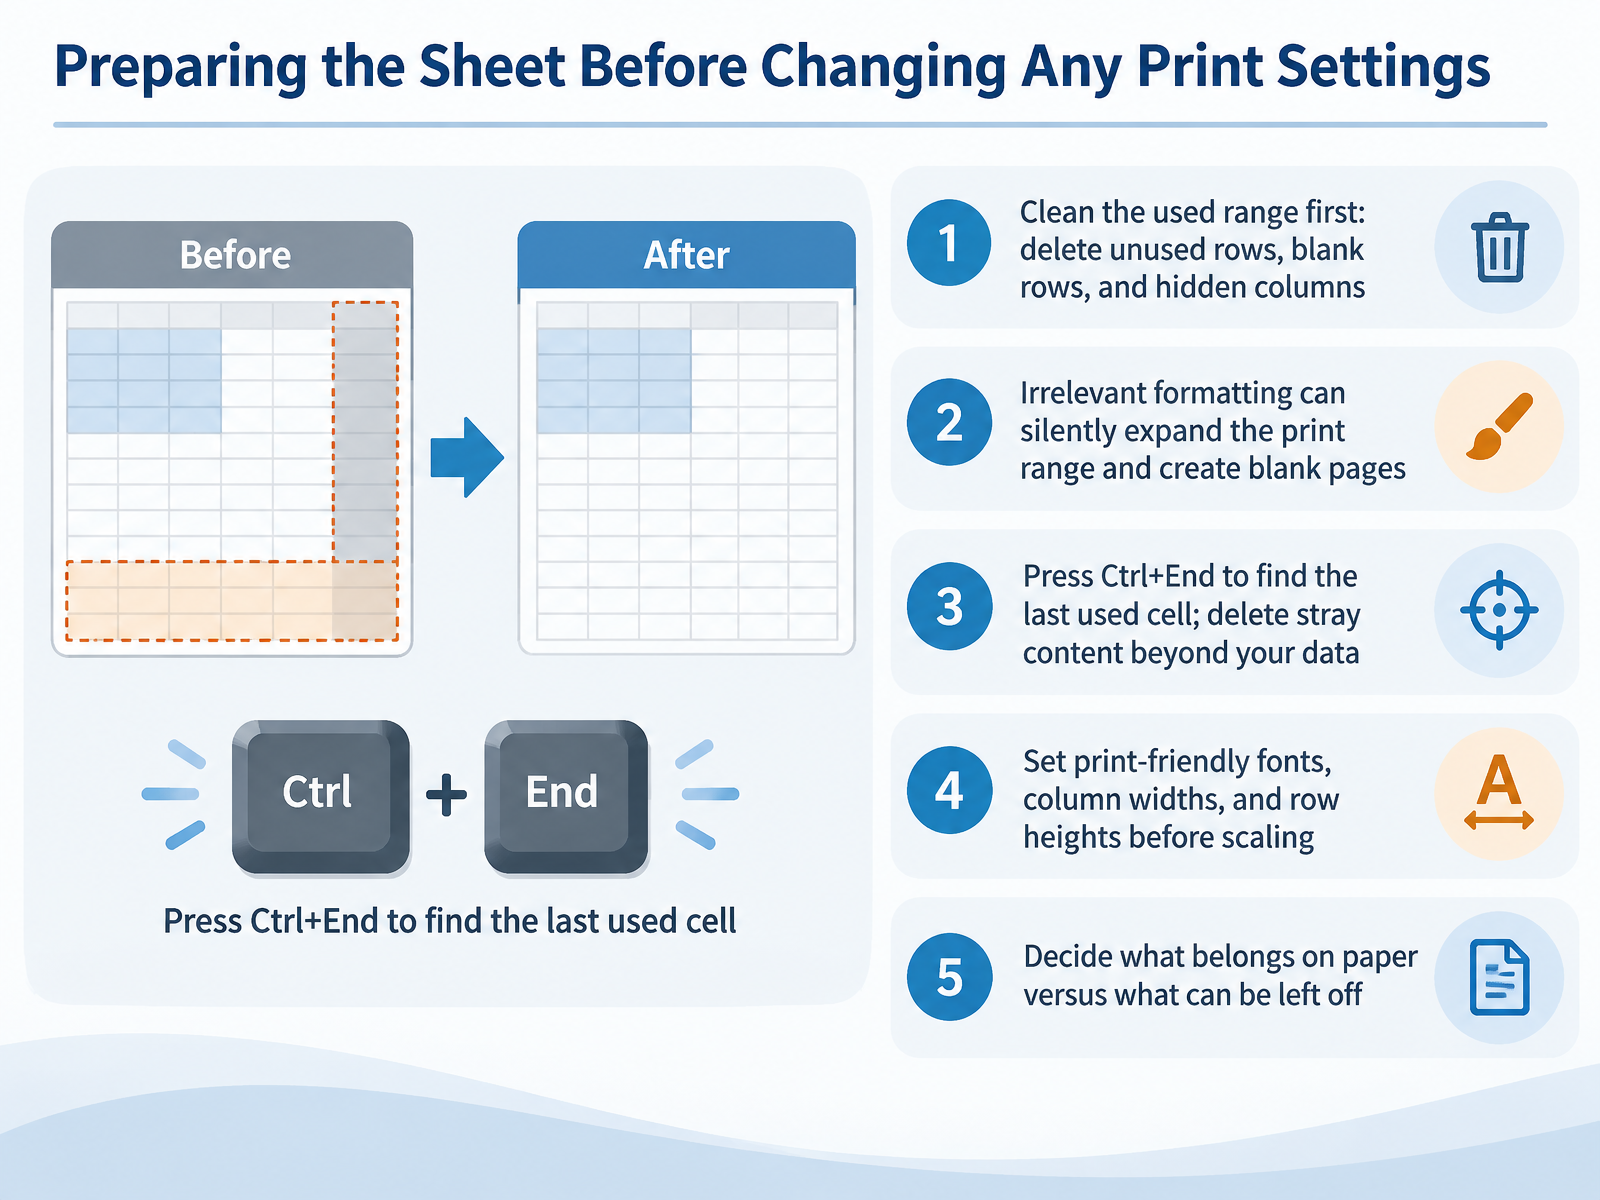
 - 03Preparing the Sheet Before Changing Any Print SettingsBefore you touch any print setting, spend a minute cleaning the sheet itself. This is the step most people skip, and it is the reason blank pages and cut-off columns keep showing up. Start with the used range. Delete rows and columns you do not need, along with blank rows sitting in the middle of your data, and unhide any hidden columns you forgot about. Hidden columns with manual page breaks can quietly create blank pages. Here is why this matters. Irrelevant formatting can silently expand the print range, even when the cells look empty. So press Control and End. That jumps you to the last used cell. If it lands well past your data, select those extra rows and columns, delete them, and save. If you see a stray space or an old border out there, remove it too. Next, get the sheet visually ready before you scale anything. Choose print-friendly fonts, set sensible column widths, and adjust row heights so text is not clipped. Do this now, because scaling shrinks whatever layout you already have. Finally, decide what truly belongs on paper. Not every column needs to print. Ask yourself who will read this, and keep only what serves them. Leave the rest on screen, then move on to page layout. Set the Print Area and Page Layout Essentials.
 learn.microsoft.comexcelforum.comxlnavigator.com+22 min
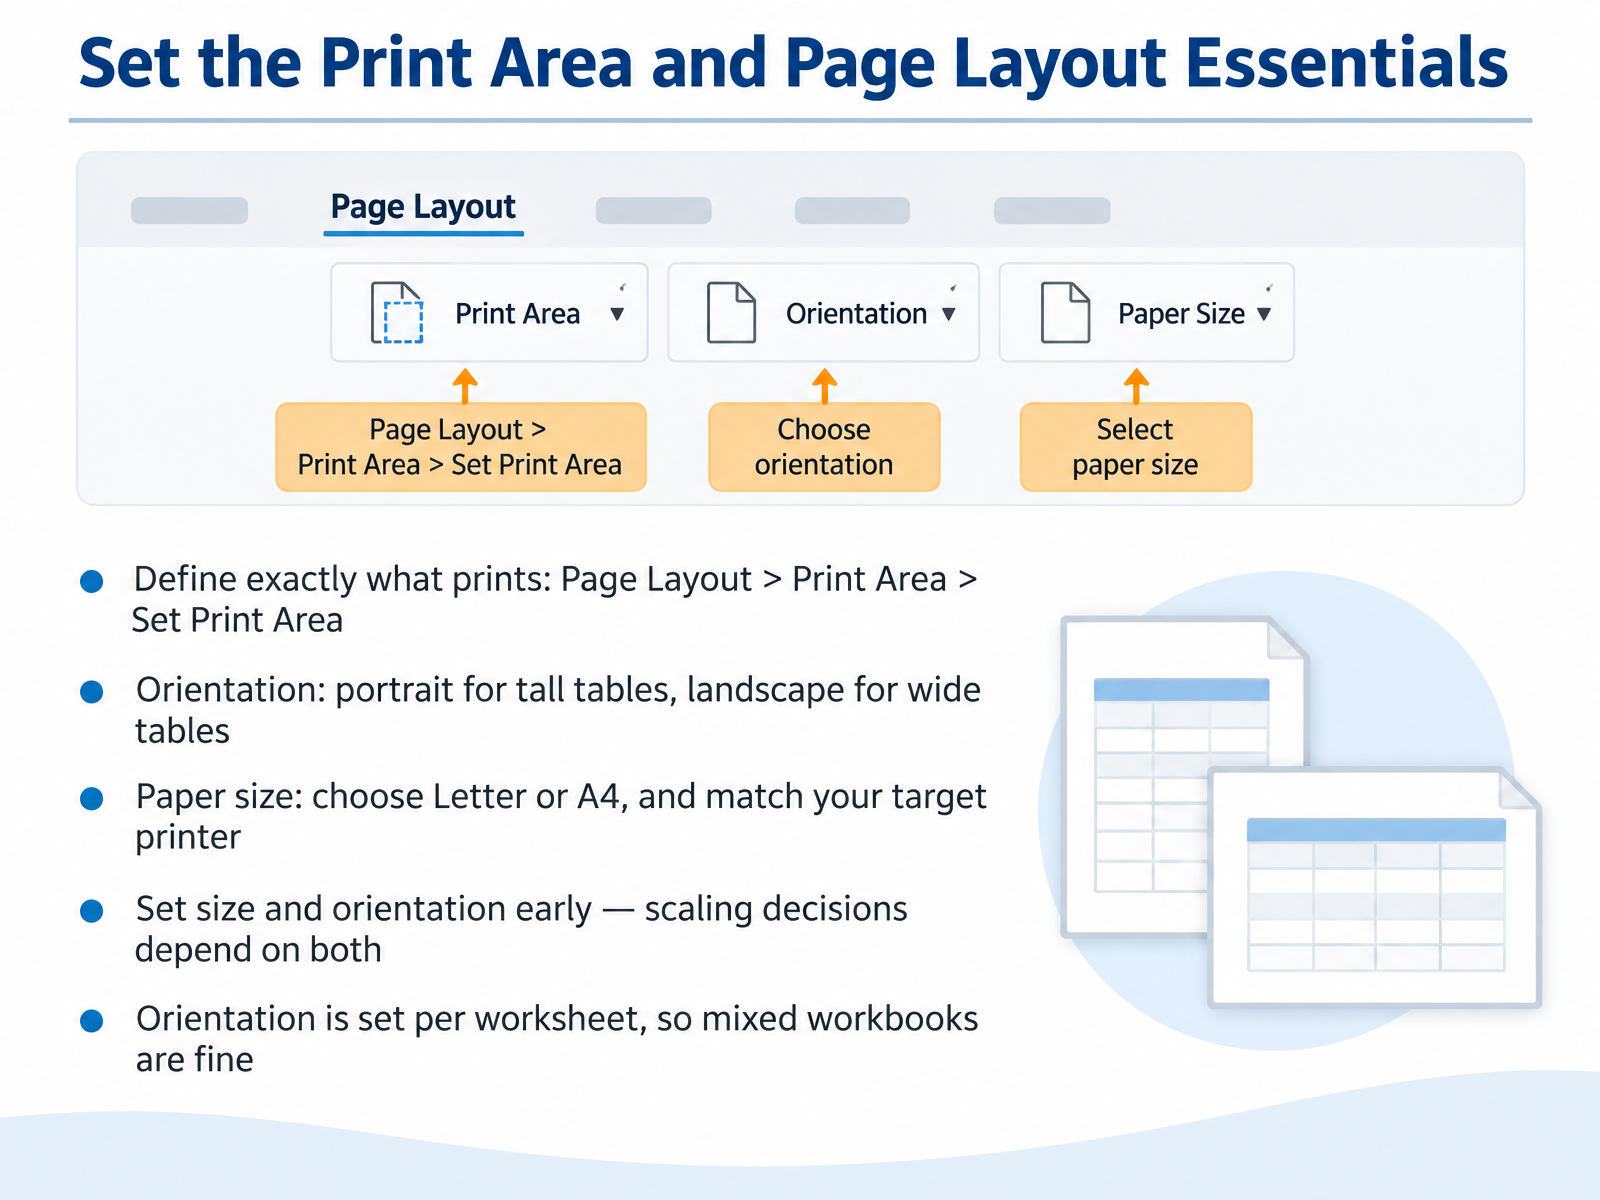
 - 04Set the Print Area and Page Layout EssentialsNow let's define exactly what prints, and lock in a few layout essentials. First, select the range you want on paper. Then go to Page Layout, open Print Area, and choose Set Print Area. Everything outside that range is excluded, so you control what the printer sees. Next, orientation. Use portrait for tall tables and landscape for wide tables. Landscape alone solves most cases where columns get cut off. Then, paper size. Choose Letter or A4, and match it to your target printer. A mismatch here is a common reason content scales strangely. Here's the important part. Set size and orientation early, because your scaling decisions depend on both. And don't worry about mixed workbooks. Orientation is set per worksheet, so you can print one sheet in portrait and another in landscape. Once the print area, orientation, and paper size are set, we're ready to scale. In the next section, we'll cover Fit to One Page with Scaling and Width and Height Controls.
 support.microsoft.comsupport.microsoft.comsupport.microsoft.com+22 min
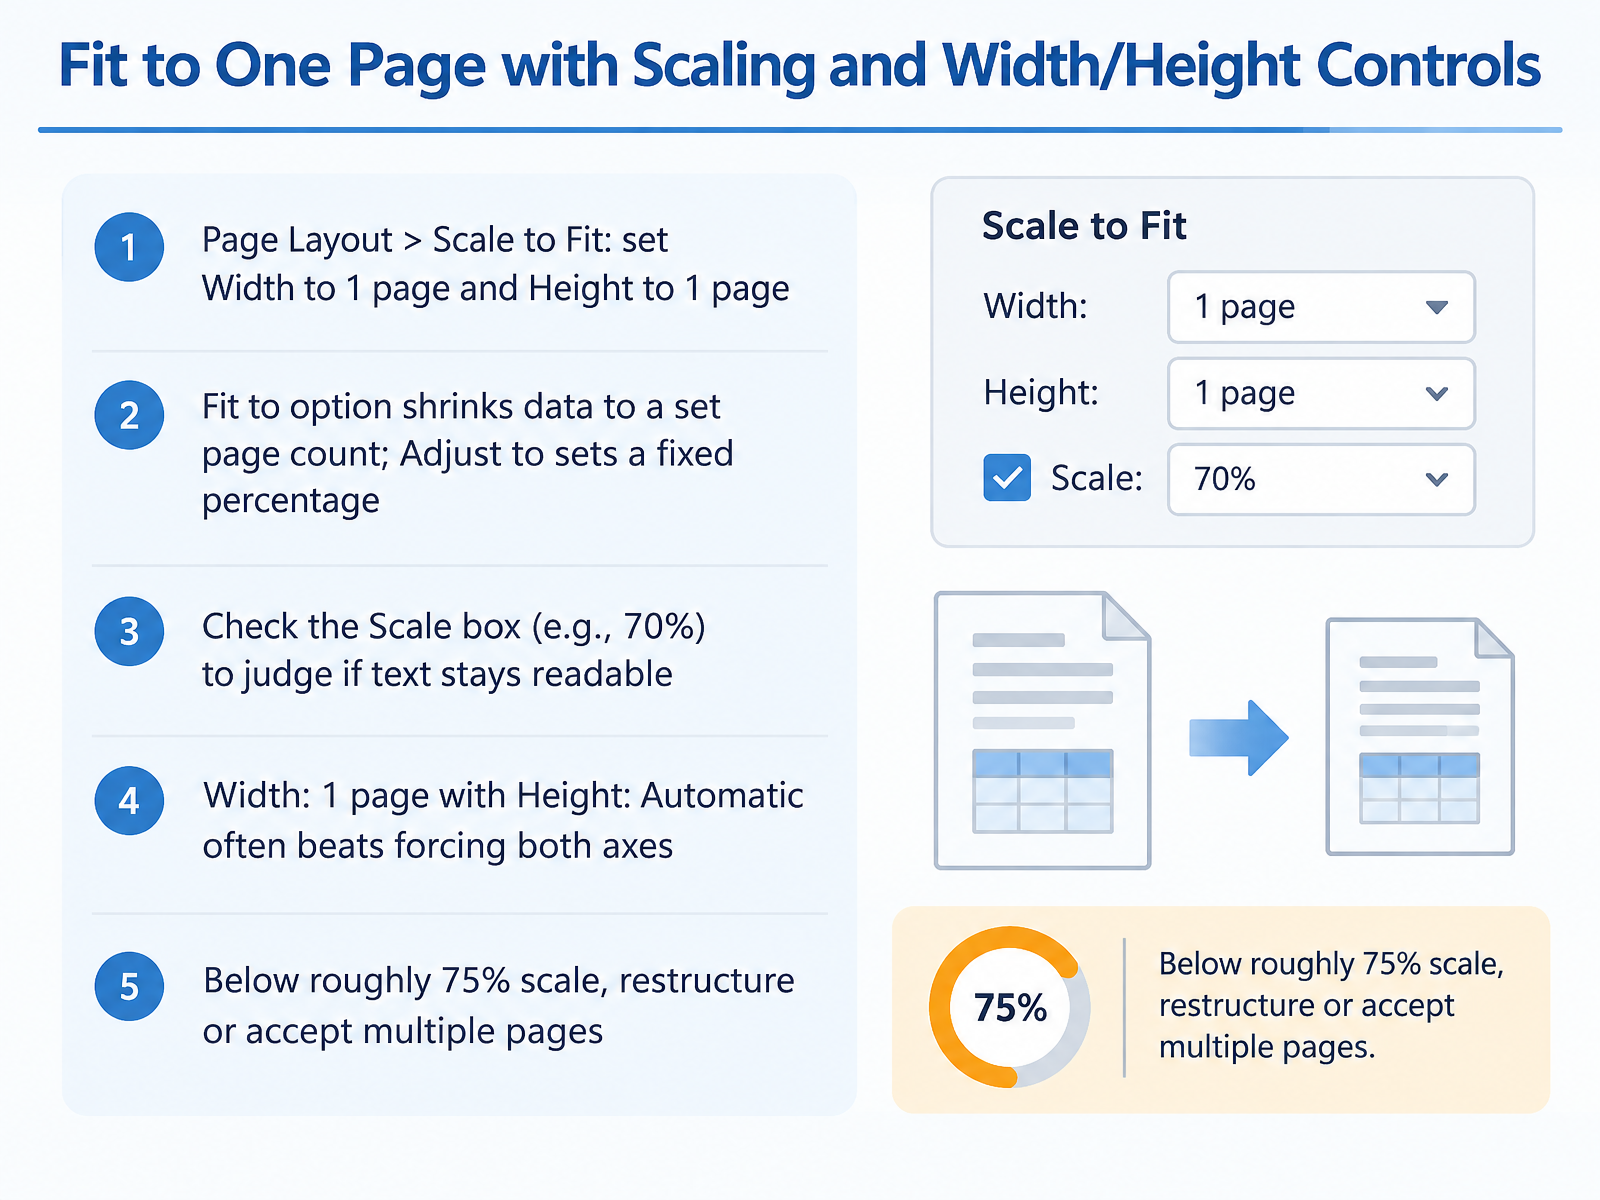
 - 05Fit to One Page with Scaling and Width/Height ControlsNow let's make that fit happen with scaling. Go to Page Layout, then the Scale to Fit group. Set Width to 1 page and Height to 1 page, and Excel shrinks everything onto a single sheet. Here is the key distinction. Fit to shrinks your data to a set page count. Adjust to, or the Scale box, sets a fixed percentage you control. After you force both axes, the Scale box freezes and shows Excel's calculated percentage, like seventy percent. That number tells you whether the text stays readable. In many reports, Width 1 page with Height Automatic works better. Columns stay on one page, rows flow naturally, and your text stays close to full size. As a practical floor, below roughly seventy five percent scale, stop forcing it. Restructure the sheet, or accept multiple pages. A readable two-page report beats an unreadable one-pager every time. Next, we will adjust margins, orientation, and centering for readability.
 support.microsoft.comsupport.microsoft.comsupport.microsoft.com+22 min
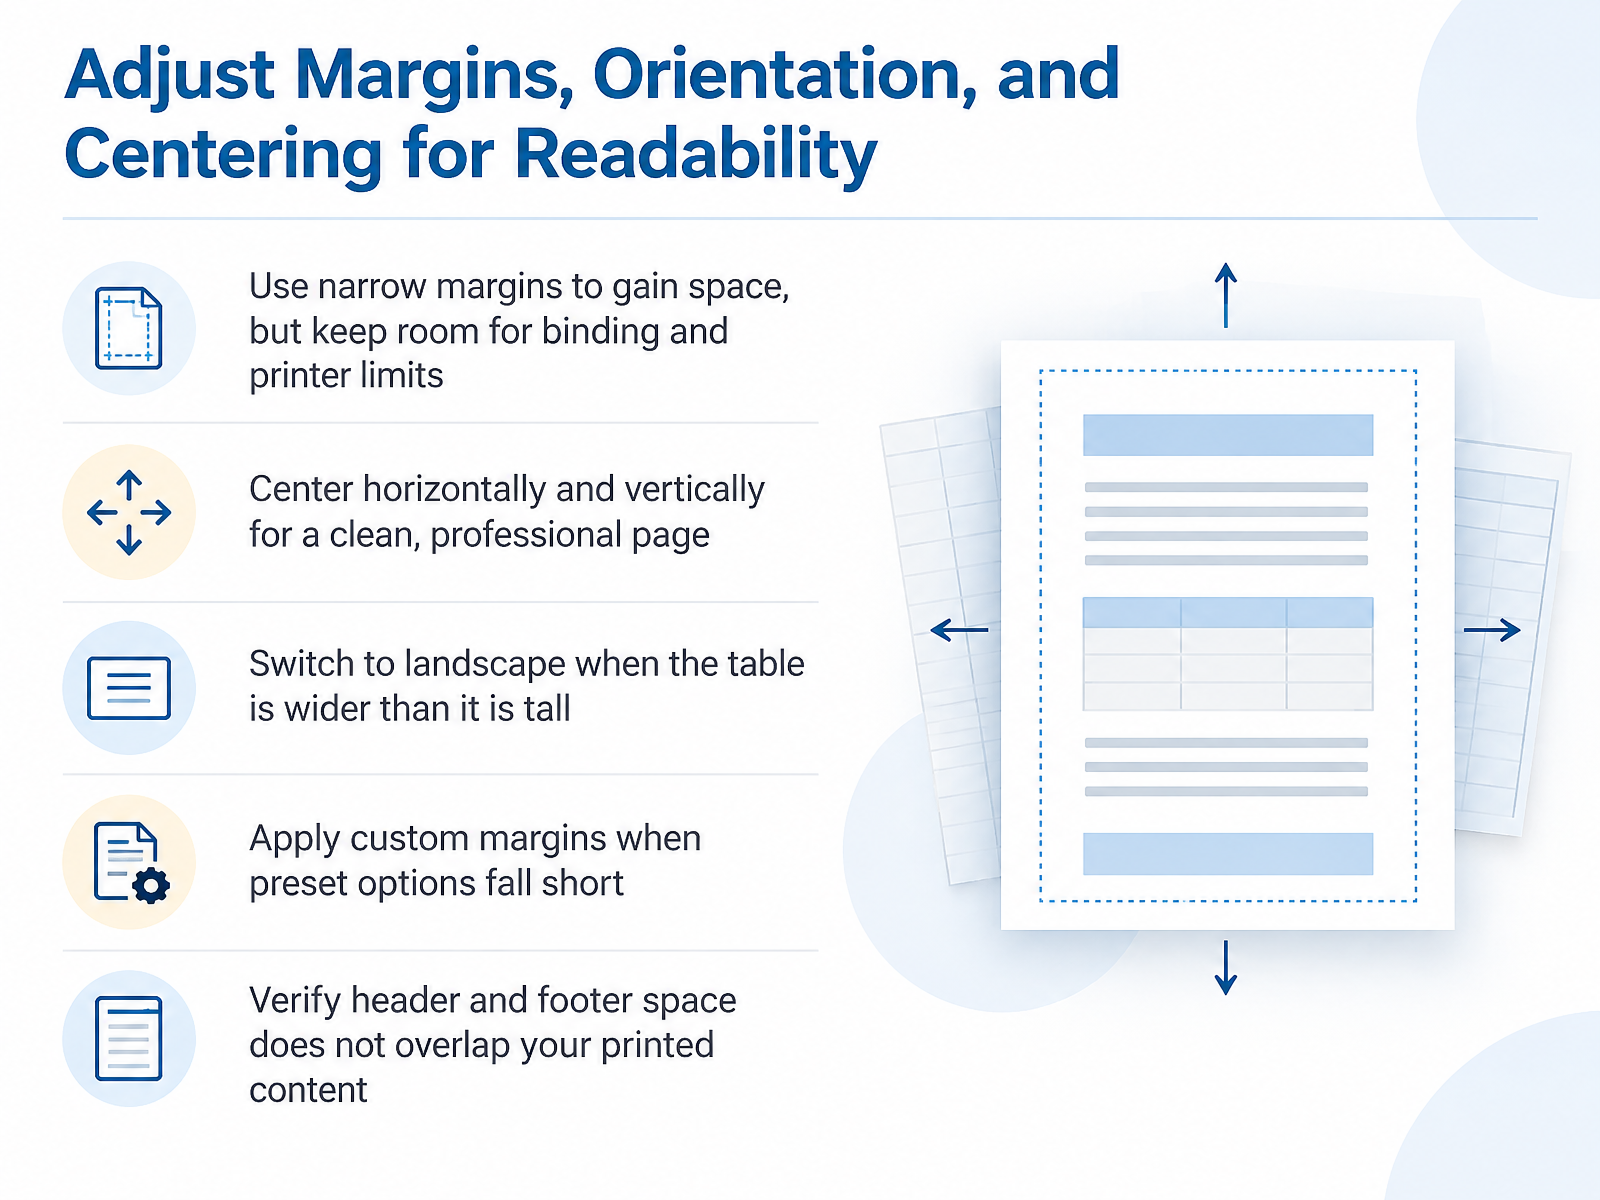
 - 06Adjust Margins, Orientation, and Centering for ReadabilityNow let's make that single page readable. Start with margins. Narrow margins give you more room for data, but leave enough space for binding and for your printer's physical limits, which are usually a quarter inch or so on most desktop printers. Next, center your table horizontally and vertically in the Page Setup dialog. That keeps the printout from hugging one corner and looking unfinished. Orientation comes next. If your table is wider than it is tall, switch to landscape. That one change often solves the spillover before you shrink anything. When the presets fall short, choose Custom Margins and enter your own values, in inches or centimeters, for top, bottom, left, and right. Then check your header and footer space. If that space is too tall, it overlaps your data. Keep the footer modest so the printed content stays clean. With margins, orientation, and centering set, your one-page layout will look intentional. Next, we'll control page breaks and print titles to keep that structure intact across the sheet.
 support.microsoft.comsupport.microsoft.comsupport.microsoft.com+22 min
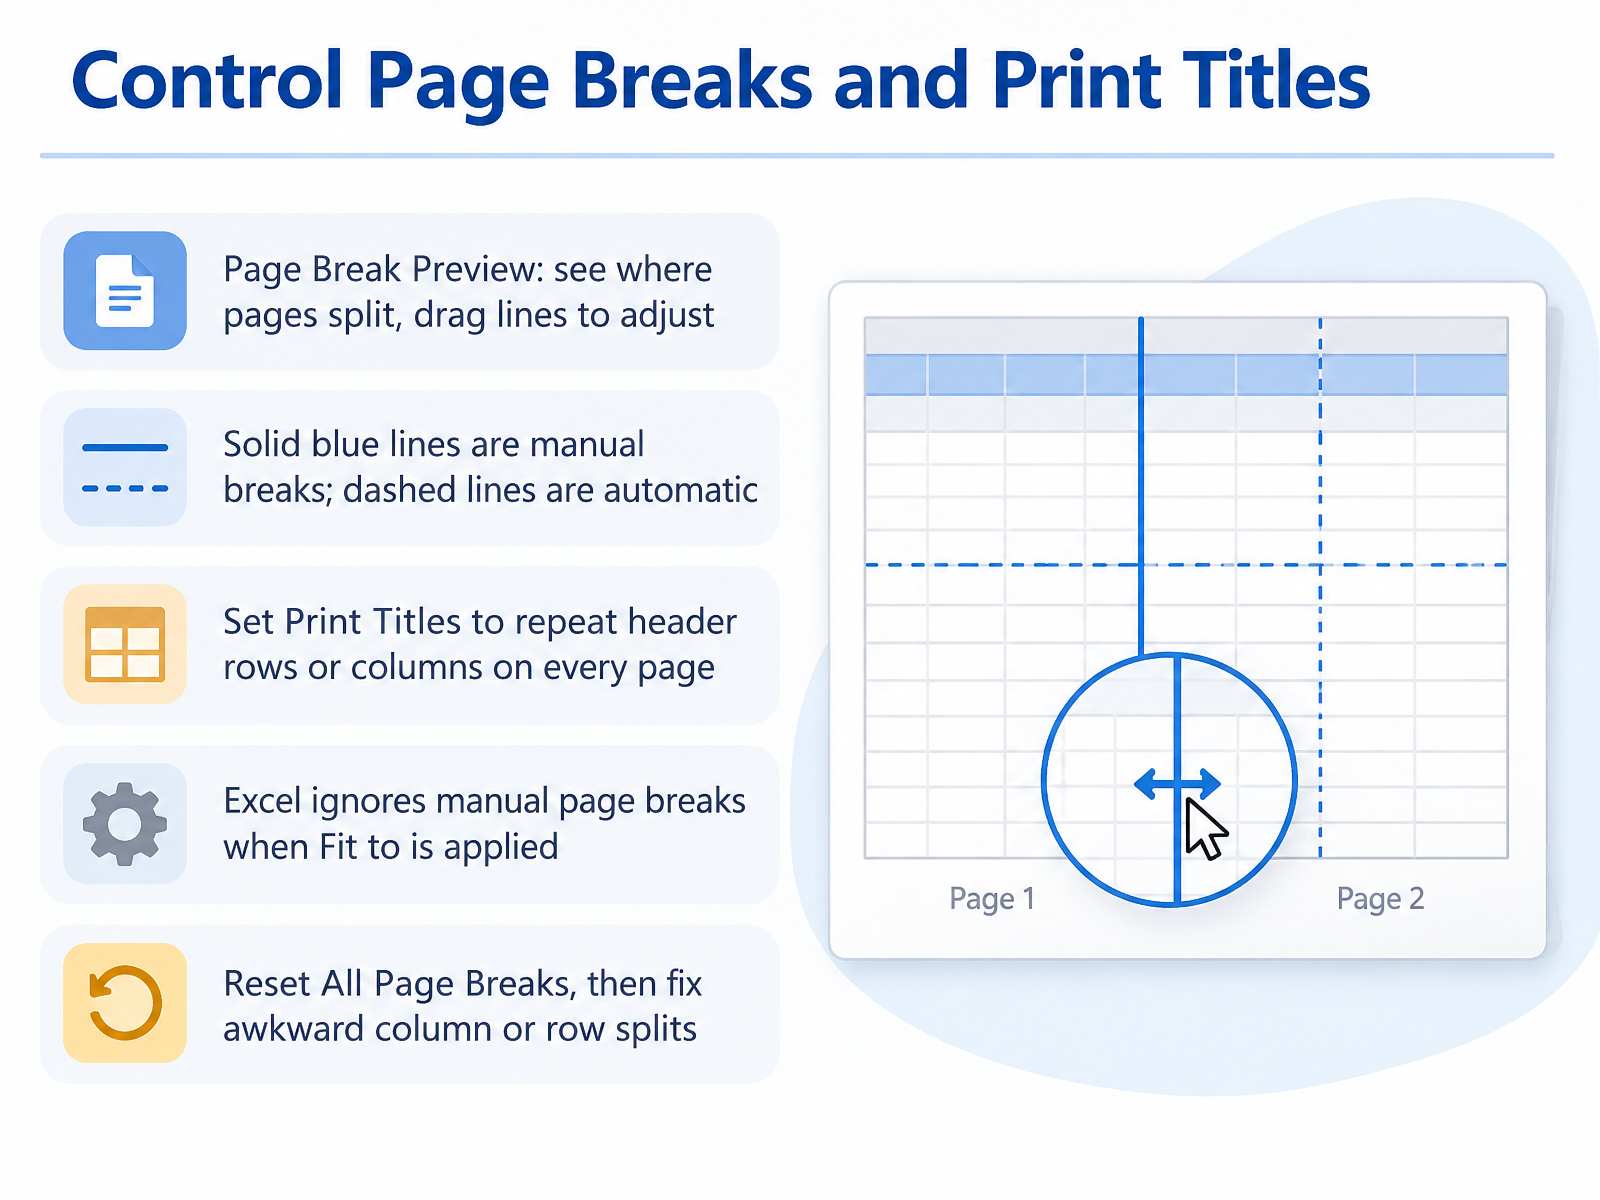
 - 07Control Page Breaks and Print TitlesNow let's control where the page actually breaks. Go to View, Page Break Preview. You'll see exactly where pages split, and you can drag those lines to adjust them. Here's how to read the colors. Solid blue lines are manual breaks that you placed yourself. Dashed lines are automatic breaks Excel created on its own. If you drag a dashed line, it becomes a manual break. Next, set Print Titles. Go to Page Layout, then Print Titles. Under Rows to repeat at top, select your header row. Now that header repeats on every page. If your table is wide, you can repeat a column on the left the same way. One important catch: Excel ignores manual page breaks when Fit to is applied. So if you've set Fit to one page and your breaks seem to do nothing, that's why. When breaks land in awkward spots, reset them. Go to Page Layout, Breaks, Reset All Page Breaks. Then fix any column or row that splits a record in half. Get the breaks right, and you're ready to finish the finishing touches. Next, we'll Add Headers, Footers, and Finalize Print Settings.
 support.microsoft.comsupport.microsoft.comsupport.microsoft.com+21 min
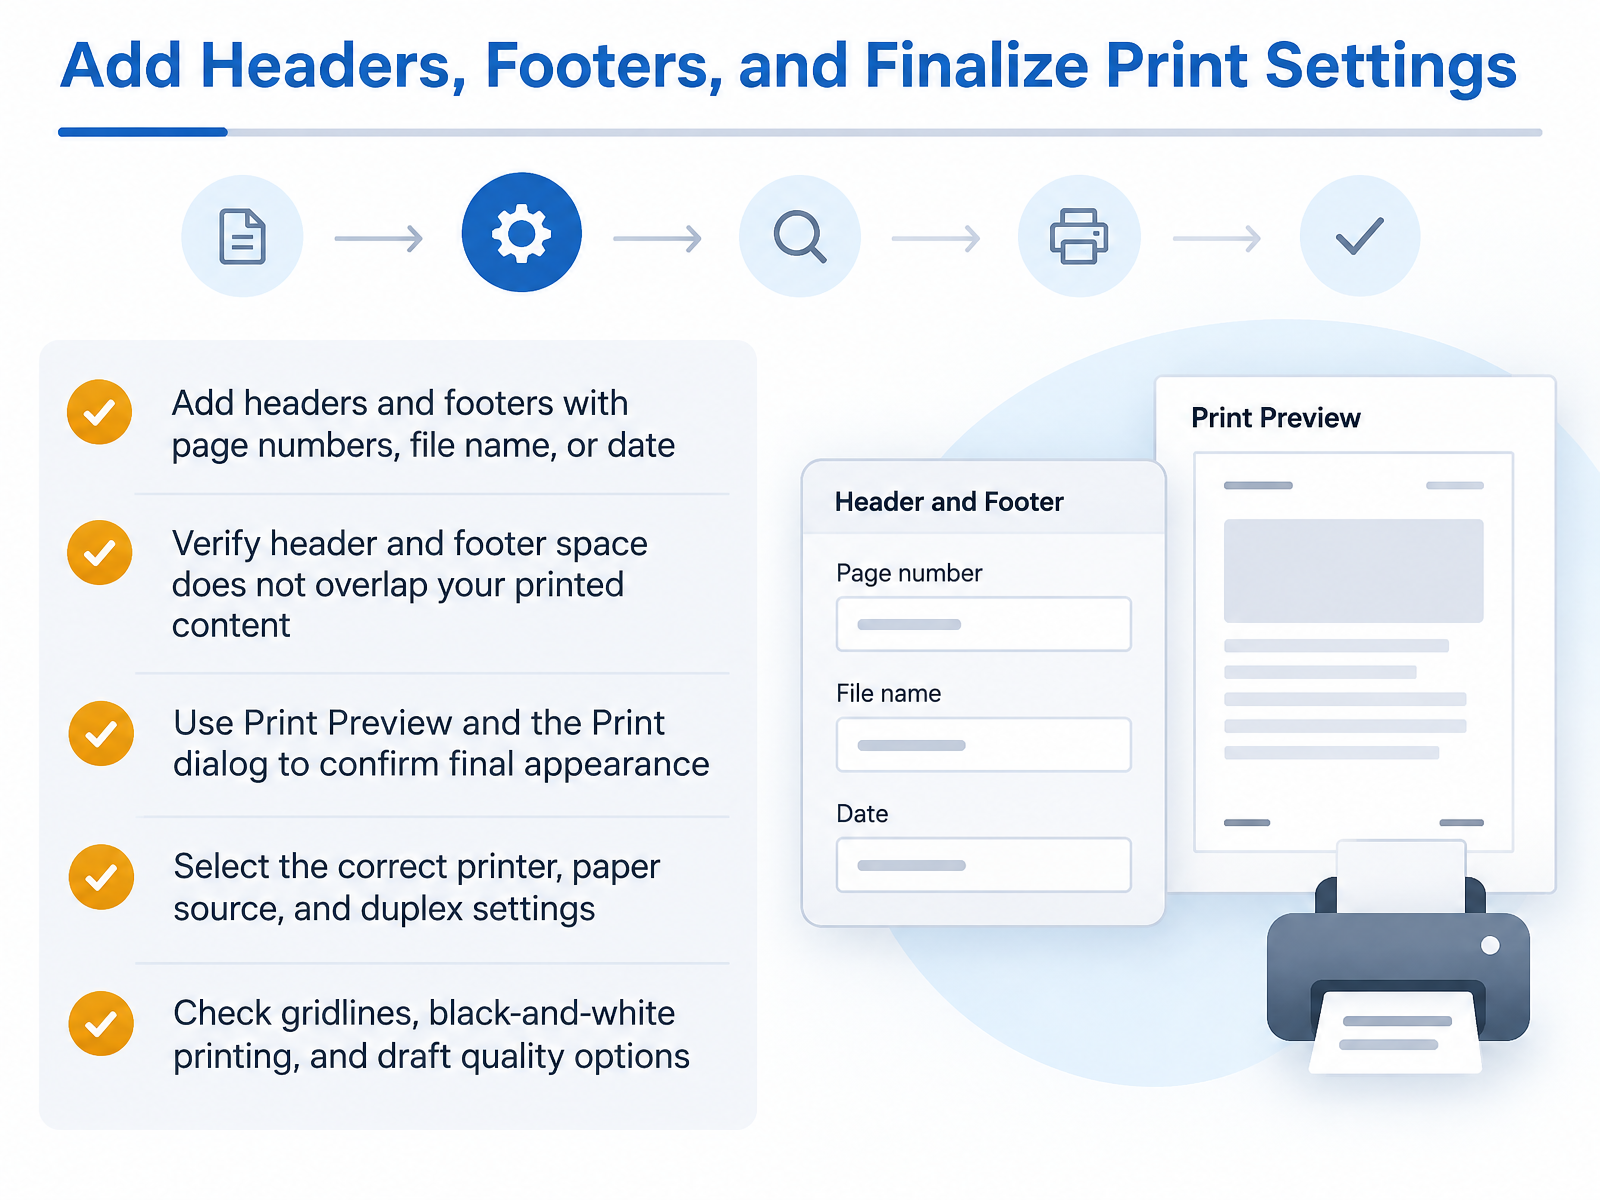
 - 08Add Headers, Footers, and Finalize Print SettingsNow let's finish the printout by adding headers and footers, and locking down the final print settings. Headers and footers are where you add page numbers, the file name, or the date. Go to Insert, then Header and Footer, or open Page Setup and use the Header and Footer tab. Keep them short. Just enough to identify the report. Then check the header and footer space does not overlap your printed content. If your rows get too close to the top or bottom, increase the margins slightly so nothing collides. Next, press Control plus P to open Print Preview. Treat that preview as the truth. If something looks clipped there, it will be clipped on paper. In the Print dialog, confirm three things. First, the printer you actually want. Second, the paper source and duplex setting, so you get single or double sided correctly. Third, check your gridlines, black and white printing, and draft quality options. If this report uses color to carry meaning, preview it in black and white before you commit. When everything looks right, you are ready to lock it in. Next, let's look at how to save, reuse, and share the one-page setup.
 support.microsoft.comsupport.microsoft.comsupport.microsoft.com+22 min
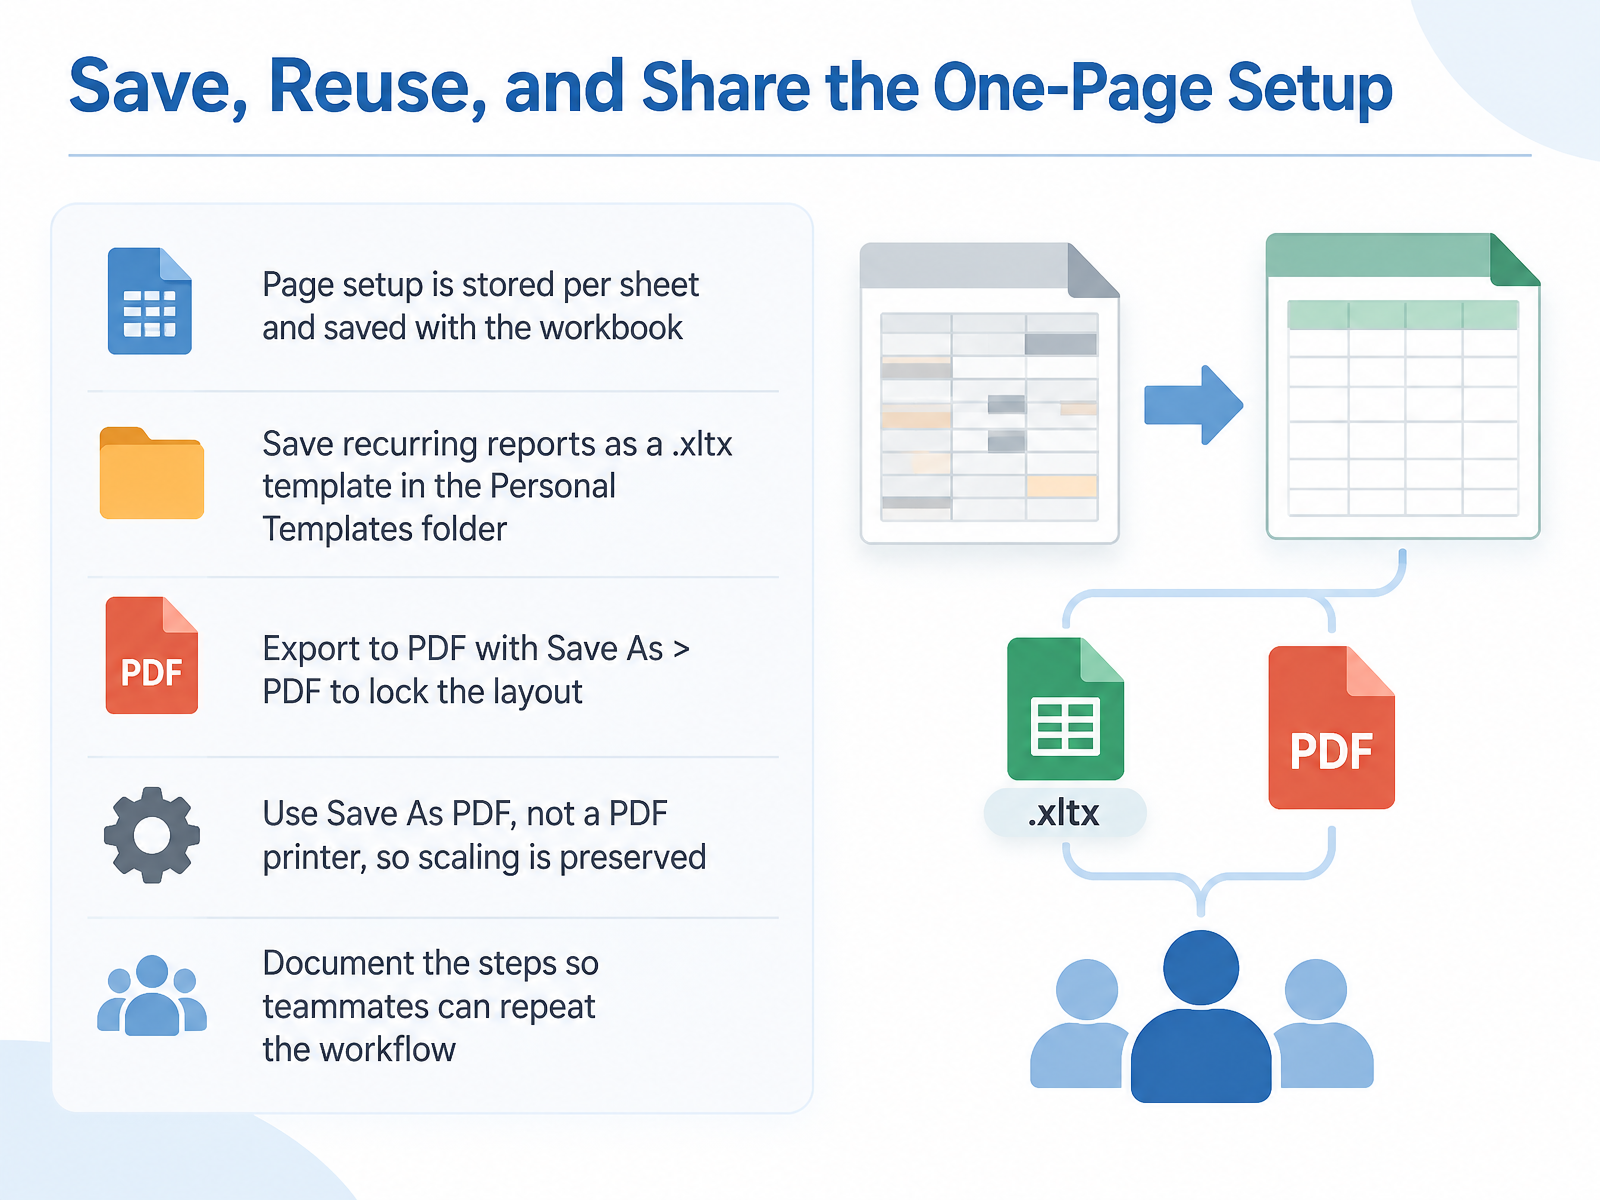
 - 09Save, Reuse, and Share the One-Page SetupNow let's make that one-page setup reusable. Here's the key point: page setup is stored per sheet and saved with the workbook. So if you've set the print area, the scaling, and the orientation, those settings travel with the file.
For reports you run again and again, save the workbook as a template. Go to File, then Save As, and choose Excel Template, with the .xltx extension. Excel saves it to your Personal Templates folder, and from then on it appears under File, New, Personal. Opening it gives you a fresh workbook, leaving your master layout untouched.
Next, lock the layout by exporting to PDF. Use File, then Save As, and pick PDF. Stick with Save As PDF rather than a PDF printer, because a printer driver can override your paper size and scaling, and your carefully fitted page comes out clipped.
Finally, write the steps down. A short note in your team's shared space lets anyone repeat the workflow and get the same clean single-page result.
Let's move on to troubleshooting common one-page print failures.
 support.microsoft.comsupport.microsoft.comsupport.microsoft.com+22 min
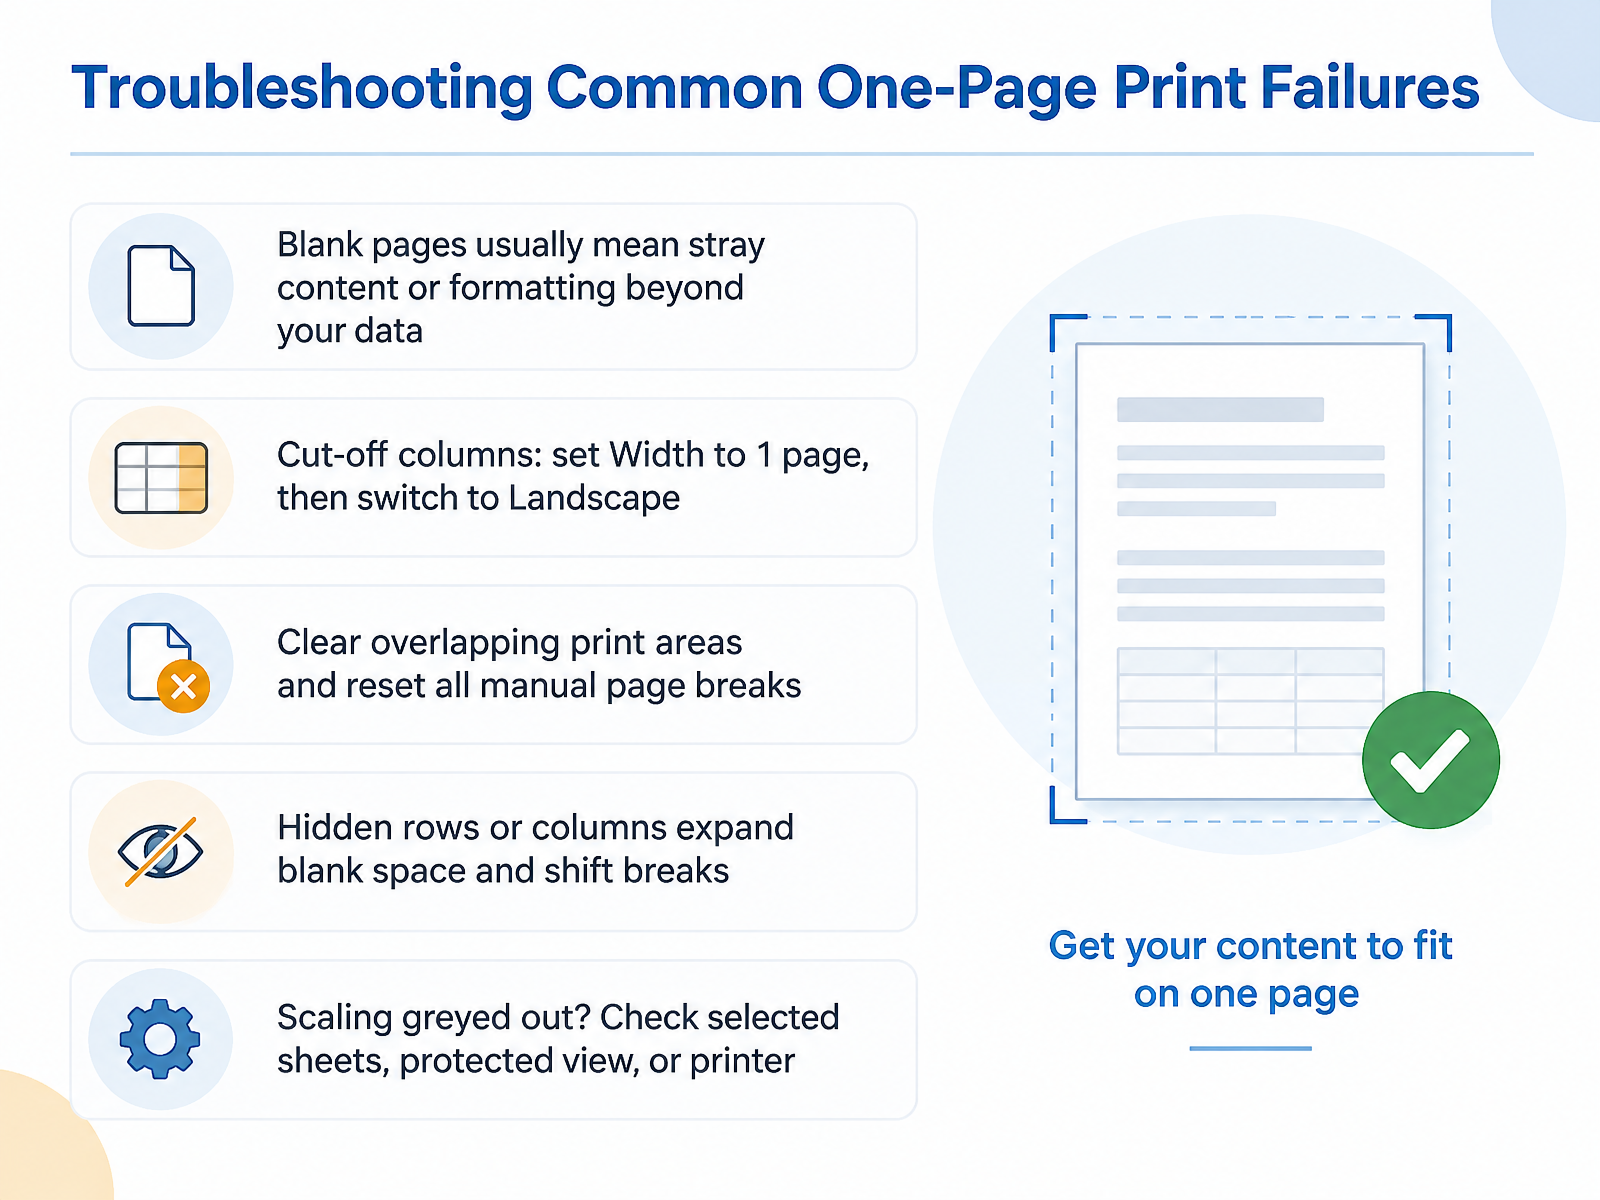
 - 10Troubleshooting Common One-Page Print FailuresNow let's troubleshoot the most common one-page print failures, one by one. First, blank pages. These usually mean Excel found stray content or formatting beyond your actual data. Press Control plus End to see where the last used cell really is. If it lands far past your table, delete those empty rows and columns, then set a clear print area. Next, cut-off columns. Set Width to one page, then switch to Landscape orientation. If it still spills, clear any overlapping print areas and reset all manual page breaks. Also check for hidden rows or columns. They expand blank space and shift your page breaks, so unhide them before you print. And if the scaling options look greyed out, check three things: whether multiple sheets are selected, whether the workbook opened in protected view, or whether a printer is actually installed. That last one catches people often. Fix these five issues and most one-page print failures simply disappear. Next, we'll apply this to specific roles in Audience-Specific Scenarios: Administrators, Educators, Reporting Teams.
 learn.microsoft.comexcelforum.comxlnavigator.com+22 min
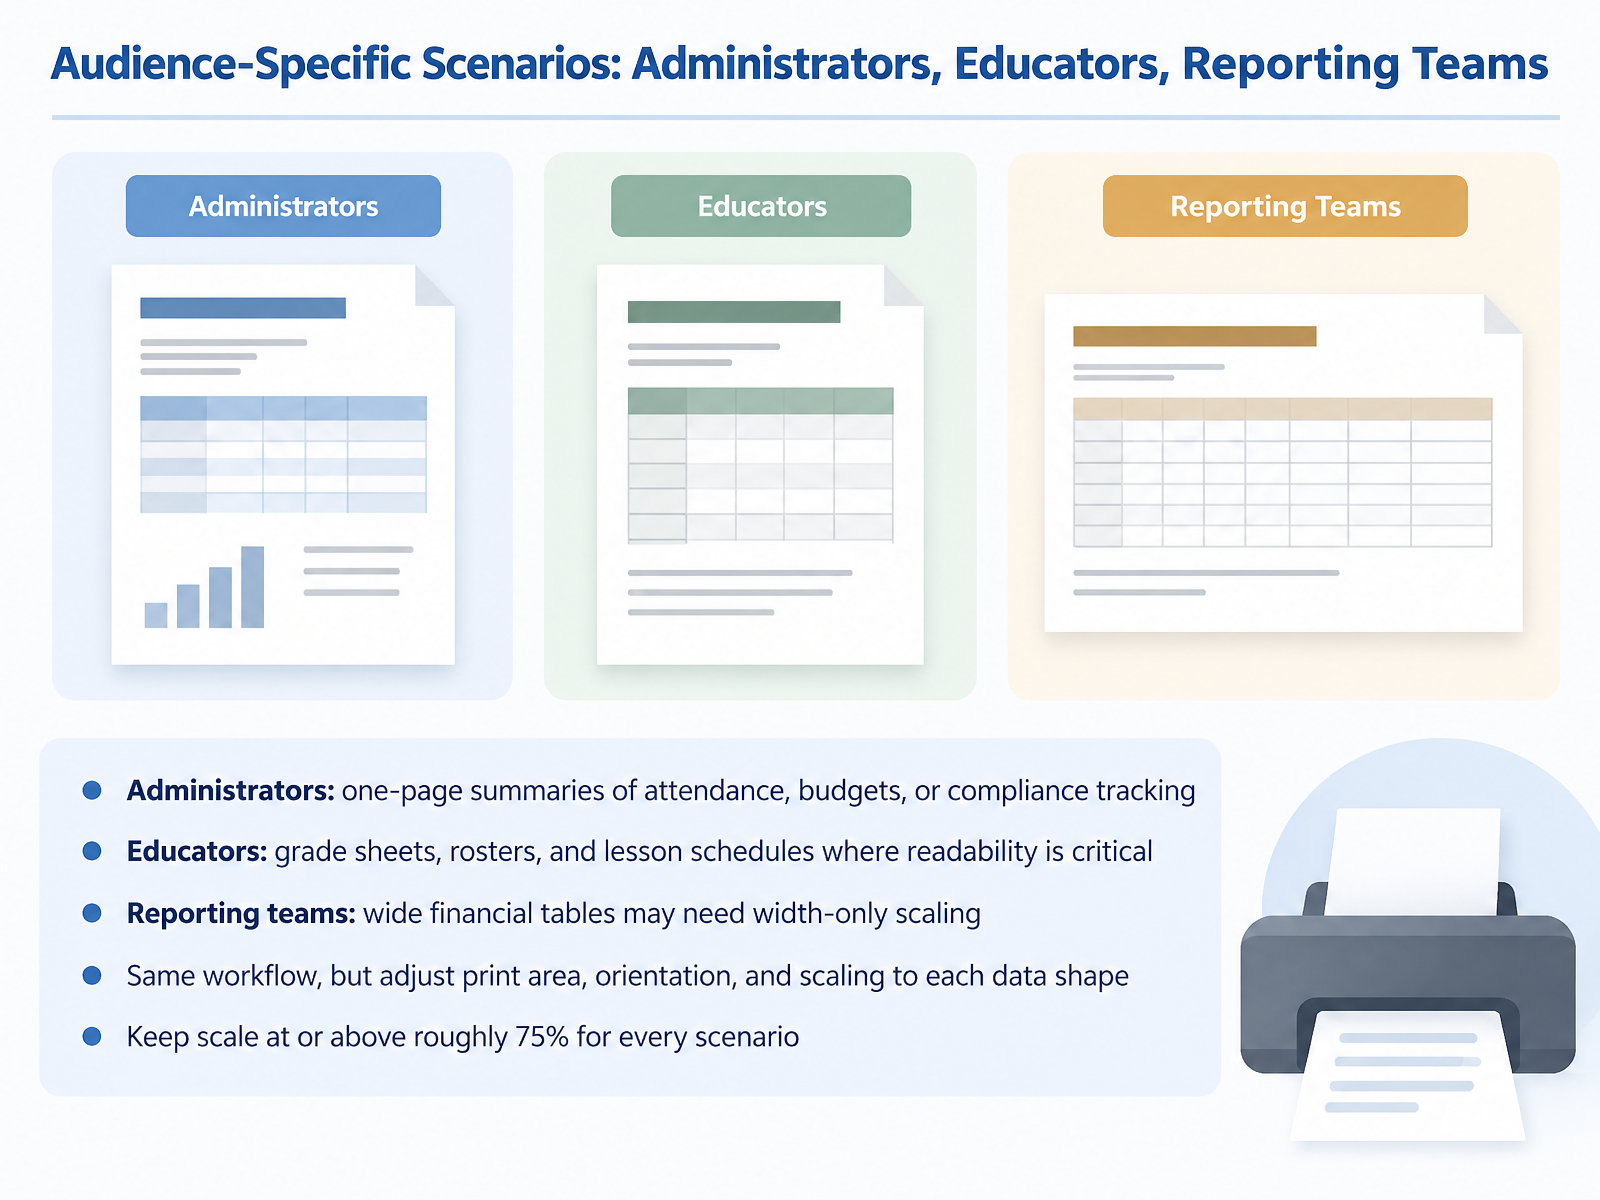
 - 11Audience-Specific Scenarios: Administrators, Educators, Reporting TeamsNow let's see how this workflow adapts to different roles. The steps stay the same. What changes is how you set the print area, orientation, and scaling.
Start with administrators. Attendance, budgets, or compliance tracking usually become one-page summaries. These are often small tables, so fit to one page wide by one tall usually works well. Just check the scale afterward.
Next, educators. Grade sheets, rosters, and lesson schedules depend on readability. If the text gets too small, students and parents can't use it. Keep the scale at or above roughly seventy-five percent. If it drops below that, let it print on two pages instead.
Finally, reporting teams. Wide financial tables are the classic case for width-only scaling. Set width to one page and leave height on automatic. Columns stay together, and rows flow naturally onto more pages. This keeps the text readable while preventing cutoff columns.
Same workflow every time. Adjust print area, orientation, and scaling to match the data shape. And remember that seventy-five percent floor for every scenario. Now let's walk through a full example together in Hands-On Walkthrough: From Messy Sheet to One-Page Print.
 support.microsoft.comsupport.microsoft.comsupport.microsoft.com+22 min
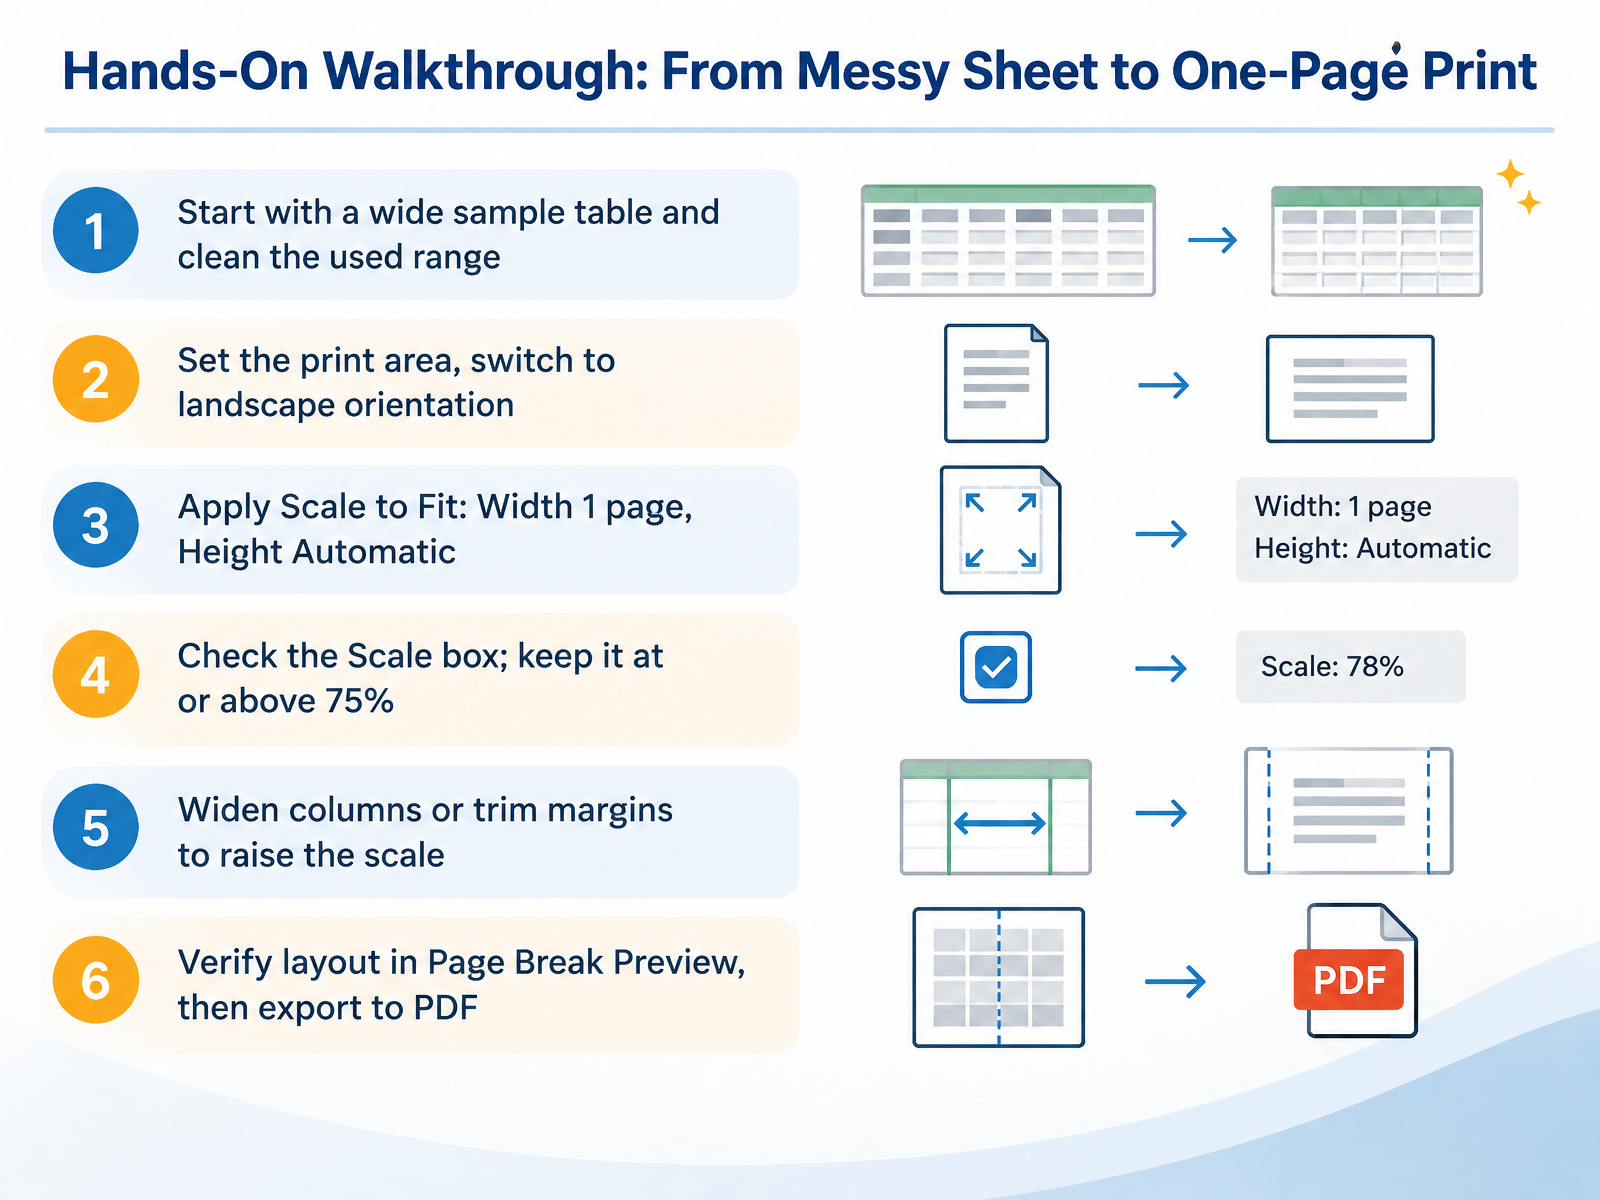
 - 12Hands-On Walkthrough: From Messy Sheet to One-Page PrintLet's put this into practice with a hands-on walkthrough, from a messy sheet to a clean one-page print. Start with a wide sample table, and clean the used range first. Remove stray rows, blank columns, and leftover formatting below or to the right of your data. It keeps Excel from printing empty space you never intended. Next, select your table and set the print area through Page Layout, then Print Area, then Set Print Area. Now switch orientation to Landscape. For a wide table, that single change usually recovers more columns than shrinking ever will. Then go to Scale to Fit and set Width to one page, and leave Height on Automatic. This keeps the columns on one page while letting rows flow naturally across as many pages as needed. Check the Scale box. Treat seventy-five percent as your readable floor. If it drops below that, widen your columns, trim the margins, or hide columns you don't need, then check the scale again. When the numbers look right, open Page Break Preview and confirm the breaks fall where you expect. Then export using Save As PDF, not the print dialog, so your settings stay intact. Next, we'll run through a short verification checklist before you print or export.
 support.microsoft.comsupport.microsoft.comsupport.microsoft.com+22 min
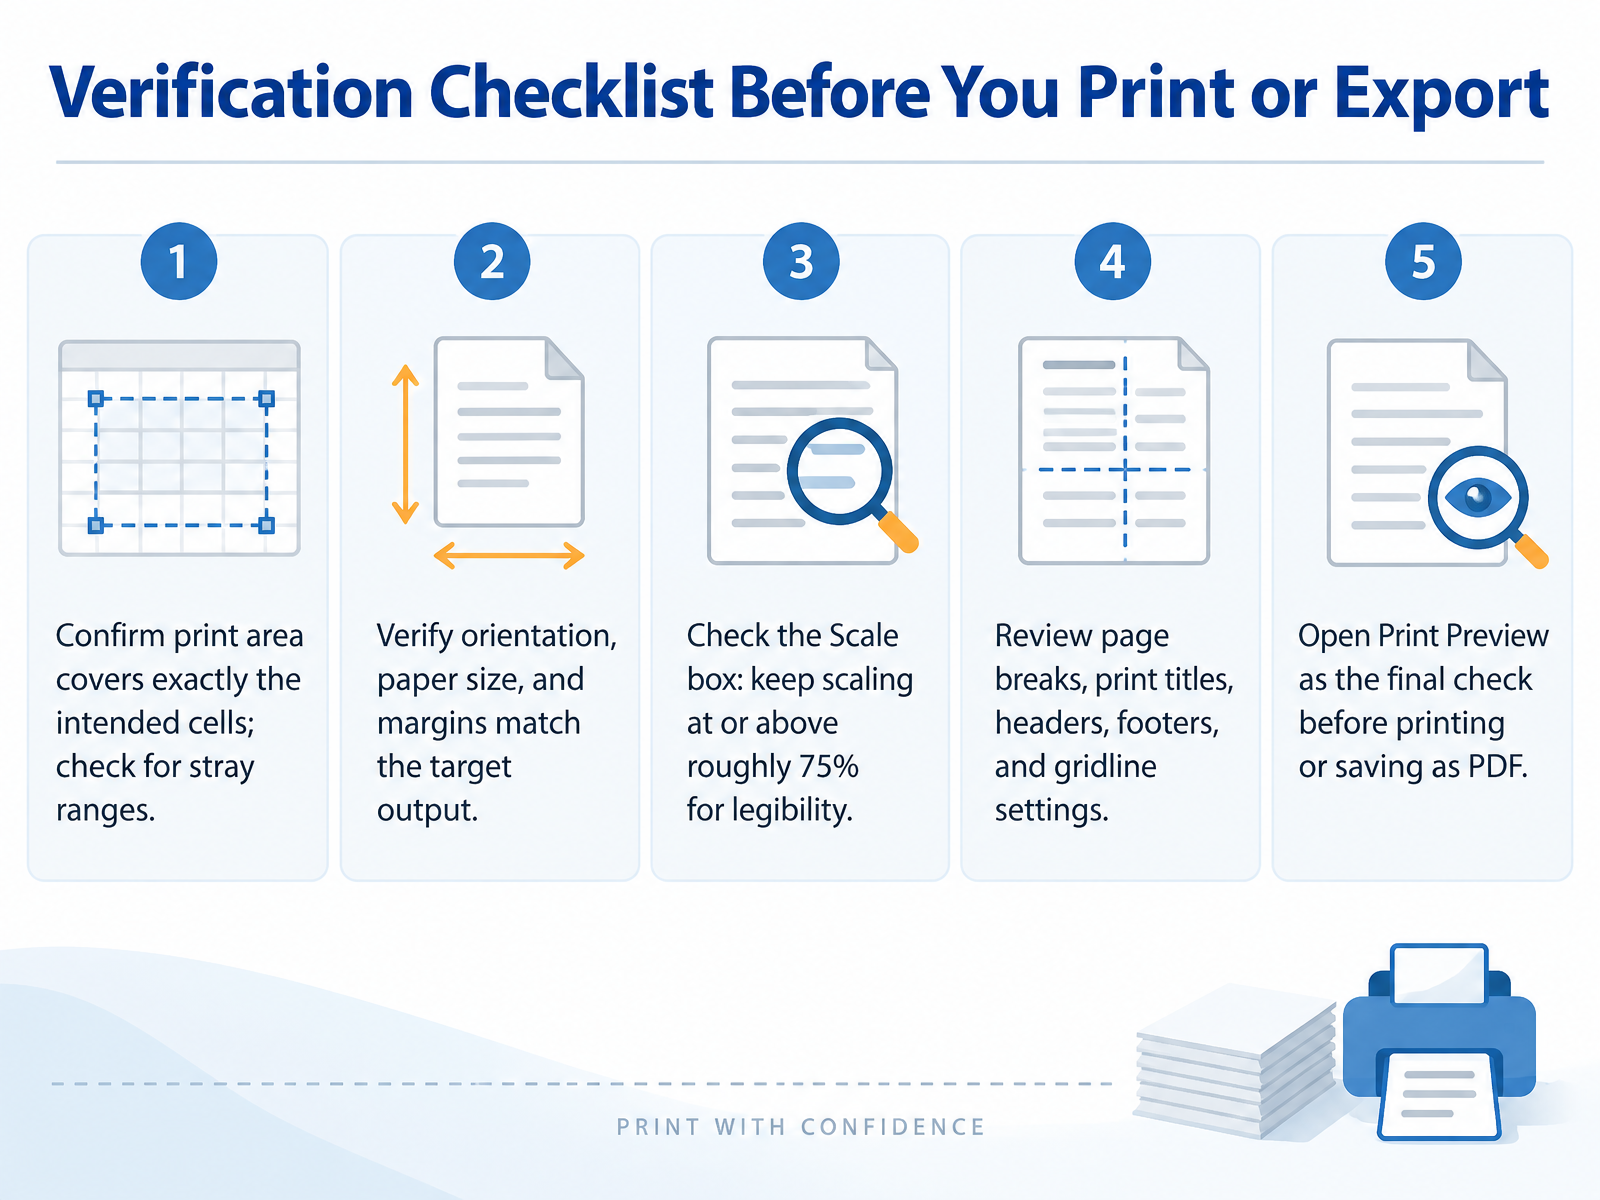
 - 13Verification Checklist Before You Print or ExportBefore you print or export, take a moment to verify five things. This last check prevents most surprises. First, confirm the print area covers exactly the cells you intend. A stray range often hides on the sheet and adds an unwanted page. Second, verify orientation, paper size, and margins match your target output. If the table is wider than it is tall, landscape usually wins. Third, check the Scale box in Scale to Fit. Keep scaling at or above roughly seventy five percent for legibility. Below that, body text becomes hard to read. Fourth, review page breaks, print titles, headers, footers, and gridline settings. Solid blue lines are manual breaks; dashed lines are automatic. Fifth, open Print Preview as your final check. Treat that preview as the PDF you are about to ship. If the rightmost column is cut off there, it will be cut off in the file. Once everything looks right, you are ready to print or save as PDF. Let's move on to Key Takeaways and Next Steps.
 support.microsoft.comsupport.microsoft.comsupport.microsoft.com+22 min
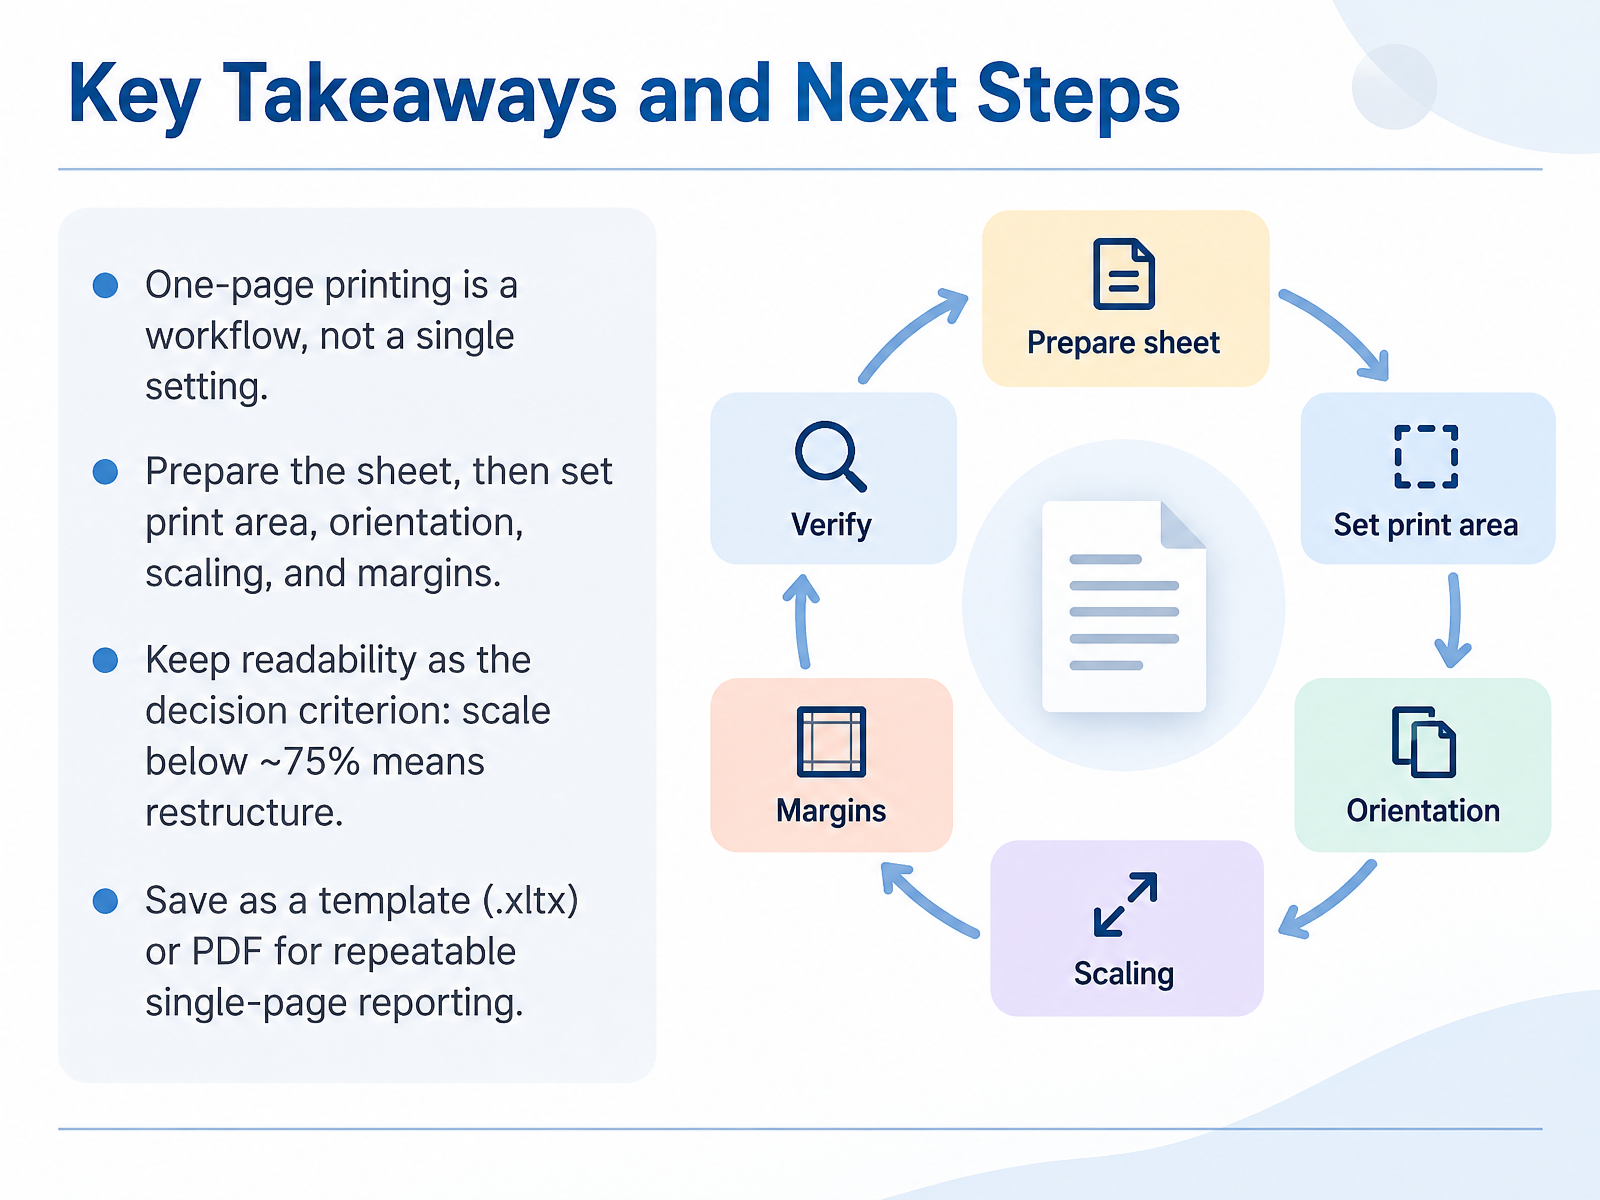
 - 14Key Takeaways and Next StepsLet's bring it all together. The first takeaway is that one-page printing is a workflow, not a single setting. You prepare the sheet, then set your print area, orientation, scaling, and margins, in that order. Second, keep readability as your decision criterion. If the scale drops below about seventy-five percent, stop shrinking and restructure instead. Trim columns, widen narrow ones, or move to landscape. Third, make your result repeatable. Save the workbook as a template in the x l t x format, or export it to PDF, so the next report comes out clean on the first try. So as you head back to your own spreadsheets, start with one report you print often. Walk through the workflow once, confirm the scale stays readable, then save it as a template. Thank you for joining me, and enjoy those clean, single-page printouts.
 support.microsoft.comsupport.microsoft.comsupport.microsoft.com+21 min
Take the deck with you
Download this course as a file — free, no sign-up needed.
- PDF handoutEvery slide page, ready to print or share.15 pages · 3.0 MBDownload
- Narrated PowerPointThe deck that presents itself — every slide carries the digital human's narration video.15 pages · 13.2 MBDownload
- PowerPoint slidesThe full deck as a .pptx — open it in PowerPoint, Keynote, or Google Slides.15 pages · 2.8 MBDownload
Free to use in your own training — please keep the PersonWise credit page at the end.
Have your own deck? Turn it into a course
Sources consulted
Web sources consulted while building this course.
- Fit to one page in Excel - Microsoft Support — support.microsoft.com
- Scale a worksheet - Microsoft Support — support.microsoft.com
- Print a sheet on just one page in Excel for Mac - Microsoft Support — support.microsoft.com
- Page Setup - Microsoft Support — support.microsoft.com
- Print a sheet or workbook | Microsoft Support — support.microsoft.com
- Fit to one page in Excel - Microsoft Support — support.microsoft.com
- Scale a worksheet - Microsoft Support — support.office.com
- Excel-to-PDF Layout Issues, Solved — Cut-Off Columns, Tiny Text, and the 'Fit to One Page' Trap | PDFnite — pdfnite.com
- Excel Print on One Page: Fit a Wide Table Using Page Layout | inline AI — inline-ai.com
- Blank pages are unexpectedly printed in Excel — learn.microsoft.com
- Columns will not scale to one page for print — excelforum.com
- Excel Not Printing Correctly? Fix Page Breaks, Margins, and Scaling — xlnavigator.com
- Excel Print Settings Guide: Fit to One Page, Margins, and PDF — exceljump.com
- How to fix Excel spreadsheet that prints one page and stops - Microsoft Q&A — learn.microsoft.com
- Save a workbook as a template — support.microsoft.com
- Save a workbook in another file format | Microsoft Support — support.microsoft.com
- Save or convert to PDF or XPS in Office Desktop apps | Microsoft Support — support.microsoft.com
- How to Save an Excel File as a Template (.xltx) to Protect Your Master Layout – WiseChecker — wisechecker.com
- Excel Templates: How to Find, Use, and Create Your Own — practicetestgeeks.com