Begin
14 pages · ~28 min
Astronomy Starter Workflow
A practical guide for beginners covering the essential workflow to start observing the night sky, from choosing equipment to planning and conducting first observations.
A digital instructor presents all 14 pages. Hold “Ask” at any point and ask out loud — the answer comes from this course. No sign-up needed.
What you’ll learn
- 01How to Start Astronomy: A Practical WorkflowWelcome. If you have ever looked up at the night sky and wondered where to begin, this course is for you. Starting astronomy can feel overwhelming, but it doesn't have to be. In this course, I will walk you through a practical, repeatable path that takes you from your very first night outside to a comfortable, regular observing routine. You don't need expensive gear or any prior experience. We will focus on the essentials: choosing an observing method that works for you, planning a simple session, and locating your first targets with confidence. I'll also show you how to keep simple records so you can track your own progress over time. As we move through the course, you'll find practical checkpoints to help you stay on track, and at the end, you'll have a ready-to-use starter checklist to guide your first clear night. Think of this as a friendly trail map, not a test. Take your time, stay curious, and let's begin by looking at what astronomy actually requires from beginners.cosgrovescosmos.comskyatnightmagazine.comskyandtelescope.org+22 min
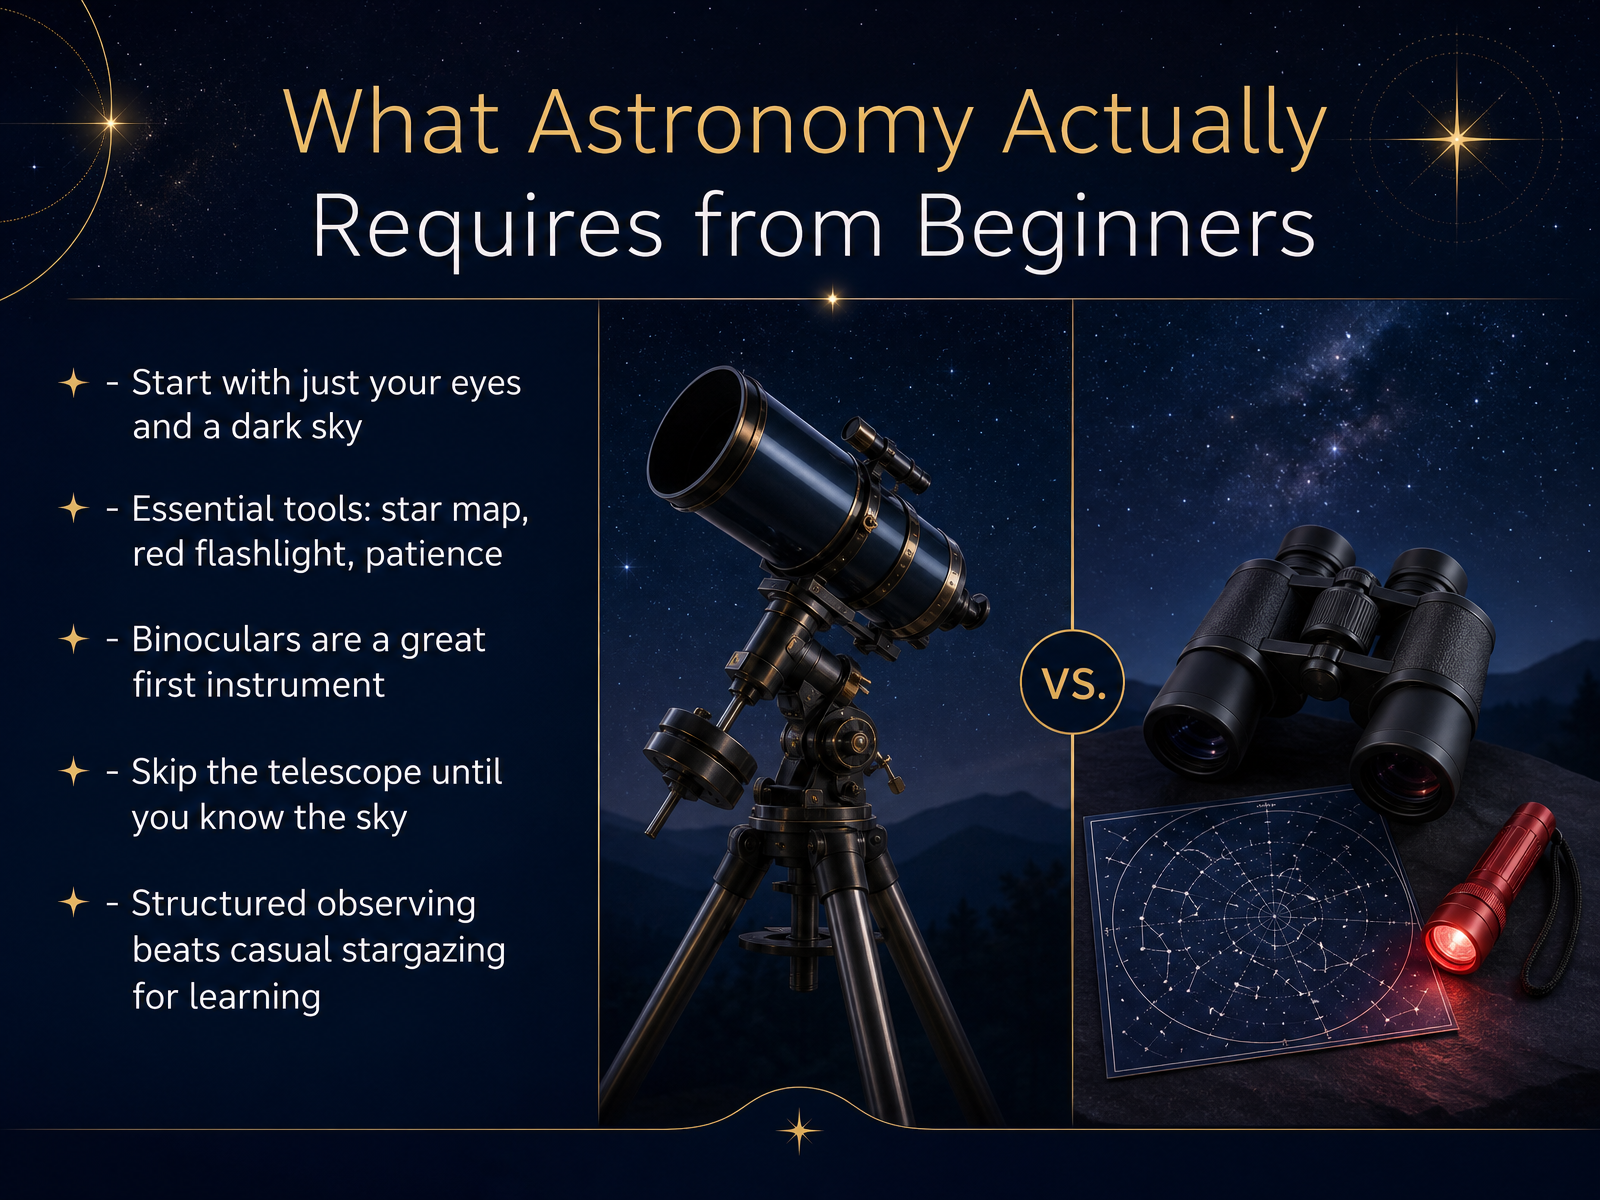
- 02What Astronomy Actually Requires from BeginnersLet's take a realistic look at what you actually need to begin. The good news is that you almost certainly have everything required already. Start with just your eyes and a reasonably dark sky. That is your foundation. The real essentials are a simple star map to help you find your way, a red flashlight so you can read that map without spoiling your night vision, and a healthy amount of patience. If you want an instrument at all, a pair of binoculars is a wonderful first choice. They are simple, forgiving, and show you a wide view that makes learning the sky much easier. I would gently suggest you skip the telescope for now. A telescope bought too early often leads to frustration. Trust that you can move to one later, once the sky feels familiar. Finally, aim for a structured approach. A short planned session with one or two easy targets will teach you far more than a long casual look at everything at once. So with that practical picture in mind, let's begin by understanding the sky you will observe.
 cosgrovescosmos.comskyatnightmagazine.comskyandtelescope.org+21 min
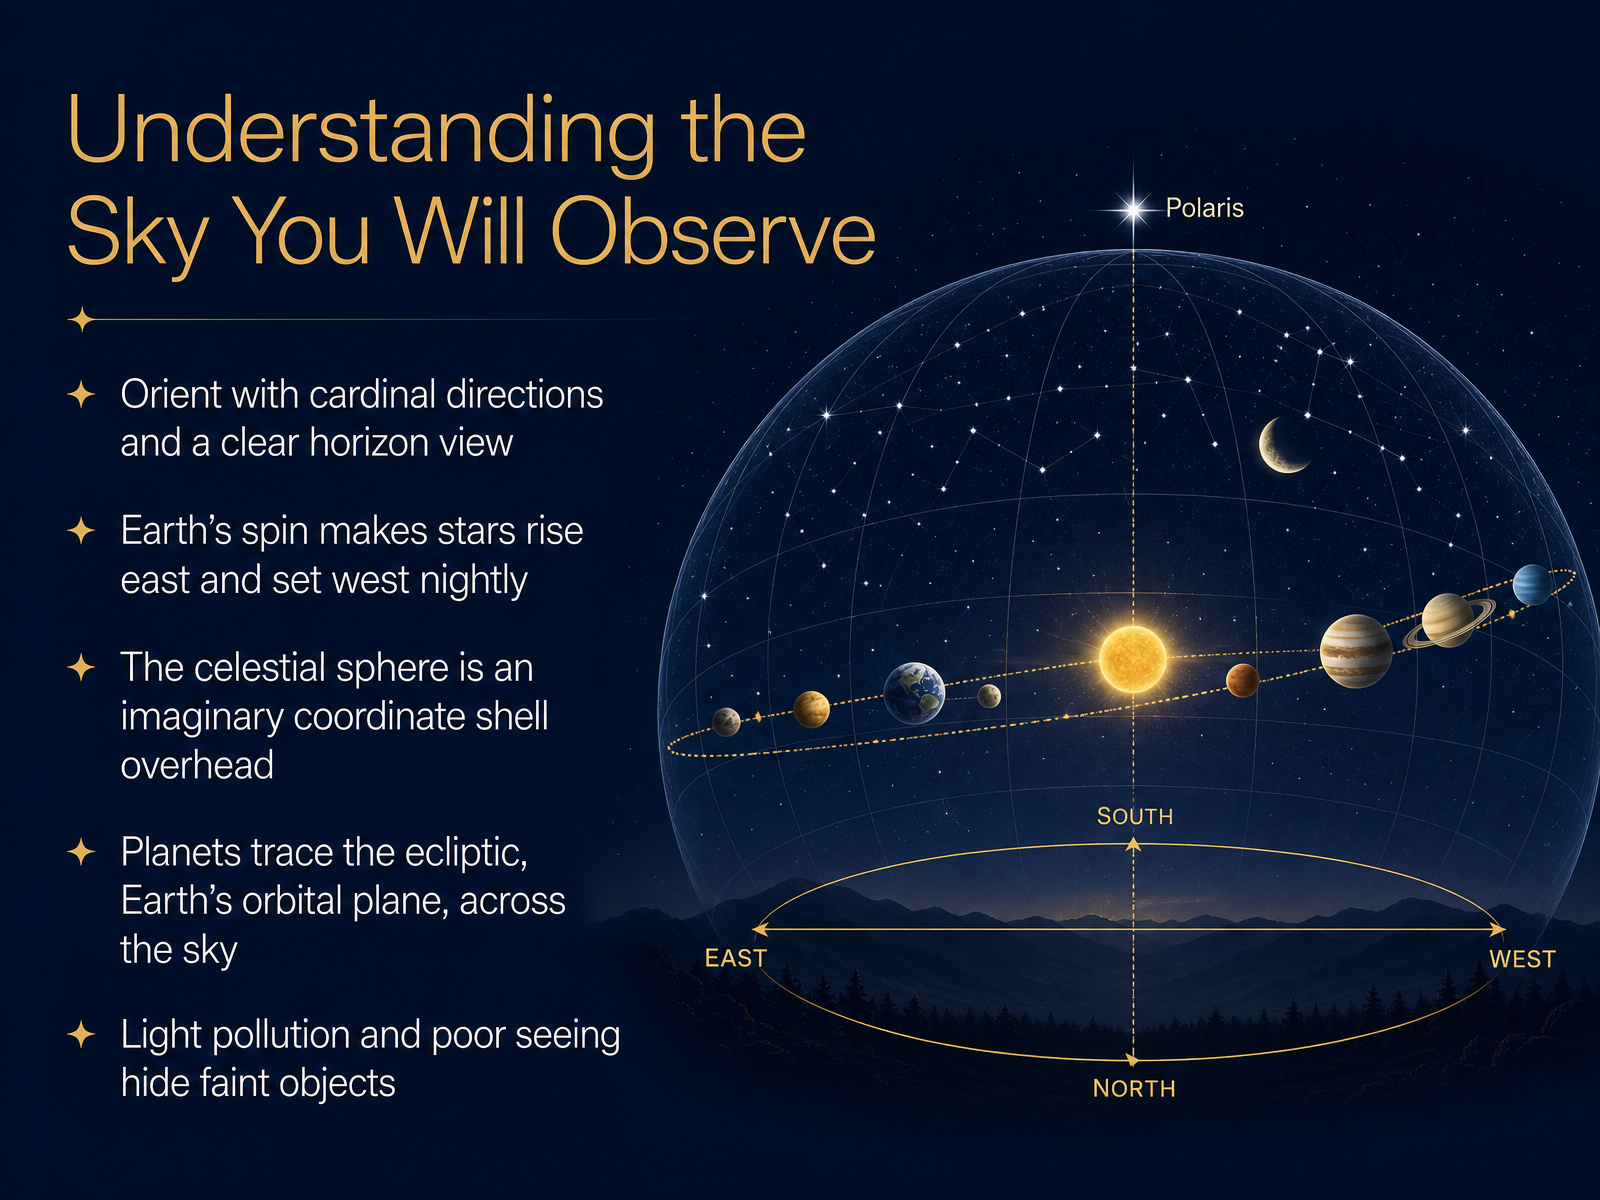
 - 03Understanding the Sky You Will ObserveNow let us get familiar with the sky itself. Before you look for anything specific, take a moment to get your bearings. Notice where north, south, east, and west sit from your observing spot, and try to find a location with the clearest possible view of the horizon. This simple step makes everything else much easier. As the night goes on, you will see stars rise in the east and set in the west. This is caused by Earth’s spin, not by stars moving on their own. Many beginners find it helpful to think of the sky as a great dome overhead, an imaginary sphere that wraps around our planet. On that sphere, planets travel along a special line called the ecliptic, which is the plane of Earth’s own orbit projected onto the sky. You do not need to memorize exact coordinates tonight. Just notice that the brighter planets tend to follow that same general path. One more gentle reminder: the amount of light pollution and atmospheric haze at your location will affect which faint objects you can see. A darker, steadier sky reveals much more. Next, we will move into choosing your first observation method.
 skyatnightmagazine.commilwaukeeastro.orgskyatnightmagazine.com+22 min
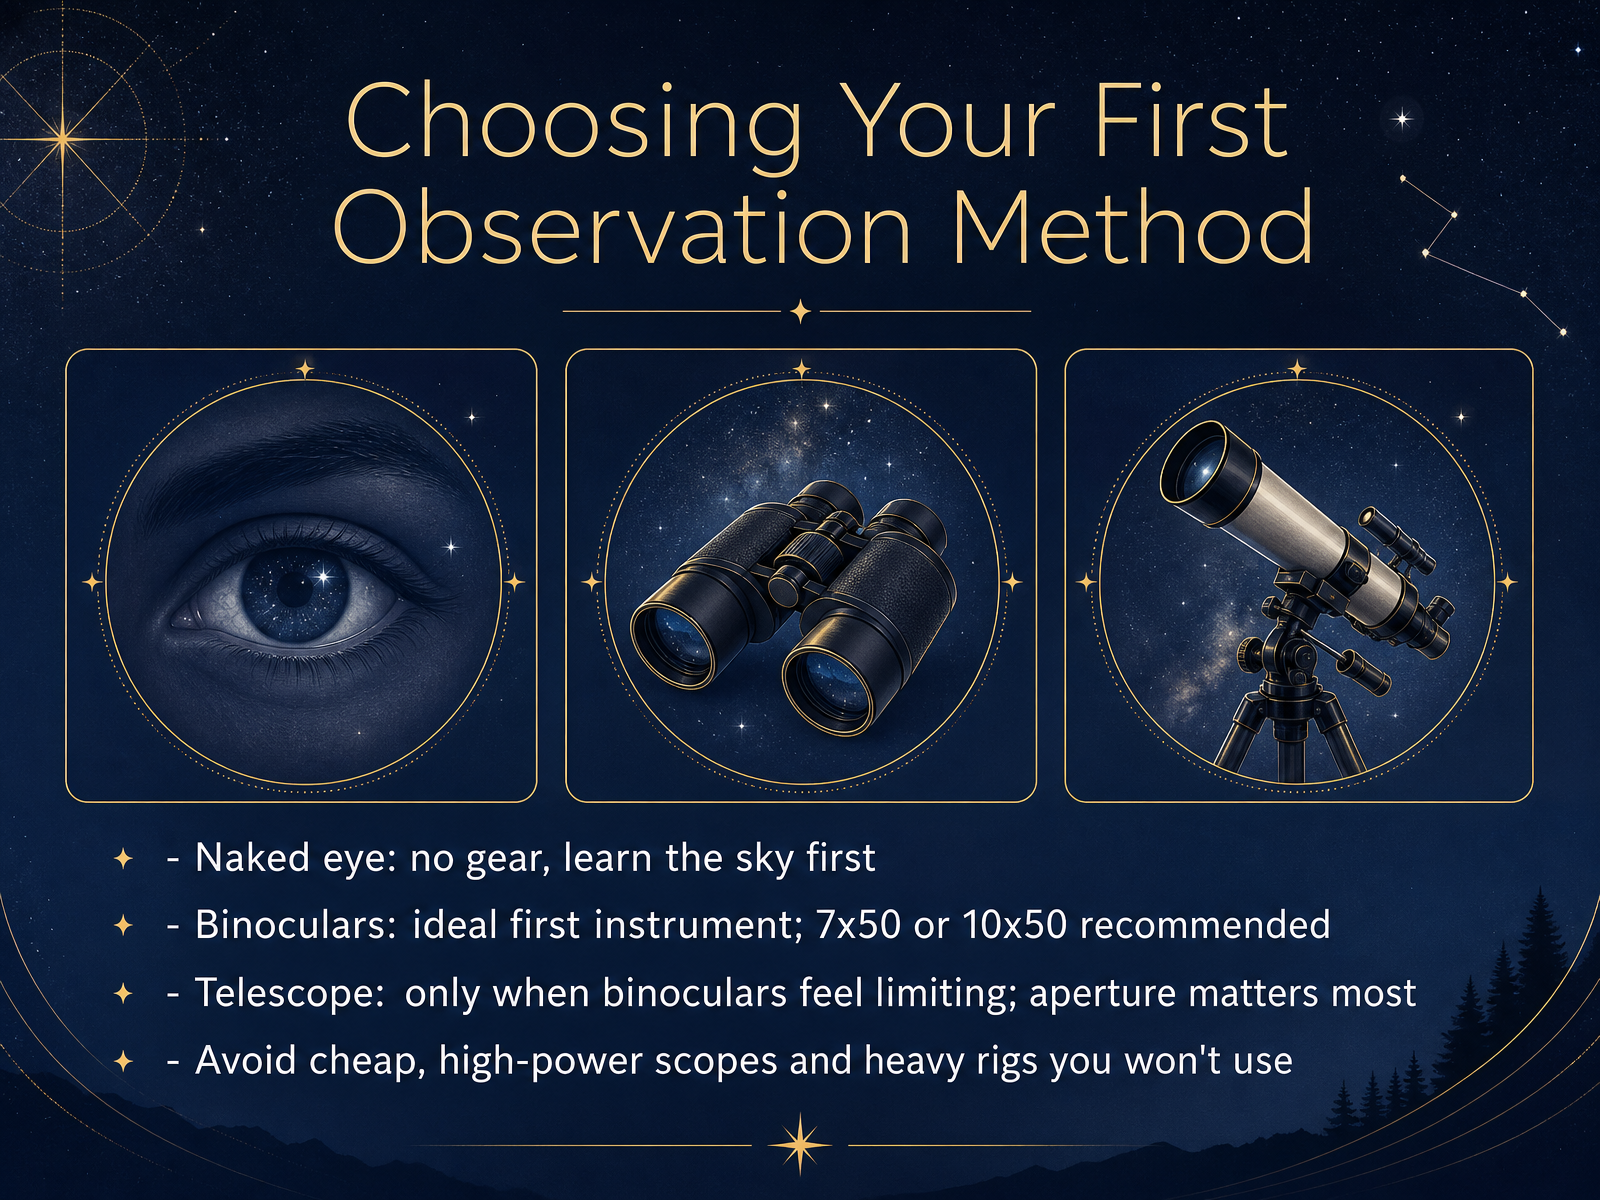
 - 04Choosing Your First Observation MethodNow let's talk about choosing your first observation method. A gentle way to begin is with just your own eyes. You need no gear at all for this. Spend some time learning the bright stars and the shapes of the main constellations. Let your vision adjust to the dark, and simply notice what is visible tonight. When you feel ready for a little more reach, consider a pair of binoculars. A seven by fifty or ten by fifty model is a wonderful first instrument. Binoculars are light, easy to carry, and very forgiving. They show a wide patch of sky, so you can find things without frustration. Move toward a telescope only when binoculars start to feel limiting. That may take months, and that is completely fine. If you do look at telescopes, remember that aperture matters most. That is the width of the main lens or mirror. It tells you how much light the instrument gathers. Try to avoid cheap scopes that promise very high magnification. They often give dim and shaky views. And avoid heavy rigs that are hard to set up, because the best instrument is always the one you will actually use. Up next, we will plan your first observing session.
 science.nasa.govsciencefocus.comrmg.co.uk+21 min
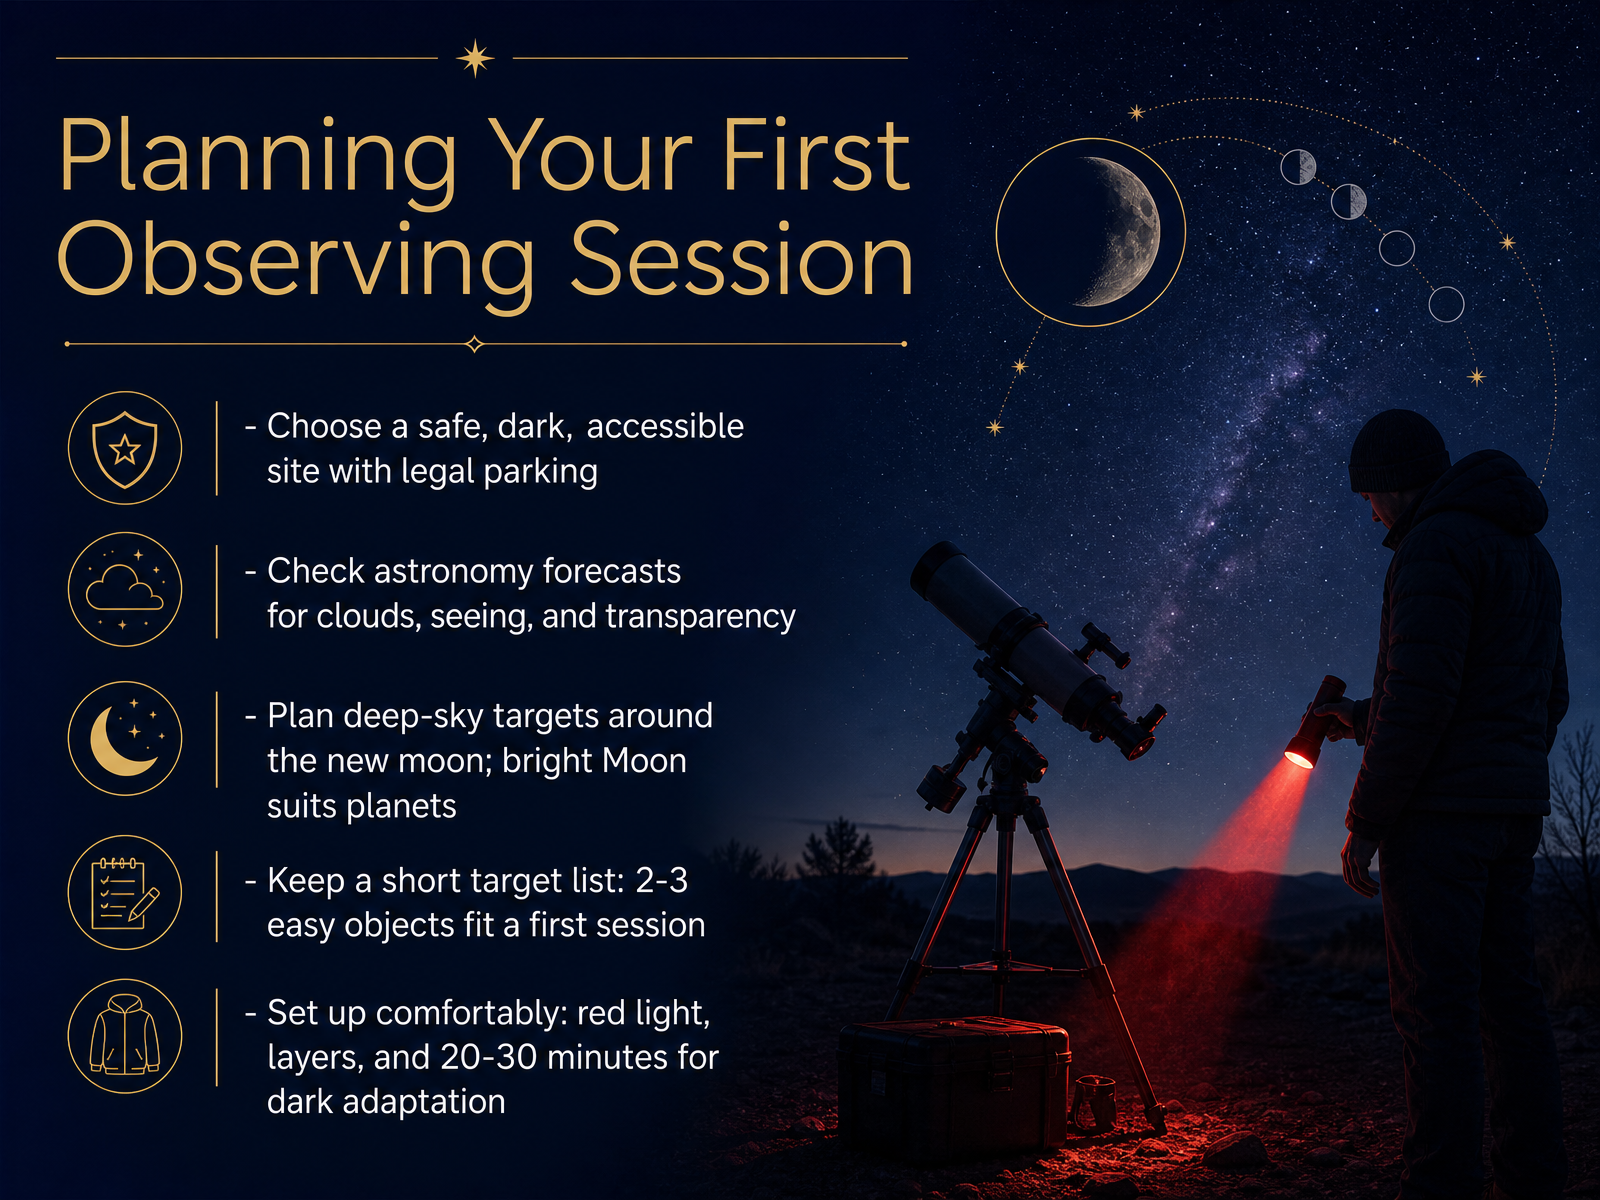
 - 05Planning Your First Observing SessionNow let us walk through planning your first observing session. Start by choosing a place where you feel safe and comfortable. A dark site is ideal, but a backyard or a nearby park works beautifully for your first night. Just make sure parking is legal, and you have permission to be there. Before you head out, check an astronomy forecast, not just a regular weather app. Look for cloud cover, atmospheric seeing, and transparency. These three details tell you how clear and steady the sky will really be. Then think about the Moon. Plan faint deep-sky targets around the new moon, when the sky is darkest. If the Moon is bright, do not worry. Turn your attention to the Moon itself or to bright planets, which are still wonderful to observe. For your target list, keep it short. Choose just two or three easy objects, like one bright planet and a major constellation. A small successful session is better than a long frustrating one. And remember to set up comfortably. Bring warm layers, water, and a dim red light. Give your eyes about twenty to thirty minutes away from bright screens to fully adjust to the dark. This patient setup makes everything easier to see. With your plan in place, you are ready to learn how to find your way around the night sky.
 telescopeadvisor.comthestarwindow.comdarkskiesatlas.com+22 min
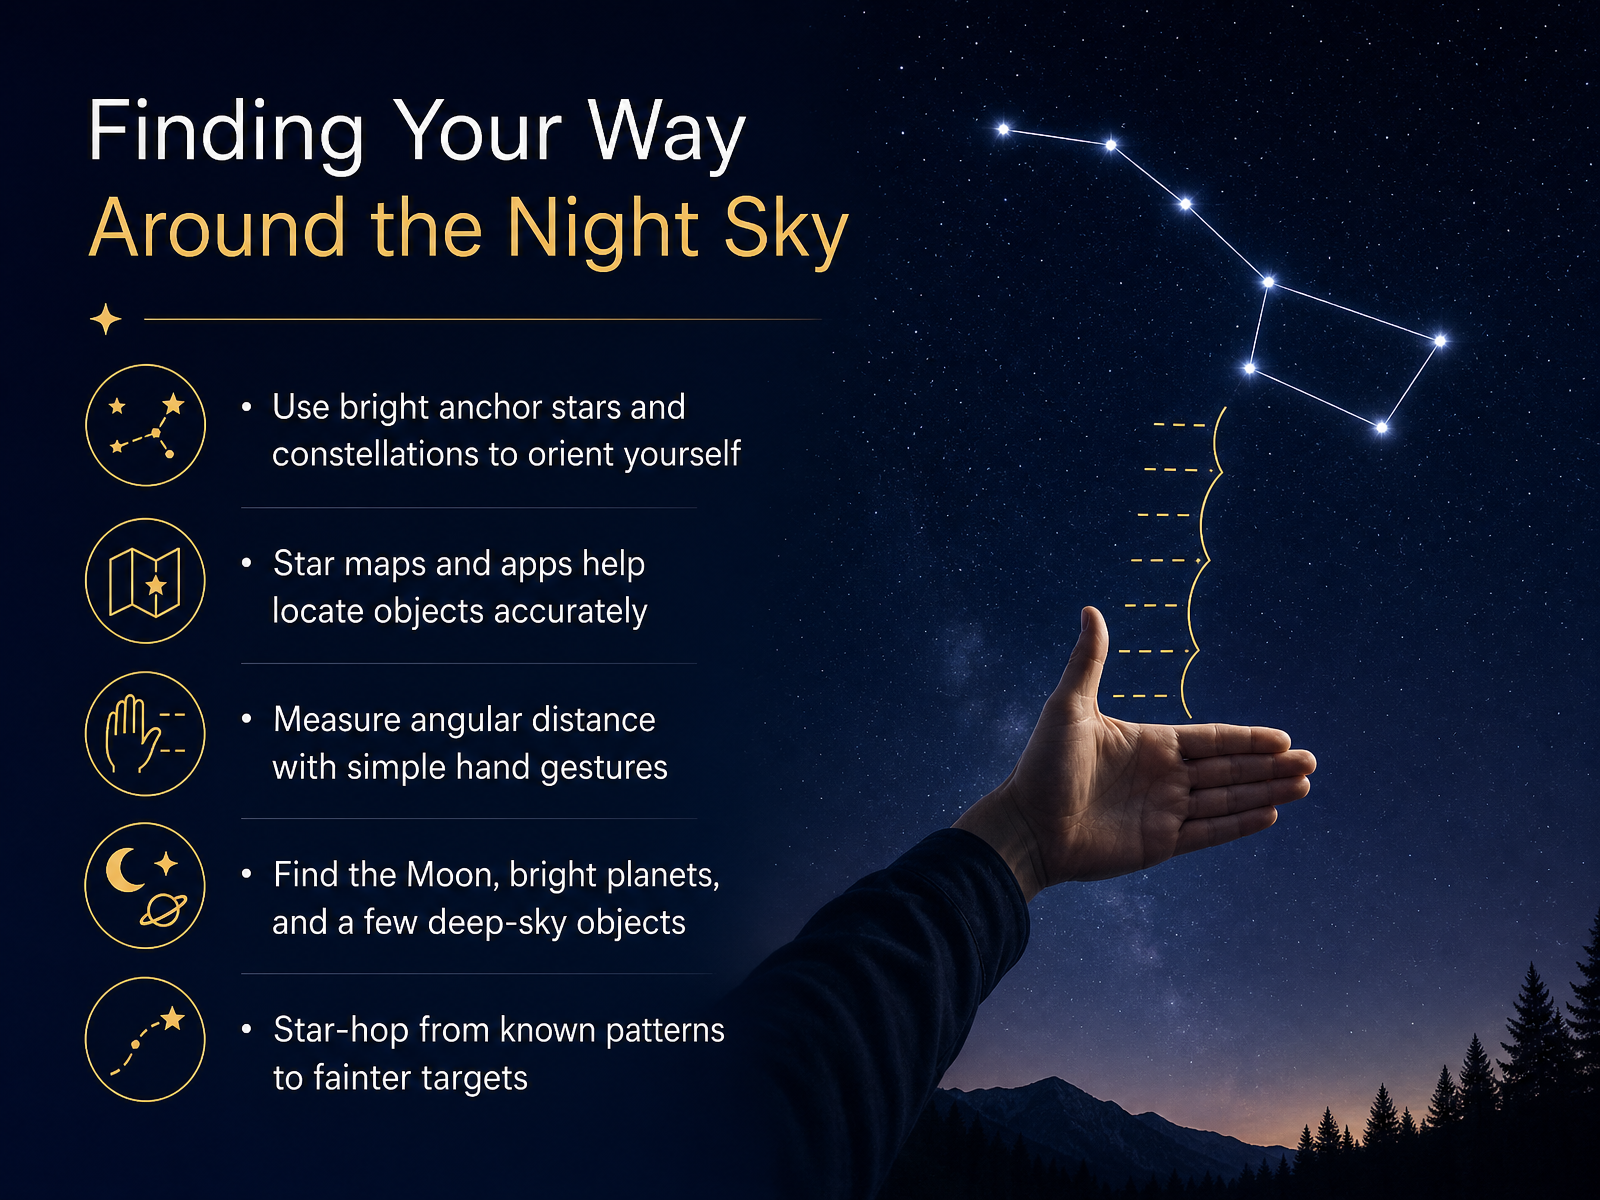
 - 06Finding Your Way Around the Night SkyNow let's talk about finding your way around the night sky. The best approach is to start with what you can easily see. Look for a bright anchor star or a very recognizable pattern, like the Big Dipper or Orion. Think of these as your guideposts. Once you have found one, you can use a star map or a phone app to help you locate other objects nearby. These tools are great for confirming what you are seeing. To measure distances in the sky, you can use your own hand. Hold your arm out straight. Your closed fist covers about ten degrees of sky, and your little finger covers about one degree. This is a simple way to judge how far to move your eyes. As you get comfortable, try finding the Moon, a bright planet, or a few brighter deep-sky objects. The key is to practice star hopping. Move from a known pattern to the next fainter target, one step at a time. Next, we'll look at recording what you observe.
 1 min
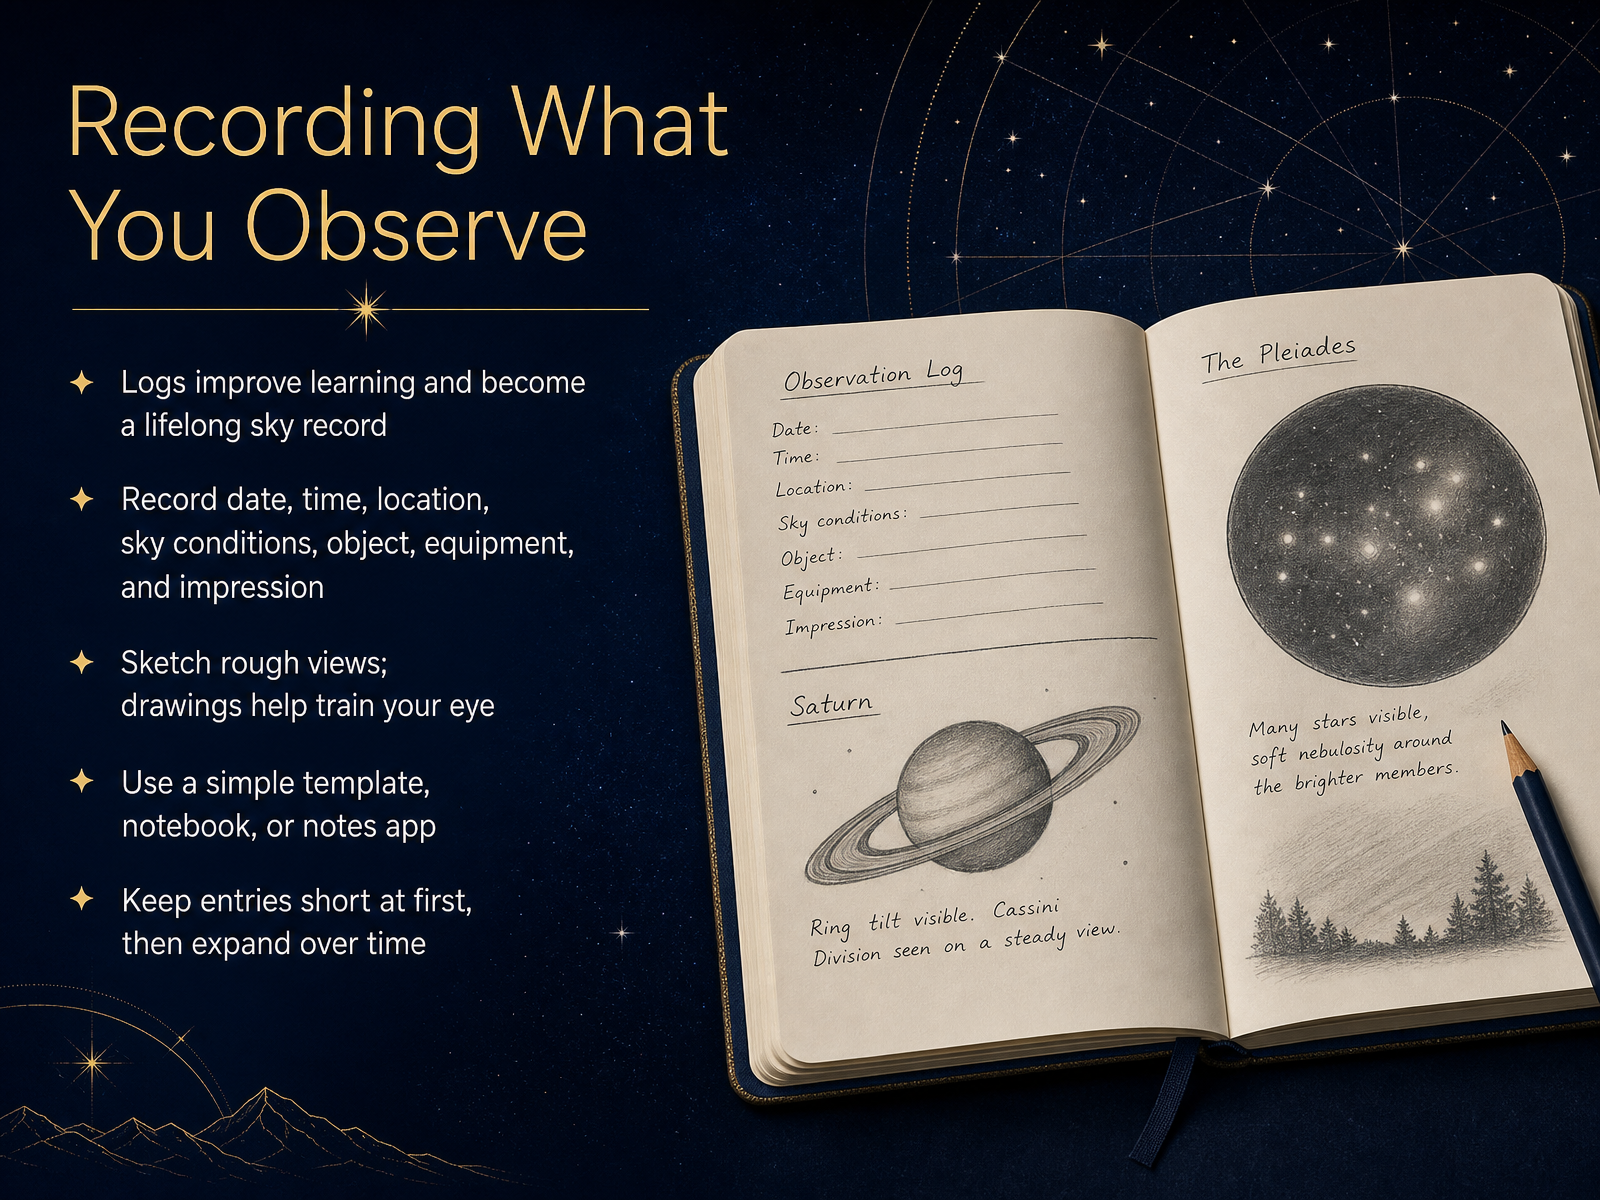
1 min - 07Recording What You ObserveNow, let's talk about recording what you observe. Keeping a log might sound like homework, but think of it as a personal sky diary. Writing down what you see helps you learn faster, and it becomes a treasured record for years to come. For each entry, start with the basics. Note the date, time, and where you are observing from. Then add a quick word about sky conditions, like if it is clear or a little hazy. Jot down the object you viewed, the equipment you used if any, and most importantly, your impression of what it looked like. Don't worry about being a great artist. A simple sketch, even a rough circle with a smudge, can train your eye to notice more detail. You can use a simple notebook, a notes app on your phone, or a printed template. Keep your entries short at first. Just a few lines is perfect. You can always add more detail as you get comfortable. Over time, this log will tell the story of your journey with the stars. Next, we'll explore how to turn these single observations into a regular rhythm with a repeating practice workflow.
 1 min
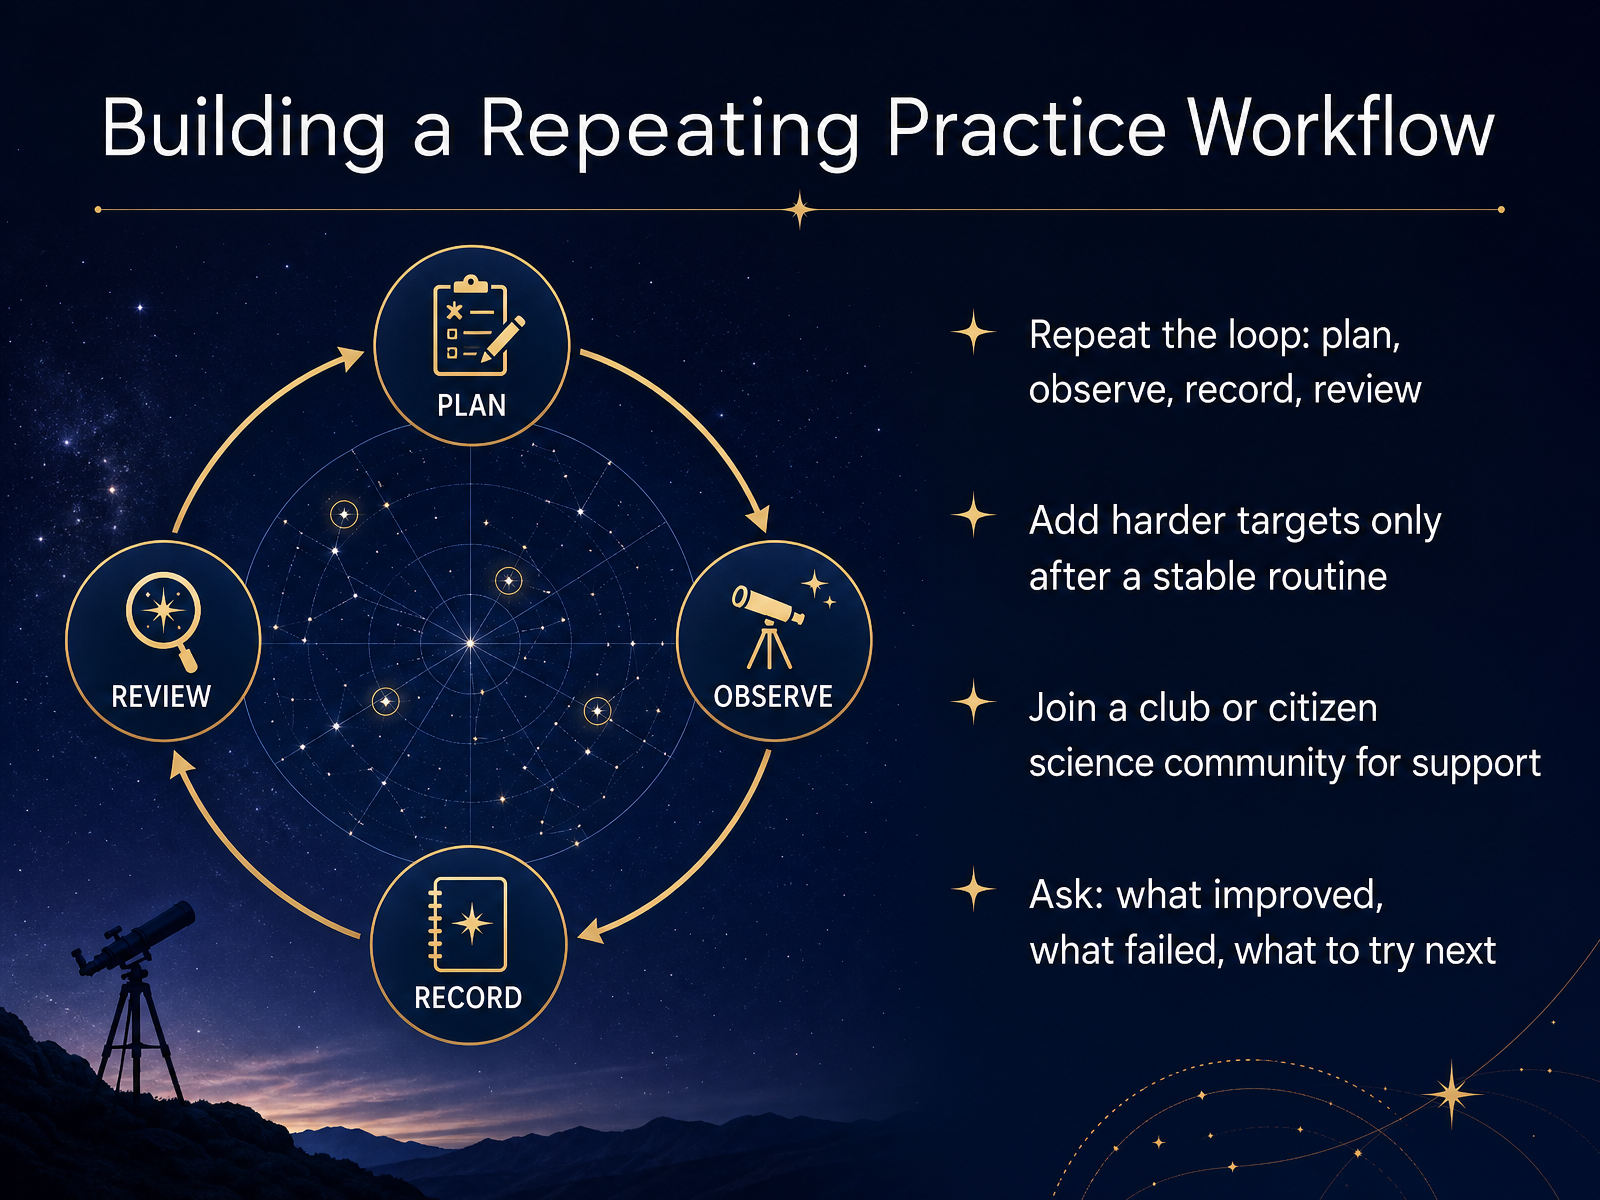
1 min - 08Building a Repeating Practice WorkflowNow that you have the basic loop, let's talk about turning it into a steady practice. A repeating workflow is your best friend here. Plan your session, observe, record what you saw, and then review your notes. That simple loop, done often, builds real skill. Do not rush to add harder targets. Let your routine feel natural first. When it does, try one new object each week. You might also look for a local astronomy club or a citizen science project online. Sharing your questions and small wins with others keeps the practice fun. After each session, ask yourself three quick things. What improved? What still feels difficult? And what would you like to try next time? These small reflections prevent frustration and keep your curiosity alive. With a steady workflow, you will be ready for the bumps every beginner hits. Next, let's troubleshoot some common beginner problems.
 1 min
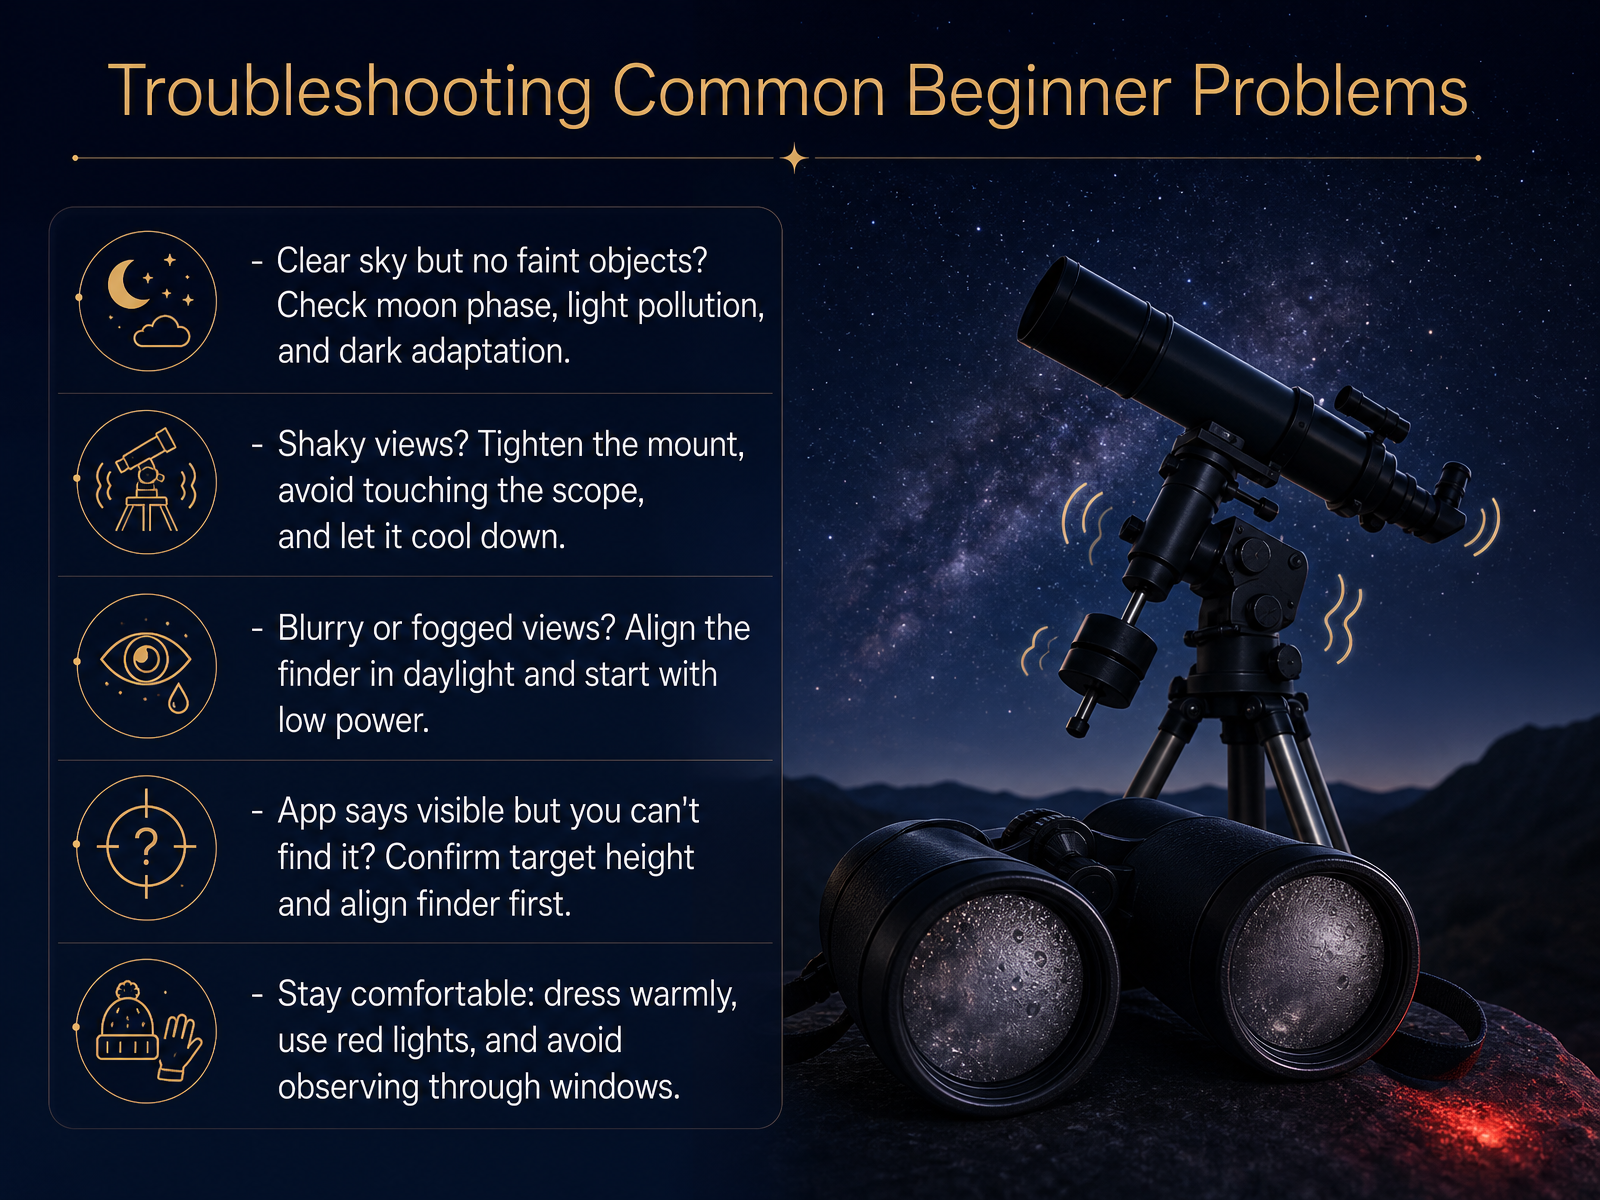
1 min - 09Troubleshooting Common Beginner ProblemsEven when you plan carefully, things can go wrong at the eyepiece, and that is completely normal. Let’s troubleshoot a few common issues. If the sky looks clear but faint objects stay hidden, check the moon phase first. A bright moon washes out dim targets. Also consider light pollution and make sure your eyes have had at least twenty minutes in the dark. If the view shakes every time you get close, check that the mount is tight. Try not to touch the telescope while looking, and give the tube time to cool to the outside air. If the view stays blurry, align the finder during daylight using a distant landmark. Then always start searching with a low power eyepiece. If an app says an object is visible but you cannot find it, confirm the target is high enough above the horizon, and align the finder again. Finally, take care of yourself. Dress warmly, use a dim red flashlight, and never observe through a closed window. These small adjustments make the difference between giving up and finding wonder. Next, let's bring everything together in your starter plan and next steps.
 2 min
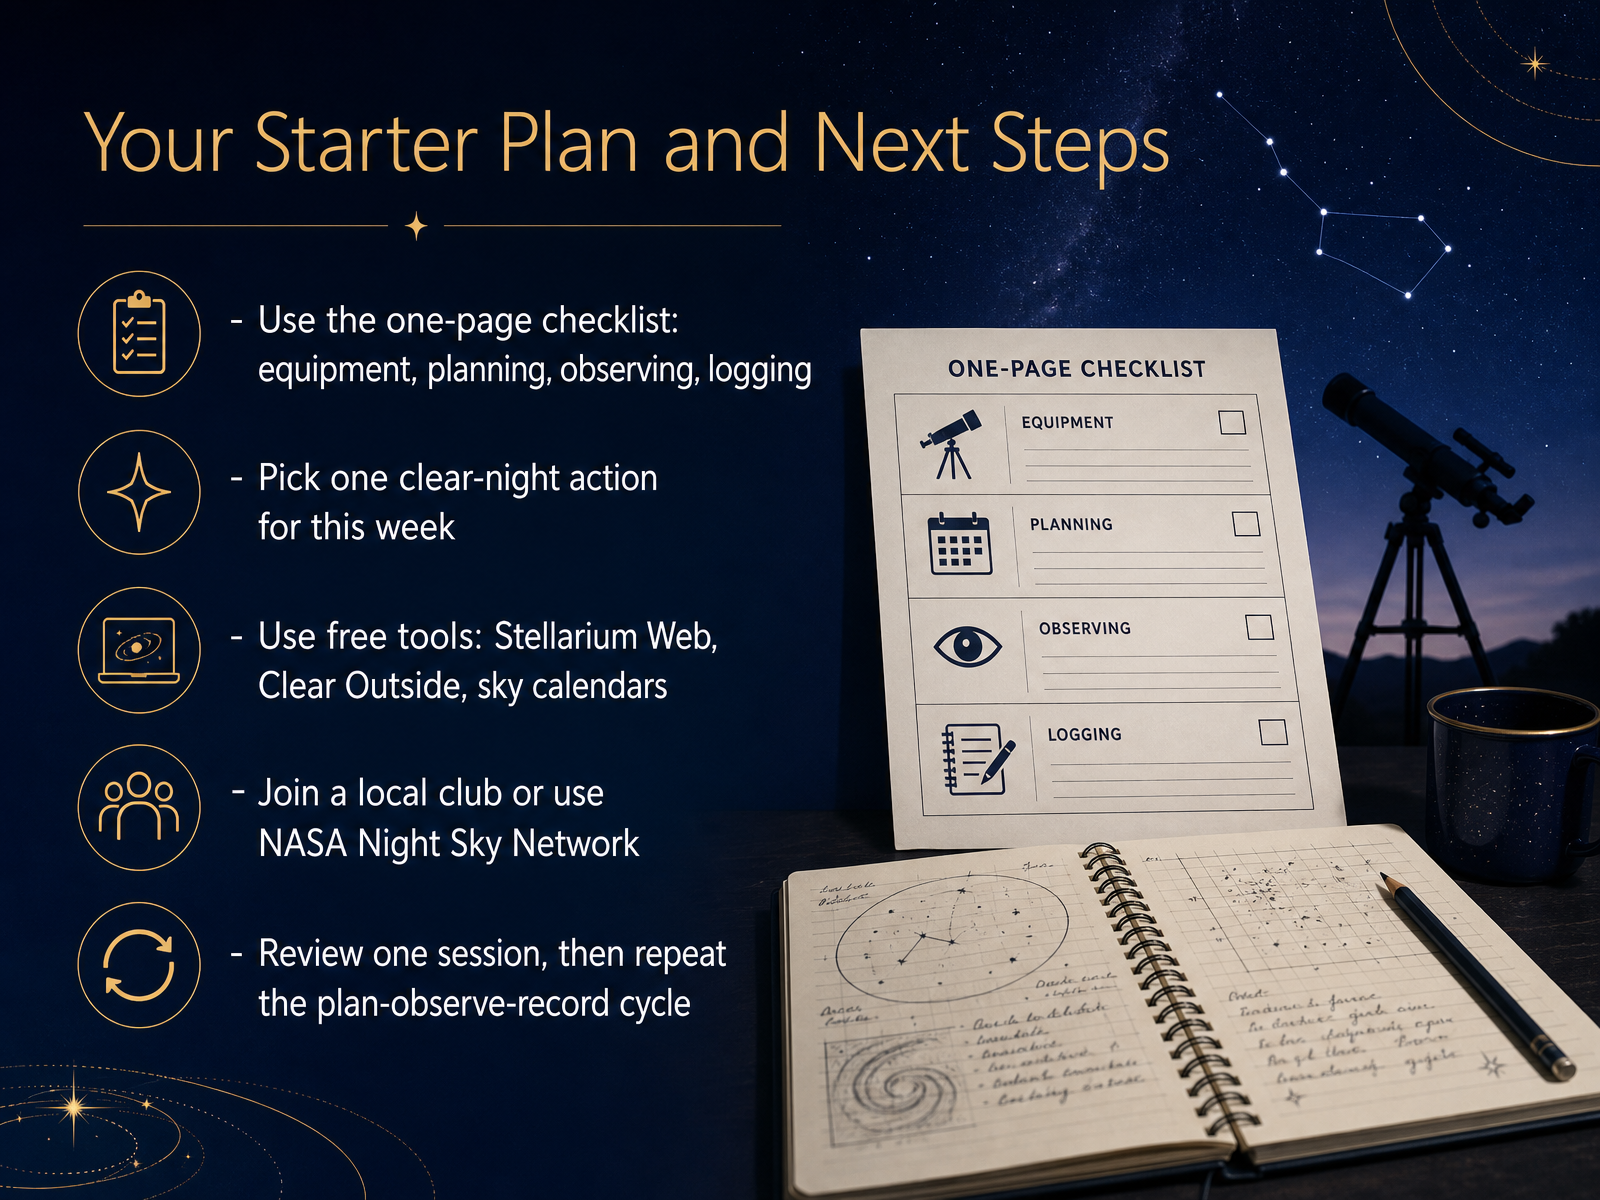
2 min - 10Your Starter Plan and Next StepsAt this point, you have all the pieces. Let us put them together into a simple starter plan. Keep the one page checklist nearby. It has four parts. Equipment, planning, observing, and logging. Use it as a gentle reminder, not a test. Now, pick one clear night action for this week. It could be stepping outside to find the Summer Triangle after sunset. Or it could be watching for the Perseid meteors before dawn. Just one small, doable step. You do not need to buy anything. Free tools like Stellarium Web can show you what is up right now. A website called Clear Outside helps you judge the clouds. And a simple monthly sky calendar will point you to easy targets. If you want company, look for a local astronomy club. The NASA Night Sky Network is a good place to find one. After your first short session, review your notes for just a few minutes. What did you see? What surprised you? Then repeat the plan, observe, and record cycle. That is the whole habit. Now, let us move on to a practical checkpoint. We will look at your first night action plan.
 2 min
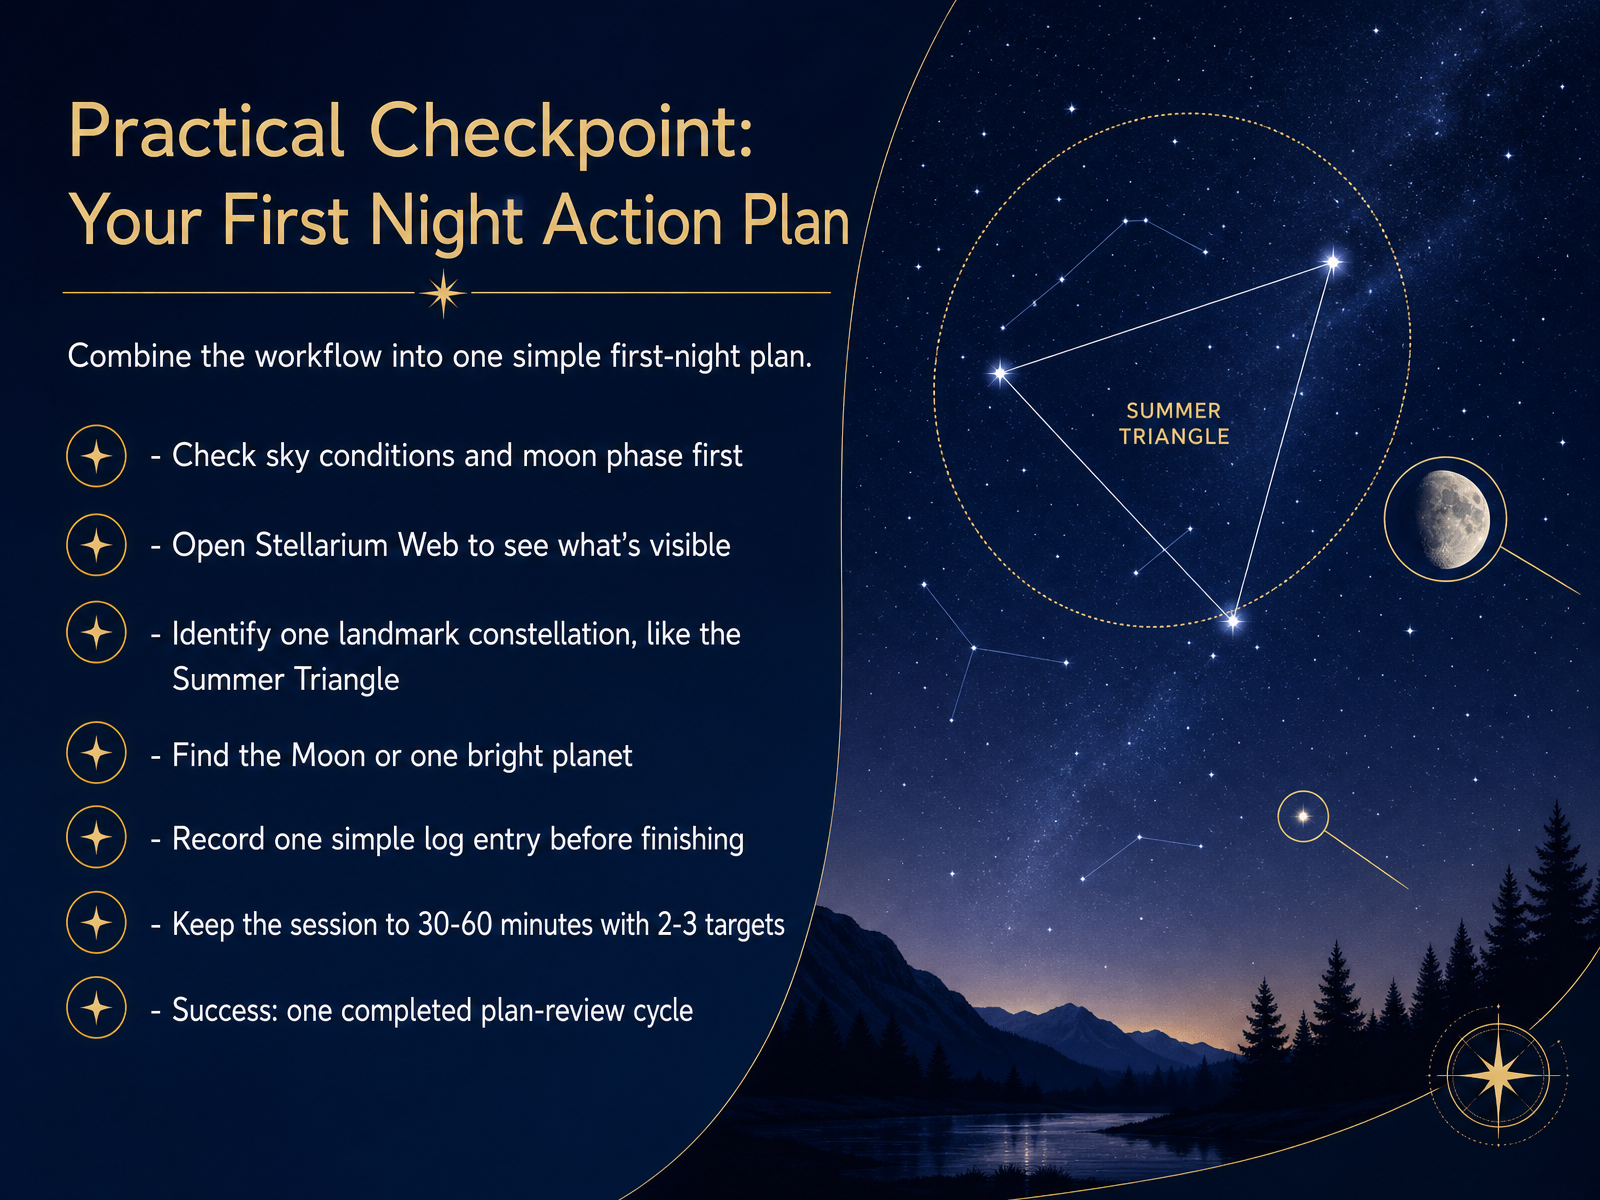
2 min - 11Practical Checkpoint: Your First Night Action PlanHere is where all the pieces come together into one calm, doable first night. Think of this as your check-in plan. Start by checking two things before you go outside. First, confirm the sky is clear. Then check the moon phase and brightness. A bright moon can wash out faint stars, but it is a wonderful target in its own right. Next, open Stellarium Web for your time and location. It will show you what is actually above your horizon. Look for one landmark pattern, like the Summer Triangle. It gives the sky a friendly sense of direction. Then find the Moon if it is visible, or one bright planet. Spend a few unhurried minutes with each target. Before you finish, jot down one simple log entry. It only takes a sentence. Keep the whole session to thirty to sixty minutes, with two or three targets. That is enough. Your goal is not to see everything. Your goal is to complete one calm cycle of planning and observing. Success on your first night simply means you followed the loop from beginning to end. Next, we will look at what to expect this month with a short seasonal guide.
 cosgrovescosmos.comskyatnightmagazine.comskyandtelescope.org+21 min
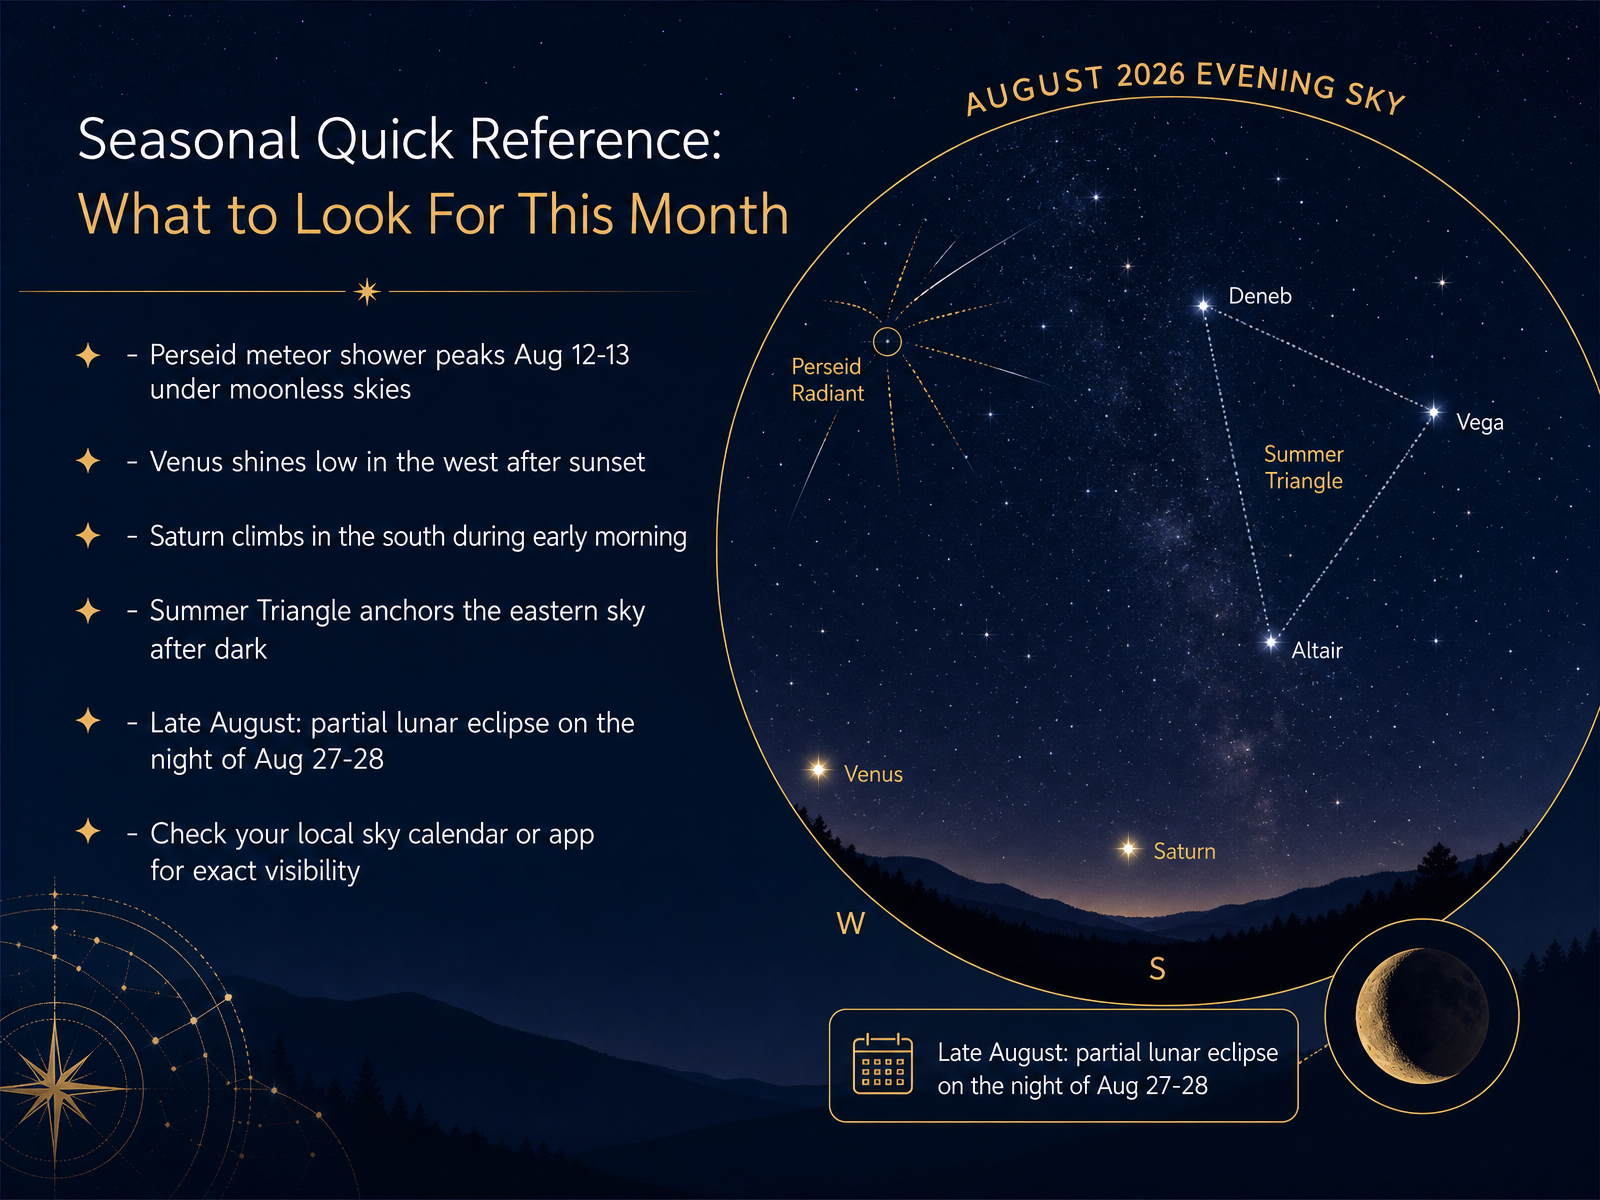
 - 12Seasonal Quick Reference: What to Look For This MonthNow let's get practical with a quick reference for this month's sky. The Perseid meteor shower peaks on the nights of August twelfth and thirteenth, and this year the moon is out of the way, so the sky should be beautifully dark. You may see dozens of shooting stars if you give your eyes time to adjust. After sunset, look low in the west for Venus. It is the brightest point of light in that part of the sky, and it is very easy to spot. In the early morning, Saturn climbs into the southern sky. A small telescope will begin to show its rings. After dark, the Summer Triangle anchors the eastern sky. Those three bright stars, Vega, Deneb, and Altair, can help you find your bearings. Near the end of the month, on the night of August twenty seventh into the twenty eighth, a partial lunar eclipse will be visible from many locations. The moon will dip into Earth's shadow and take on a subtle coppery tint. Because exact times vary by location, check your local sky calendar or a stargazing app before you head outside. Up next, we will look at common questions and realistic expectations.
 2 min
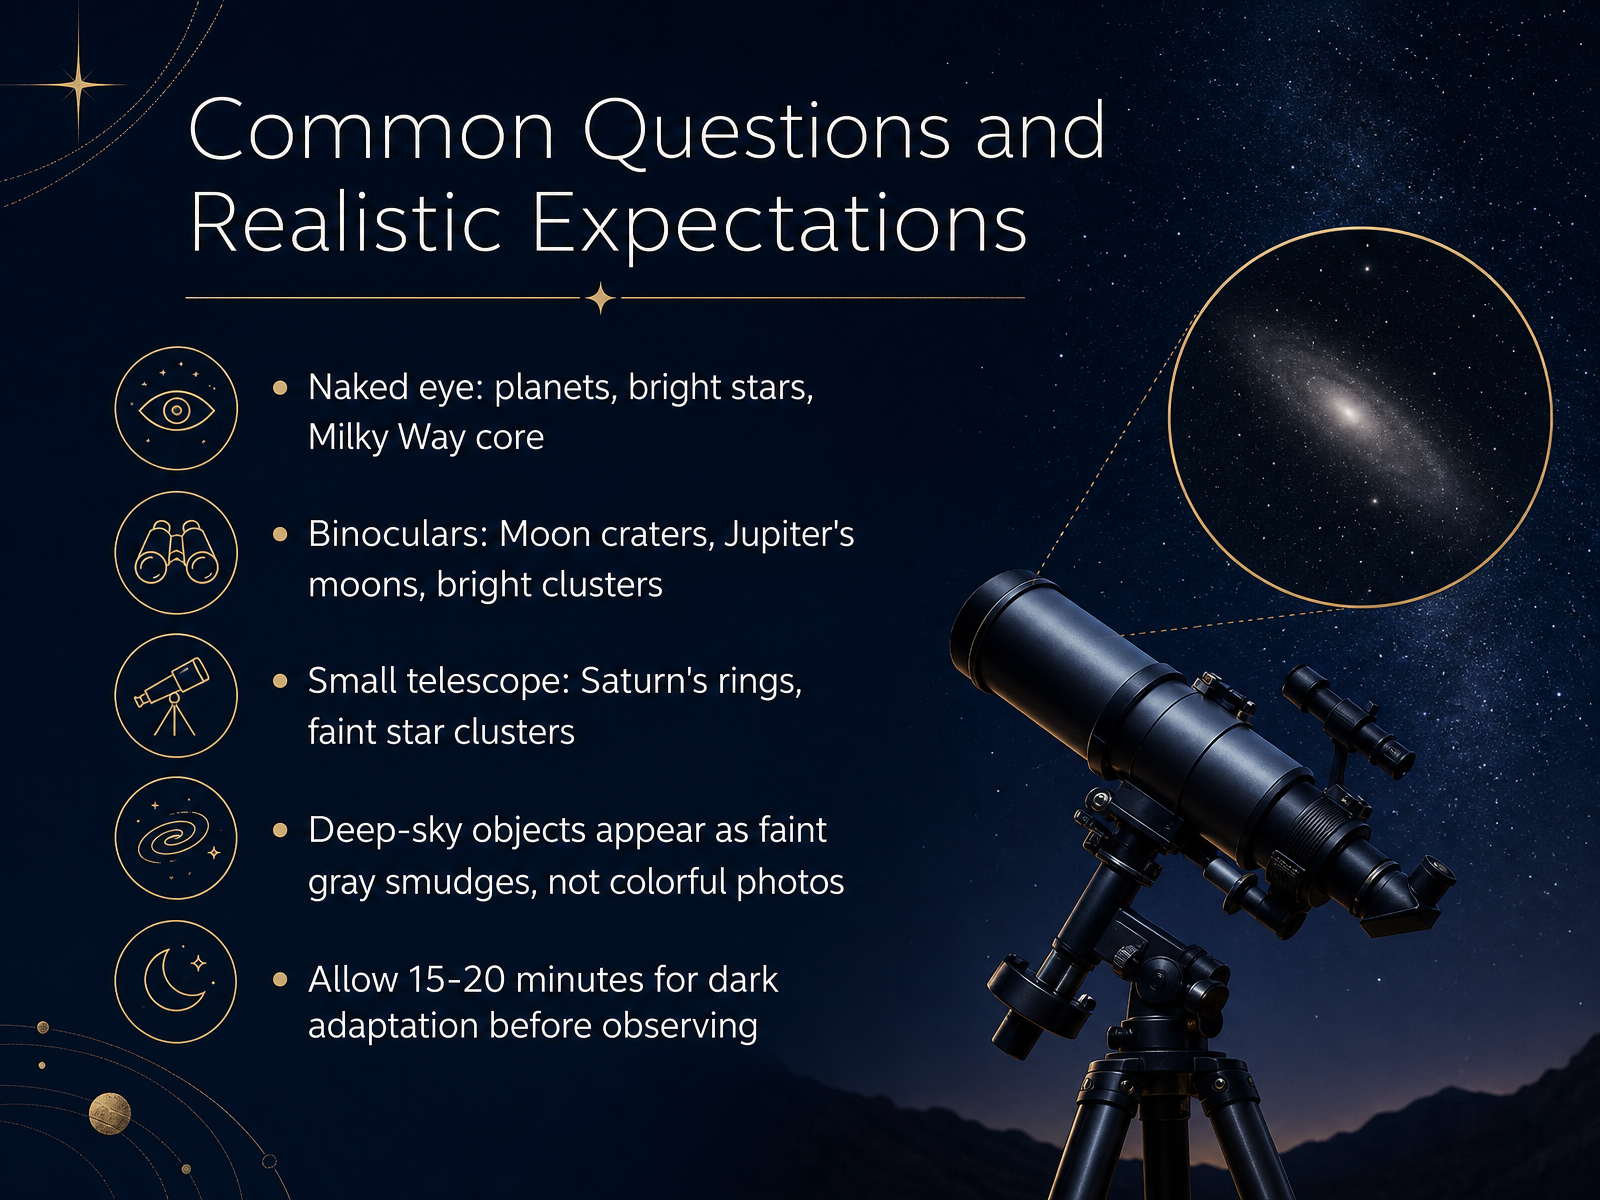
2 min - 13Common Questions and Realistic ExpectationsBefore we wrap up, let's set some realistic expectations, because this is where a lot of beginners get discouraged. With just your eyes, you can see bright planets, major constellations, and the hazy band of the Milky Way core from a dark location. Add a pair of binoculars, and suddenly the Moon shows craters, Jupiter reveals its four largest moons, and bright star clusters begin to sparkle. A small telescope takes you further, showing Saturn's rings and fainter clusters. But here is an important truth. Most deep-sky objects, like galaxies and nebulae, will not look like the colorful photos you see online. Through an eyepiece, they usually appear as faint gray smudges. That is completely normal. The beauty comes from knowing what you are actually seeing. And one practical tip before you observe. Give your eyes fifteen to twenty minutes in the dark to fully adapt, and avoid bright phone screens. Next, we will bring everything together with a course summary and a simple starter checklist.
 cosgrovescosmos.comskyatnightmagazine.comskyandtelescope.org+22 min
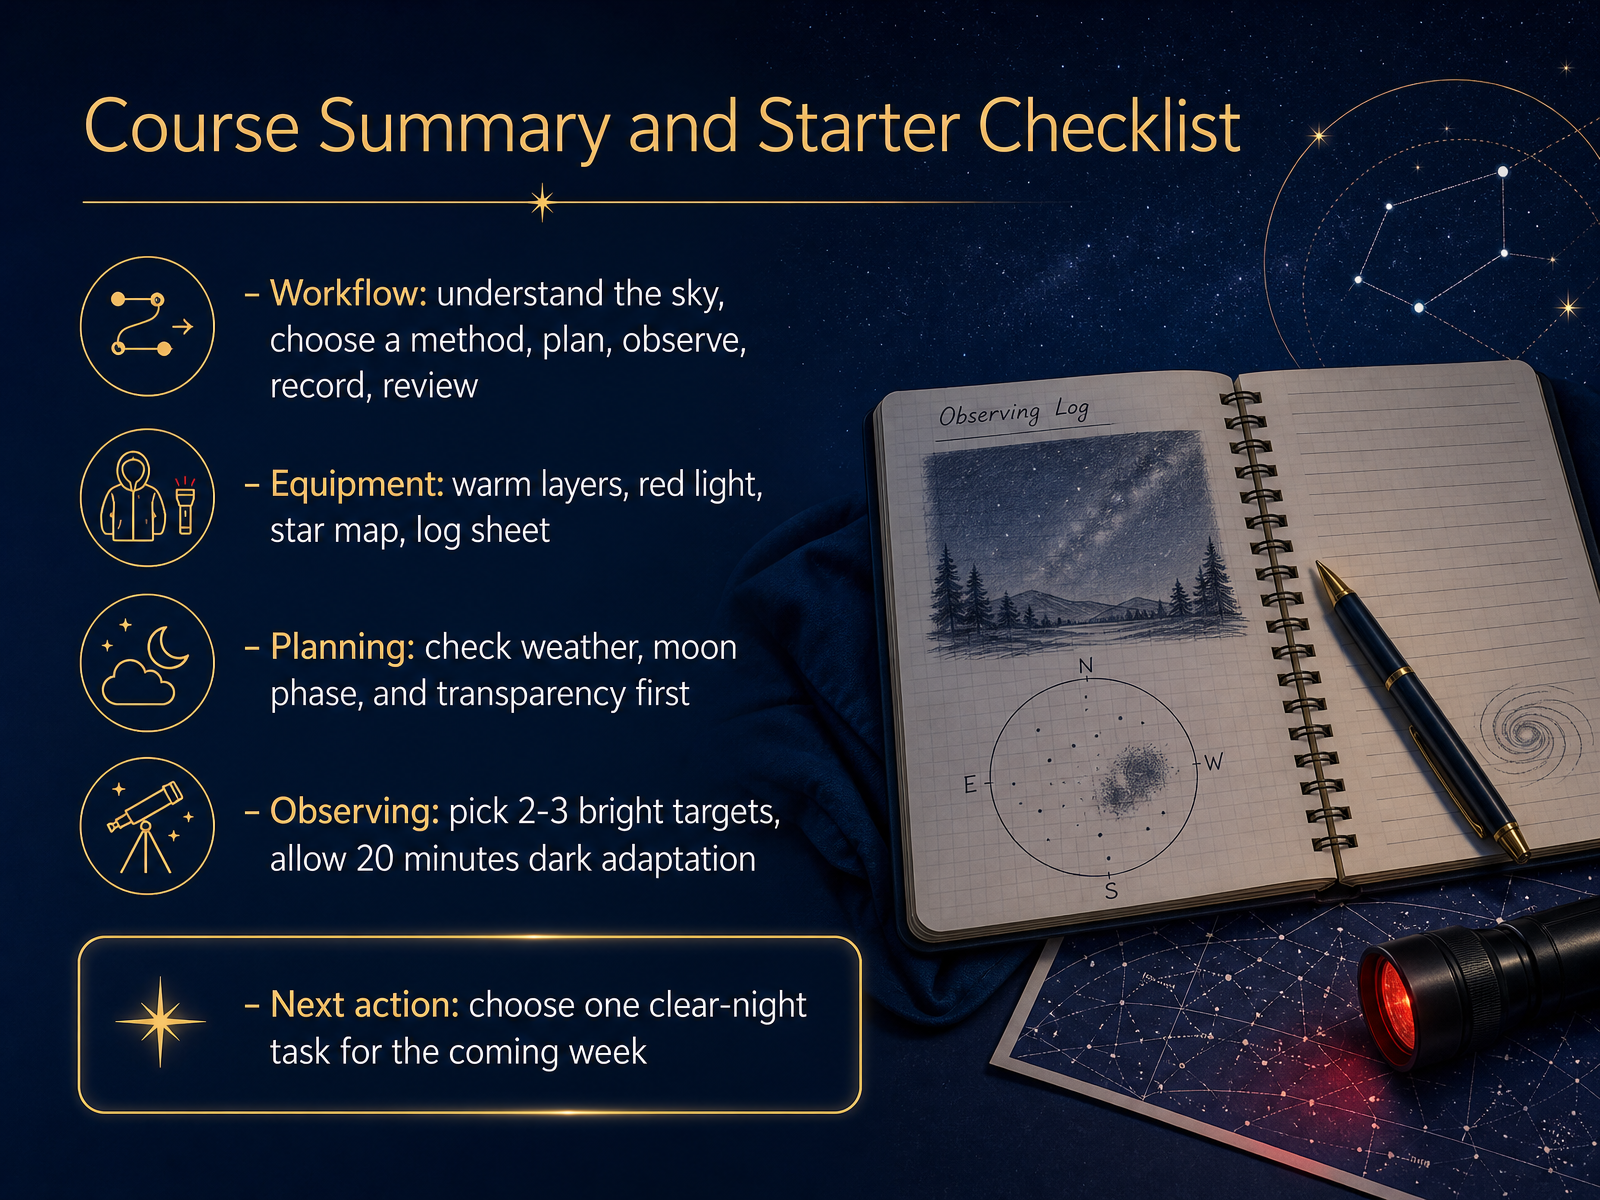
 - 14Course Summary and Starter ChecklistLet's bring it all together with a simple workflow you can return to again and again. First, learn the sky slowly. Notice a few bright landmarks. Then choose how you want to observe, whether that means your eyes, binoculars, or a small telescope. Next, plan before you go outside. Check the weather, the moon phase, and how clear the air is. When you head out, keep your gear modest. Warm layers, a red light, a star map, and a simple log sheet are really all you need. During your session, pick just two or three bright targets and give your eyes about twenty minutes to adjust to the dark. Afterward, take a few notes about what you saw and what felt confusing. That review is where real progress happens. So here is your one small assignment. Choose a single clear night in the coming week. Pick one easy target, prepare gently, and go outside. That is enough. Thank you for taking this first step, and I hope the sky feels a little more welcoming each time you look up.
 cosgrovescosmos.comskyatnightmagazine.comskyandtelescope.org+21 min
Take the deck with you
Download this course as a file — free, no sign-up needed.
- PDF handoutEvery slide page, ready to print or share.15 pages · 4.1 MBDownload
- Narrated PowerPointThe deck that presents itself — every slide carries the digital human's narration video.15 pages · 14.9 MBDownload
- PowerPoint slidesThe full deck as a .pptx — open it in PowerPoint, Keynote, or Google Slides.15 pages · 4.1 MBDownload
Free to use in your own training — please keep the PersonWise credit page at the end.
Have your own deck? Turn it into a course
Sources consulted
Web sources consulted while building this course.
- Beginner Astronomy: Start Here (What to Do Tonight) — Cosgrove's Cosmos — cosgrovescosmos.com
- Get into astronomy with these 10 easy lessons | BBC Sky at Night Magazine — skyatnightmagazine.com
- Astronomy for Beginners: How to Get Started in Backyard ... — skyandtelescope.org
- Learn how to observe the sky in 10 easy steps | Astronomy.com — astronomy.com
- Getting started in Astronomy — ras.ac.uk
- How to navigate the night sky like an astronomer | BBC Sky at Night Magazine — skyatnightmagazine.com
- Beginner's Guide Celestial Sphere - Milwaukee Astronomical Society — milwaukeeastro.org
- Ecliptic in astronomy | BBC Sky at Night Magazine — skyatnightmagazine.com
- ASTR-1010 Lab 1 - The Celestial Sphere — astro.gsu.edu
- Astronomy: The Celestial Sphere — astro.wsu.edu
- Skywatching FAQ - NASA Science — science.nasa.gov
- A beginner's guide to stargazing, no telescope required - BBC Science Focus Magazine — sciencefocus.com
- Astronomy without a telescope: what can I see in the night sky? — rmg.co.uk
- Stargazing Gear for Beginners: A No-Nonsense Guide — darkskiesatlas.com
- Astronomy for beginners: A complete guide for UK stargazing - BBC Science Focus Magazine — sciencefocus.com
- How to Start Stargazing: Your First Night Under the Stars (2026) — telescopeadvisor.com
- First-time stargazing checklist | The Star Window — thestarwindow.com
- When to Stargaze: Moon Phase, Season & Weather Guide — darkskiesatlas.com
- How to Plan a Perfect Stargazing Session: From Weather Apps to Dark Adaptation — cortevox.com
- Stargazing Checklist: Gear, Planning & Dark Sky Tips - AstroTelescopium — astrotelescopium.com