Begin
14 pages · ~28 min
Graphic Design Software Selection and Workflow
Learn to select the right graphic design software, understand system requirements, and build efficient workflows for your design projects.
A digital instructor presents all 14 pages. Hold “Ask” at any point and ask out loud — the answer comes from this course. No sign-up needed.
What you’ll learn
- 01Graphic Design Software: Selection, Requirements, and WorkflowWelcome. If you are trying to decide which graphic design software to learn or buy for your team, this course will give you a clear, practical way to choose. We are not going to start with a list of features. We are going to start with what you actually need to make. The right tool depends on your output, your computer, your team, and your budget. A social media manager and a print designer rarely need the same stack. Our goal is to help you build a focused set of tools that fits your real workflow, not a collection of subscriptions you barely use. We will move from the tool landscape toward a repeatable selection strategy, then finish with an action plan you can apply immediately. Let us begin with the overall picture of today s design software.pcmag.comtoolradar.comedesignify.com+21 min
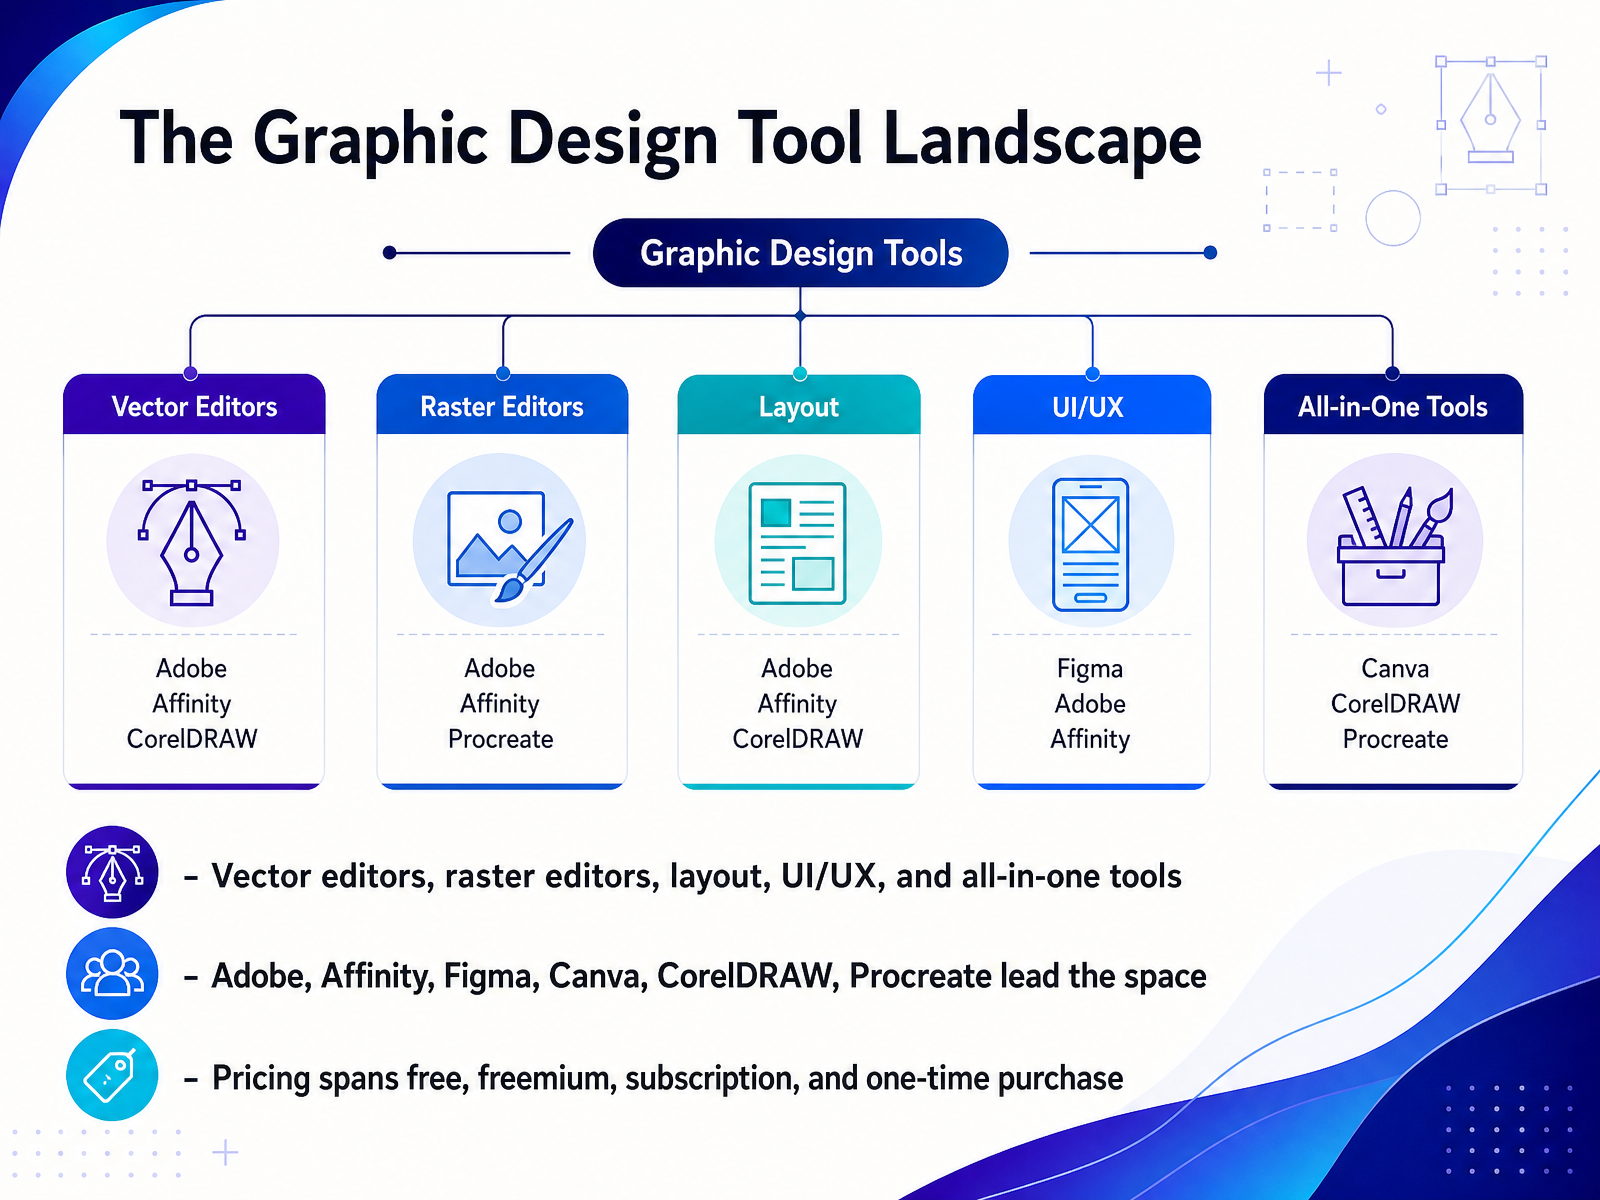
- 02The Graphic Design Tool LandscapeWith that orientation in mind, let's open up the tool landscape itself, because the fastest way to feel overwhelmed is to treat every design program as if it does the same job. Instead, think in terms of what you are making. The field splits into a few practical lanes. Vector editors, like Adobe Illustrator and Affinity Designer, build art from paths, which is why your logo stays razor sharp at any size. Raster editors, like Adobe Photoshop and Procreate, work with pixels and are the go to for photo retouching or detailed digital painting. Then we have layout tools for multi page documents, and UI/UX tools like Figma, which are built for screens and team collaboration. You will also hear about all in one platforms like Canva, which bundle templates and simpler controls for fast marketing content, and CorelDRAW, which remains a steady choice in professional print and signage. Pricing is the other piece of the puzzle. You will encounter completely free trials, figure friendly freemium tiers like Canva and Figma, subscription models from Adobe, and one time purchases from Affinity or Procreate. The main point for you right now is this, there is no single universal champion. The smart move is to identify the output you need and then match the tool to that task. That is why we should clear up the technical difference behind those first two categories. Up next, let's break down vector versus raster, the foundation of every tool choice you will make from here.
 pcmag.comtoolradar.comedesignify.com+22 min
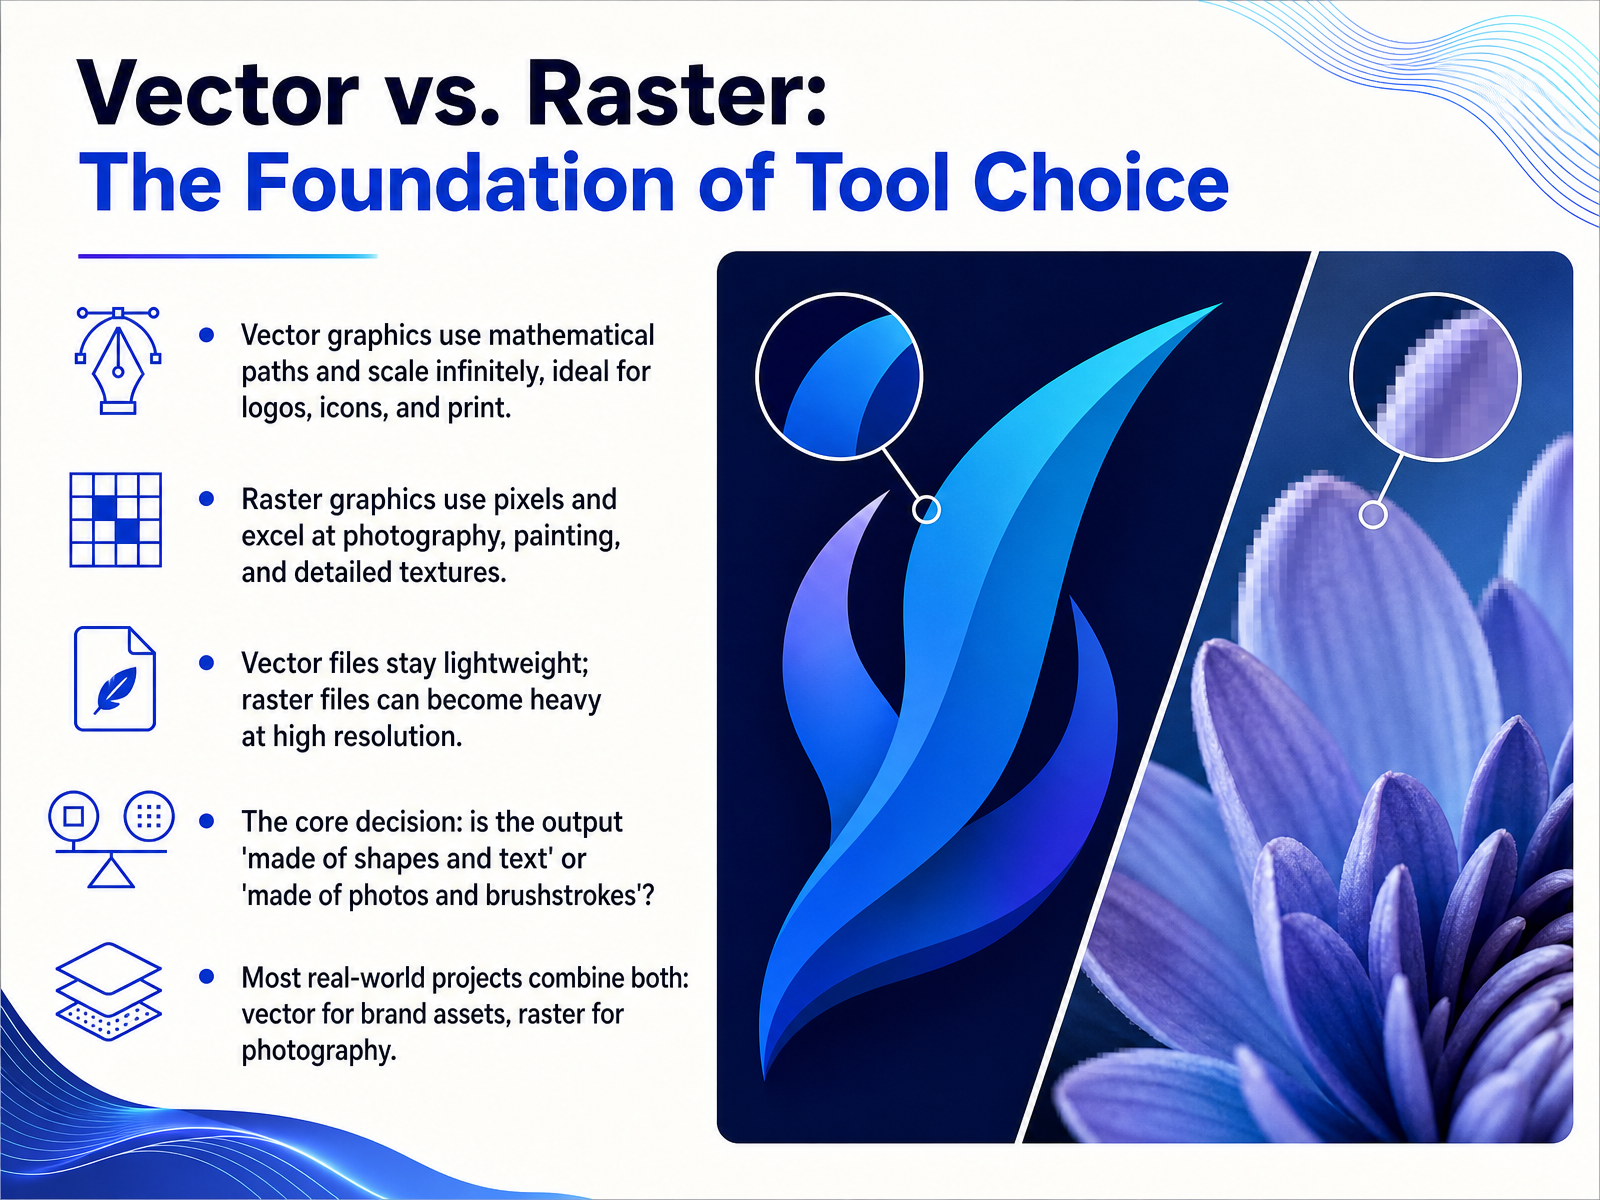
 - 03Vector vs. Raster: The Foundation of Tool ChoiceLet's get into the foundational choice behind most tool decisions: vector versus raster. Think of it this way. Vector graphics are built from mathematical paths. That means a logo or an icon can go from a business card to a billboard and stay perfectly crisp. Vector files also tend to be lightweight, which keeps your projects fast. Raster graphics, on the other hand, are made of pixels. This is where photography and rich, textured painting shine. The trade-off is that high-resolution raster files can become very heavy, and they lose quality if you enlarge them too much. So the core question isn't which format is better. It's simply: is your output made of shapes and text, or is it made of photos and brushstrokes? If you need sharp, scalable brand assets, think vector. If you need detailed, realistic imagery, think raster. And in most real-world projects, you'll combine both, using vector for the logo and raster for the photo. With that foundation in place, we can start matching the right software to the task.
 adobe.comadobe.comcoreldraw.com+21 min
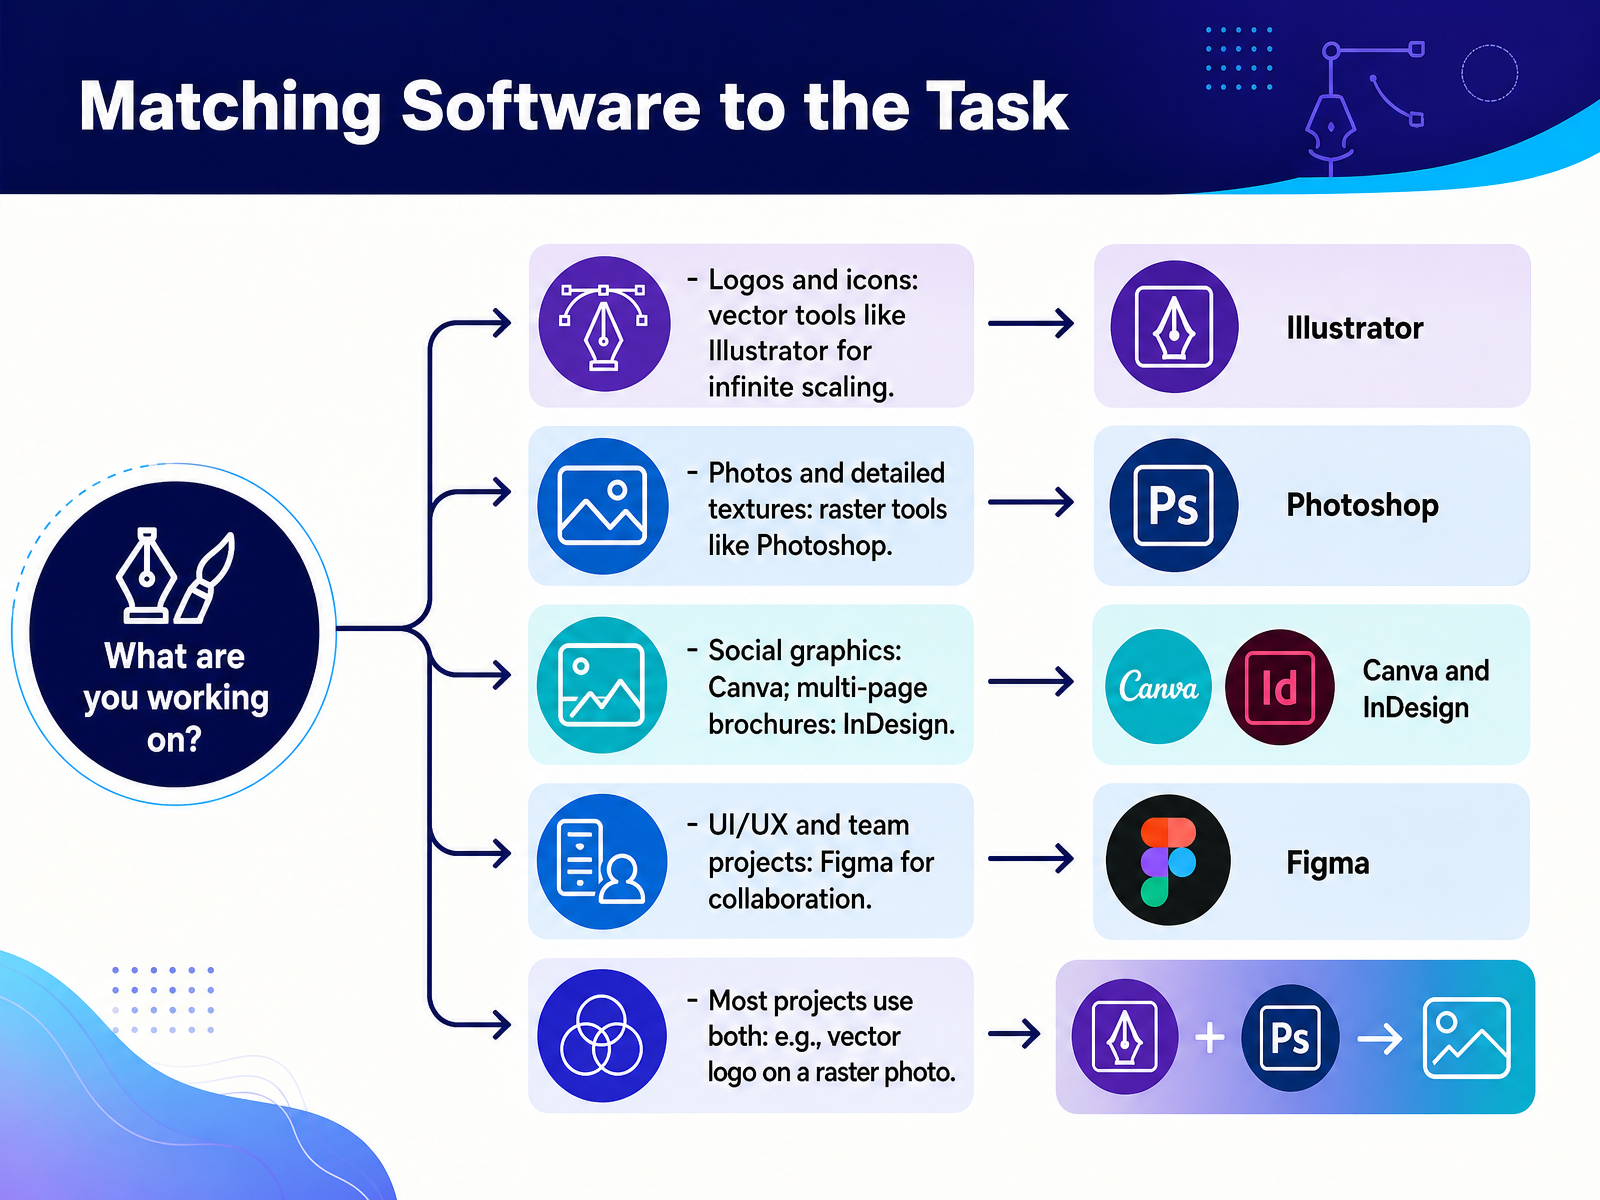
 - 04Matching Software to the TaskNow let's match the right tool to the task in front of you. Think about what your project needs to become before you choose an app. If you are building a logo, an icon, or any mark that must stay sharp on a business card and a billboard, start in a vector tool like Illustrator. Vector files scale cleanly because they are built from paths instead of pixels. If you are editing photos, retouching skin, or working with detailed textures, open a raster tool like Photoshop. Pixels give you the color detail and soft shading that photos demand. For fast social graphics, templates, and simple marketing assets, Canva is usually the quickest path to a finished post. When you need a multi-page brochure, catalog, or book, move into InDesign, because it handles flowing text and page structure far better than Illustrator or Photoshop can. For app screens, websites, and team projects where you need live collaboration and reusable components, Figma is the practical choice. And keep this in mind. Most real projects are hybrids. You might build a vector logo in Illustrator and place it on a raster photo in Photoshop. That is not a problem. It is how professionals work. Learning to choose the right app for each stage will save you hours and make your files much easier to reuse. Next, we will look at system requirements and hardware compatibility.
 adobe.comadobe.comcoreldraw.com+22 min
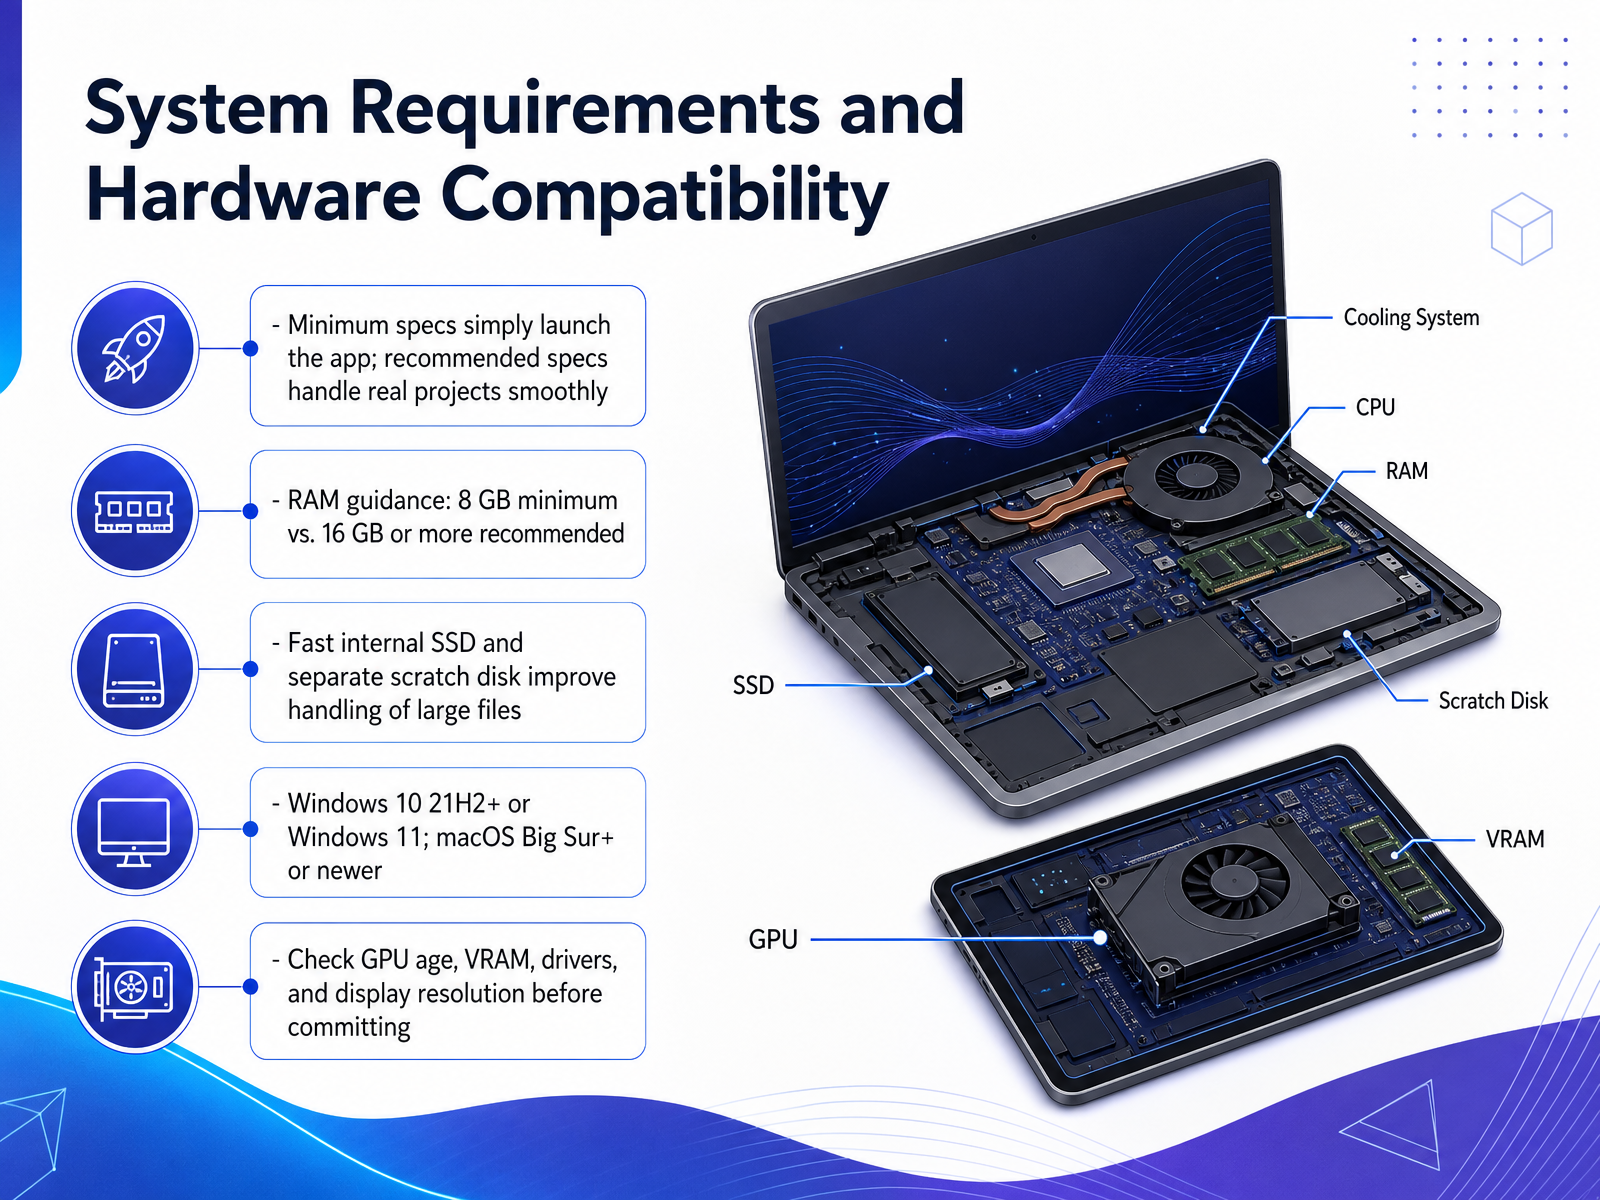
 - 05System Requirements and Hardware CompatibilityNow let's talk about what actually makes these tools run well, because minimum requirements can be misleading. Minimum specs basically launch the app. Recommended specs let you work on real projects without constant slowdowns. So memory is your first big decision. Eight gigabytes of RAM is the official floor, but sixteen gigabytes or more is where professional work feels smooth, especially if you keep a browser and other apps open. Storage matters too. A fast internal solid state drive, or SSD, will make saving and opening files much quicker. And if you work with large files, a separate scratch disk gives the app extra room to manage temporary data. For operating systems, stick with Windows 10 version 21H2 or newer, Windows 11, or macOS Big Sur or later. Older systems may run the software, but Adobe may disable some GPU acceleration. Before you commit to any machine, check the graphics card age, its video memory, driver updates, and your display resolution. A newer GPU with more video memory handles zooming, panning, and effects far better than older or integrated graphics. The takeaway here is simple: buy or upgrade for your real workload, not just to meet the install screen. Up next, we will look at budget, licensing, and how team needs change your choices.
 helpx.adobe.comhelpx.adobe.comhelpx.adobe.com+21 min
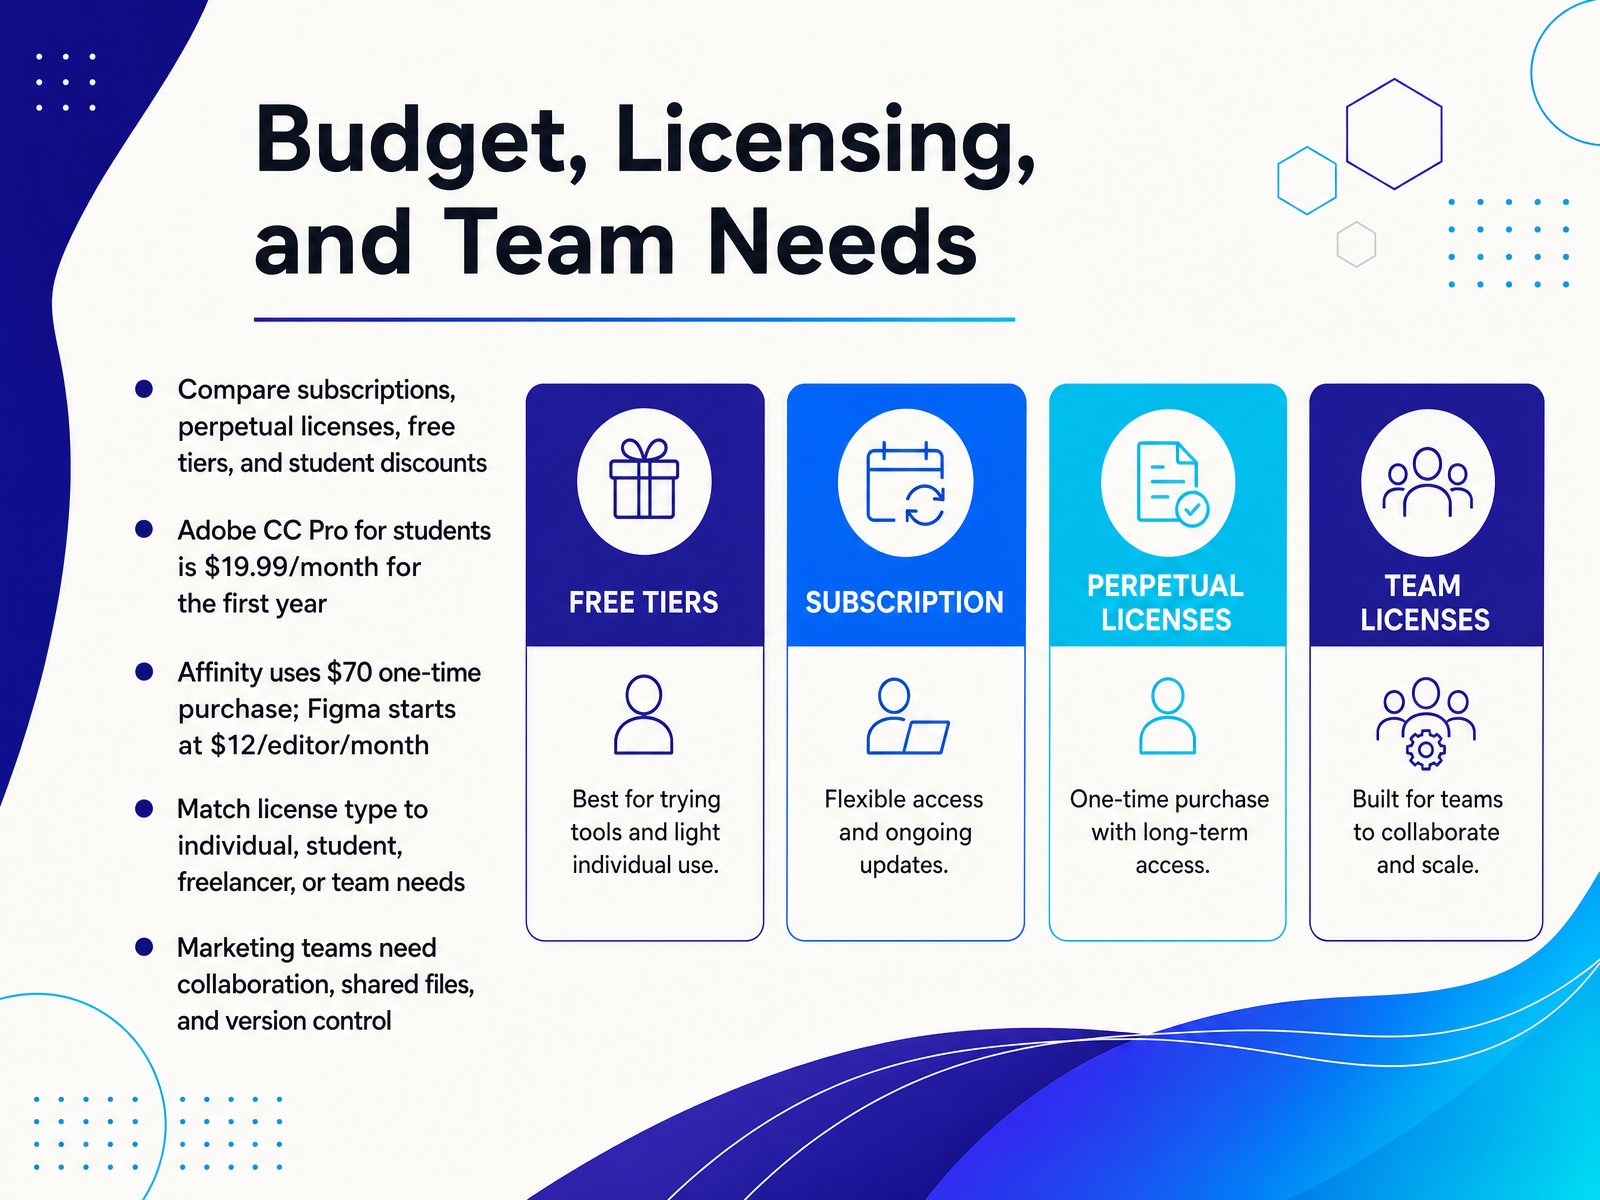
 - 06Budget, Licensing, and Team NeedsNow let's talk about budget and licensing, because the right tool at the wrong price can still be a problem. The key is matching how you pay to how you actually work. Subscriptions give you constant updates and a lower starting cost. For example, students can get Adobe Creative Cloud Pro for nineteen dollars and ninety nine cents a month for the first year. That's a strong deal if you need access to the full suite and your coursework is changing quickly. But if you prefer to own your software, look at a one time purchase like Affinity. For about seventy dollars you have the tool without a recurring bill. If you're working on a team, though, think beyond the individual price. Marketing teams need shared files, clear version control, and smooth collaboration. A tool like Figma, which starts at twelve dollars per editor per month, is built around that shared workflow. The real question is not which option looks cheapest this month. It's which license structure solves your problem over the next year or two without creating friction for your team. Up next, we'll look at the common selection mistakes people make and how to avoid them.
 coreldraw.comadobe.comsketch.com+21 min
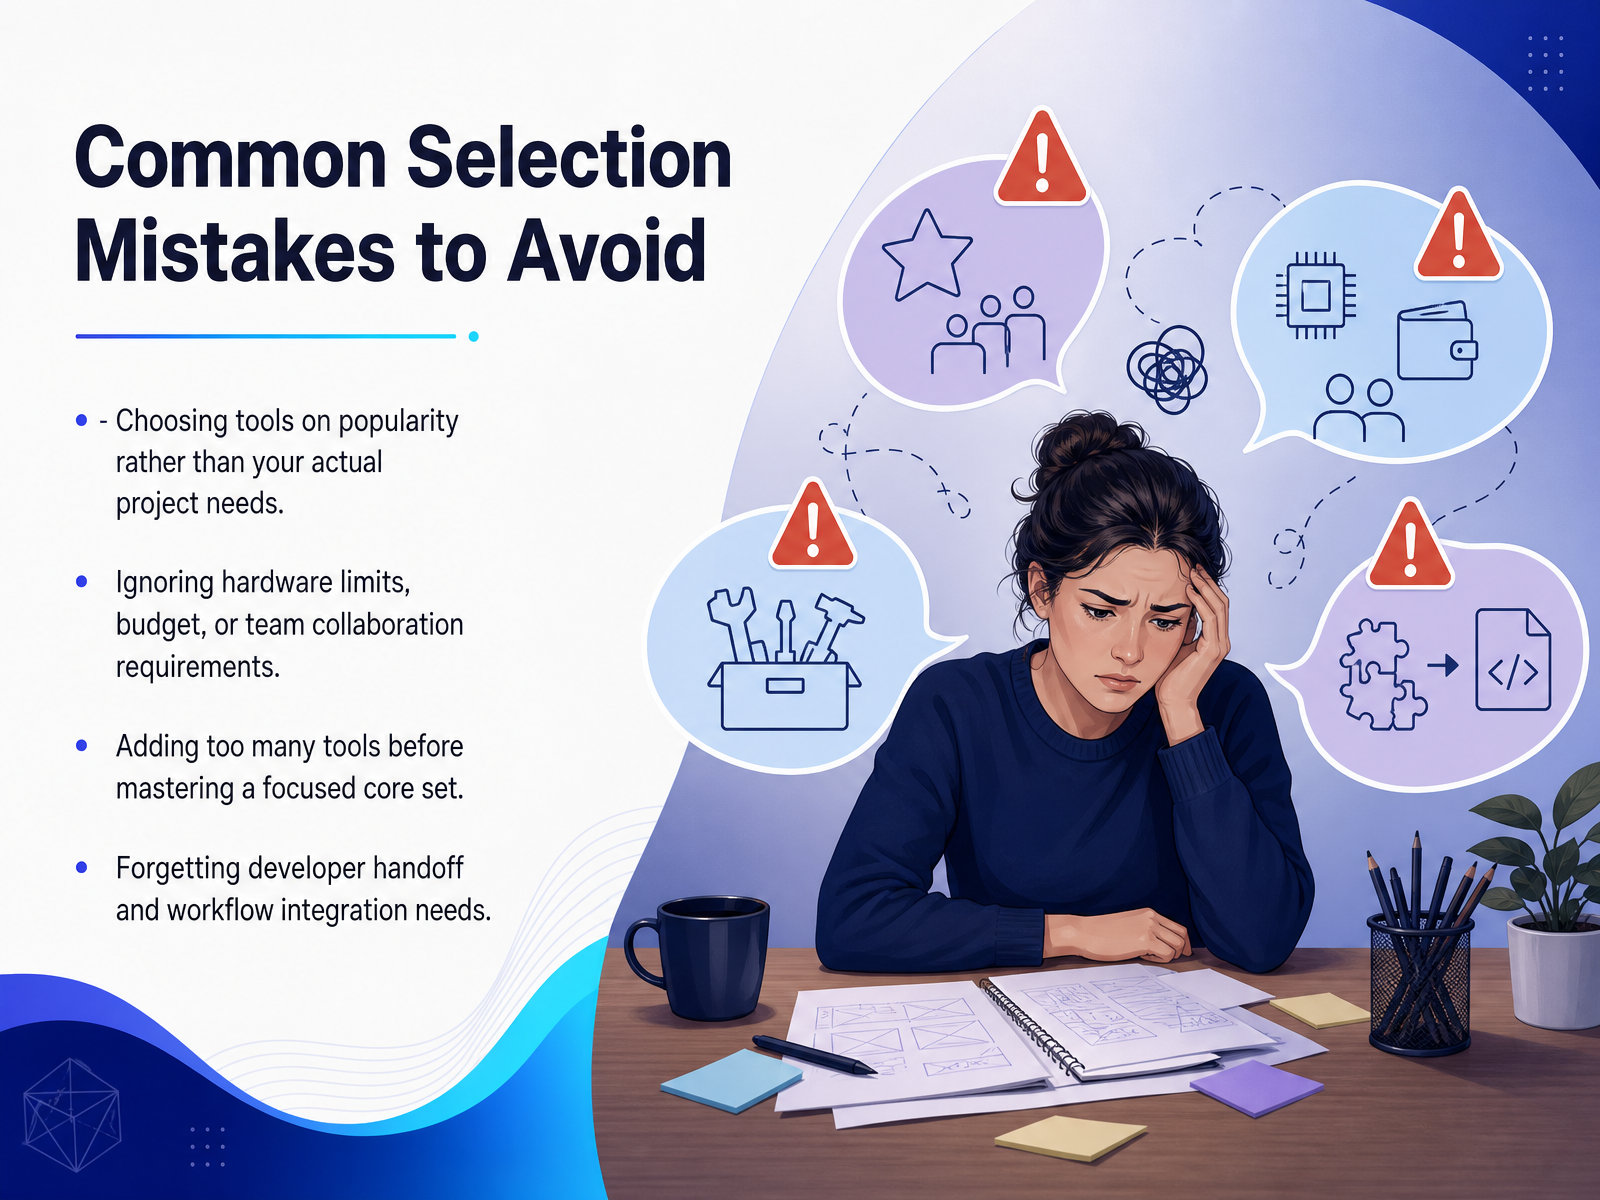
 - 07Common Selection Mistakes to AvoidBefore we move to a more structured approach, let's look at the traps that trip up most people. The biggest mistake is choosing a tool because everyone is talking about it. Popularity doesn't mean it fits your workflow. A solo freelancer and a large enterprise team have very different needs. Second, many people ignore the practical constraints. Hardware limits, budget realities, and collaboration requirements all matter. If a tool won't run on your current computer or breaks your team's shared process, it's the wrong fit. Third, avoid the temptation to add five new tools at once. You'll spend more time switching between apps than actually designing. Focus on mastering a small core set first. One solid tool you know deeply is far more powerful than five tools you barely understand. Finally, don't forget the developer handoff and integration needs. Your design doesn't end when the image looks good. It has to move smoothly to the development team or connect with your project management software. If those connections aren't there, you'll spend hours doing manual file transfers and fixing errors. Keep these warnings in mind, because they clear the path for a better way to decide. Next, let's walk through a practical selection framework that helps you avoid every one of these mistakes.
 2 min
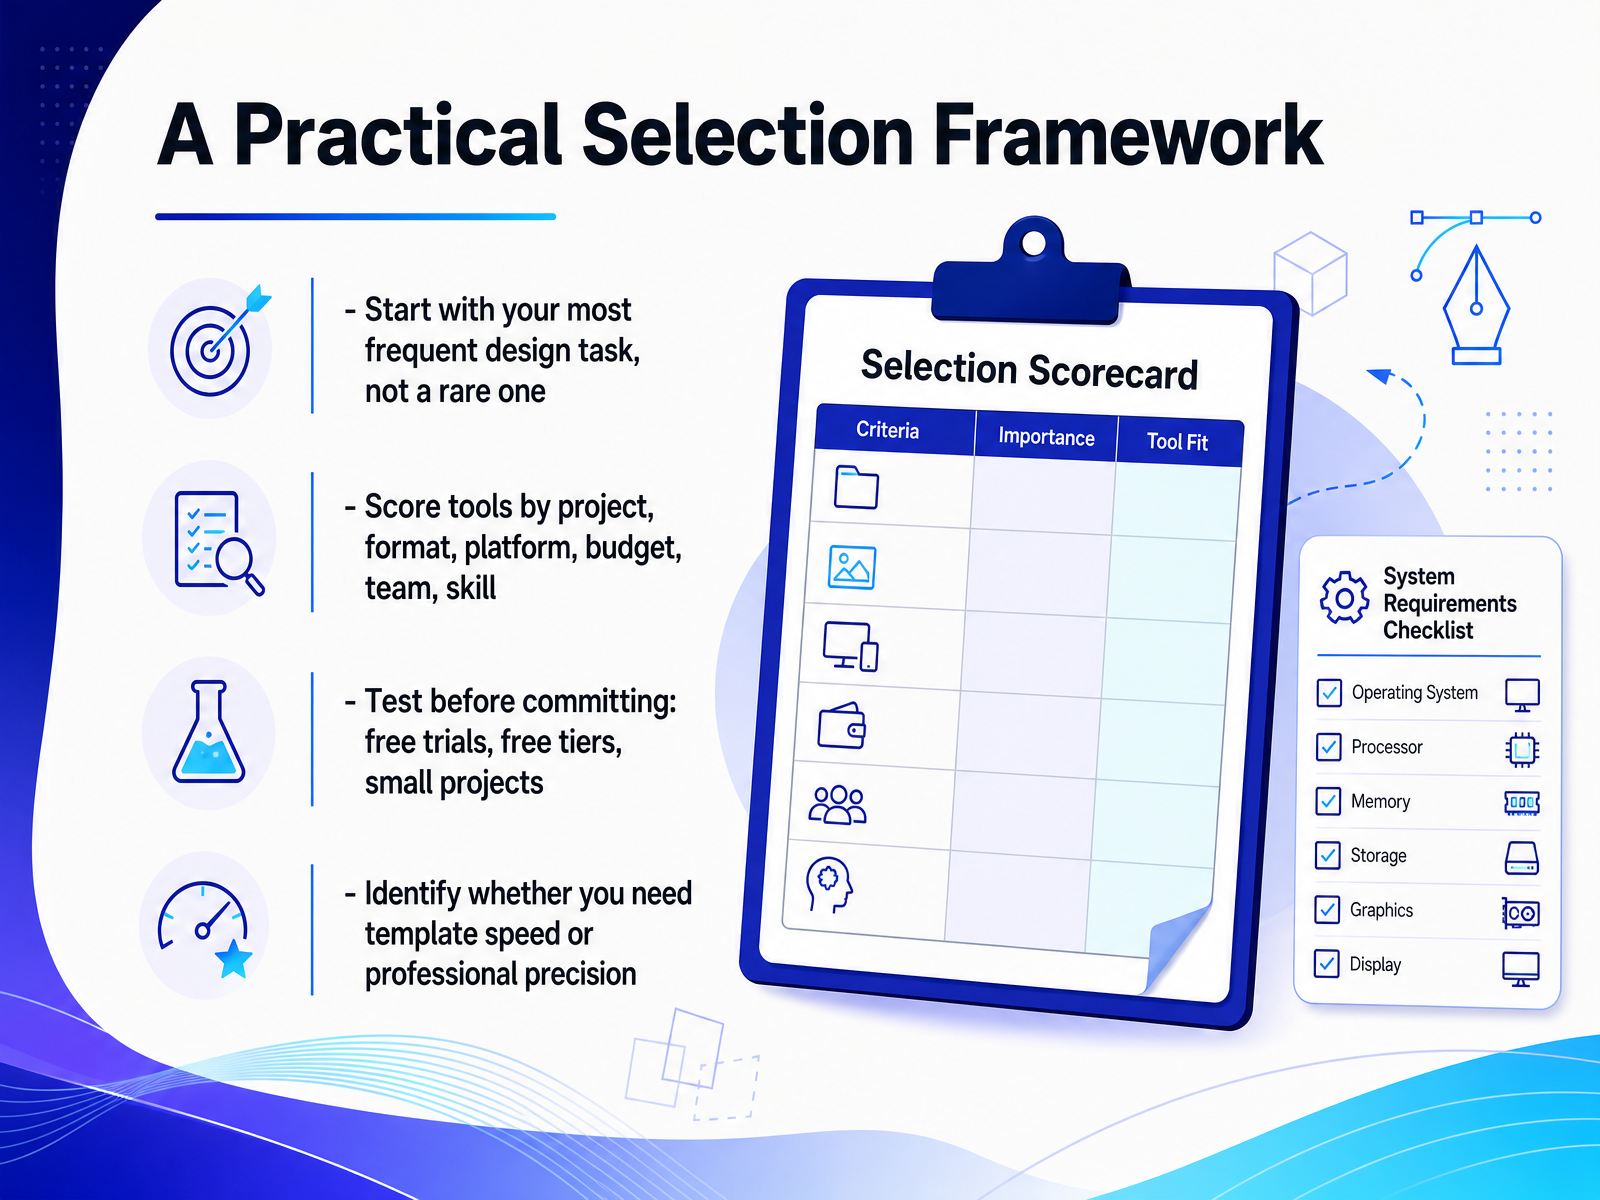
2 min - 08A Practical Selection FrameworkSo how do you actually choose without getting stuck in endless comparisons? Start with the design work you do most often, not the rare project you might tackle someday. If you mostly ship social media graphics and marketing decks, template speed matters more than professional precision. If you are building apps or websites, precision and collaboration should lead your decision. Next, score each tool against the realities of your workflow. Think about the project type, the final format, the platform you use, your budget, your team size, and your current skill level. A tool that fails even one of those realities will create friction every single day. Then test before you commit. Most major tools offer free plans or free trials. Canva, Figma, Adobe Express, and Penpot all have free tiers, so pick one small real project and run it through the full process. Do not just click around the dashboard. Import your actual assets, export the real format, and see whether the workflow feels natural. Finally, be honest about the tradeoff between template speed and professional depth. Canva and Adobe Express get non-designers to finished output quickly. Figma and Penpot give you more control for product and interface work. You are not choosing the best tool in general. You are choosing the best fit for your most frequent work. In the next part, we will look at how to turn that choice into a smooth, repeatable workflow.
 launchpad-design.co.uk2 min
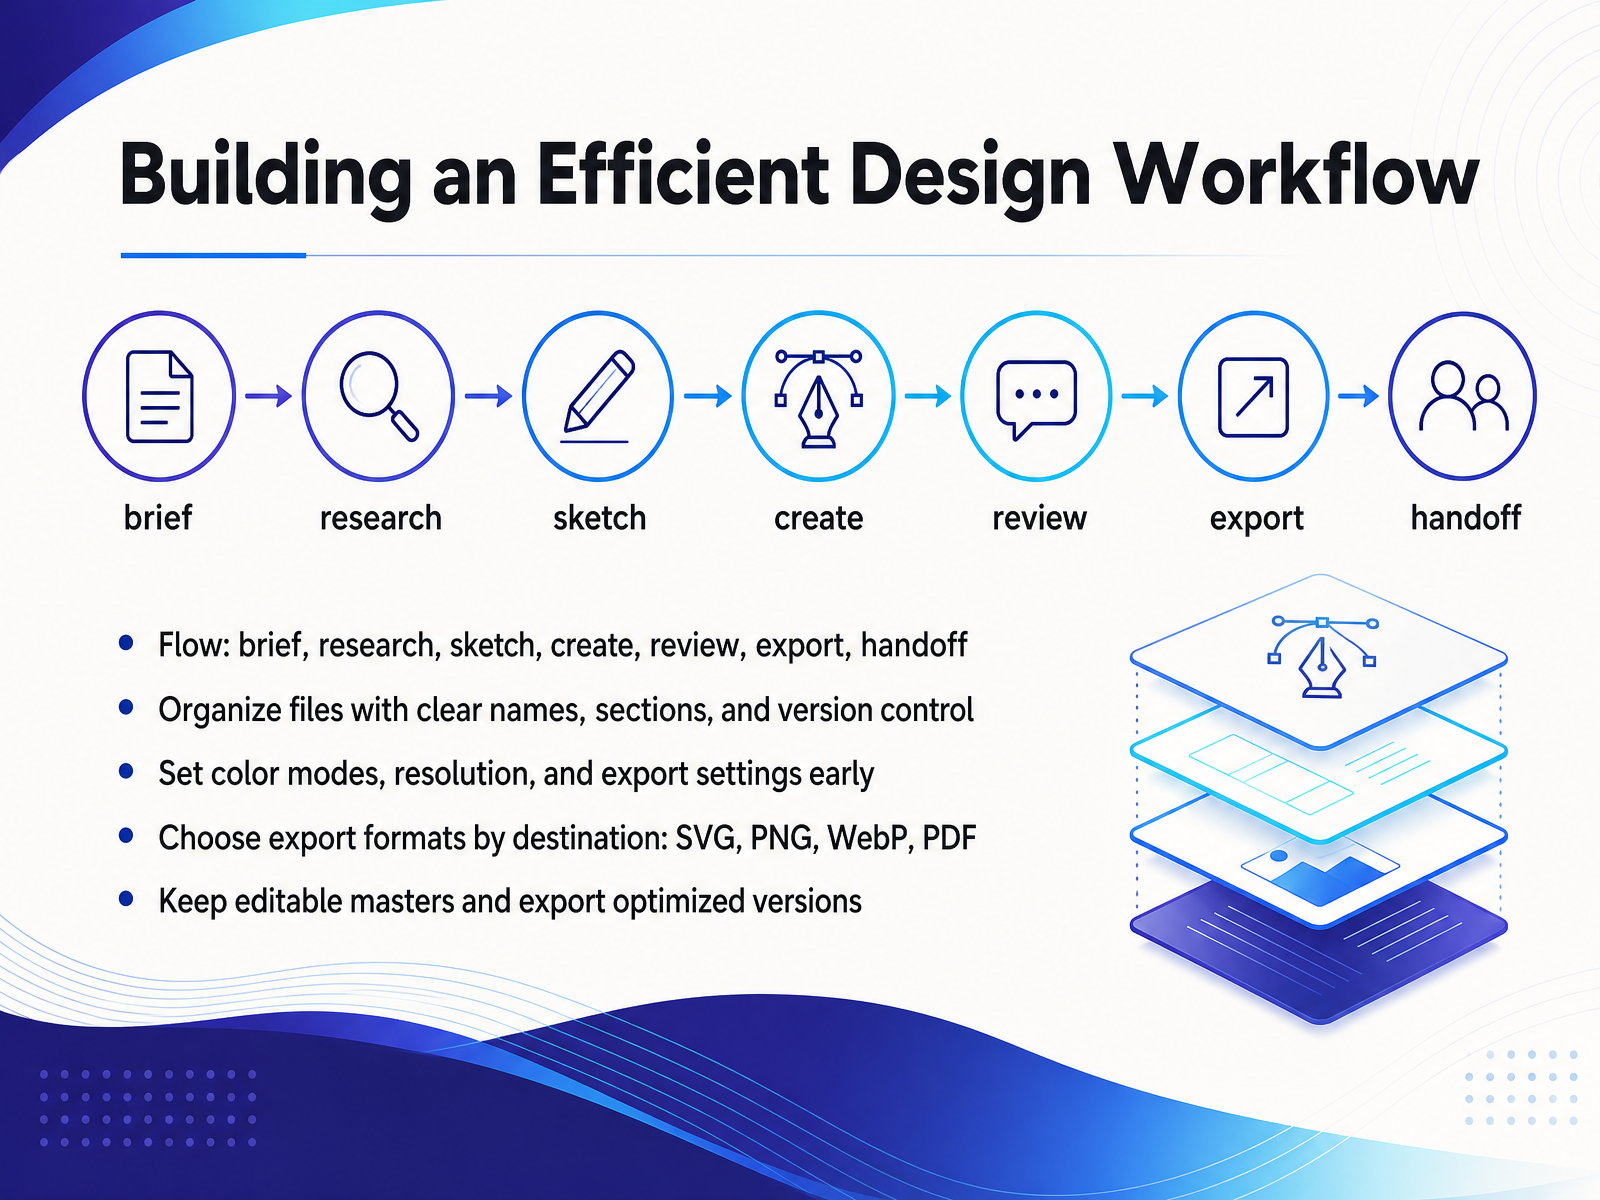
 - 09Building an Efficient Design WorkflowSo now that we have the right tools selected, let's talk about building a workflow that actually saves you time. An efficient design process usually follows a predictable path. You move from a creative brief and research, into rough sketching and digital creation, then through internal review cycles, and finally to export and handoff. If you organize your files from the start, with clear layer names, sections, and version control, you will avoid the nightmare of hunting for the final file later. A major time saver is setting your technical foundation early. Decide on your color mode and resolution before you start designing, not after. When it is time to export, let the destination guide you. Icons and logos work best as SVGs because they stay crisp at any size. Photographs and complex images are usually exported as PNG or WebP for the web. If you are creating a print document or a client presentation, a PDF is often the safest deliverable. The golden rule here is to keep an editable master file for yourself, and only export optimized, flattened versions for the final handoff. This keeps your source file safe in case revisions are needed later. Now that we know how to structure our workflow, let's move on to some non-destructive editing and export best practices to keep those masters flexible.
 2 min
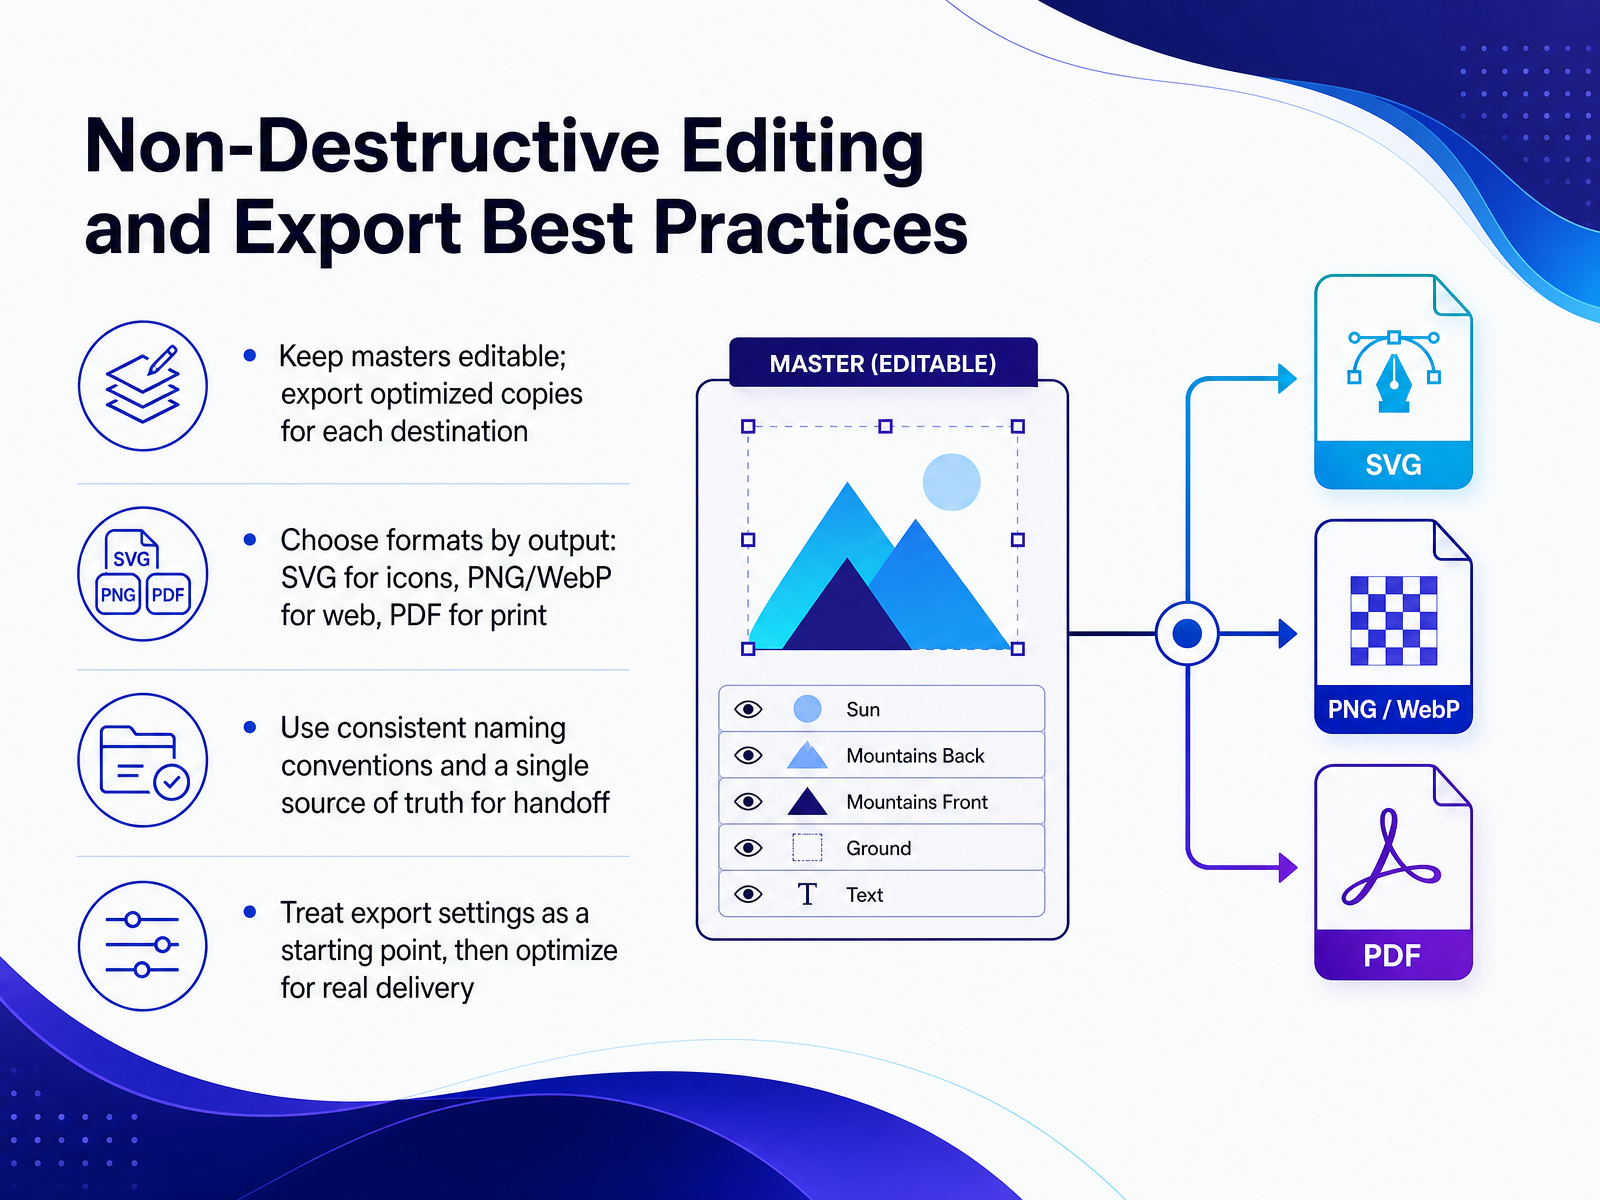
2 min - 10Non-Destructive Editing and Export Best PracticesNow that your design is ready, let's talk about delivering it without losing flexibility. The core idea is non-destructive editing. Keep your master file fully editable, and treat every exported file as a disposable copy for a specific destination. Never flatten your only source. You will thank yourself when a client asks for one more tiny change.
Choosing the right format comes down to the job, not habit. Icons and logos should go out as SVG so they stay crisp and small. For web images, PNG or WebP are your workhorses. If anything is headed to professional print, export a PDF. Remember, a JPG is not a one-size-fits-all answer.
For handoff, discipline matters more than talent. Use consistent naming conventions and keep one single source of truth. When your filename is predictable, your collaborators stop guessing.
Finally, do not trust the default export panel blindly. Those settings are a starting point, not the final product. After you export, optimize for real delivery by compressing or resizing. It only takes a minute, but it keeps your files fast and professional.
Next, let's look at how to keep these skills moving forward with learning paths and skill development.
 1 min
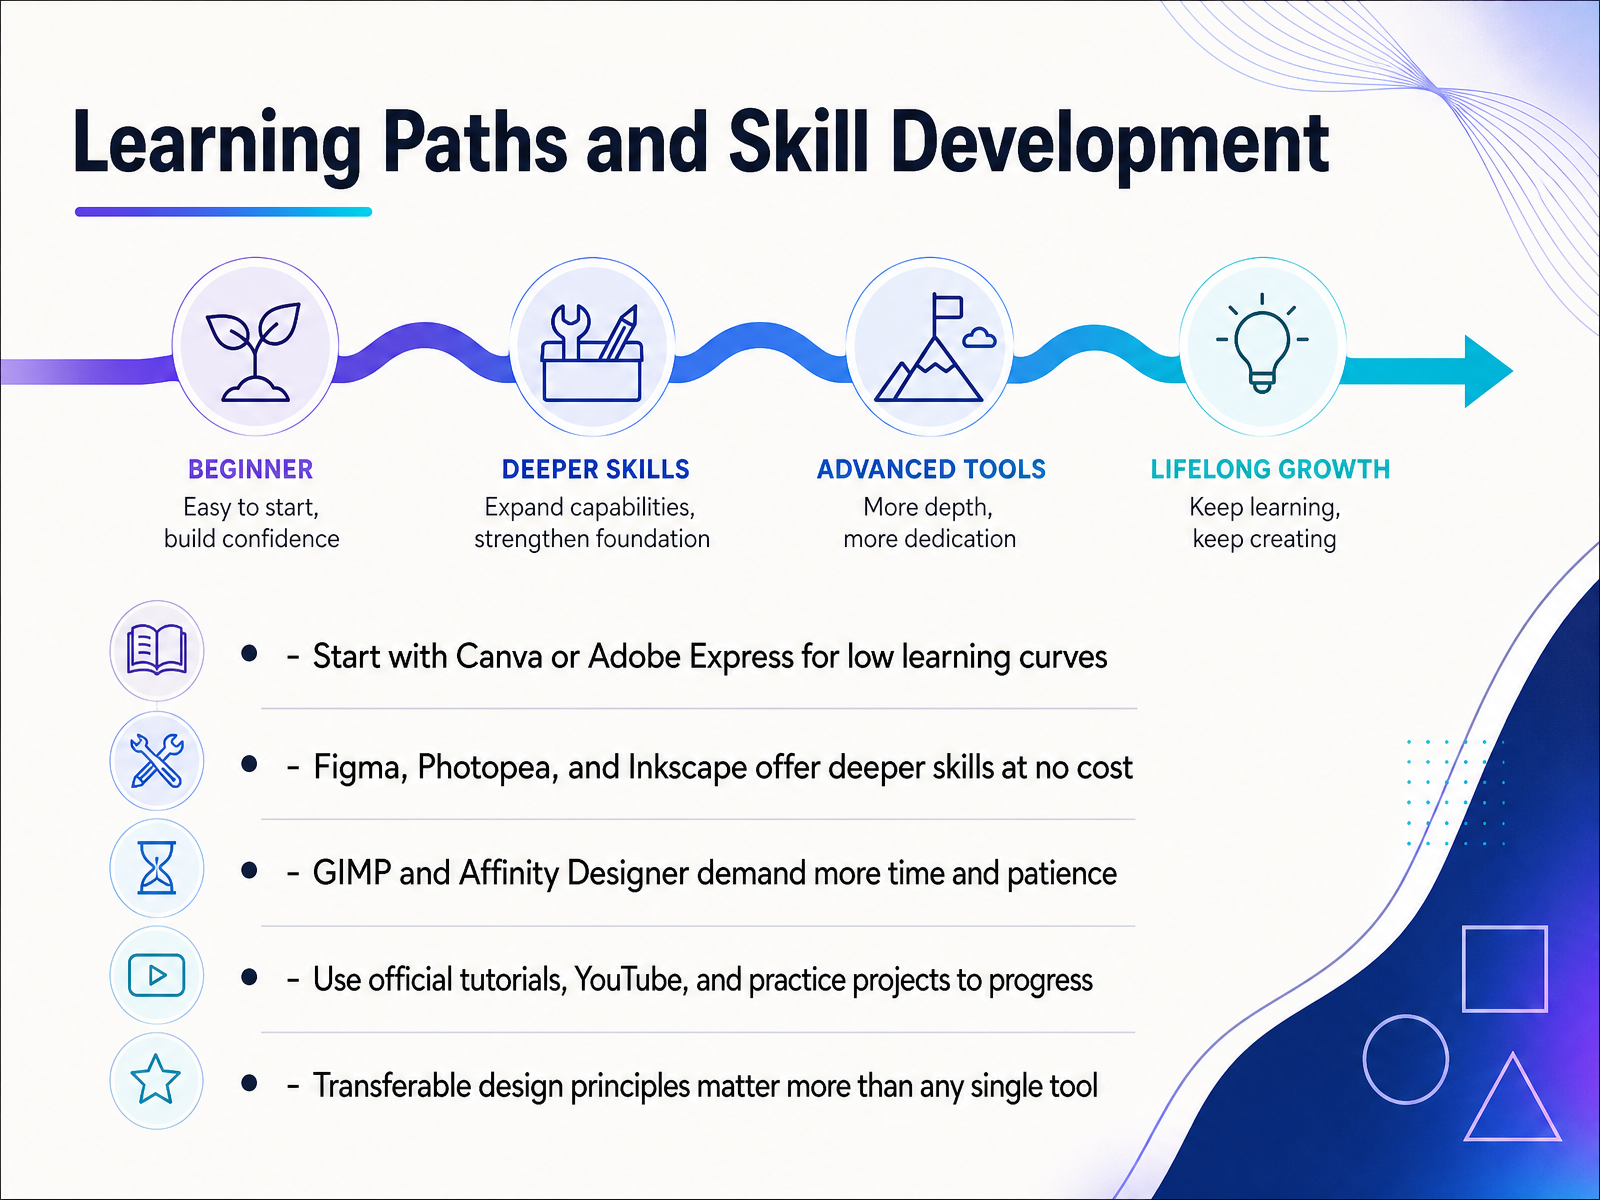
1 min - 11Learning Paths and Skill DevelopmentNow let's talk about how to actually build your skills. The key is to match the tool to your current stage and project goals. If you need a quick win and have no design experience, start with Canva or Adobe Express. They have the lowest learning curves, so you can create a polished graphic in minutes without feeling overwhelmed. As your confidence grows, Figma, Photopea, and Inkscape are excellent free options for developing deeper, more professional skills. Figma is great for web design, Photopea for photo editing, and Inkscape for logos. GIMP and Affinity Designer offer even more power, but they demand more time and patience, so save them for when you are ready. To progress, rely on official tutorials, YouTube walkthroughs, and personal practice projects. Remember, the design principles you learn in one tool transfer to every other tool. Mastering alignment, contrast, and spacing matters more than knowing any single piece of software. Next, let's look at beginner-friendly starting stacks.
 1 min
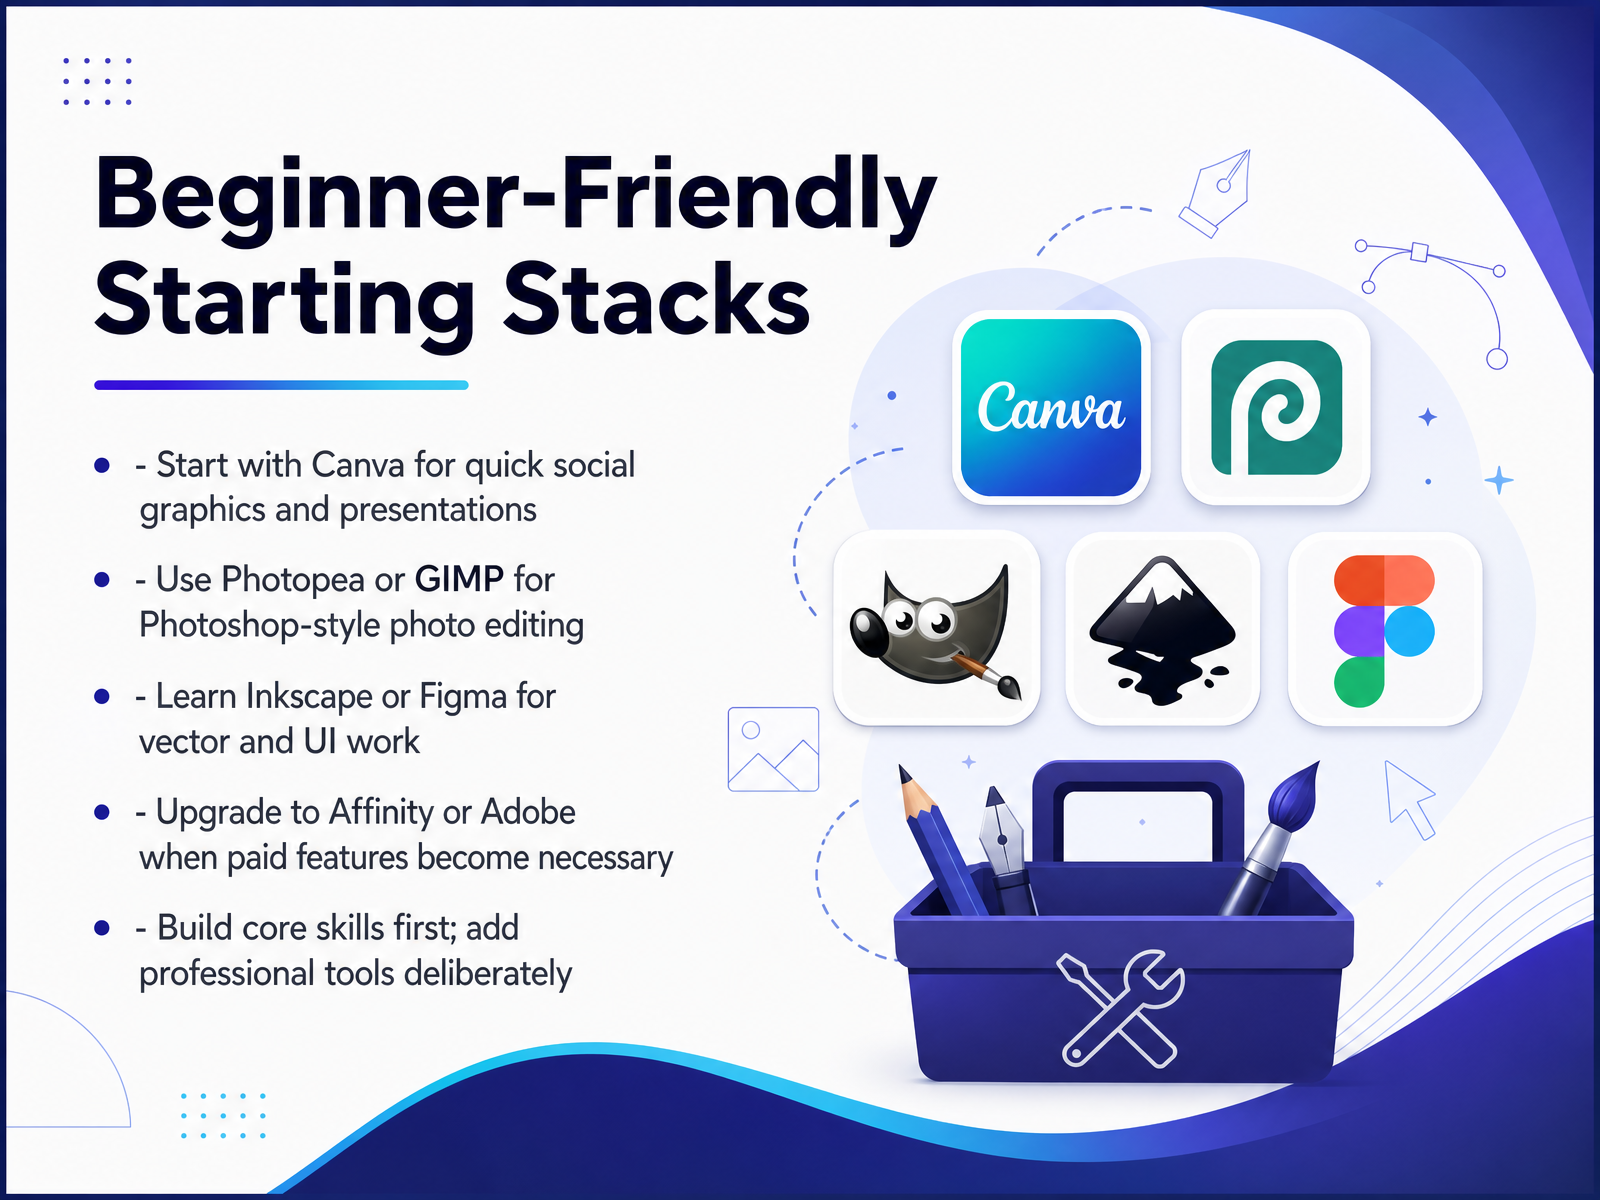
1 min - 12Beginner-Friendly Starting StacksLet's talk about building a beginner-friendly starting stack. The goal here is simple. Start with tools that get you creating quickly, without spending money or getting lost in complicated menus. For fast social graphics and presentations, begin with Canva. It uses a drag and drop approach, so you can produce polished work in minutes, not hours. When you need to edit photos the way you would in Photoshop, explore Photopea or GIMP. These free tools teach you the fundamentals of layers and selections. For logos, icons, or interface design, try Inkscape for vector work or Figma for UI design. Figma is especially valuable because it is the tool many professional design teams use every day. Only upgrade to a paid tool like Affinity or Adobe when you hit real limits, like specific file formats or advanced print controls. Build your core skills first. Add professional tools deliberately, as your projects demand them. That way, you invest in software because your work requires it, not because you feel pressured to buy the industry standard on day one. Next, we will look at how to collaborate smoothly and hand off your work to a team.
 1 min
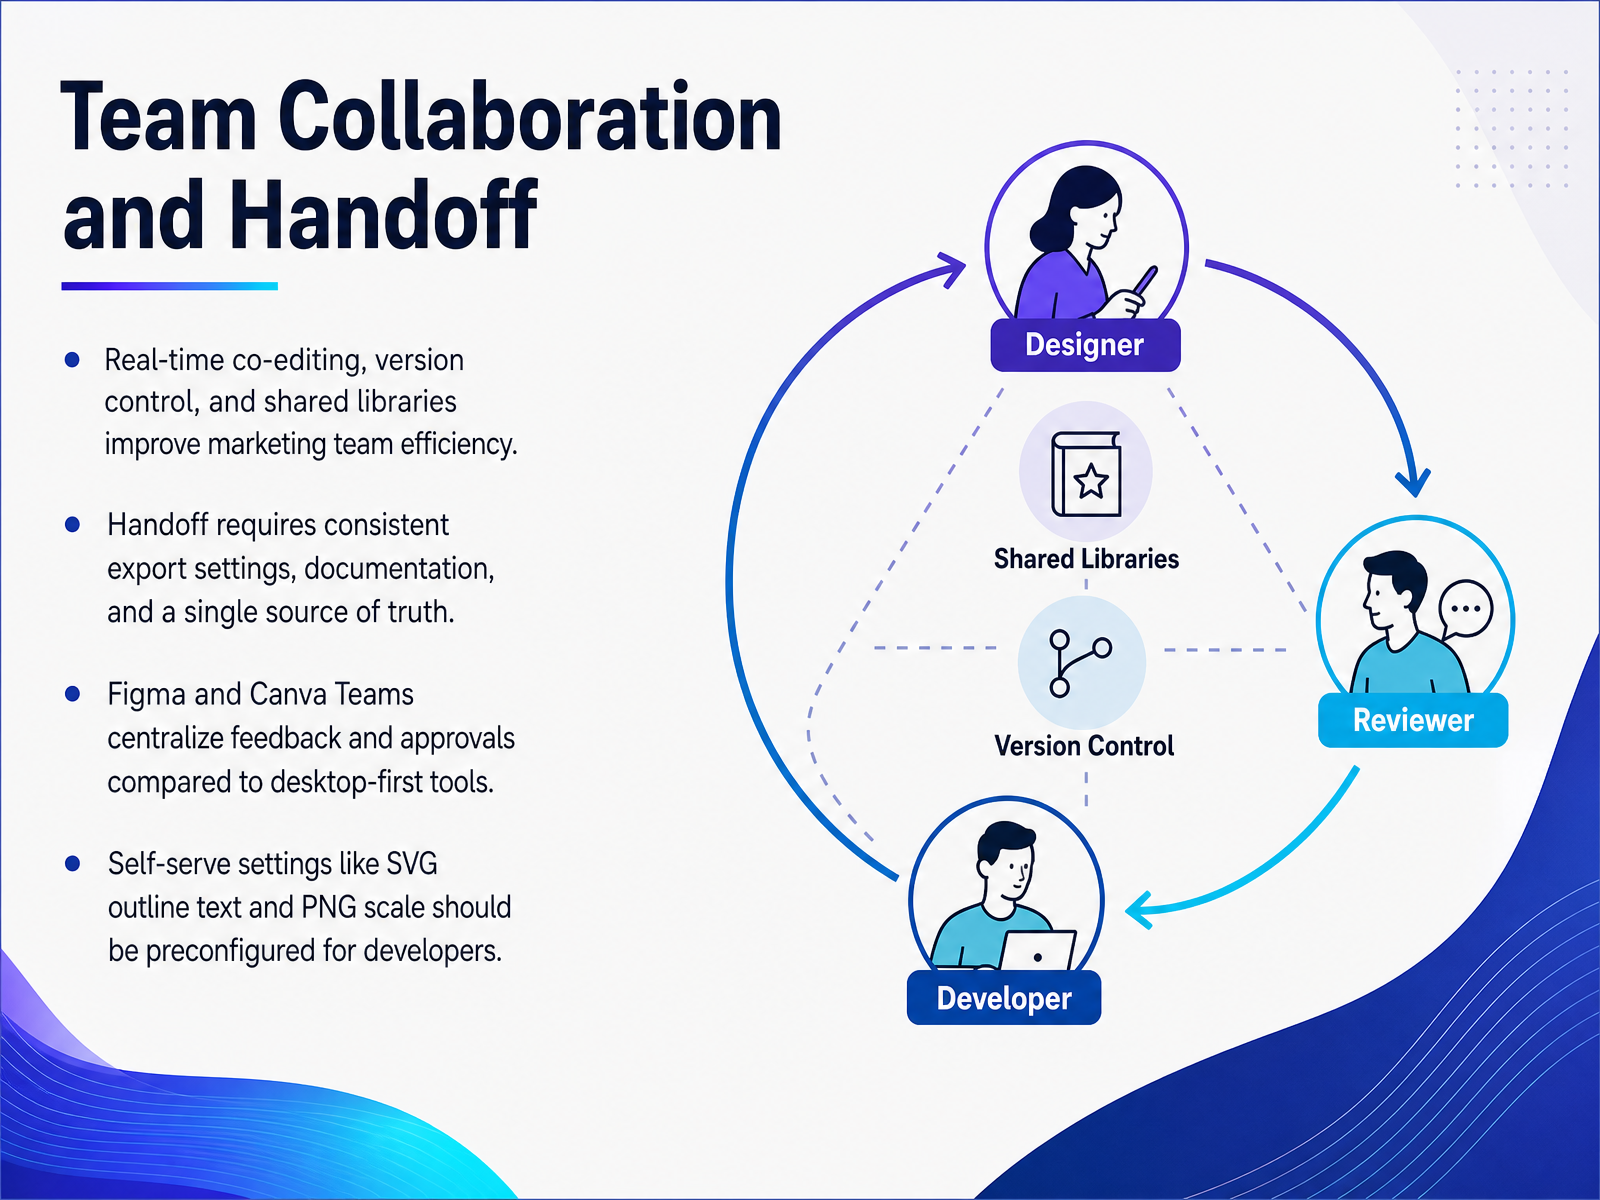
1 min - 13Team Collaboration and HandoffNow, let's look at how teams actually share and hand off design work. Collaboration tools have changed the game, especially for marketing teams. Real-time co-editing, version control, and shared libraries mean you spend less time chasing files and more time moving projects forward. When your team has to pass work to developers, consistency is everything. A clean handoff requires agreed export settings, clear documentation, and one source of truth for the latest version. This is where tools like Figma and Canva Teams really shine. They centralize feedback and approvals, so decisions stay in context instead of getting lost in email threads. One practical step is to preconfigure self-serve export settings for developers. For example, set SVG text to outline, and define PNG export scales upfront. That removes guesswork and keeps the build looking the way you designed it. The goal is a predictable workflow where each person knows exactly what to hand over, and how the next person will receive it. With those practices in place, you are ready to turn this into a repeatable process. Up next, we will create an action plan and define your next steps.
 2 min
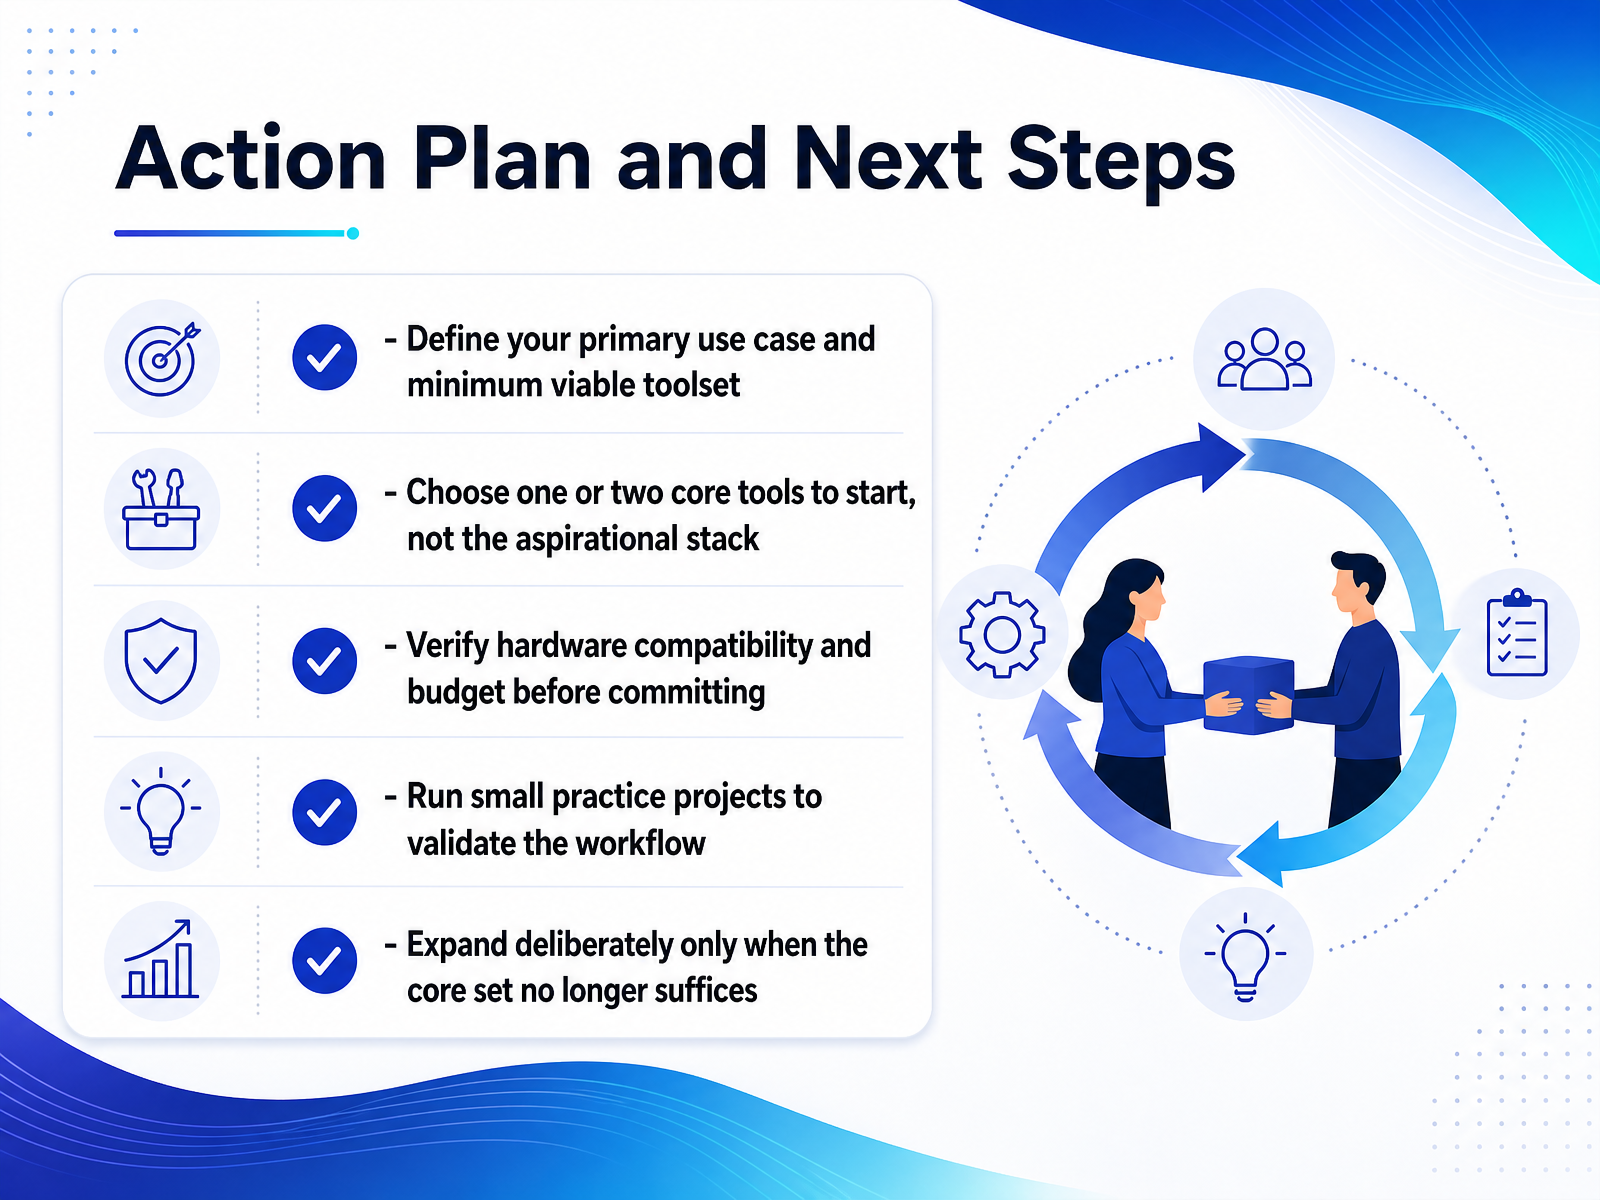
2 min - 14Action Plan and Next StepsAnd that brings us to the most important part: what you do next. This is not about buying more tools or building the perfect creative stack. It is about making a small, confident start and letting your real work guide the rest. First, define your primary use case. Are you making social graphics, logos, or interface designs? That single answer points you to the right starting tool, such as Canva for marketing content, Figma for product work, or Affinity for budget-conscious vector design. Next, choose one or two core tools, not the aspirational stack. Verify that your hardware can handle them and that the budget makes sense over the next year. Then run a few small practice projects. A real deliverable will reveal more than any feature list. Expand deliberately only when your core set no longer covers the job. Start simple, prove your workflow, and add tools only when the work demands it. You now have everything you need to make a smart, informed choice. Thank you for joining me, and good luck on your design journey.
 pcmag.comtoolradar.comedesignify.com+22 min
Take the deck with you
Download this course as a file — free, no sign-up needed.
- PDF handoutEvery slide page, ready to print or share.15 pages · 3.6 MBDownload
- Narrated PowerPointThe deck that presents itself — every slide carries the digital human's narration video.15 pages · 16.5 MBDownload
- PowerPoint slidesThe full deck as a .pptx — open it in PowerPoint, Keynote, or Google Slides.15 pages · 3.5 MBDownload
Free to use in your own training — please keep the PersonWise credit page at the end.
Have your own deck? Turn it into a course
Sources consulted
Web sources consulted while building this course.
- The Best Graphic Design Software We've Tested for 2026 | PCMag — pcmag.com
- Best Graphic Design Software (2026): 10 Tools Compared — toolradar.com
- Canva vs Adobe vs Figma: Best Design Tool in 2026 — edesignify.com
- Best Graphic Design Tools 2026 | BizTechScout — biztechscout.com
- Best Graphic Design Software 2026: Figma vs Adobe — launchpad-design.co.uk
- Raster vs. vector: What are the differences? — adobe.com
- When to use Illustrator vs. Photoshop | Adobe — adobe.com
- Raster vs Vector | CorelDRAW — coreldraw.com
- Raster vs Vector: Which Format Should You Use? - Sense Central — sensecentral.com
- Professional Illustration Workflows: When Raster and Vector Each Matter — Happy Monday Creative — happymondaycreative.com
- Adobe Photoshop on desktop technical requirements — helpx.adobe.com
- Illustrator on desktop technical requirements — helpx.adobe.com
- Technical requirements for Creative Cloud apps — helpx.adobe.com
- Adobe Photoshop System Requirements 2026 | Minimum & Recommended Specs — proxpc.com
- 🔎 Adobe Photoshop Adobe Illustrator System Requirements 2026 July — practicetestgeeks.com
- Compare CorelDRAW Graphics Suite versions — coreldraw.com
- Pro tools. Over 66% off. — adobe.com
- Pricing for individuals, agencies & teams · Sketch — sketch.com
- Best Design Tools Pricing Compared (2026) | CompareTiers — comparetiers.com
- QuarkXPress Perpetual vs Subscription: The Real Maths | Quark — quark.com