Social Media Post Design Workflow
Begin
14 pages · ~28 min
Social Media Post Design Workflow
Learn a practical workflow for designing effective social media posts, covering planning, creation, and optimization for engaging visual content.
What you’ll learn
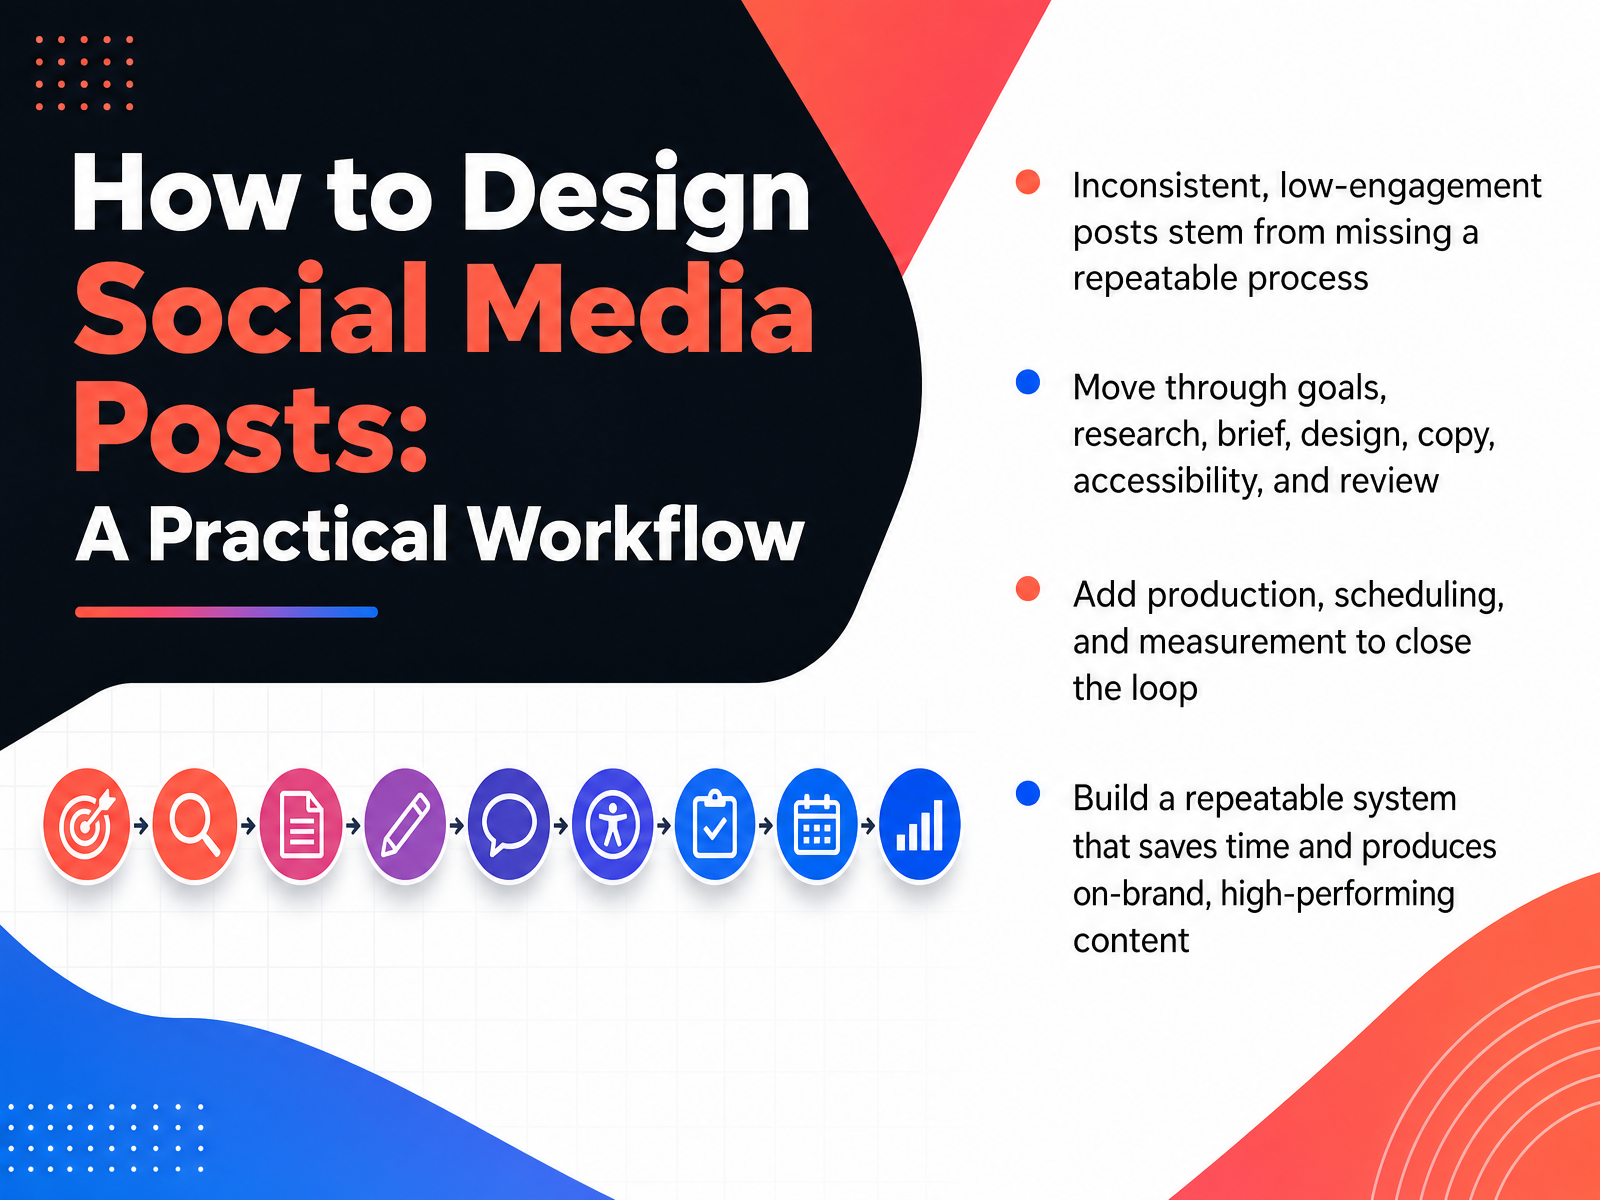
- 01How to Design Social Media Posts: A Practical WorkflowWelcome. In this course, we're going to build a practical workflow for designing social media posts. Here's the problem we're solving. Inconsistent posts and low engagement usually don't mean you lack creativity. They mean you're missing a repeatable process. Without one, every post becomes a guessing game, and the results show it. So we're going to fix that. We'll move through a clear sequence that covers goals, research, creating a brief, design, copy, accessibility, and review. Once you have that locked in, we'll add production, scheduling, and measurement to close the loop. That might sound like a lot, but each step is concrete and quick. The end result is a repeatable system. It saves you time because you're not starting from scratch every day. It keeps your brand consistent. And it makes your content perform more reliably. Think of this as a production line for your ideas, not a creative free-for-all. Let's start with the first step: start with goals, not designs.brisktool.combuffer.combuffer.com+22 min
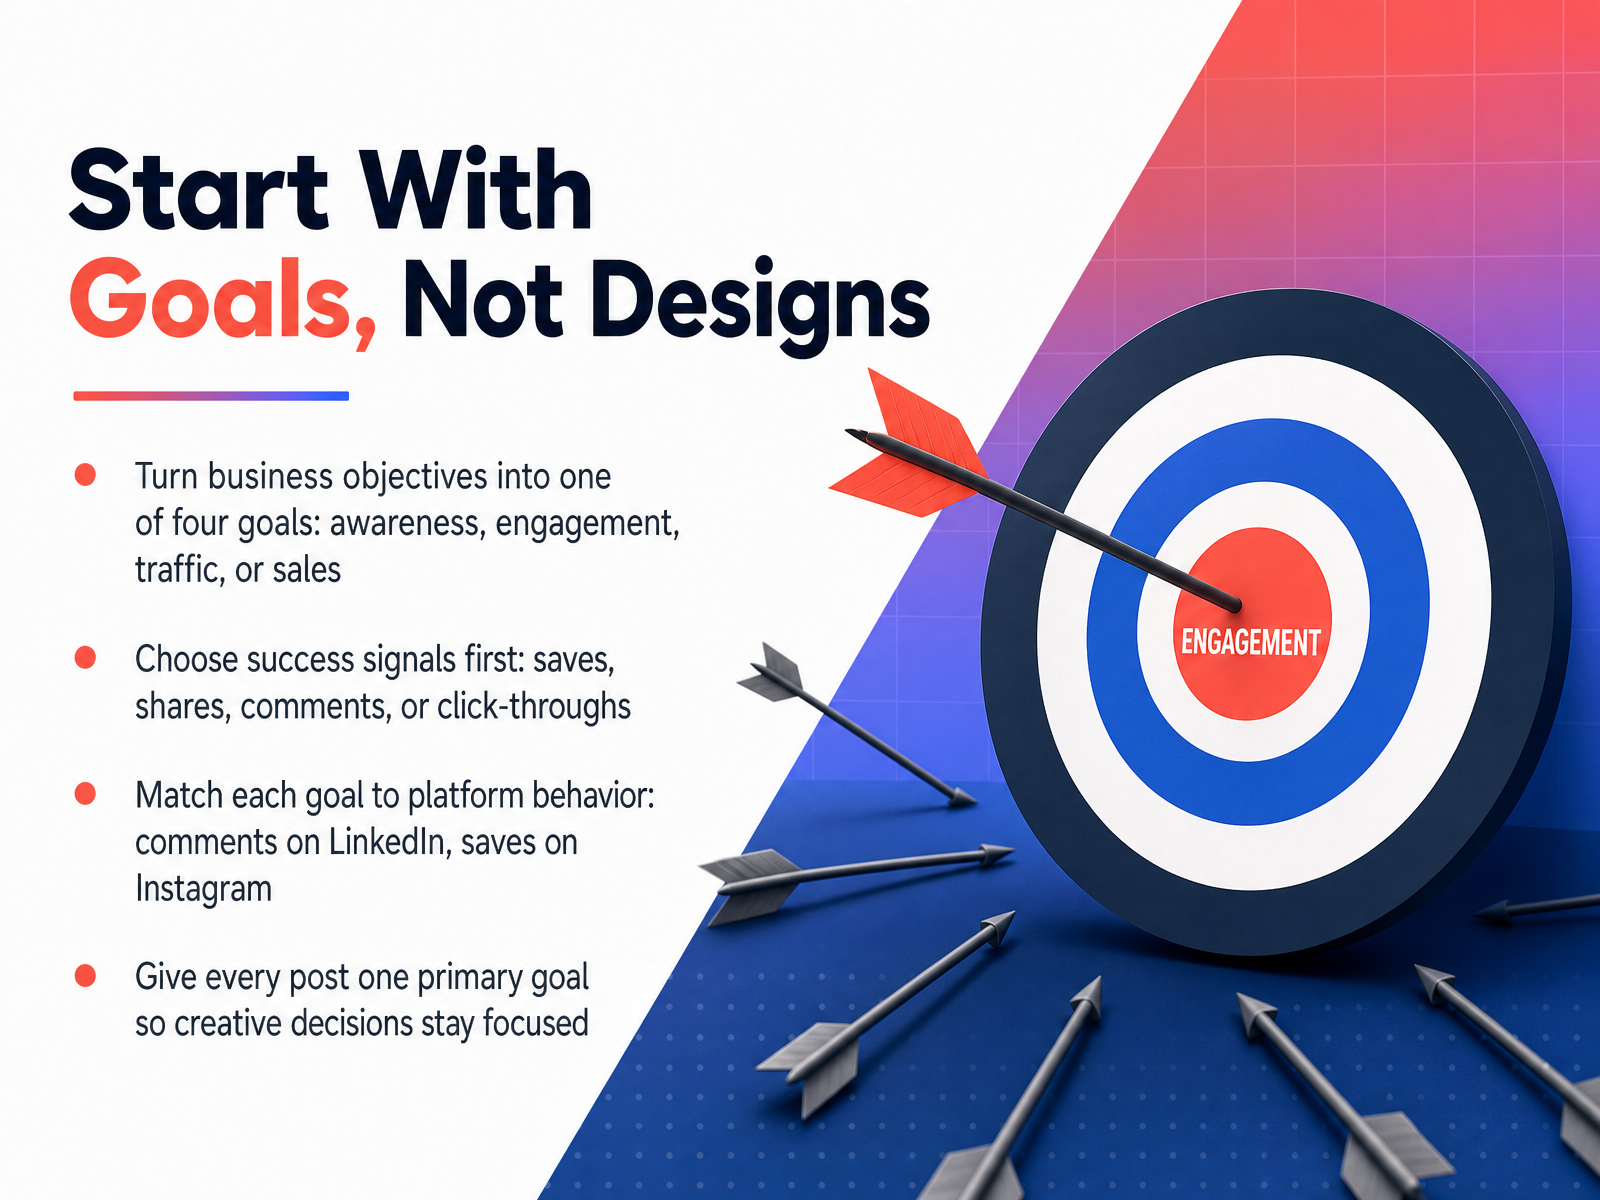
- 02Start With Goals, Not DesignsNow let's talk about the first real step in your workflow. Before you open a design tool, lock down the goal. Start with your business objective, then translate it into one of four social goals: awareness, engagement, traffic, or sales. Pick one. Do not try to hit all four with a single post. Then choose the success signal that matches that goal. If you want engagement, you might track saves, shares, or comments. If you want traffic, you are watching click-throughs. The signal matters because it tells you exactly what to measure later. Next, match the goal to platform behavior. Not every action works the same everywhere. Comments carry real weight on LinkedIn. Saves matter a lot on Instagram for reach. So when you plan a post, ask yourself what action this platform naturally rewards. Finally, give every post one primary goal. That single decision keeps your copy, visuals, and call to action focused. When you know the goal before you design, the creative work gets easier and the results get clearer. Up next, we will match the right format and tone to each platform.
 brisktool.combuffer.combuffer.com+21 min
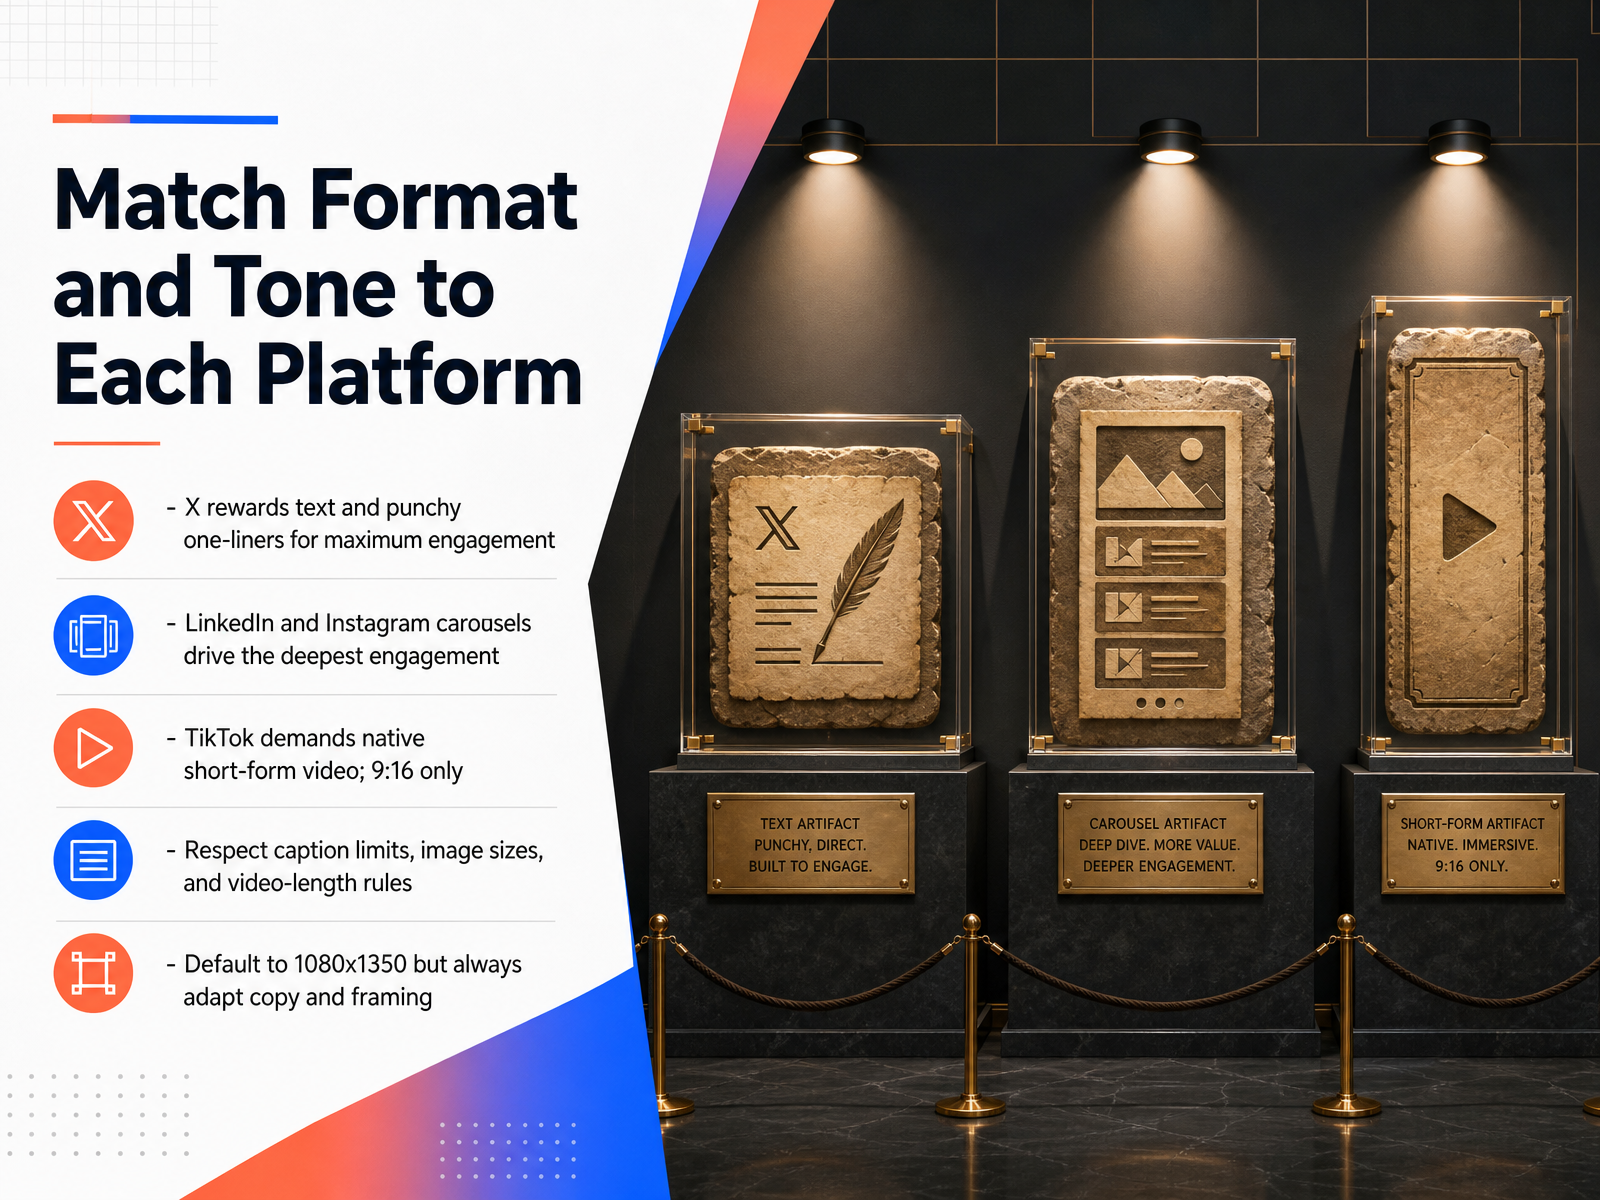
 - 03Match Format and Tone to Each PlatformNow let's talk about matching format and tone to each platform, because each network has its own language. X rewards text, so make your point punchy and quick. One-liners win there. On LinkedIn and Instagram, carousels drive the deepest engagement. They invite people to slow down and read. TikTok is different again. It demands native short-form video, and it must be nine by sixteen vertical. Never upload a horizontal clip to TikTok. It gets letterboxed and ignored. Respect the rules too. Know the caption limits, image sizes, and video-length rules for each platform before you hit publish. A good default size is ten eighty by thirteen fifty. It's tall enough for LinkedIn and Instagram, and it crops cleanly for X and Facebook. But never just reuse one file everywhere without adjusting the copy. Trim your text to fit the platform's rhythm. A punchy one-liner works on X, but it dies on LinkedIn where people expect more depth. So format first, then fit the words to the platform. Next, we'll look at how to research your audience and competition.
 brisktool.combuffer.combuffer.com+22 min
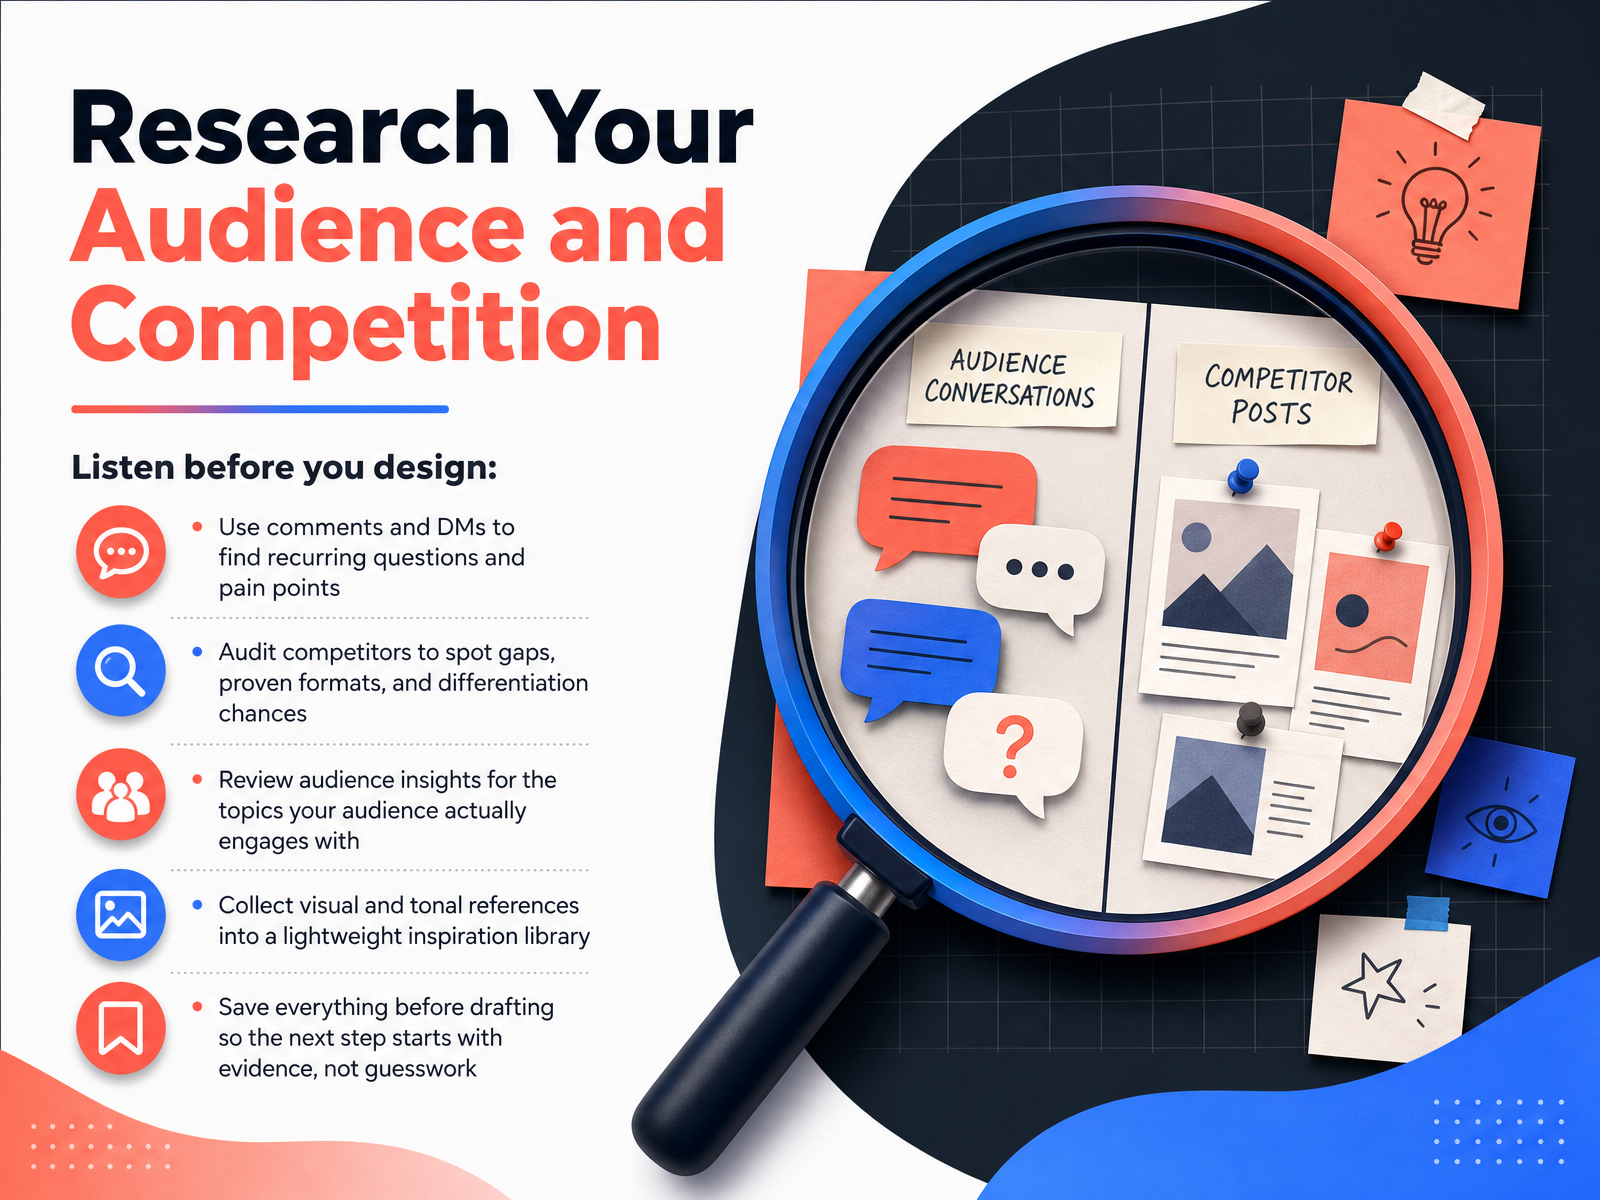
 - 04Research Your Audience and CompetitionNow, let's talk about the research step. Before you design anything, you need to listen. Start with your own comments and direct messages. Look for the questions people ask again and again. Those are your pain points. Then, audit your competitors. Find the gaps they are missing, the formats that work for them, and the spots where you can stand out. Next, check your audience insights. See which topics actually get engagement, not just the ones you like. Also, save visual and tonal references into a lightweight inspiration library. It does not need to be fancy. A simple folder works. Save everything before you draft. That way, your next step starts with evidence, not guesswork. Ready to turn that research into a clear plan? Let's move on to turning ideas into a one-line creative brief.
 brisktool.combuffer.combuffer.com+21 min
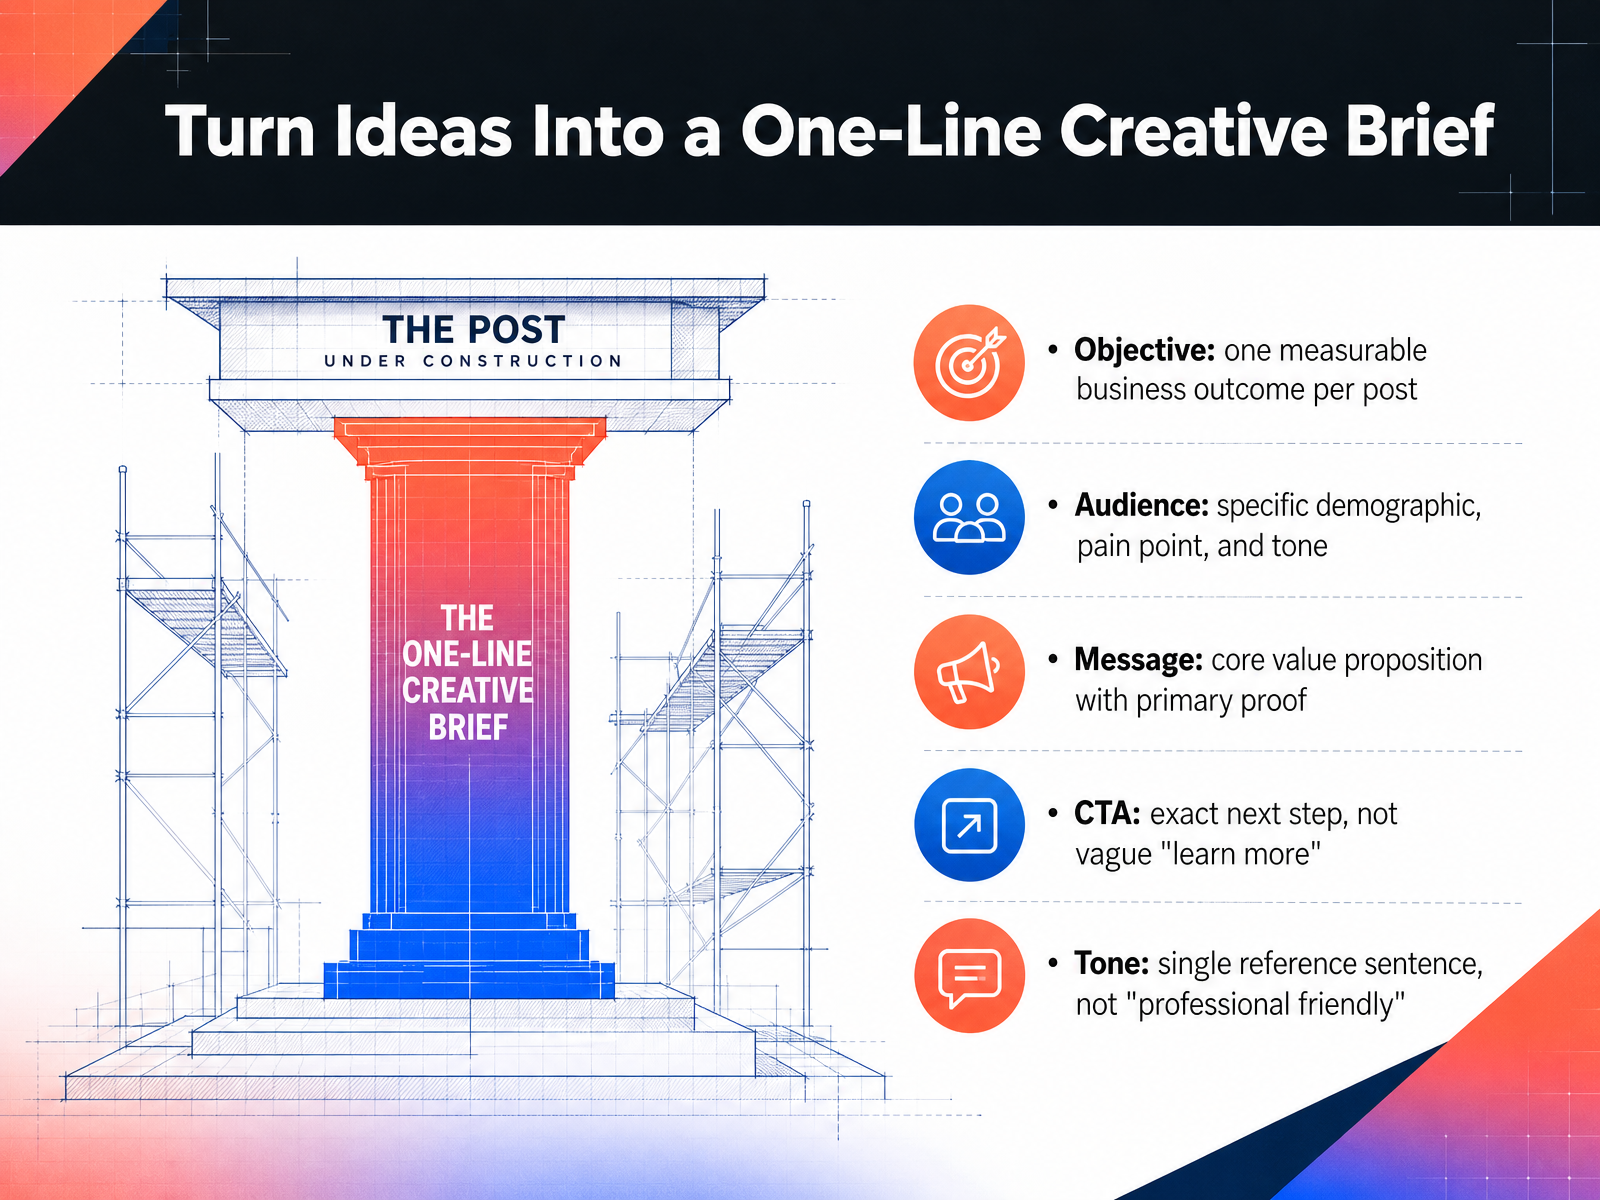
 - 05Turn Ideas Into a One-Line Creative BriefNow, before you open a design tool, put the whole idea into one short brief. It keeps every post focused and cuts down on revision rounds. First, set one measurable objective. Ask yourself what single business outcome this post should support. For example, a five percent click-through lift, or ten new trial starts. One outcome per post. Next, define the audience. Be specific about the demographic, the pain point, and the tone they respond to. Then write the core message. State the value in one sentence, and back it with one piece of proof. After that, lock the call to action. Make it exact, like start your trial or claim the launch offer. Avoid vague phrases like learn more. Finally, capture tone with a single reference sentence. Do not say professional but friendly. Say something like, we sound like a calm advisor explaining a process to a busy founder. This one-line creative brief becomes your quality gate before production starts. If a draft does not match it, you catch the problem early. Up next, we will turn that brief into a clear layout by designing a strong visual hierarchy.
 designlumo.comcinderflow.co.uksproutsocial.com+22 min
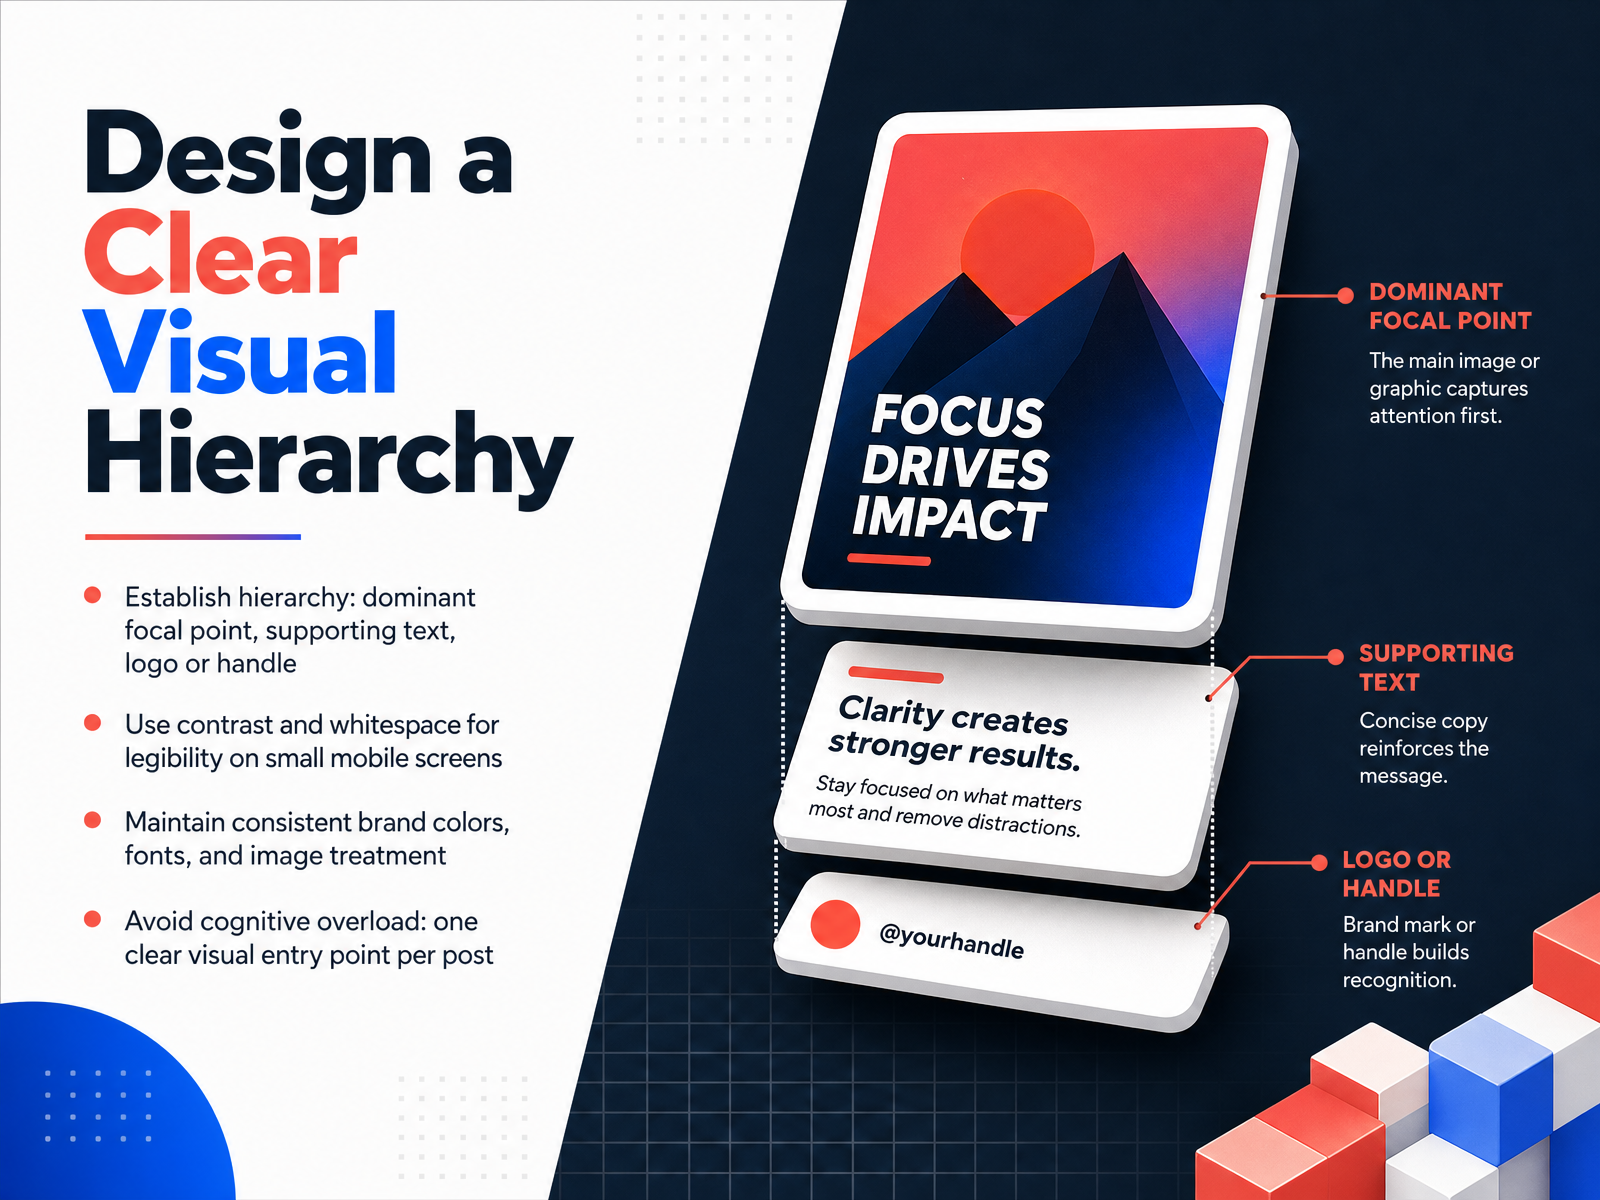
 - 06Design a Clear Visual HierarchyNext, let's design a clear visual hierarchy. Think of this as giving your post a single obvious starting point. Every post needs a dominant focal point, perhaps a strong image or a bold headline. That's what stops the scroll. After that, guide the viewer to the supporting text, then finish with your logo or handle. Keep these layers distinct. Use contrast and whitespace aggressively. On a small phone screen, crowded designs become unreadable. Always use your consistent brand colors, fonts, and image treatments. Consistency here makes your content instantly recognizable, even without seeing the page name. And remember, avoid cognitive overload. One clear visual entry point per post is all you need. Too many competing elements will make people scroll past without engaging. Use hierarchy as a filter. If a new element doesn't help guide the eye, remove it. Next, we'll write copy that drives the design.
 brisktool.combuffer.combuffer.com+22 min
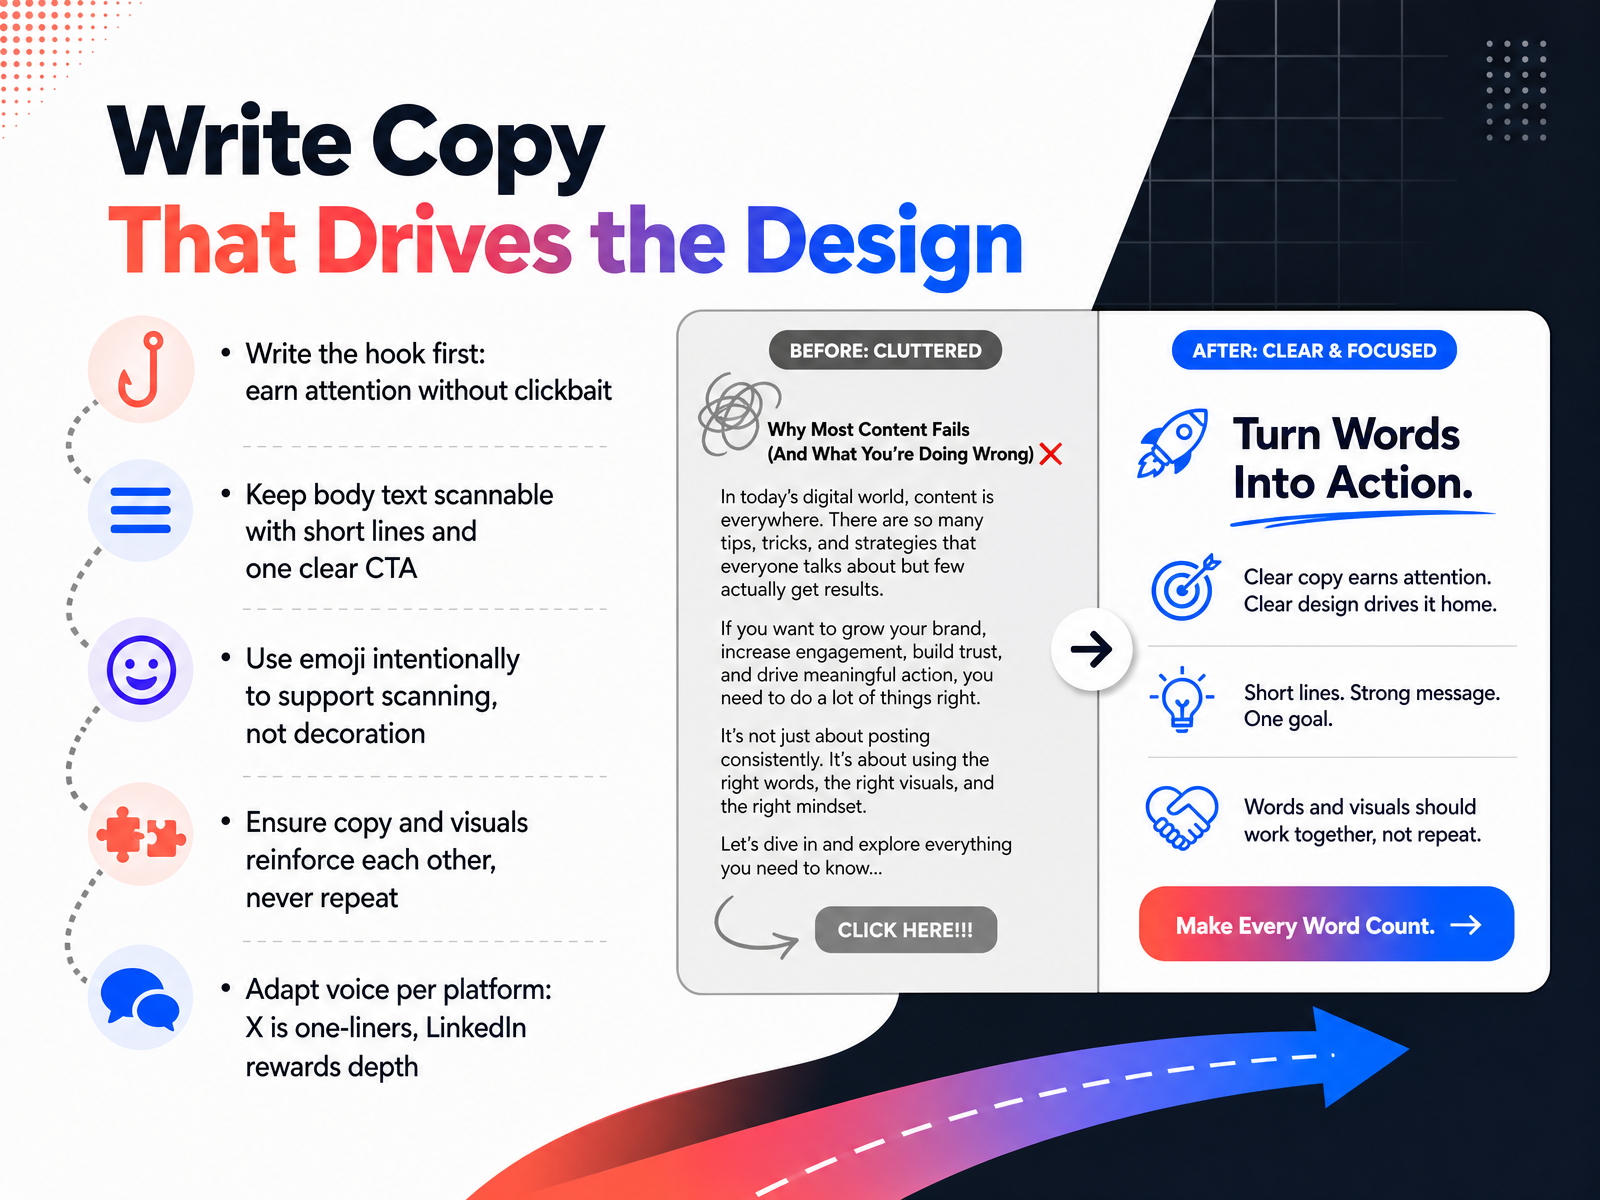
 - 07Write Copy That Drives the DesignNow, let's talk about writing copy that actually drives your design. Start with the hook. Earn attention with a clear, honest opening line. Skip the clickbait. It may get a tap, but it kills trust. Next, keep your body text scannable. Use short lines and one clear call to action. If you give people three things to do, they'll do none. Use emoji on purpose. They should guide the eye and support scanning, not decorate the post. A well-placed arrow can do more than a string of random icons. Make sure your copy and visuals work together. They should reinforce each other, never repeat. If the image already says fifty percent off, use the caption to explain the deadline or the reason. Repetition wastes space. Finally, adapt your voice per platform. X rewards punchy one-liners. LinkedIn rewards depth and reflection. Treat these as different channels, not one megaphone. Write the copy first, then design to support it. That keeps your message sharp and your visuals focused. Next, let's build accessibility into every post.
 brisktool.combuffer.combuffer.com+22 min
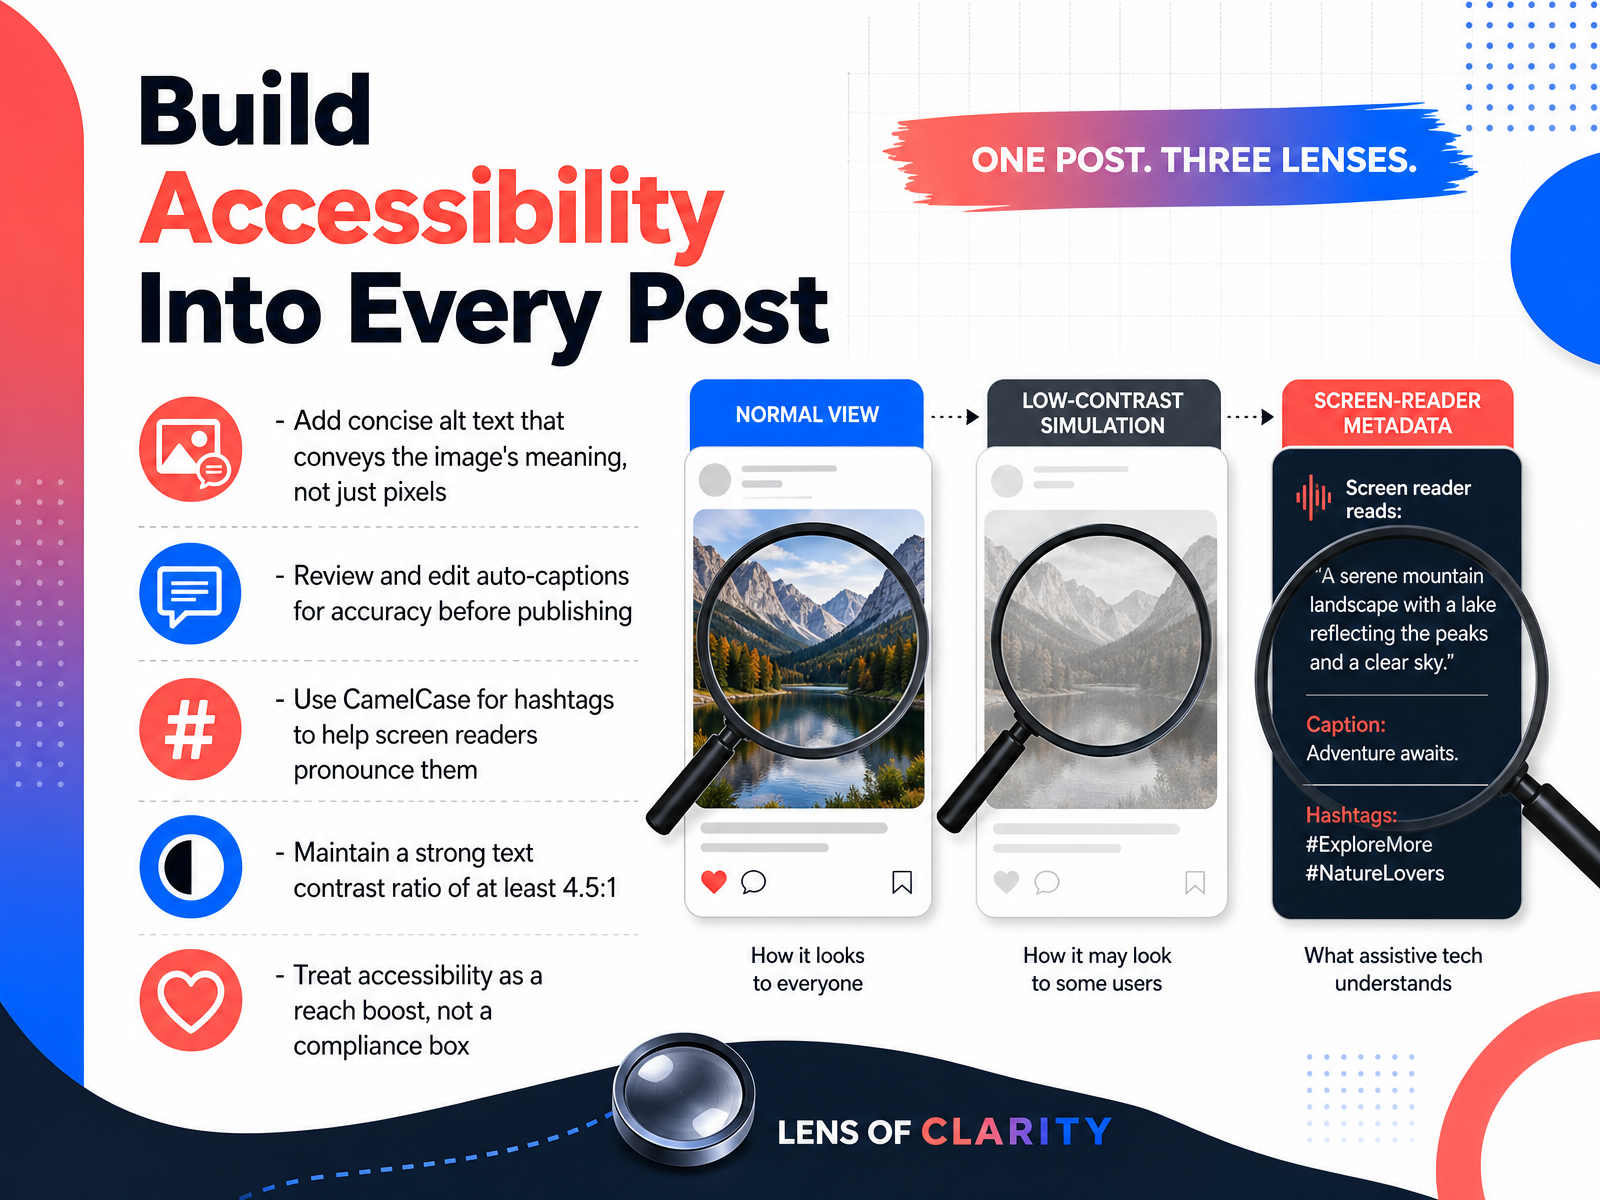
 - 08Build Accessibility Into Every PostNow let's talk about building accessibility into every post. These steps don't just help people with disabilities, they actually expand your reach to more people. First, write concise alt text for every image. Describe the meaning, not just the pixels. A good alt text might be, navy hardshell suitcase upright on a wood floor. Skip the phrase image of, since screen readers already announce that. Second, always review and edit auto captions before you publish. The automated tools miss names, technical terms, and punctuation, and those errors change meaning. Third, use camel case for your hashtags. Capitalize each word, like this, SocialMediaTips. That helps screen readers pronounce the hashtag correctly. Fourth, keep a strong text contrast ratio of at least four point five to one. That applies to text inside graphics and to captions on video. Finally, treat accessibility as a reach boost, not a compliance box. These small changes add about fifteen to twenty percent more audience and they improve how platforms index your content. Up next, we'll look at how to account for safe zones and platform constraints.
 accessible.orgsection508.govit.nc.gov+22 min
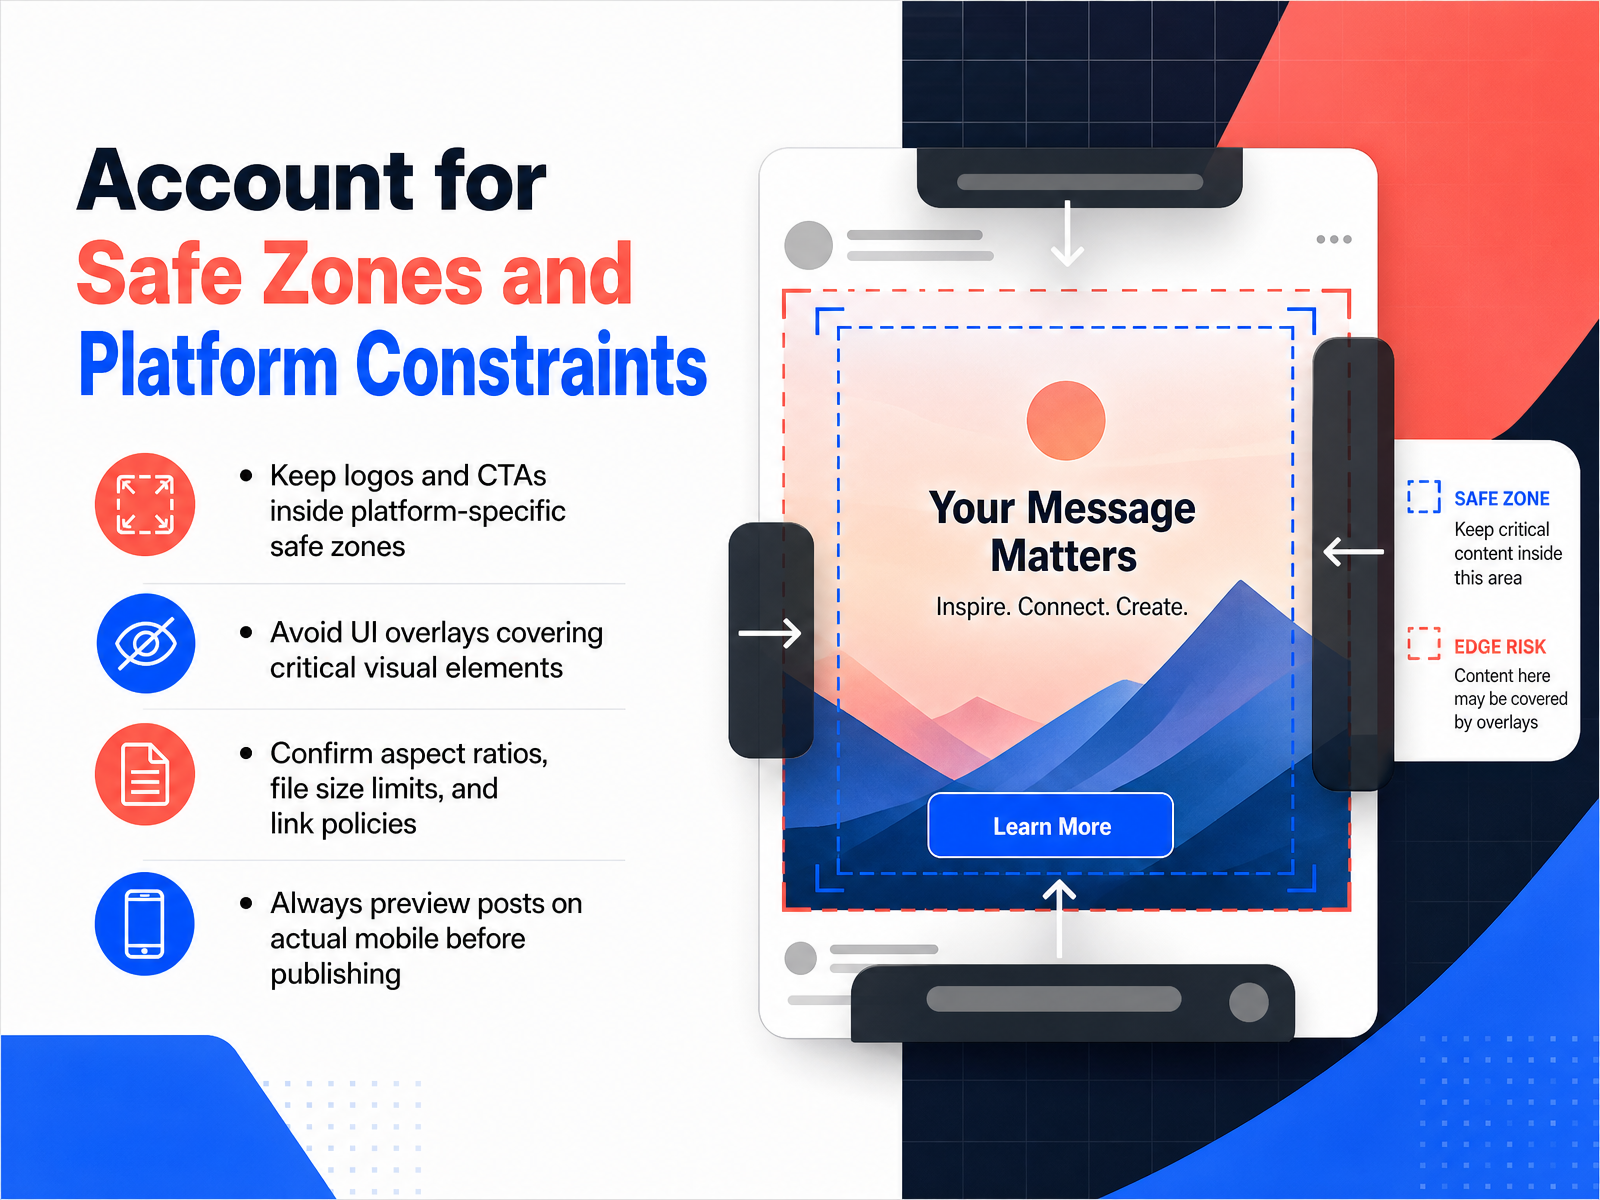
 - 09Account for Safe Zones and Platform ConstraintsNext, let's make sure your design survives contact with the actual platform. Every platform puts its own buttons, icons, and captions on top of your content. So keep your logo and any call to action inside the platform's safe zone. Otherwise, viewers may not see them at all. Check your aspect ratios, file size limits, and link policies before you export. For example, Instagram does not allow clickable links in captions, while LinkedIn heavily downranks posts that include outbound links. These constraints change how you place your CTA. And do not rely on a desktop preview. Always open the post on an actual mobile device before you publish. That is the only way to catch cropped text or hidden buttons. When you build this check into your workflow, you avoid last-minute rework and broken first impressions. Up next, we will review how to approve your design without creating a bottleneck.
 brisktool.combuffer.combuffer.com+22 min
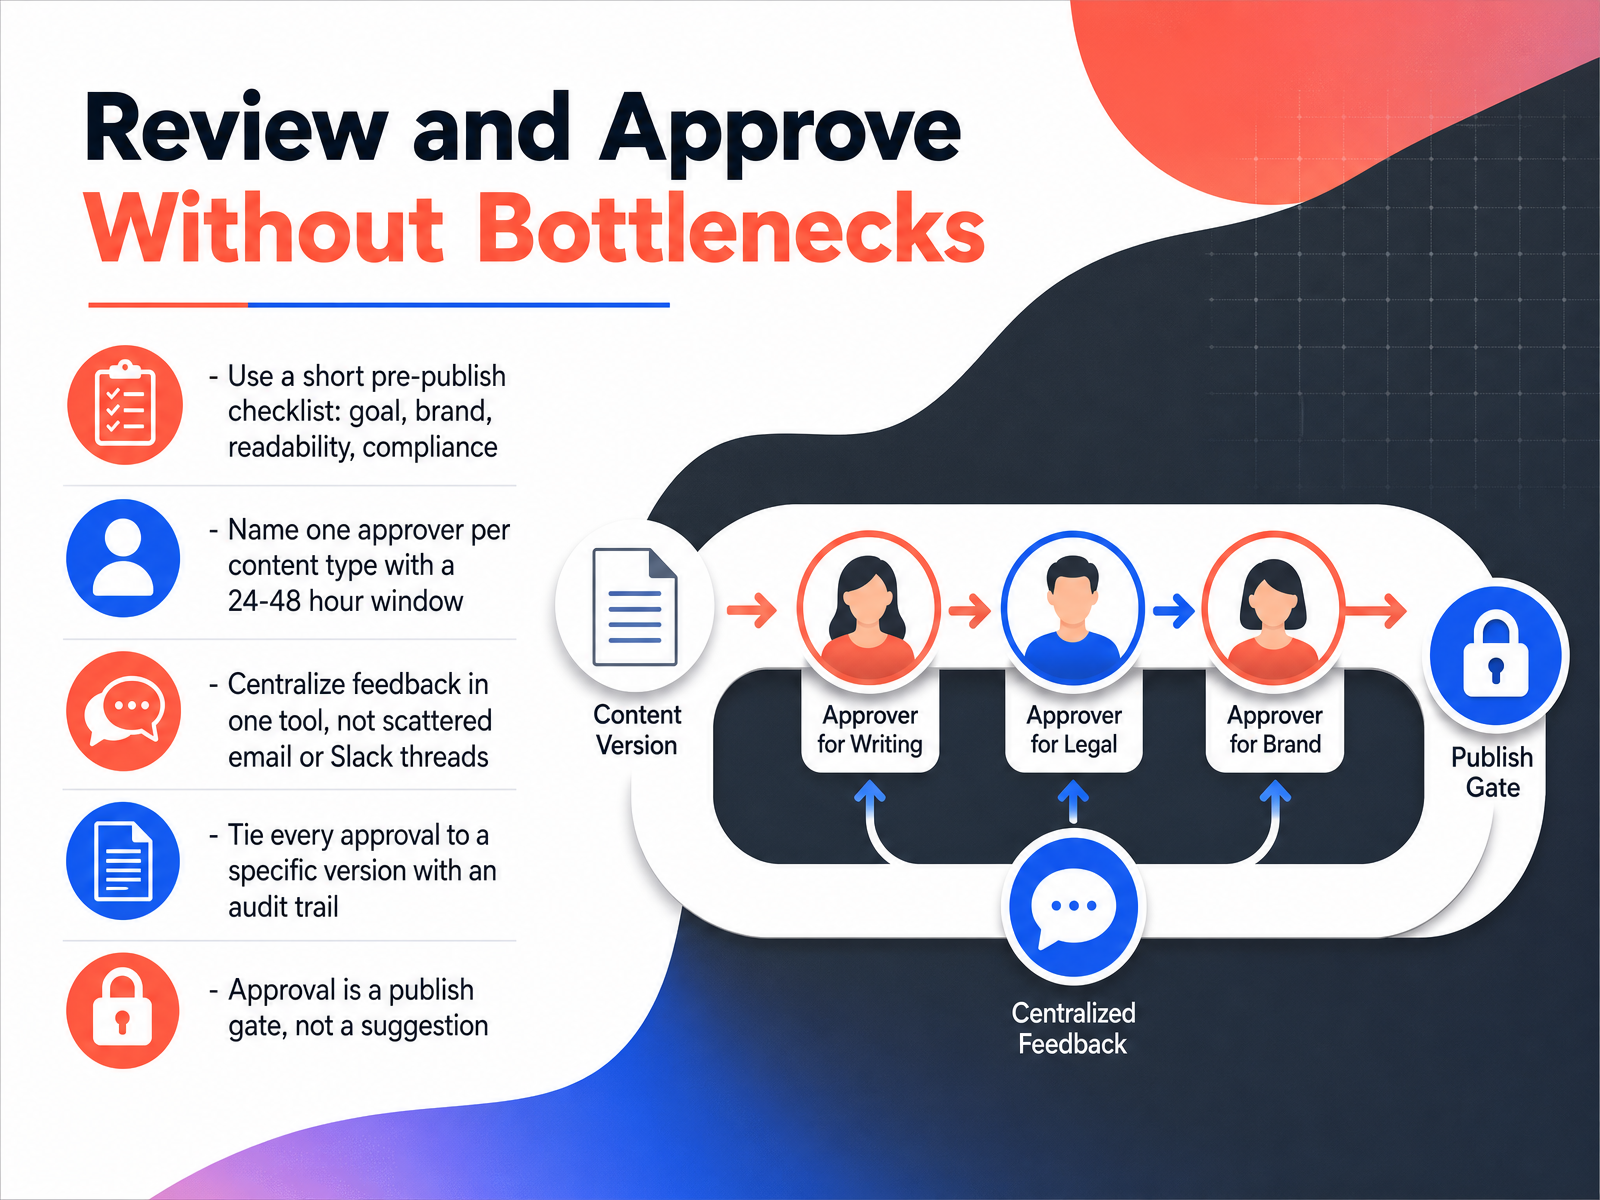
 - 10Review and Approve Without BottlenecksApproval is where good workflows go to die, so let's make it boring and predictable. Before anything goes out, run a quick pre-publish checklist. Goal, brand, readability, compliance. Thirty seconds, maybe less. And it catches most mistakes before they become public. Next, name one approver per content type, and give them a clear window. Twenty-four to forty-eight hours, no more. If you need legal review, that's a different track. But for most posts, one person is enough. Keep all feedback in one tool. No scattered email threads, no eleven Slack messages about the same comma. When someone approves, tie that approval to a specific version so everyone knows exactly what went out and who signed off. And keep the audit trail automatic. If a stakeholder misses the window, the post moves forward. Approval is a publish gate, not a suggestion. It exists to protect the brand, not to hold the calendar hostage. Once this works, you can stop chasing feedback and start batching the content itself. That's next: how to produce in batches so you're not creating every post from scratch.
 brisktool.combuffer.combuffer.com+21 min
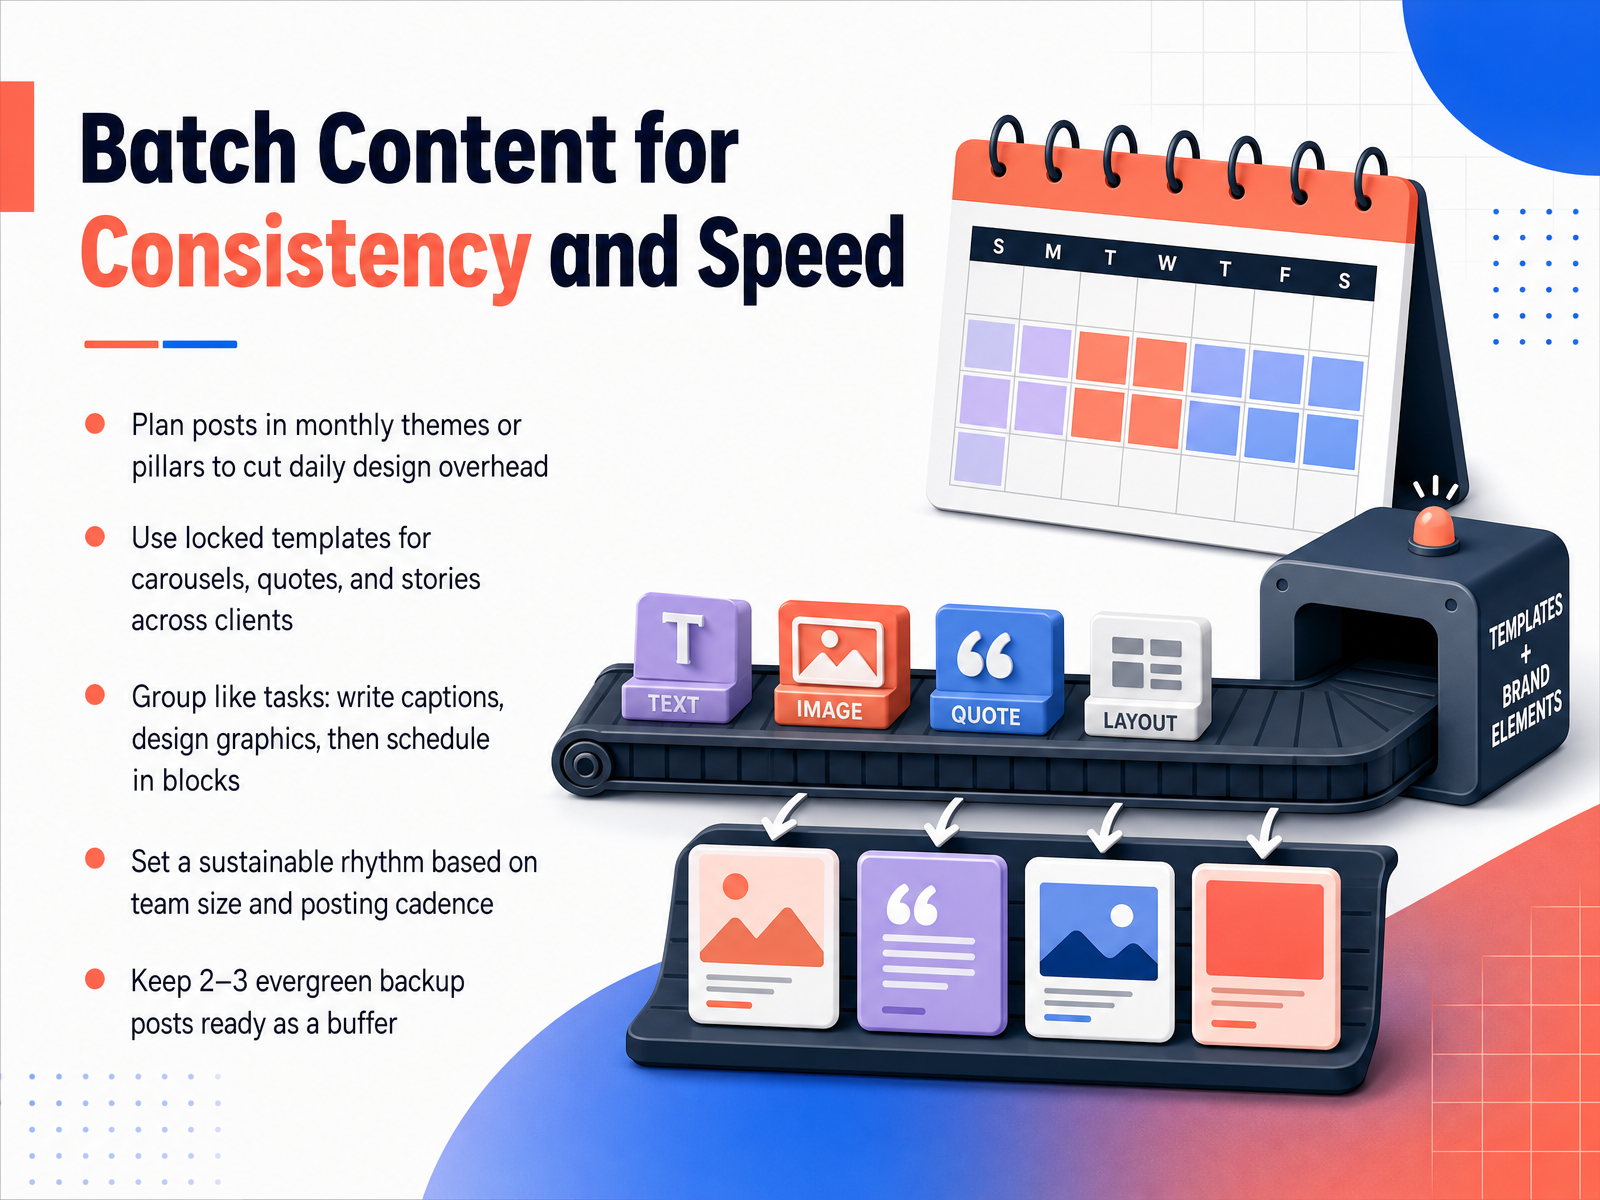
 - 11Batch Content for Consistency and SpeedBatching is the fastest way to make your content workflow feel manageable. Plan each month around three or four themes so you are not generating new ideas for every single post. Use locked templates for carousels, quotes, and stories. The design decisions are already made, so you only update the content. Then group like tasks. Write all captions in one sitting. Design all graphics in the next. Schedule everything in a final block. That keeps you out of the stop and start trap that drains time and lowers quality. Pick a rhythm that fits your team. A solo operator might batch once a week, while a larger team might run a monthly sprint. Whatever you choose, keep it realistic and consistent. Also keep two or three evergreen posts ready as backup. When a launch shifts or a teammate is out, you still have something valuable to publish. Up next, we will look at how to schedule with a buffer and publish with intent.
 later.comtareno.coblog.hootsuite.com+21 min
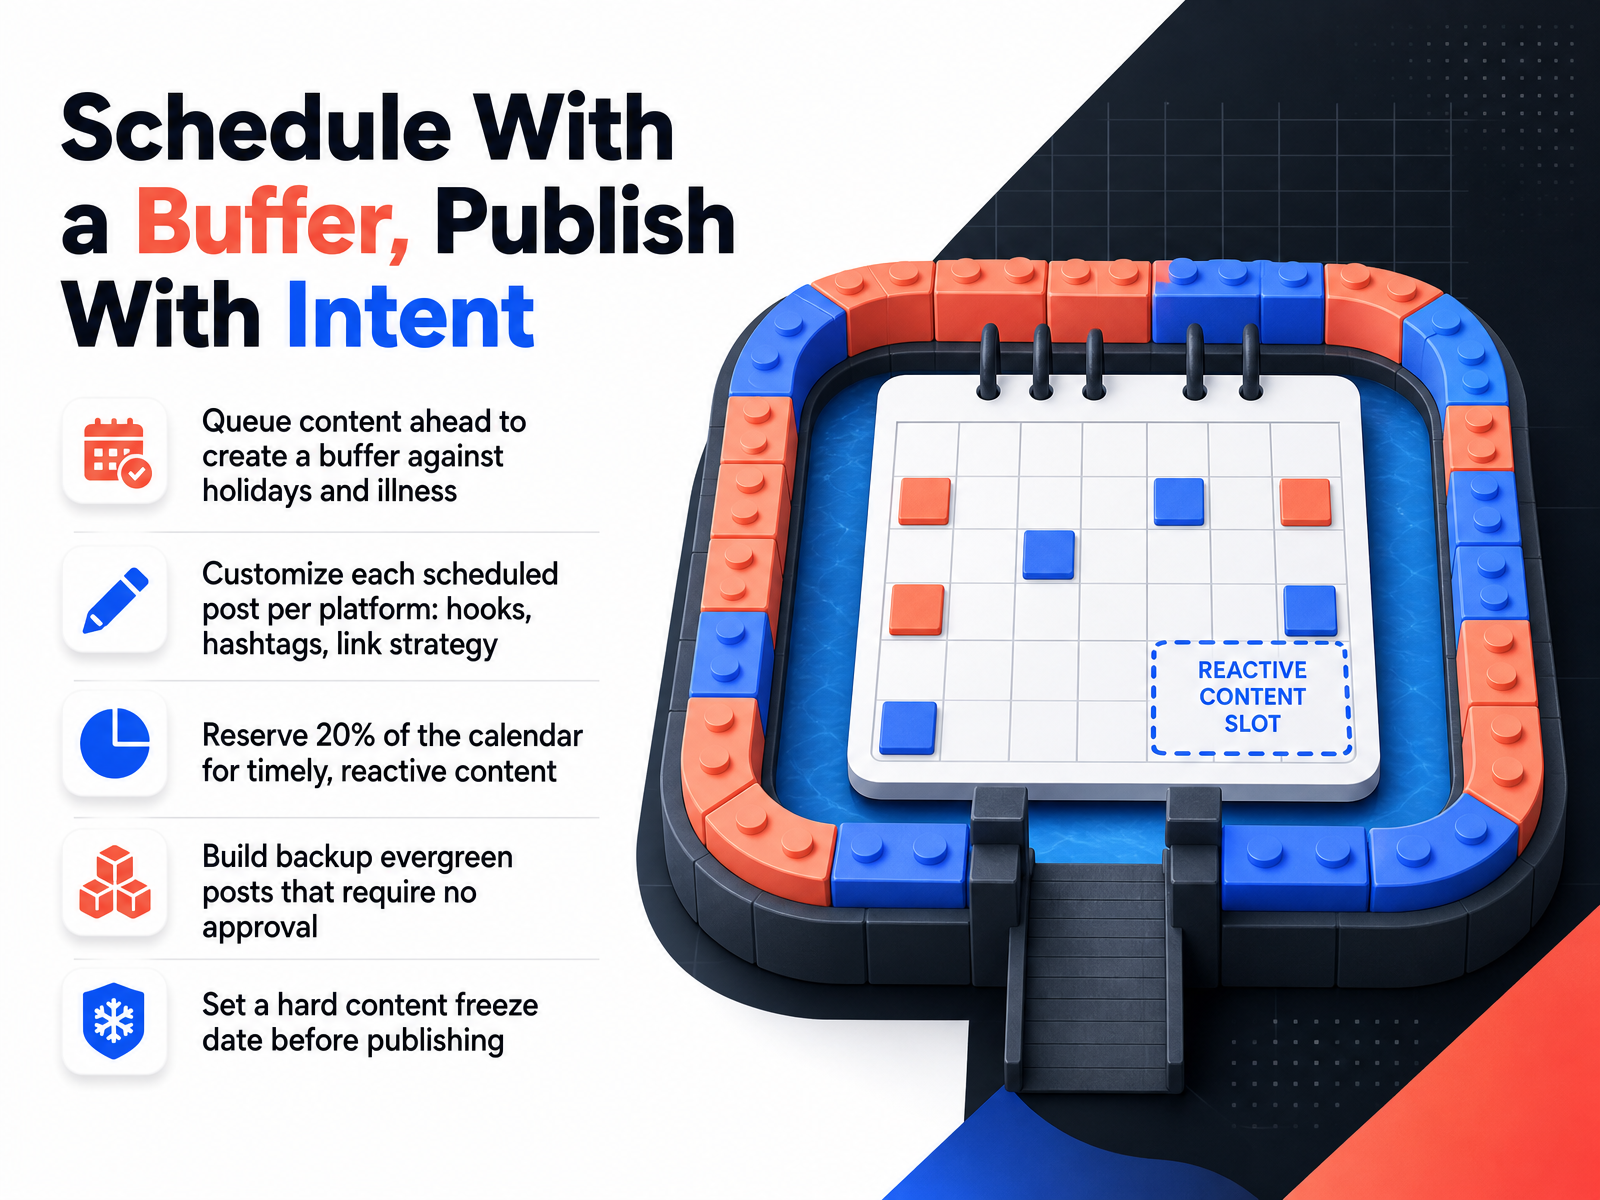
 - 12Schedule With a Buffer, Publish With IntentNow that your content is ready, let's talk about timing. Scheduling with a buffer protects you from the unexpected, like a holiday or someone being out sick. Queue your content ahead so you are never publishing from a panic. When you schedule, do not just copy and paste. Customize each post for the platform. Adjust the hook, the hashtags, and the link strategy so it feels native to each space. Keep about twenty percent of your calendar open. That gives you room to react to timely news or trends without derailing your plan. Build a few backup evergreen posts that require no approval. These are your safety net when things get busy. Finally, set a hard content freeze date before publishing. Once that date passes, no more changes. This keeps the workflow moving and prevents last-minute chaos. Up next, we will shift from publishing to performance. Let's talk about how to measure what matters, not just vanity metrics.
 later.comtareno.coblog.hootsuite.com+22 min
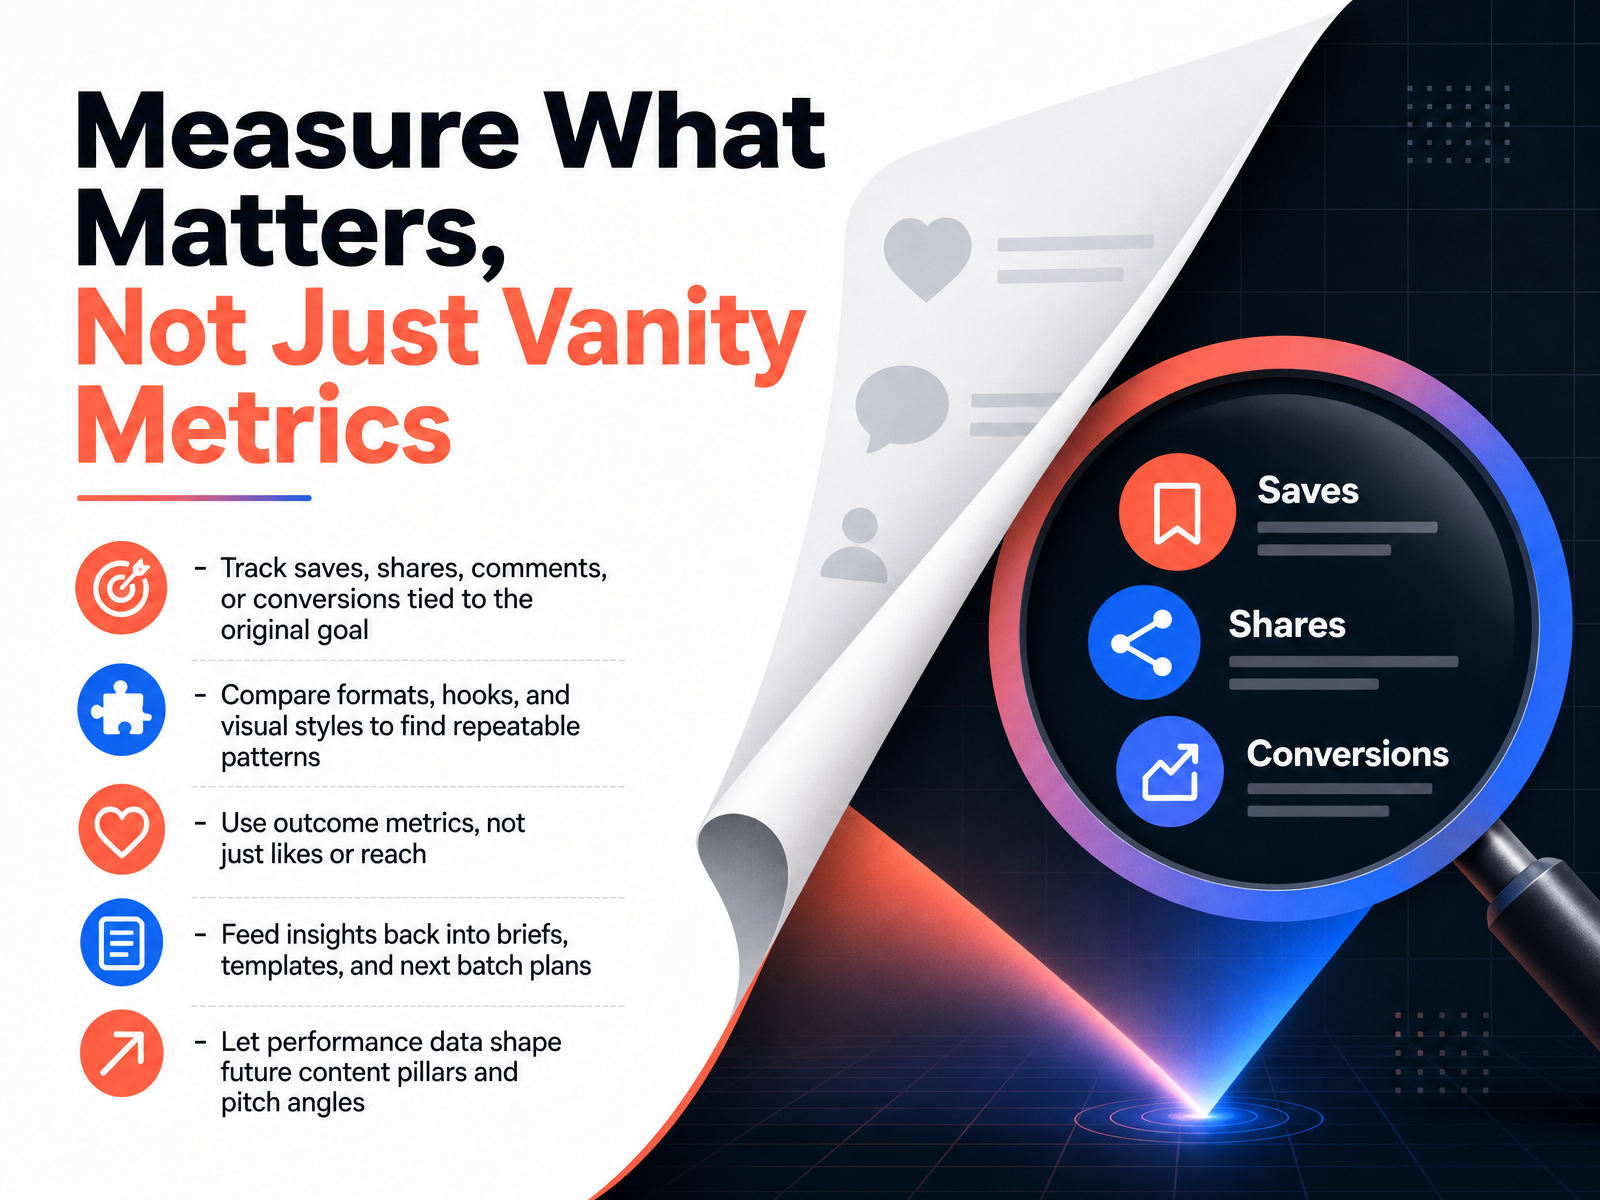
 - 13Measure What Matters, Not Just Vanity MetricsHere's where the workflow becomes a full loop. Don't get distracted by likes and reach numbers that look good but don't tell you whether the original goal was met. Focus on outcome metrics instead. Track saves and shares, because platforms value them as strong signals of quality. Count comments and reply chains, which often carry more weight than a simple like. Most importantly, measure conversions tied directly back to the goal you set at the start. Use that data to compare different formats, hooks, and visual styles. Look for the repeatable patterns, not just the one-off wins. Then feed those insights directly into your briefs, your templates, and your next batch plan. Let the data choose your future content pillars and pitch angles, not just your gut feeling. That's how you stop guessing and start compounding results. Next, let's turn those insights into the next batch.
 brisktool.combuffer.combuffer.com+21 min
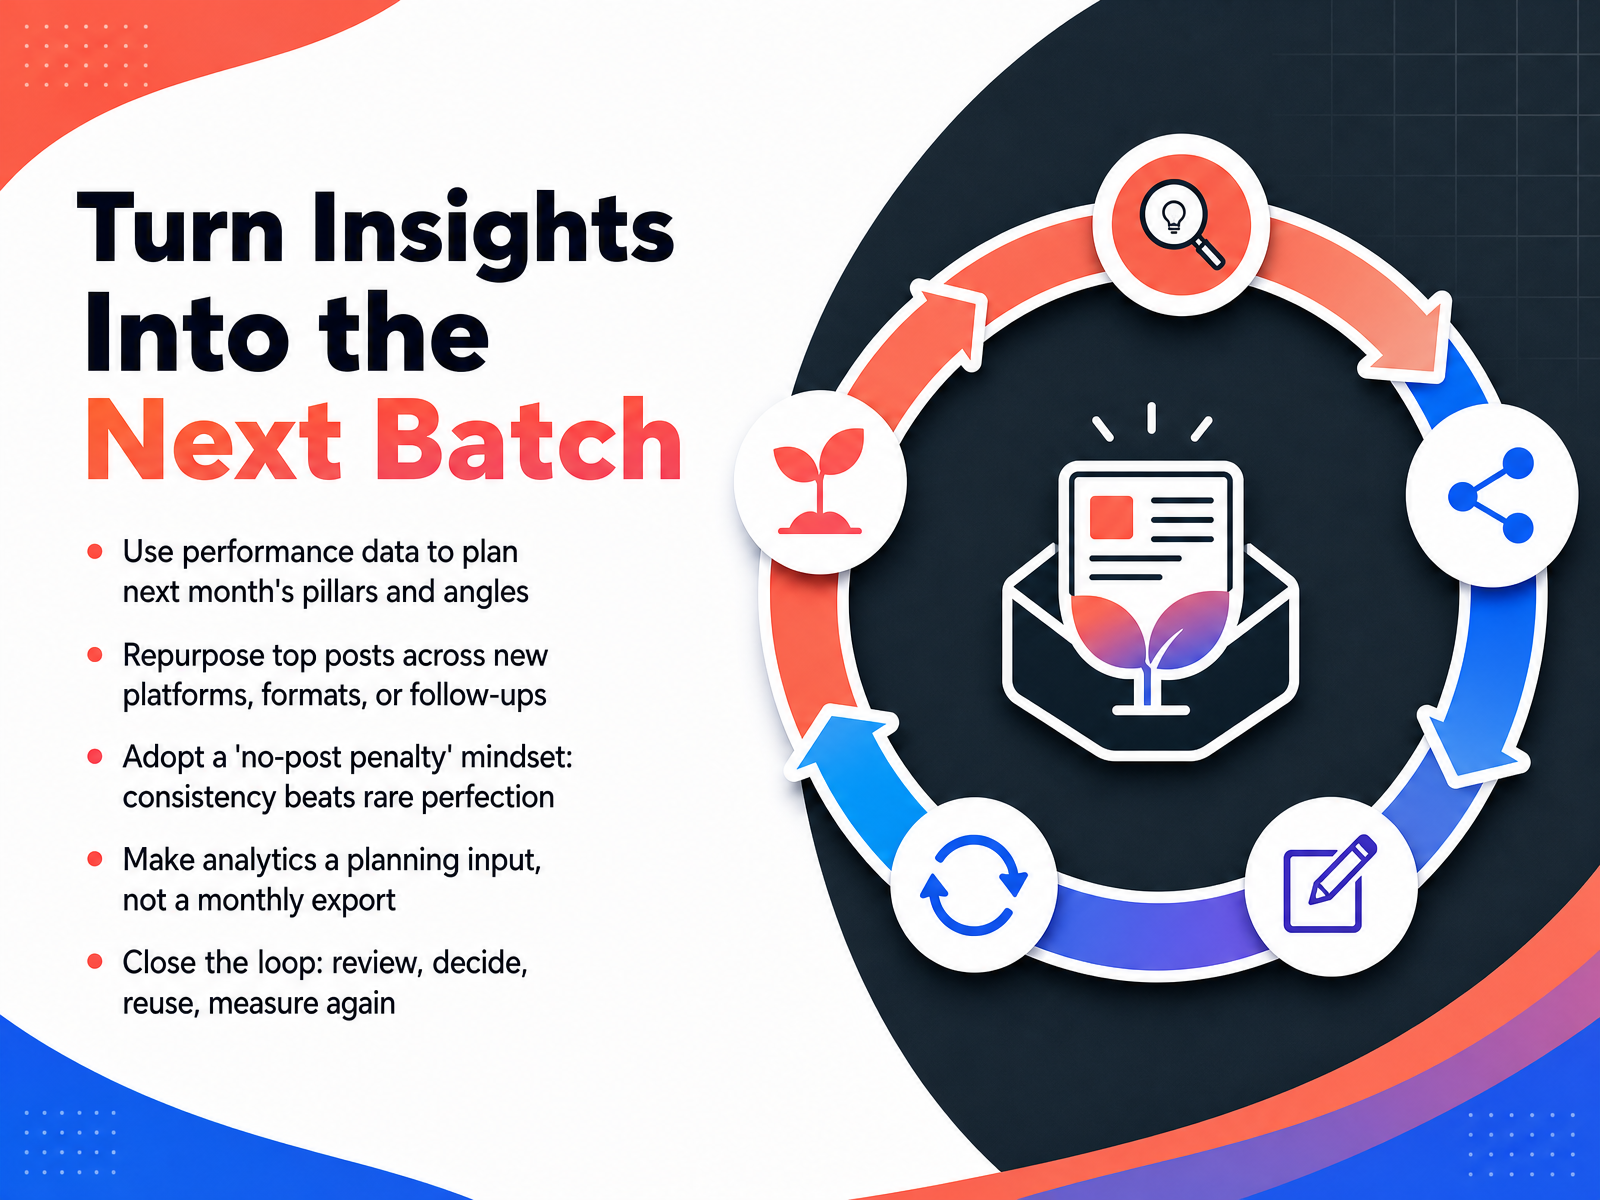
 - 14Turn Insights Into the Next BatchLet’s close the loop and turn what you’ve learned into your next batch of content. First, use your performance data to plan next month’s pillars and angles. If carousels consistently outperform reels, shift your mix. If a specific topic drives saves and shares, create more angles around it. Second, repurpose your top posts across new platforms, formats, or follow-up posts. A strong LinkedIn post can become a short video, a carousel, or a follow-up answering the most common question from comments. Third, adopt a no-post-penalty mindset. Consistency beats rare perfection. A good post published today beats a perfect post that never ships. Fourth, make analytics a planning input, not a monthly export. Review a few key numbers before every planning session so data shapes decisions, not just reports. Finally, close the loop: review, decide, reuse, measure again. Build that rhythm and your workflow gets smarter every cycle. Thank you for working through this course. Start small, stay consistent, and let your next batch be better than your last.
 later.comtareno.coblog.hootsuite.com+22 min
Take the deck with you
Download this course as a file — free, no sign-up needed.
- PDF handoutEvery slide page, ready to print or share.15 pages · 3.6 MBDownload
- Narrated PowerPointThe deck that presents itself — every slide carries the digital human's narration video.15 pages · 14.5 MBDownload
- PowerPoint slidesThe full deck as a .pptx — open it in PowerPoint, Keynote, or Google Slides.15 pages · 3.6 MBDownload
Free to use in your own training — please keep the PersonWise credit page at the end.
Have your own deck? Turn it into a course
Sources consulted
Web sources consulted while building this course.
- 2026 Social Media Platform Format Specs: The Complete Field Guide | BriskTool — brisktool.com
- Best Content Format on Social Platforms in 2026: 45M+ Posts Analyzed — buffer.com
- The State of Social Media Engagement in 2026: 52M+ Posts Analyzed — buffer.com
- The State of Social Media Engagement in 2026 - Buffer — buffer.com
- Social media algorithms in 2026: How they rank content - Amplitude Marketing — amplitudemktg.com
- The Creative Brief Template That Eliminates Revision Rounds — designlumo.com
- Creative Brief Template for Social Media Agencies (Free) | CinderFlow — cinderflow.co.uk
- Prepare to Launch With a Social Media Campaign Brief: Template — sproutsocial.com
- How to Brief a Designer on Social Media Specs (Without the Back-and-Forth) - Media Cheat Sheet - Social Media & Ad Specs Cheat Sheet — mediacheatsheet.com
- Creating an SMM brief: step-by-step guide with template from ICU — icu.agency
- How to Make Social Media Content Accessible | Accessible.org — accessible.org
- Social Media | Section508.gov — section508.gov
- Social Media Content Accessibility | NCDIT — it.nc.gov
- Social Media Accessibility Guide: Alt Text & Captions 2026 | TryMyPost Blog — trymypost.com
- Social Media | Digital Accessibility — ucanr.edu
- What is a social media workflow? How to build one that actually sticks — later.com
- Social Media Content Workflow Template: From Brief to Repurposing | Tareno — tareno.co
- 7 tips to create an efficient social media workflow [+ Templates] — blog.hootsuite.com
- Content planning for social media in 8 steps [2026 guide] — blog.hootsuite.com
- Social Media Content Workflow: A Setup Guide — trychaser.com