Begin
14 pages · ~28 min
Family History Research with Historical Records
This training teaches family history researchers how to locate and interpret historical records to trace ancestry and build accurate genealogical profiles.
A digital instructor presents all 14 pages. Hold “Ask” at any point and ask out loud — the answer comes from this course. No sign-up needed.
What you’ll learn
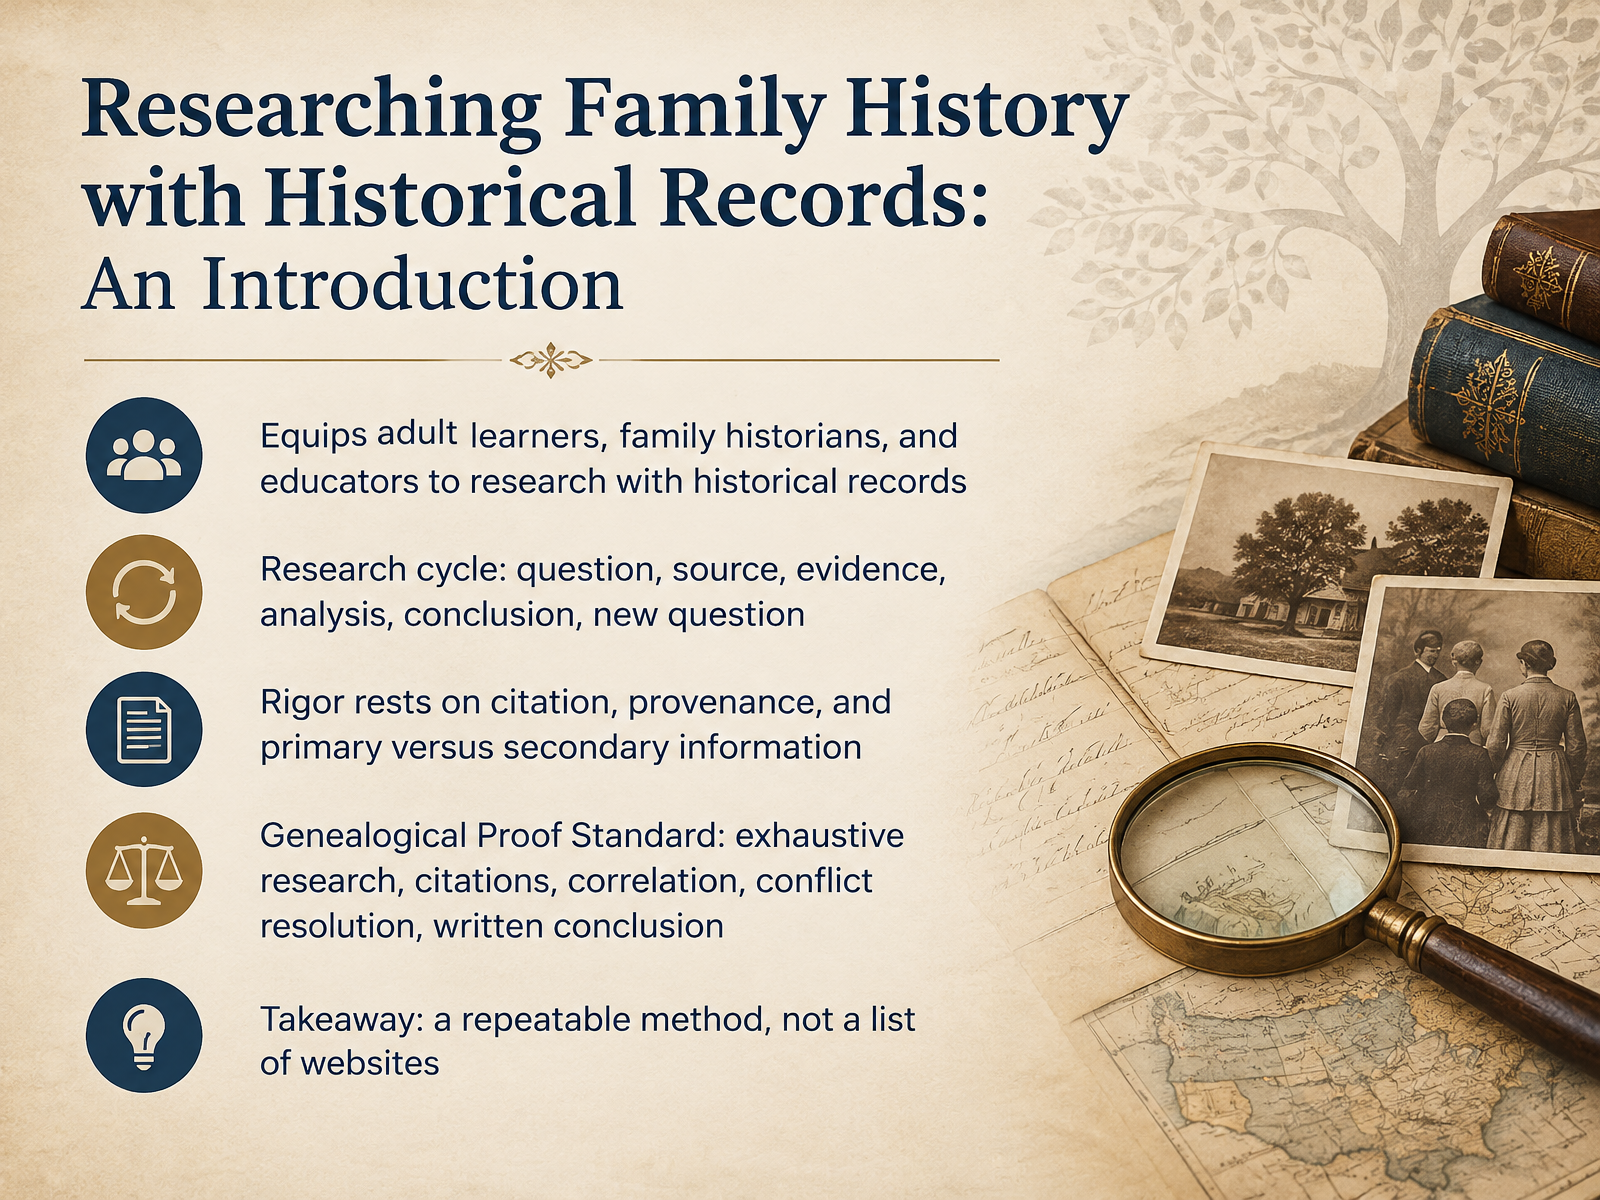
- 01Researching Family History with Historical Records: An IntroductionWelcome. This course is about researching family history with historical records, and it is built for adult learners, family historians, and educators who work with archives and libraries. Our goal is a repeatable method, not a list of websites. Think of research as a cycle. You begin with a question. You locate a source, a record or item that may hold relevant information. You draw evidence from it. You analyze and correlate that evidence. You reach a conclusion. And that conclusion usually raises a new question. Rigor rests on three ideas. Citation means recording exactly where each piece of information came from. Provenance refers to the origin and custody of a record, who created it and why. And we distinguish primary information, recorded close to the event by someone with direct knowledge, from secondary information, written later and often secondhand. Professional genealogists test conclusions with the Genealogical Proof Standard, a five part process from the Board for Certification of Genealogists. It calls for reasonably exhaustive research, complete and accurate source citations, analysis and correlation of the evidence, resolution of conflicting evidence, and a soundly written conclusion. Keep this takeaway: a careful method you can repeat and document. Next, we start with what you know, in a slide on home sources and oral history.familysearch.orggenealogy.org.nzbcgcertification.org+22 min
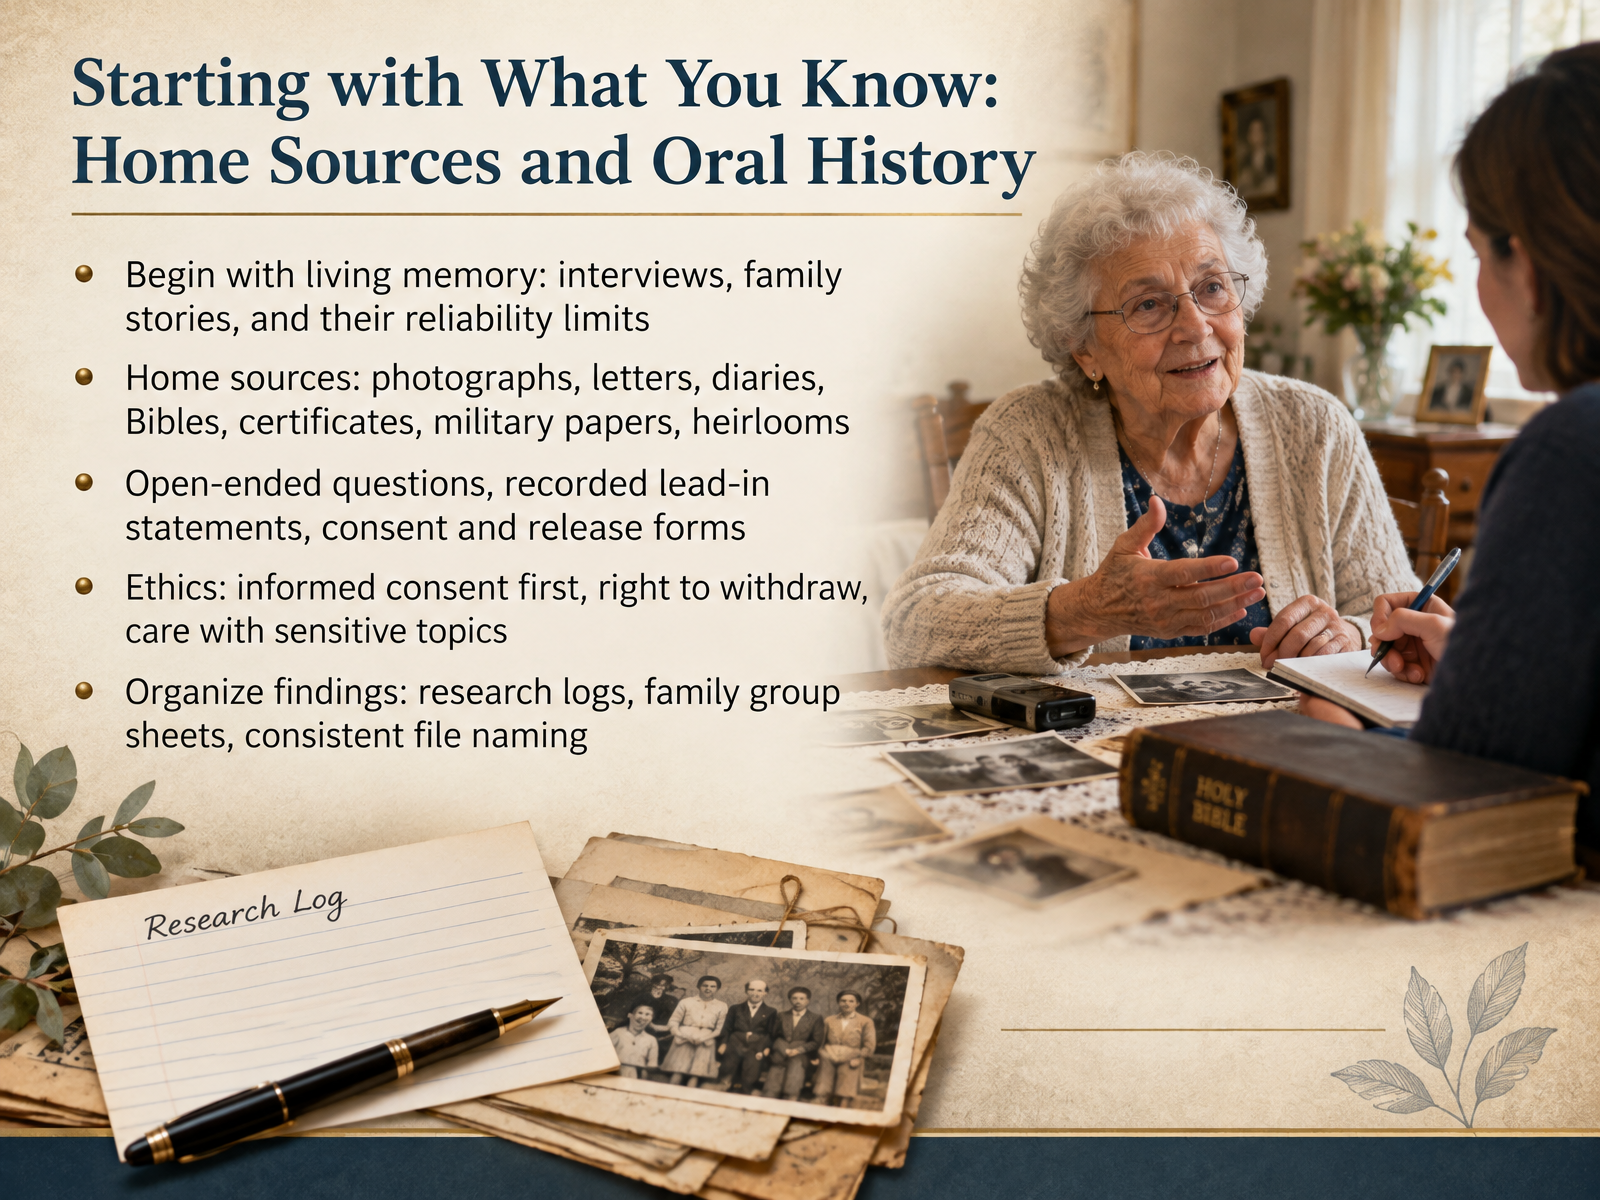
- 02Starting with What You Know: Home Sources and Oral HistoryBefore you search any archive, start with living memory. Oral history interviews, family stories, and home sources give you names, dates, and places to verify later. Treat memory as a lead, not a conclusion, and confirm key facts in records. Then gather what is already in the home: photographs, letters, diaries, family Bibles, certificates, military papers, and heirlooms. Document the source, date, and provenance, meaning where the item came from. When you interview relatives, ask open-ended questions like, what was your childhood neighborhood like? Record a lead-in statement with names, the full date, a general location, and the subject, then secure informed consent and a signed release form. Explain that the narrator may stop or withdraw at any time, and ease into sensitive topics. Afterward, organize findings in a research log, family group sheets, and consistent file names. Next, we turn to essential record types and what they reveal.
 blogs.lib.unc.edungsgenealogy.orgoralhistory.org+22 min
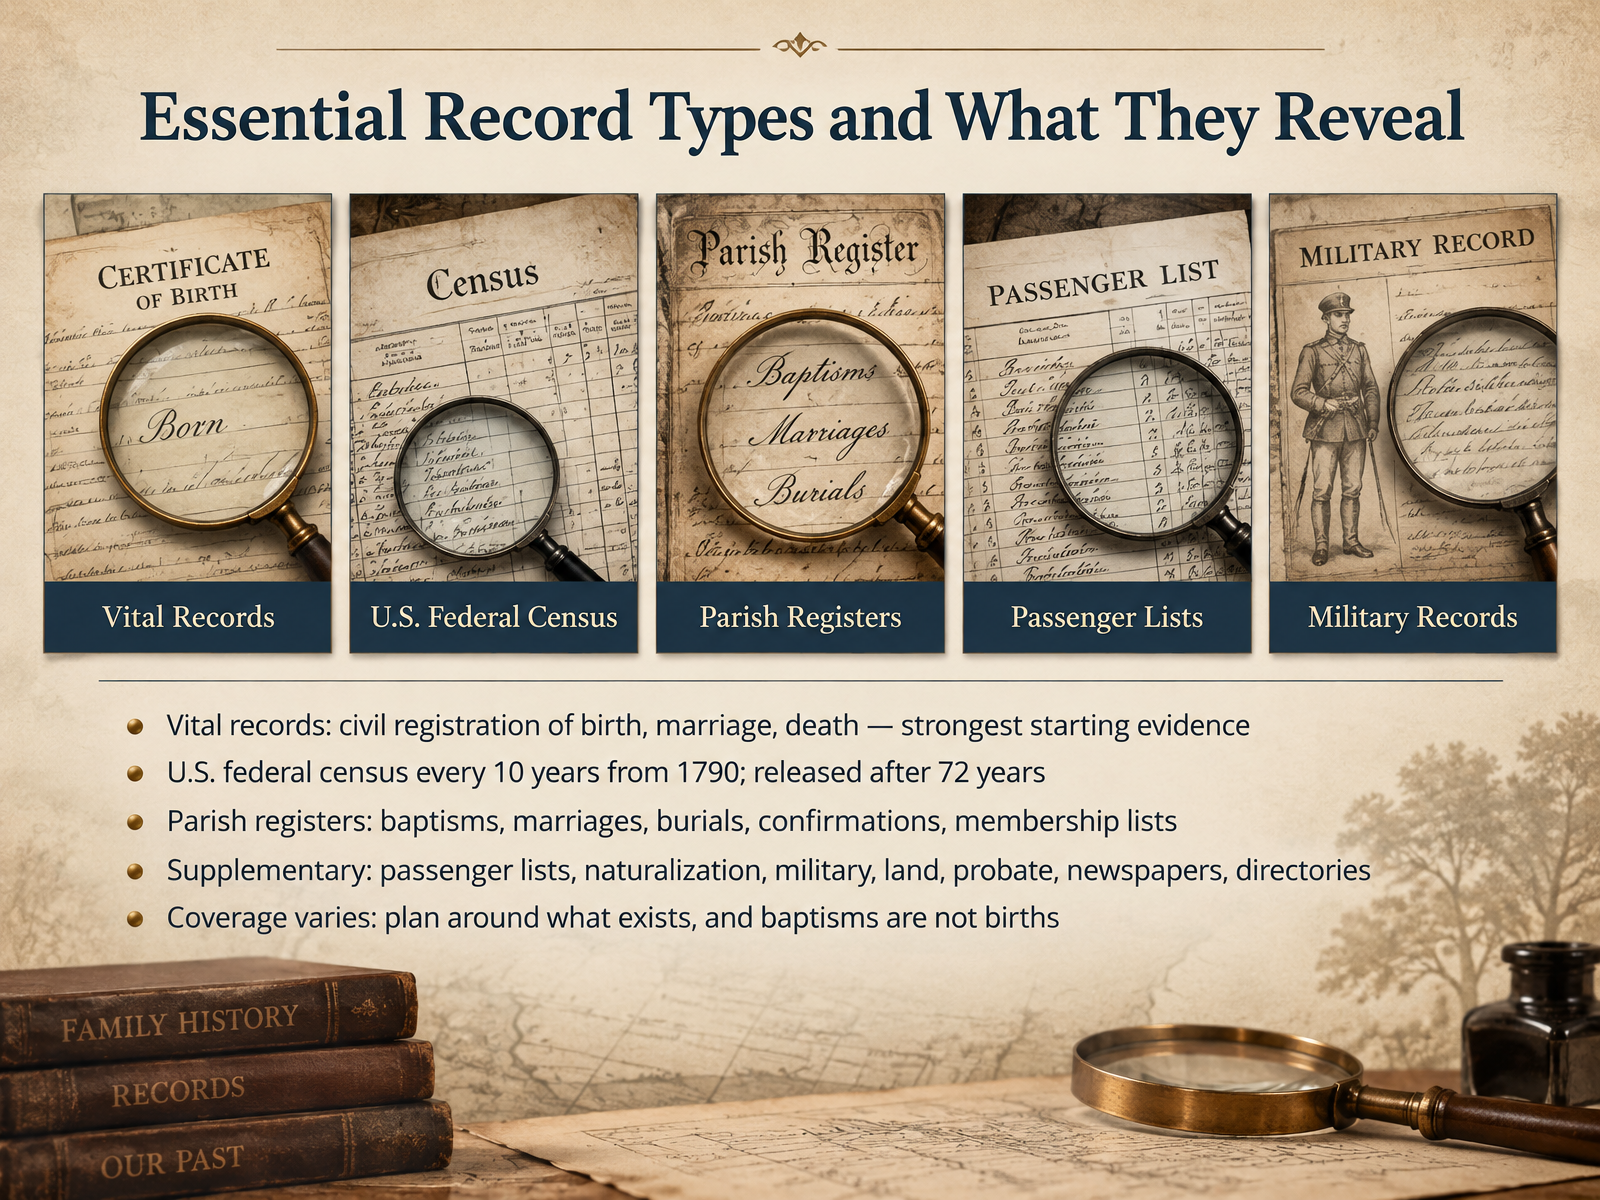
- 03Essential Record Types and What They RevealLet's look at the record types you'll rely on most, and what each one can tell you.
Start with vital records. These are civil registrations of birth, marriage, and death, kept by local government. They usually give the strongest starting evidence, because they were created close to the event and often name parents directly.
Next, the U.S. federal census, taken every ten years from seventeen ninety, and released to the public after seventy-two years. Census records place a household at a specific date and address, and show relationships, ages, occupations, and immigration details.
Parish registers are your main alternative, especially before civil registration. Look for baptisms, marriages, burials, confirmations, and membership lists. Remember that a baptism is not a birth; the dates can differ by days or years.
Beyond these, supplementary records add context: passenger lists, naturalization papers, military files, land and probate records, newspapers, and directories.
Coverage varies by place and period, so plan around what actually exists for your family's location. Now let's move on to Archives and Libraries: Access, Finding Aids, and Reading Rooms.
 libguides.nypl.orgfamilyhistory.lib.byu.eduons.gov.uk+22 min
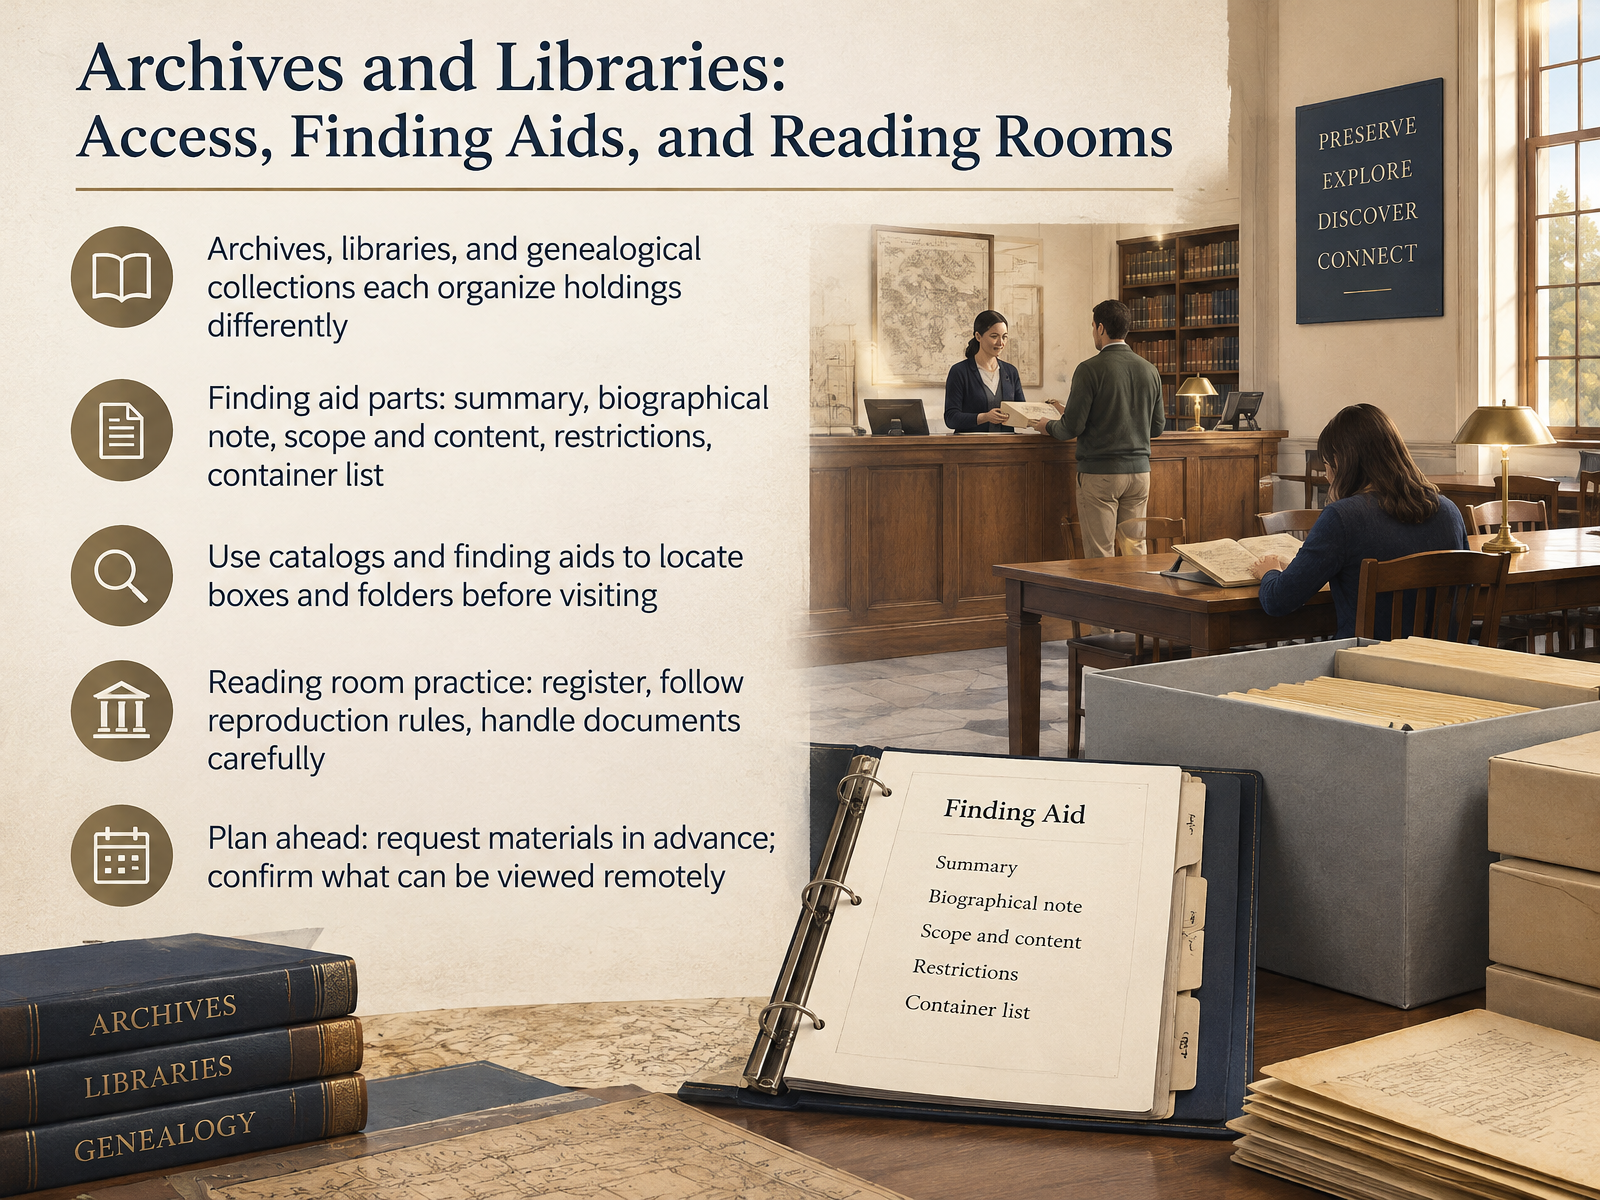
- 04Archives and Libraries: Access, Finding Aids, and Reading RoomsNow let's look at how archives and libraries differ in organizing their holdings. Each repository arranges materials in its own way, so familiarizing yourself with its system before you visit saves time. A finding aid is a guide to a collection, sometimes called an inventory or register. It typically includes a summary, a biographical or historical note about the creator, a scope and content section describing what is inside, any access restrictions, and a container list that shows box and folder contents. Use catalogs and finding aids to pinpoint the boxes and folders you need before you travel. In the reading room, expect to register on arrival, follow reproduction rules, and handle documents carefully. Plan ahead by requesting materials in advance and confirming what you can view remotely. Taking these steps makes your research visit smoother and more productive. Next, we'll explore navigating digital collections and online databases.
 guides.loc.govloc.govresearchguides.huntington.org+21 min
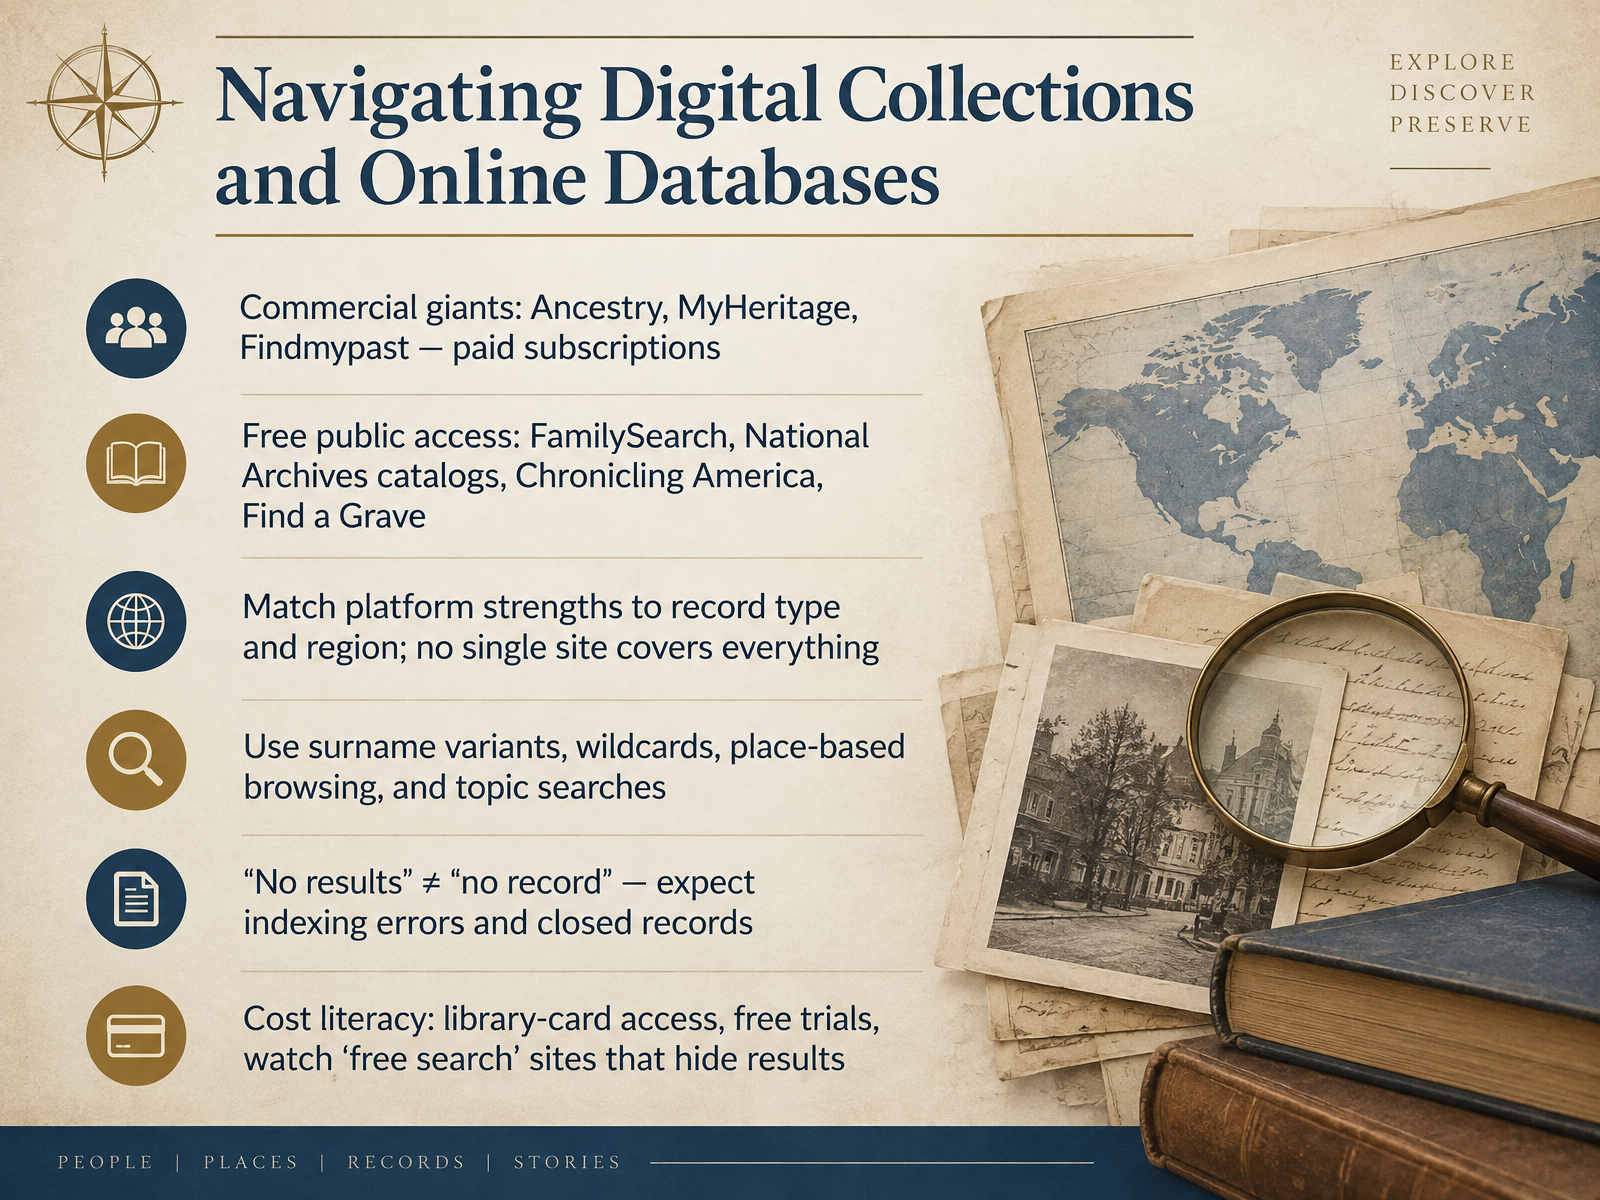
- 05Navigating Digital Collections and Online DatabasesNow let's look at where these records actually live online. Digital collections fall into two broad groups. The commercial platforms, Ancestry, MyHeritage, and Findmypast, require paid subscriptions but fund large-scale digitization. Then there are free public resources: FamilySearch, National Archives catalogs, Chronicling America for historical newspapers, and Find a Grave for cemeteries and burial records. Here is the key principle. No single site covers everything, so match each platform to the record type and region you need. Ancestry is strongest for United States records. Findmypast centers on the British Isles. FamilySearch is your free global baseline. When searching, try surname variants and wildcards, browse by place, and run topic searches. And remember, no results does not mean no record. Indexing errors happen, and some records are still closed by law. Finally, practice cost literacy. Check whether your library card unlocks premium databases, use free trials carefully, and watch for sites that let you search for free but hide the results behind a paywall. Next, we will move into reading and interpreting historical documents.
 2 min
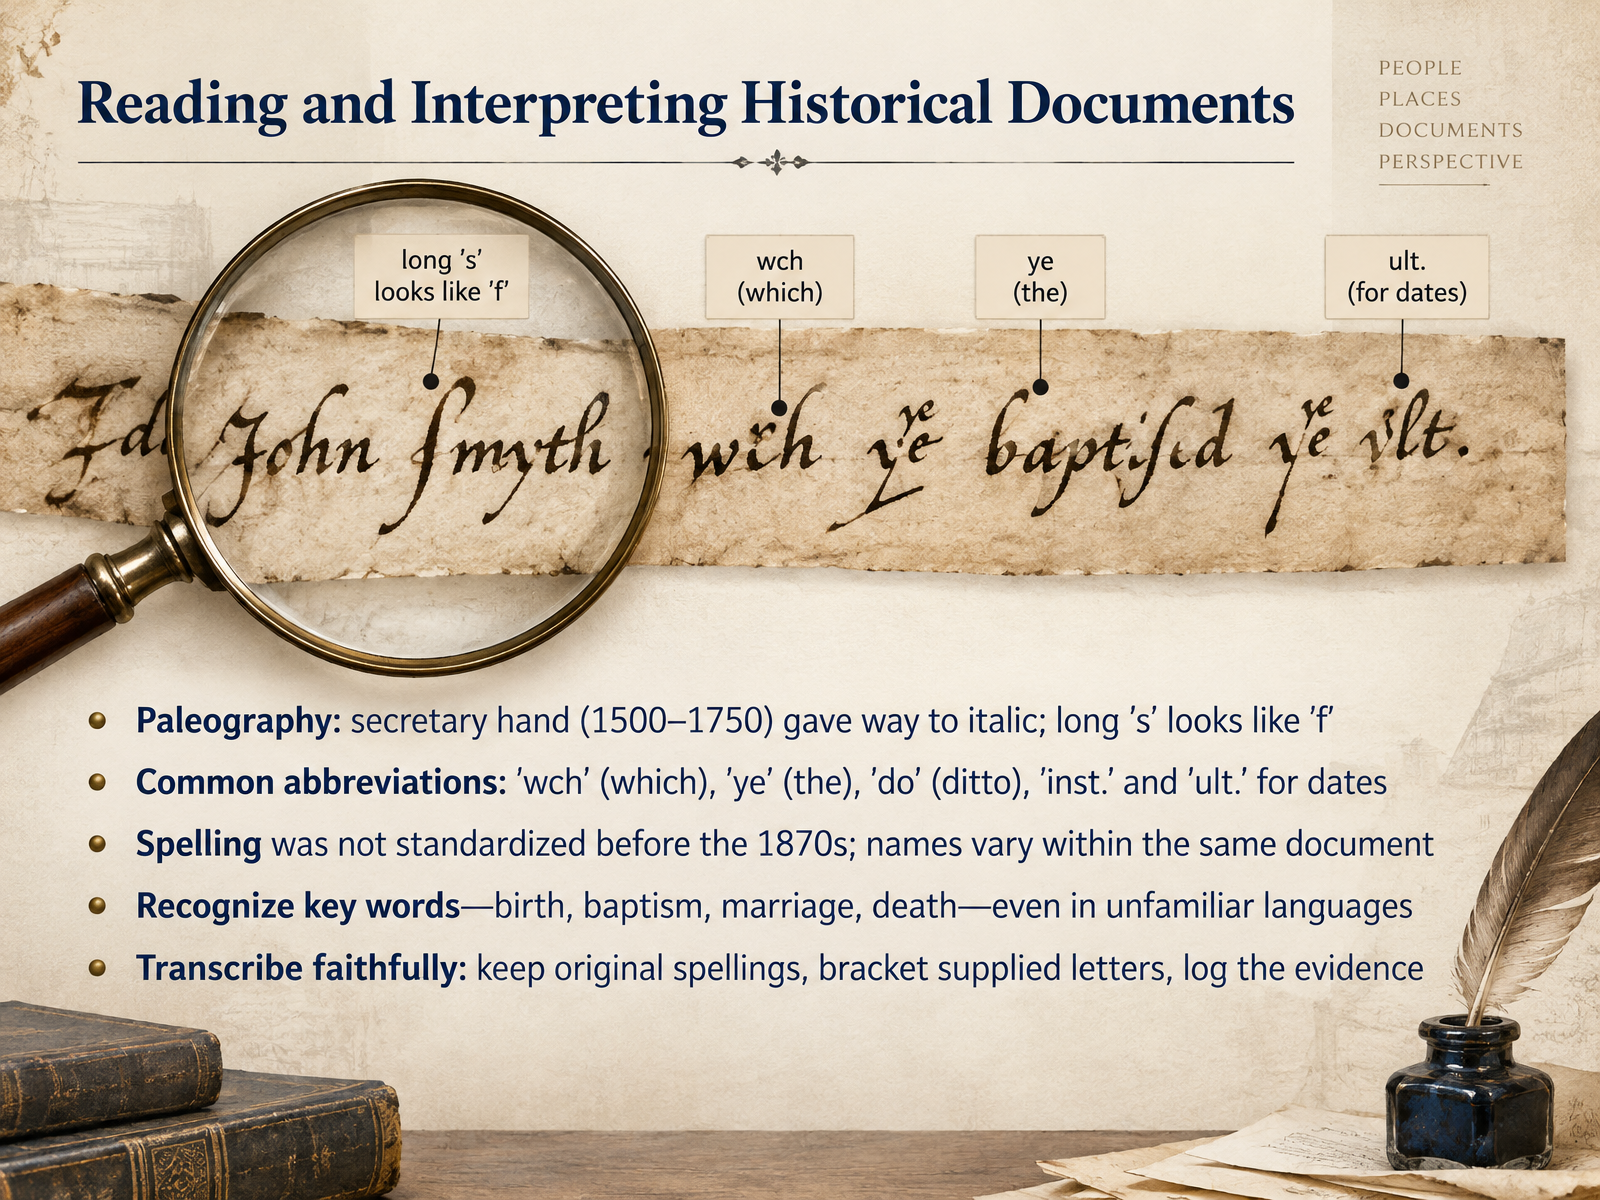
- 06Reading and Interpreting Historical DocumentsLet's turn to reading and interpreting historical documents. Paleography is the study of old handwriting, and knowing its conventions will help you work through almost any record you find. Secretary hand was used in British courts and parishes from about fifteen hundred to seventeen fifty, when it gradually gave way to italic hand. One common trap is the long s, which looks very much like an f, so double s can appear as something like f s. Scribes also abbreviated heavily. W c h stands for which, y e, the thorn symbol, stands for the, d o means ditto, and inst. and ult. refer to a date in this month or the previous month. Spelling was not standardized until around eighteen seventy, so names may vary even within a single document. Don't correct them. You don't need to know the language to recognize key words such as birth, baptism, marriage, or death. And transcribe faithfully, keeping original spellings, bracketing letters you supply, and logging the evidence for later review. Next, we will look at evaluating evidence, resolving conflicts, and documentation.
 2 min
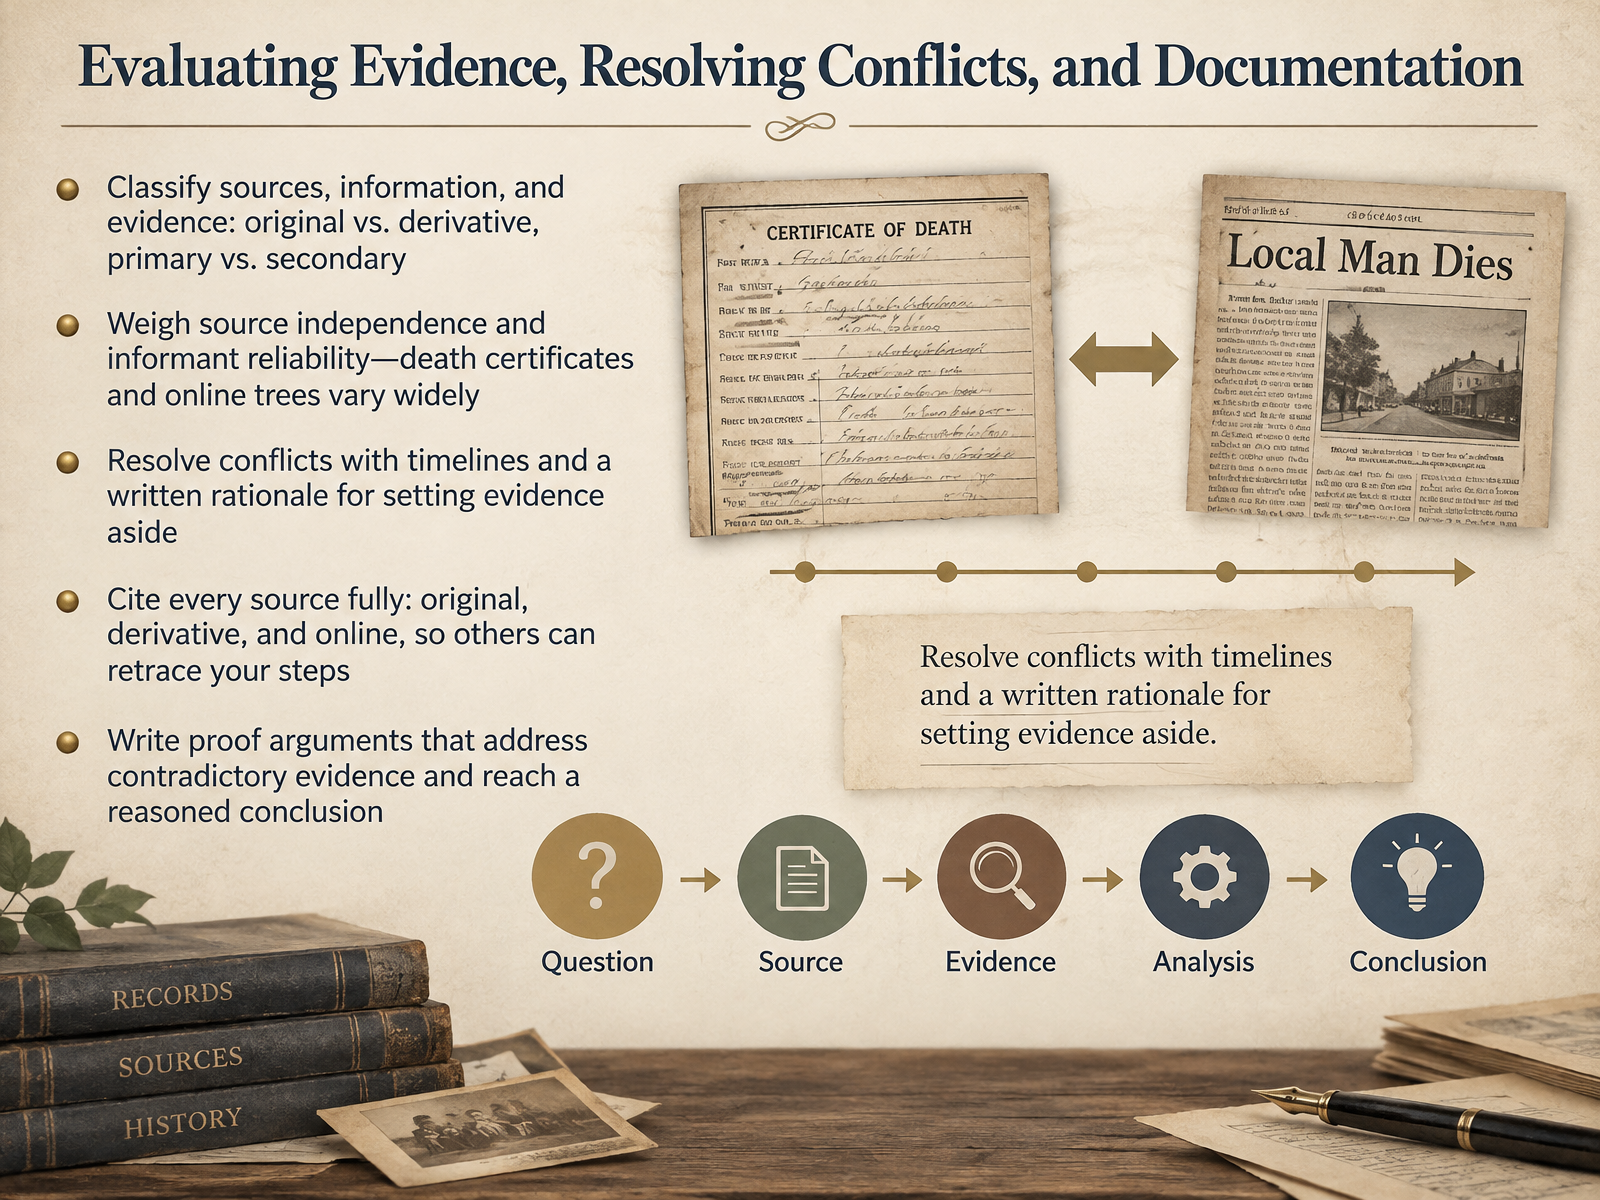
- 07Evaluating Evidence, Resolving Conflicts, and DocumentationNow that you have gathered records, it is time to evaluate them. Begin by classifying each one. A source is original if it is the first recording of an event, and derivative if it is copied or transcribed, such as an index or an online database. Information is primary when reported by someone close to the event, and secondary when reported later by someone relying on memory or hearsay. Then weigh source independence and informant reliability, because death certificates and online trees vary widely. When records conflict, build a timeline and write a short rationale for setting evidence aside. Cite every source fully, original, derivative, or online, so others can retrace your steps. Finally, write a proof argument that addresses contradictory evidence and reaches a reasoned conclusion. Next, we turn to ethics, privacy, and sensitive family information.
 familysearch.orggenealogy.org.nzbcgcertification.org+21 min
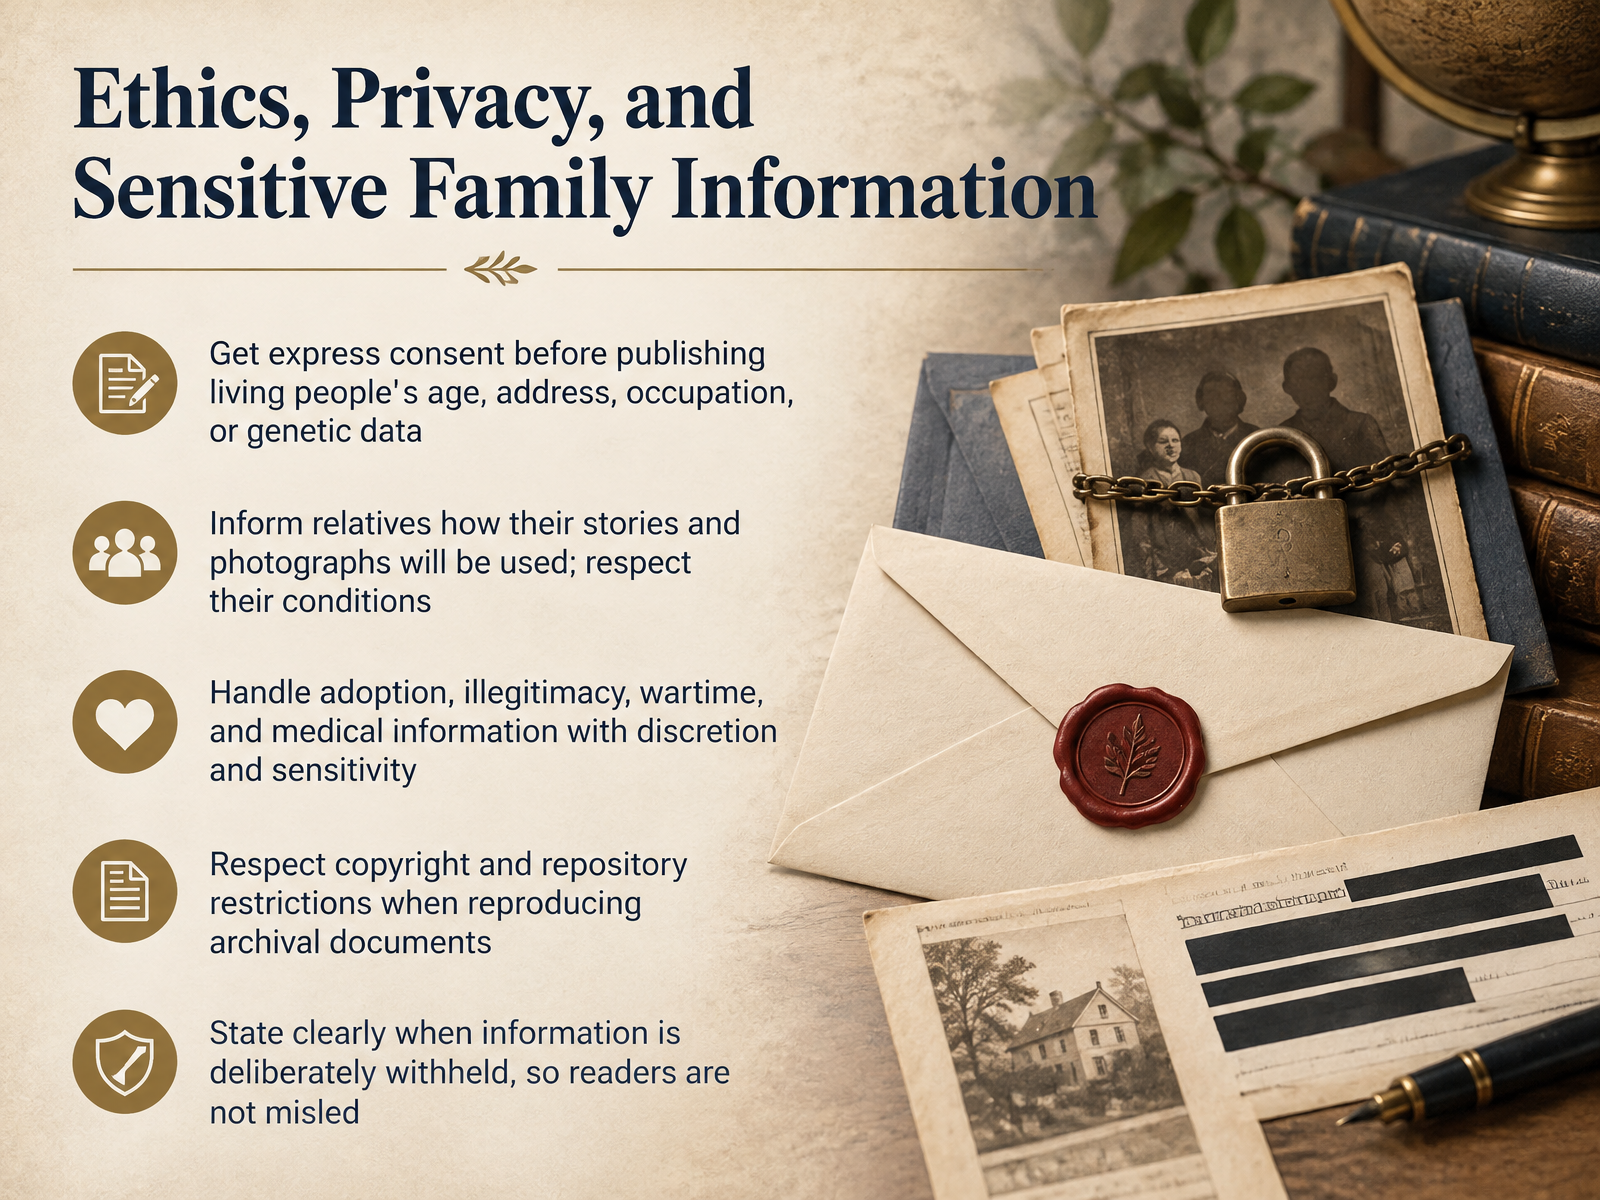
- 08Ethics, Privacy, and Sensitive Family InformationNow let's talk about ethics, privacy, and sensitive family information. Before publishing details about living people, such as age, address, occupation, or genetic data, get express consent, meaning clear permission given directly by that person. Tell relatives how their stories and photographs will be used, and respect any conditions they set. Adoption, illegitimacy, wartime experiences, and medical information deserve discretion and sensitivity. Your conclusions can affect real people, so pause and consider the harm a detail might cause before you share it. When reproducing archival documents, respect copyright and the rules of the repository that holds them. And if you choose to withhold information, say so plainly, so readers are not misled by the omission. These practices build trust and protect the people whose stories you are preserving. Next, we look at Context and Migration: Placing Ancestors in Local History.
 1 min
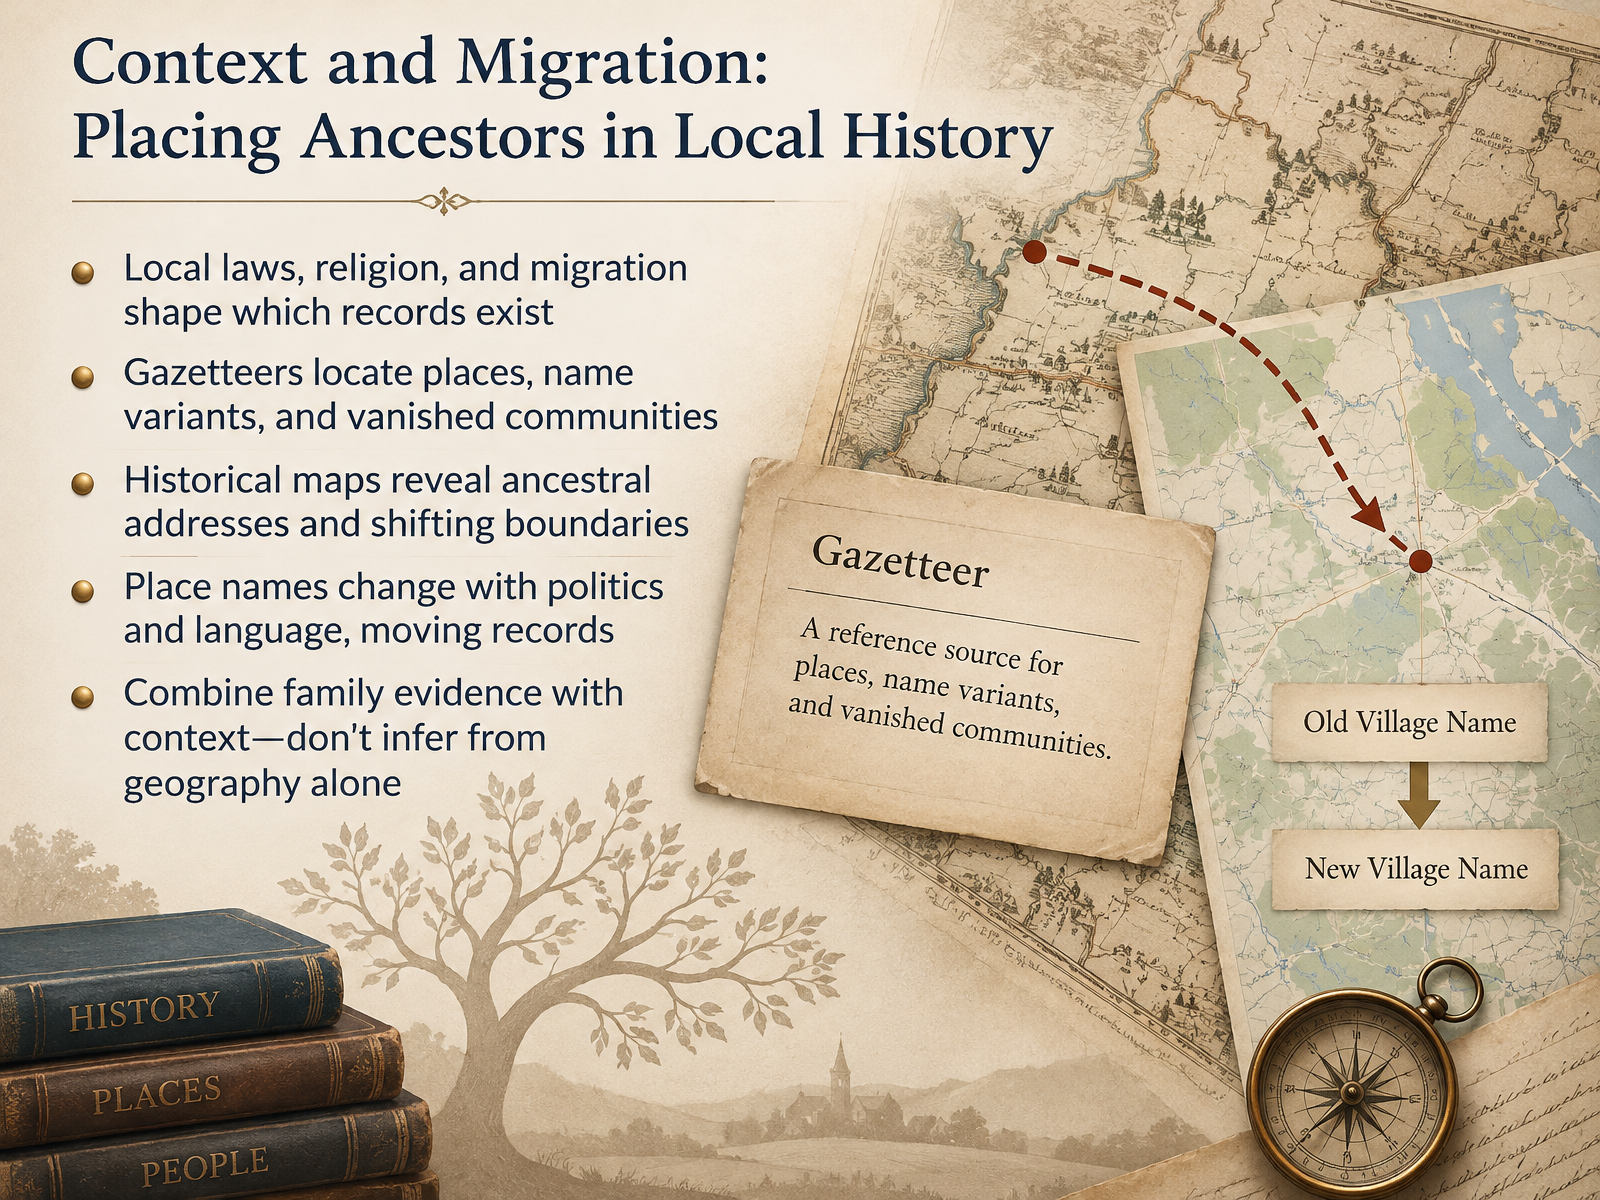
- 09Context and Migration: Placing Ancestors in Local HistoryNow let's place your ancestors in local history. Local laws, religion, and migration patterns shape which records exist at all, so context tells you where to look. A gazetteer, which is a dictionary of place names with their locations, is the place to start. Detailed gazetteers list name variants, boundary changes, and communities that have vanished from modern maps. Historical maps then help you find ancestral addresses and see how county and parish boundaries shifted over time. Place names change with politics and language, and when they do, the records often move too. So combine family evidence with this context. Don't infer a family's origin from geography alone. Let the documents and the place history confirm each other. Next, we'll look at building a research plan and breaking through brick walls.
 1 min
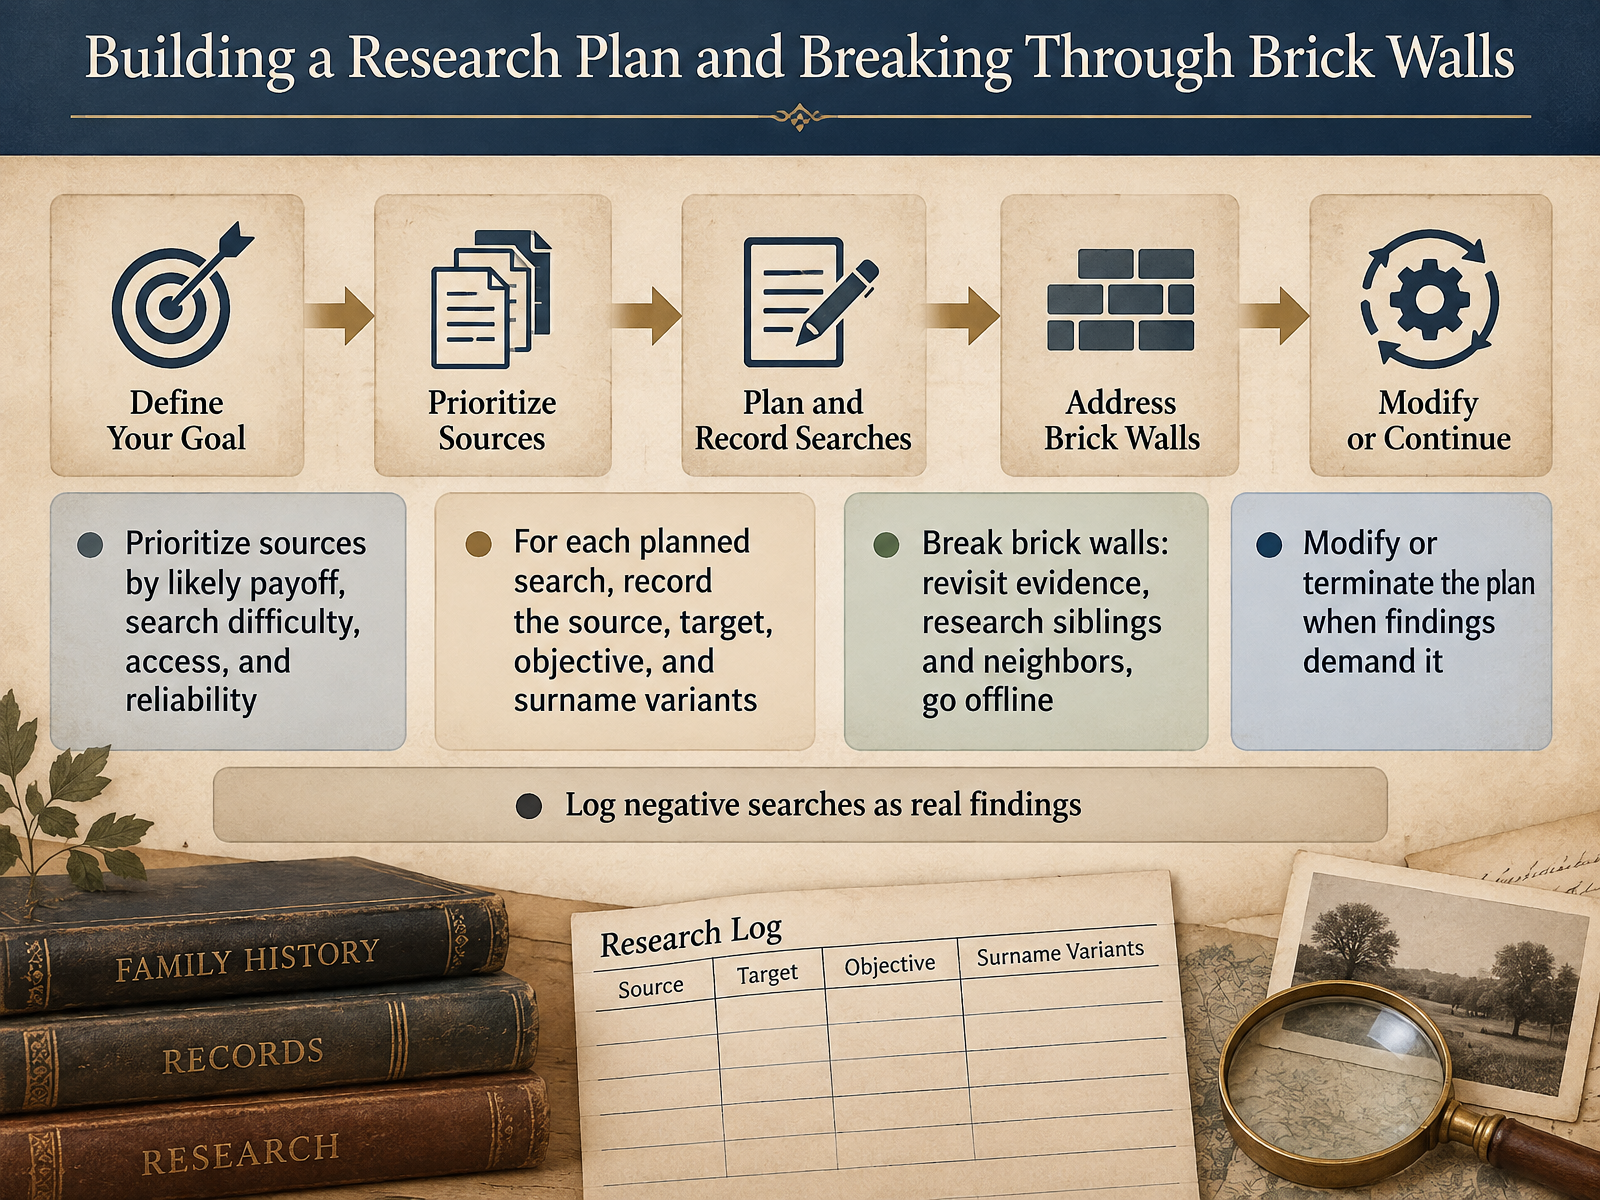
- 10Building a Research Plan and Breaking Through Brick WallsNow let's turn that evidence into a working research plan. Prioritize each source by its likely payoff, how difficult it is to search, how easily you can access it, and how reliable it is. For every planned search, write down four things: the source, the target person, the objective, and the surname variants you will try. When you hit a brick wall, a problem that stops progress, revisit the evidence you already gathered, research siblings and neighbors, and go offline to archives and courthouses. Let new findings modify or even end a line of inquiry. And log negative searches as real findings, because their absence is evidence too. Next, we look at organizing a personal archive and preserving discoveries.
 1 min
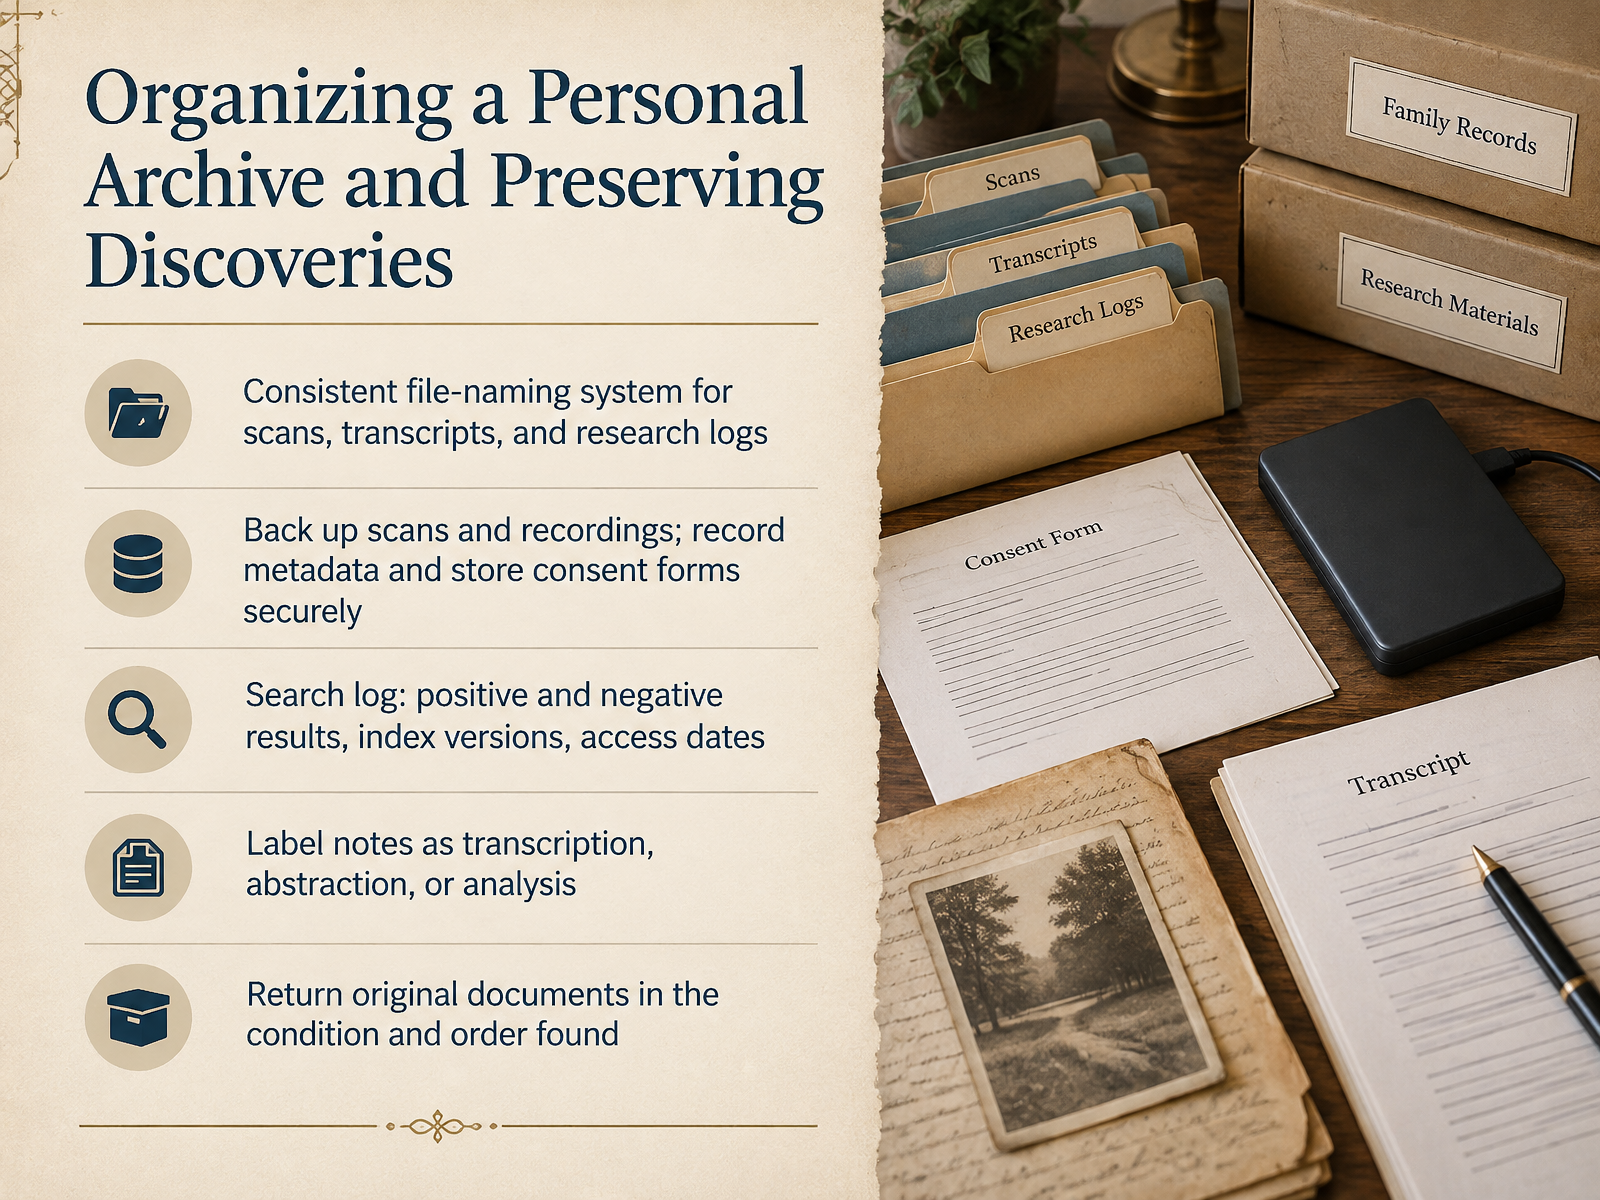
- 11Organizing a Personal Archive and Preserving DiscoveriesLet's turn now to organizing a personal archive and preserving your discoveries. A consistent file-naming system is the foundation. Use the same pattern for scans, transcripts, and research logs, so a single name tells you what a file is and where it came from. Back up your scans and recordings in more than one place. Record metadata for each item, and store signed consent forms securely. Keep a search log that includes both positive and negative results, the index versions you used, and the access dates. Negative results are evidence too, so record them. When you take notes, label each note as a transcription, an abstraction, or your own analysis. That distinctions keeps your reasoning separate from the record itself. And when you work with original documents, return them in the condition and order you found them. Handle them carefully, and never remove them from their custodian. These habits keep your archive trustworthy and ready to share. That leads us to sharing findings responsibly with family and institutions.
 blogs.lib.unc.edungsgenealogy.orgoralhistory.org+22 min
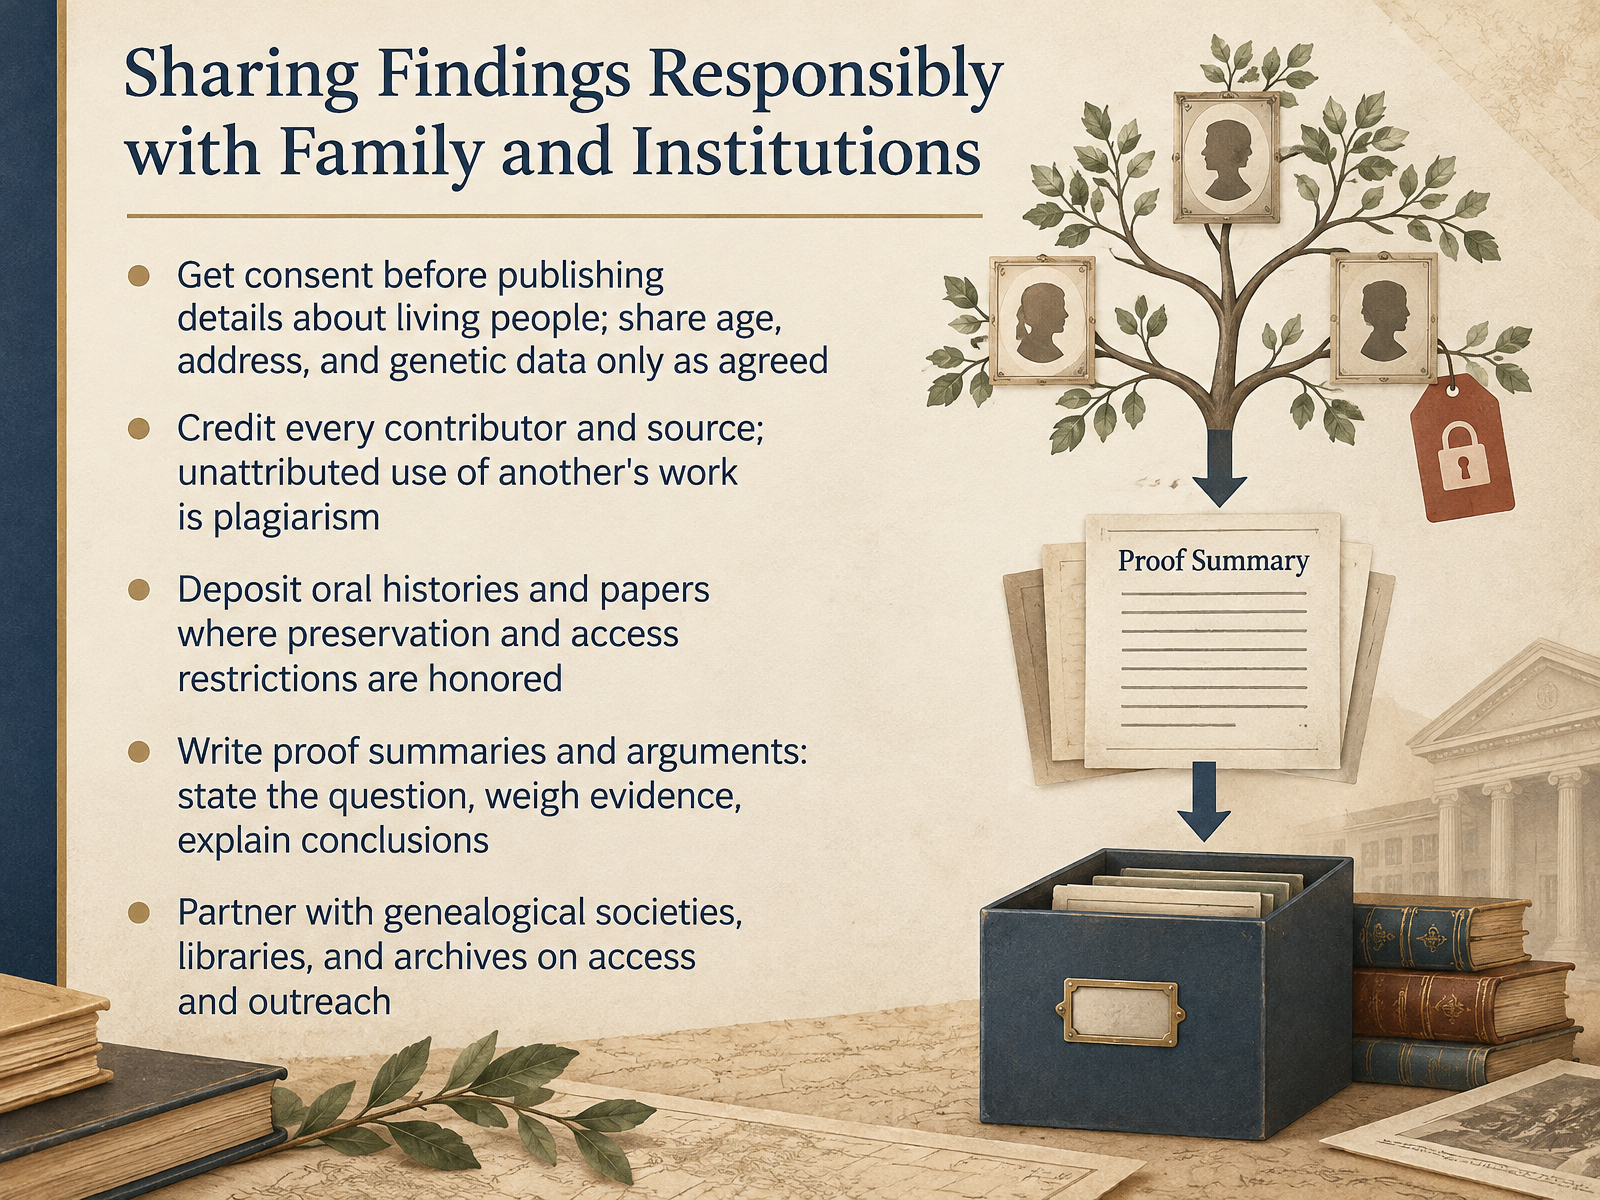
- 12Sharing Findings Responsibly with Family and InstitutionsLet's turn now to sharing findings responsibly, with family and with institutions. Start with consent. Before you publish details about living people, get clear evidence that they agree. Share personal identifying information, such as age, home address, or genetic data, only in the ways those people have expressly agreed to. Next, credit every contributor and every source. Unattributed use of another person's work is plagiarism. The National Genealogical Society guidelines are a useful reference here. When you deposit oral histories or family papers, choose a repository that will honor preservation and access restrictions, and document the narrator's consent. Then write proof summaries and proof arguments. State the research question, weigh the evidence, address any conflicts, and explain your conclusion. Finally, partner with genealogical societies, libraries, and archives on access and outreach, so your work stays available and responsibly shared. Next, we'll look at common pitfalls and how to avoid them.
 blogs.lib.unc.edungsgenealogy.orgoralhistory.org+22 min
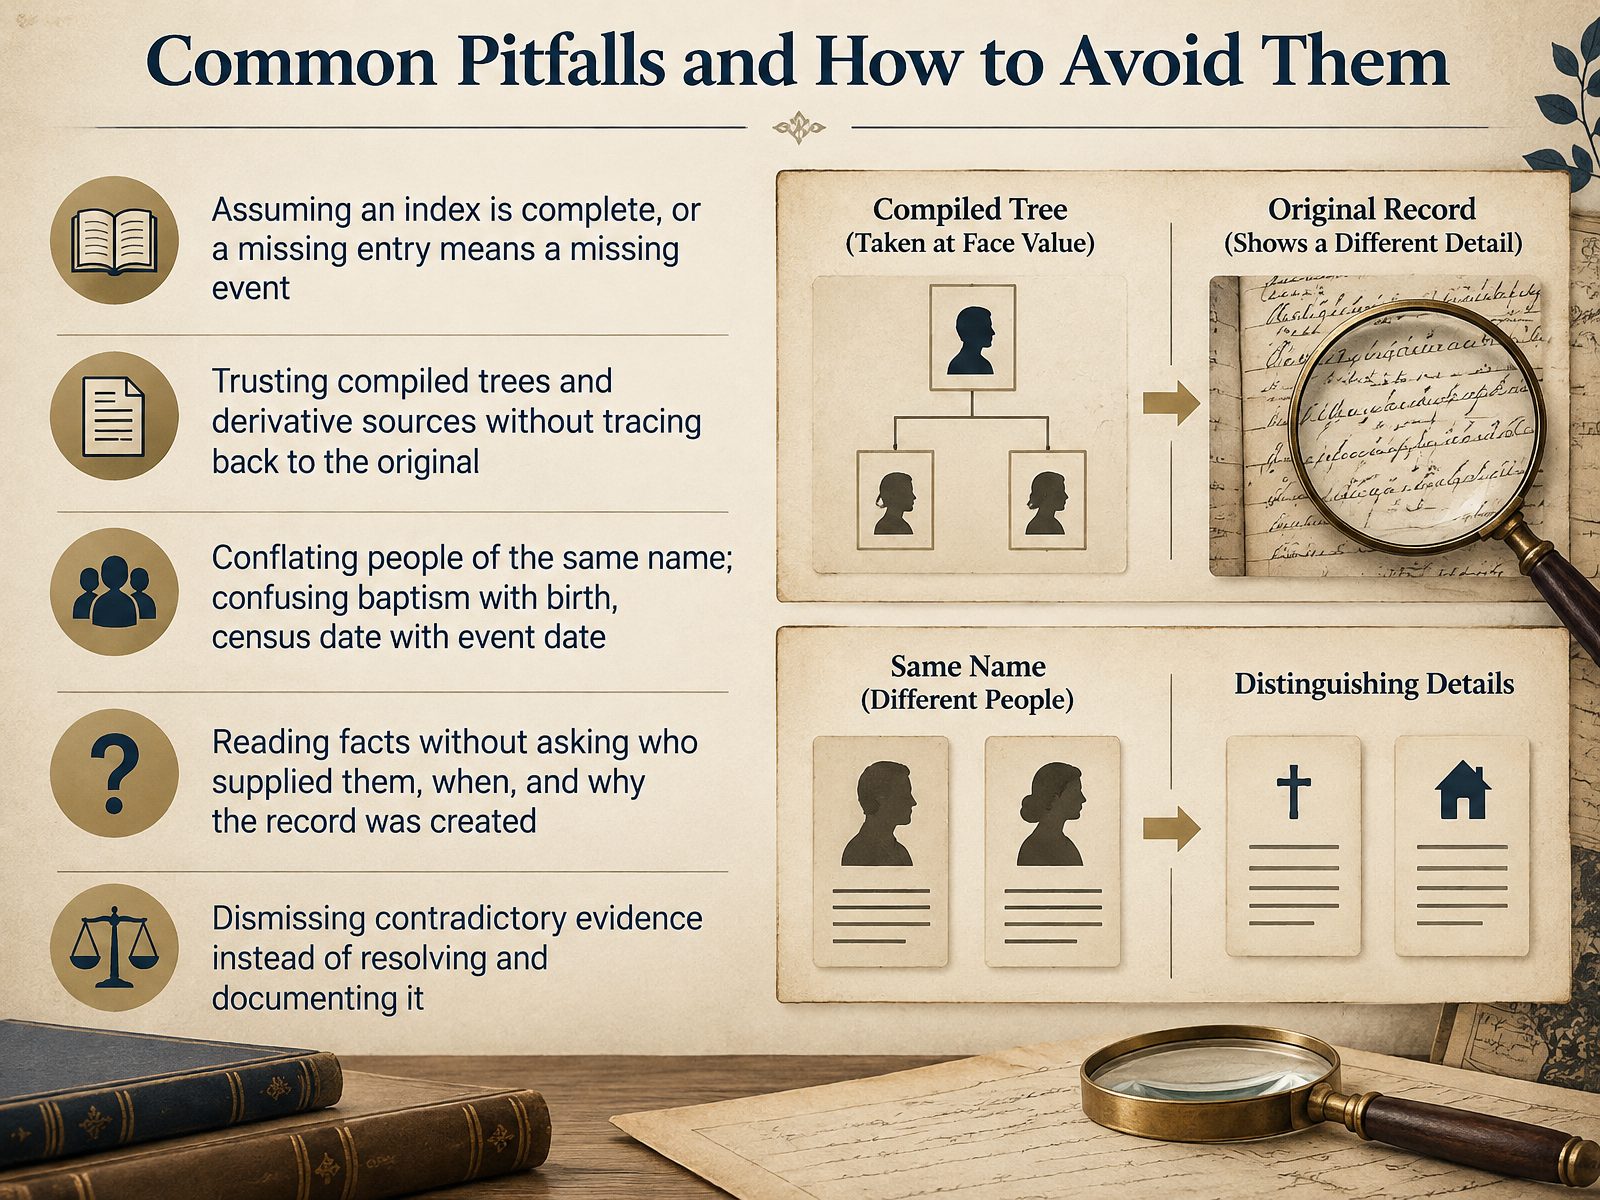
- 13Common Pitfalls and How to Avoid ThemLet's turn now to common pitfalls and how to avoid them. First, treat any index as a finding aid, not a finished record. A missing entry does not mean a missing event. Next, when you meet a compiled tree or a derivative source such as an abstract, trace the claim back to the original record before you rely on it. Watch for identity slips, too. Two people can share a name, and a baptism is not a birth date. A census date marks the day of enumeration, not the event itself. Then ask who supplied each fact, when, and why the record was created. And when evidence conflicts, resolve it and document your reasoning rather than setting it aside. These habits, applied consistently, keep your conclusions credible and repeatable. Continuing the journey, we'll look at workshops, societies, and further learning.
 libguides.nypl.orgfamilyhistory.lib.byu.eduons.gov.uk+22 min
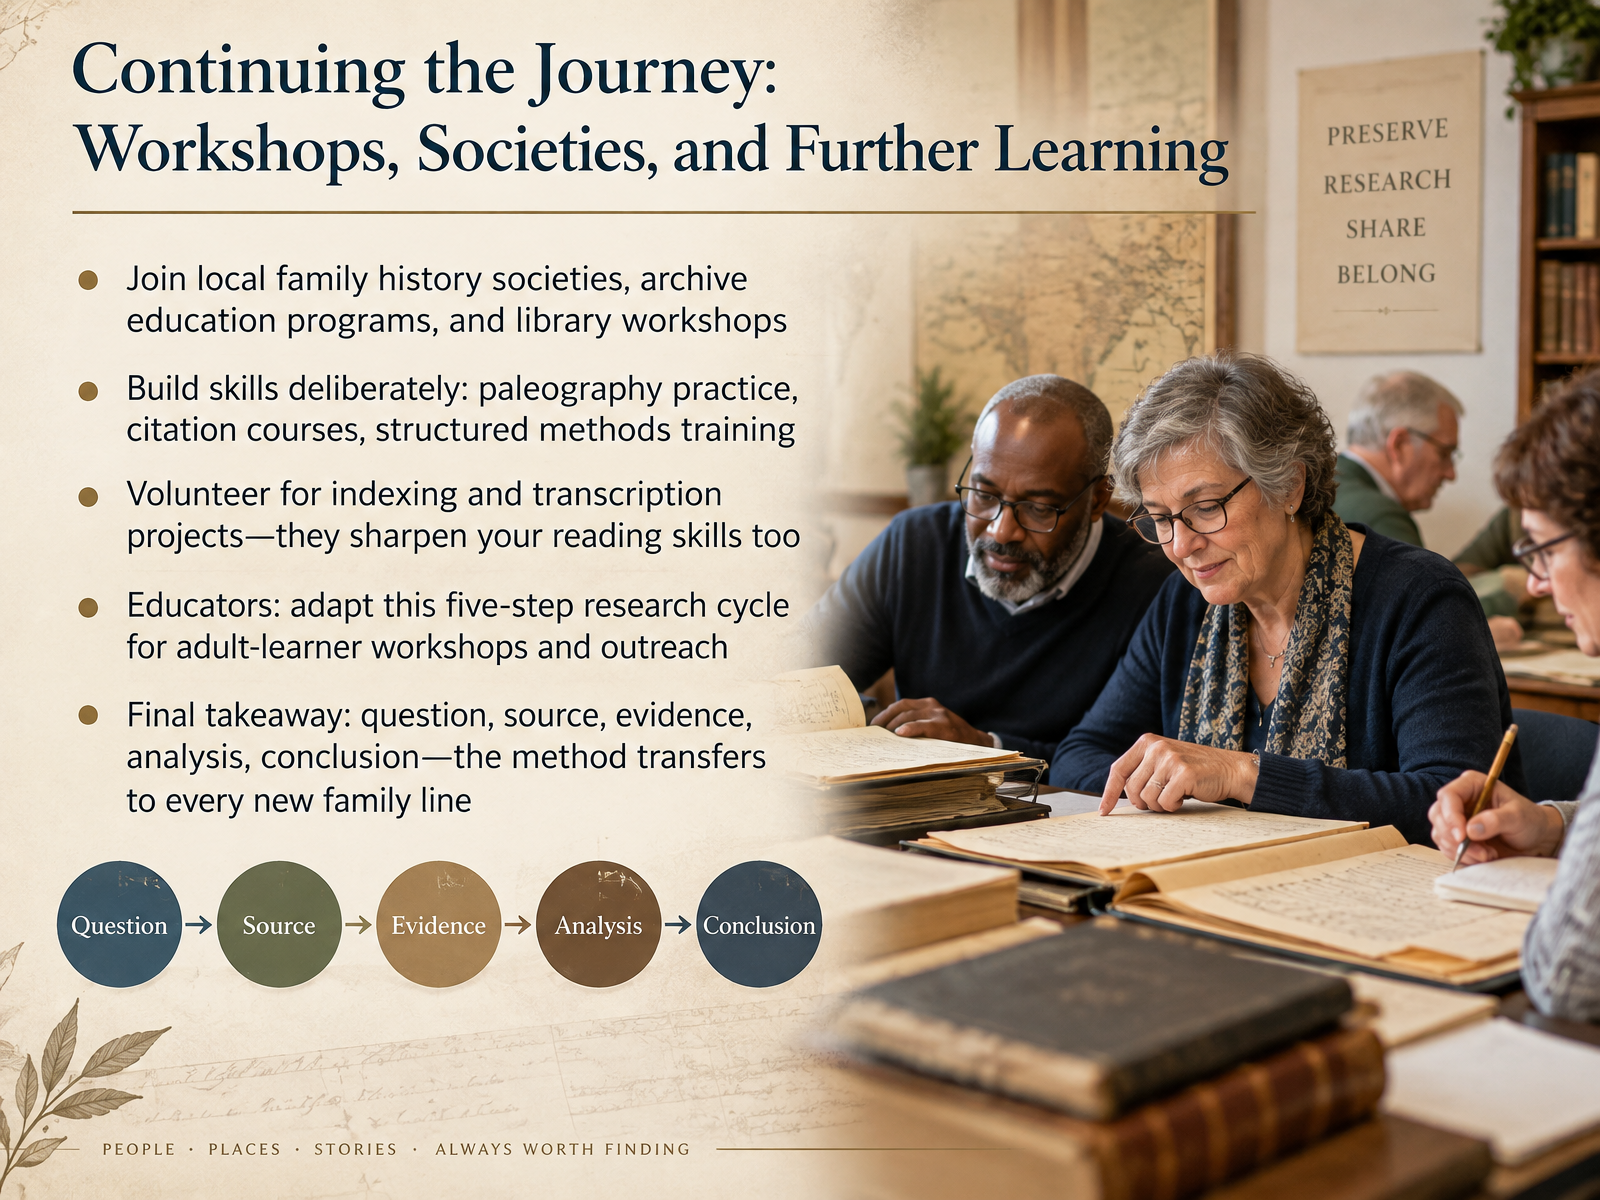
- 14Continuing the Journey: Workshops, Societies, and Further LearningAs we close, let's talk about where you go from here. Join local family history societies, archive education programs, and library workshops. These give you feedback from people who read the same records you do. Build skills deliberately, too. Practice paleography, the reading of old handwriting. Take a citation course. Train in a structured method. And consider volunteering for indexing or transcription projects. They sharpen your reading skills while helping others. Educators, adapt this five-step research cycle for your adult-learner workshops and outreach. Here is the final takeaway. Question, source, evidence, analysis, conclusion. That method transfers to every new family line you study. Thank you for your careful work throughout this course. Keep questioning, keep citing, and keep going. Your next family line is waiting.
 familysearch.orggenealogy.org.nzbcgcertification.org+22 min
Take the deck with you
Download this course as a file — free, no sign-up needed.
- PDF handoutEvery slide page, ready to print or share.15 pages · 5.6 MBDownload
- Narrated PowerPointThe deck that presents itself — every slide carries the digital human's narration video.15 pages · 15.3 MBDownload
- PowerPoint slidesThe full deck as a .pptx — open it in PowerPoint, Keynote, or Google Slides.15 pages · 5.6 MBDownload
Free to use in your own training — please keep the PersonWise credit page at the end.
Have your own deck? Turn it into a course
Sources consulted
Web sources consulted while building this course.
- Understanding the Genealogical Proof Standard — familysearch.org
- Effective Research — genealogy.org.nz
- Ethics and Standards — bcgcertification.org
- Genealogical Proof Standard - Cook Memorial Public Library District — cooklib.org
- Skillbuilding: The Genealogical Proof Standard: How Simple Can It Be? - Board for Certification of Genealogists — bcgcertification.org
- An Introduction to Oral History and Genealogy Projects – Community-Driven Archives at UNC-Chapel Hill — blogs.lib.unc.edu
- Record Family Memories 2025 — ngsgenealogy.org
- OHA Principles and Best — oralhistory.org
- Oral History Best Practices - Oral History Association — oralhistory.org
- Oral History-Interveiwing Family Members-Guide — slcl.org
- The records - Genealogy : Getting Started at The New York Public Library - Research Guides at New York Public Library Research Centers — libguides.nypl.org
- MAJOR GEI{EALOGICAL — familyhistory.lib.byu.edu
- Genealogy toolkit - Office for National Statistics — ons.gov.uk
- Documentary genealogy and historical records | Nationalism — docs.nationalism.io
- Identify a Category of Sources • FamilySearch — familysearch.org
- Navigating Finding Aids - Finding Aids Help and Documentation - Research Guides at Library of Congress — guides.loc.gov
- Using Finding Aids | Finding Aids | Researcher Resources | Manuscript Reading Room | Research Centers | Library of Congress — loc.gov
- How to Search Finding Aids - Navigating Huntington Finding Aids - Research Guides at Huntington Library — researchguides.huntington.org
- Reading a Finding Aid - Finding Your Way Through Finding Aids: Archives 101 - Research Guides at Harvard Library — guides.library.harvard.edu
- National Archives Catalog Guide for Genealogists and Family Historians | National Archives — archives.gov